
DIY Magnet Wall
My son has always loved playing with magnets and magnatiles, so I wanted to create a space in his playroom where he could let his imagination run wild. Here is how I built his DIY magnetic play wall.
The first step was finding the metal I would use on the wall. I really wanted an extra large magnet wall and had trouble finding a 4ft by 8ft metal sheet at my local hardware stores.
So I tried Googling ‘metal fabrication [my town]’ and ‘sheet metal [my town]’ and found a local sheet metal fabricator that sold galvanized steel sheet metal in all different sizes and thicknesses. The price for a 4ft x 8ft galvanized sheet from them was only $60 and I was able to pick it up in our truck.
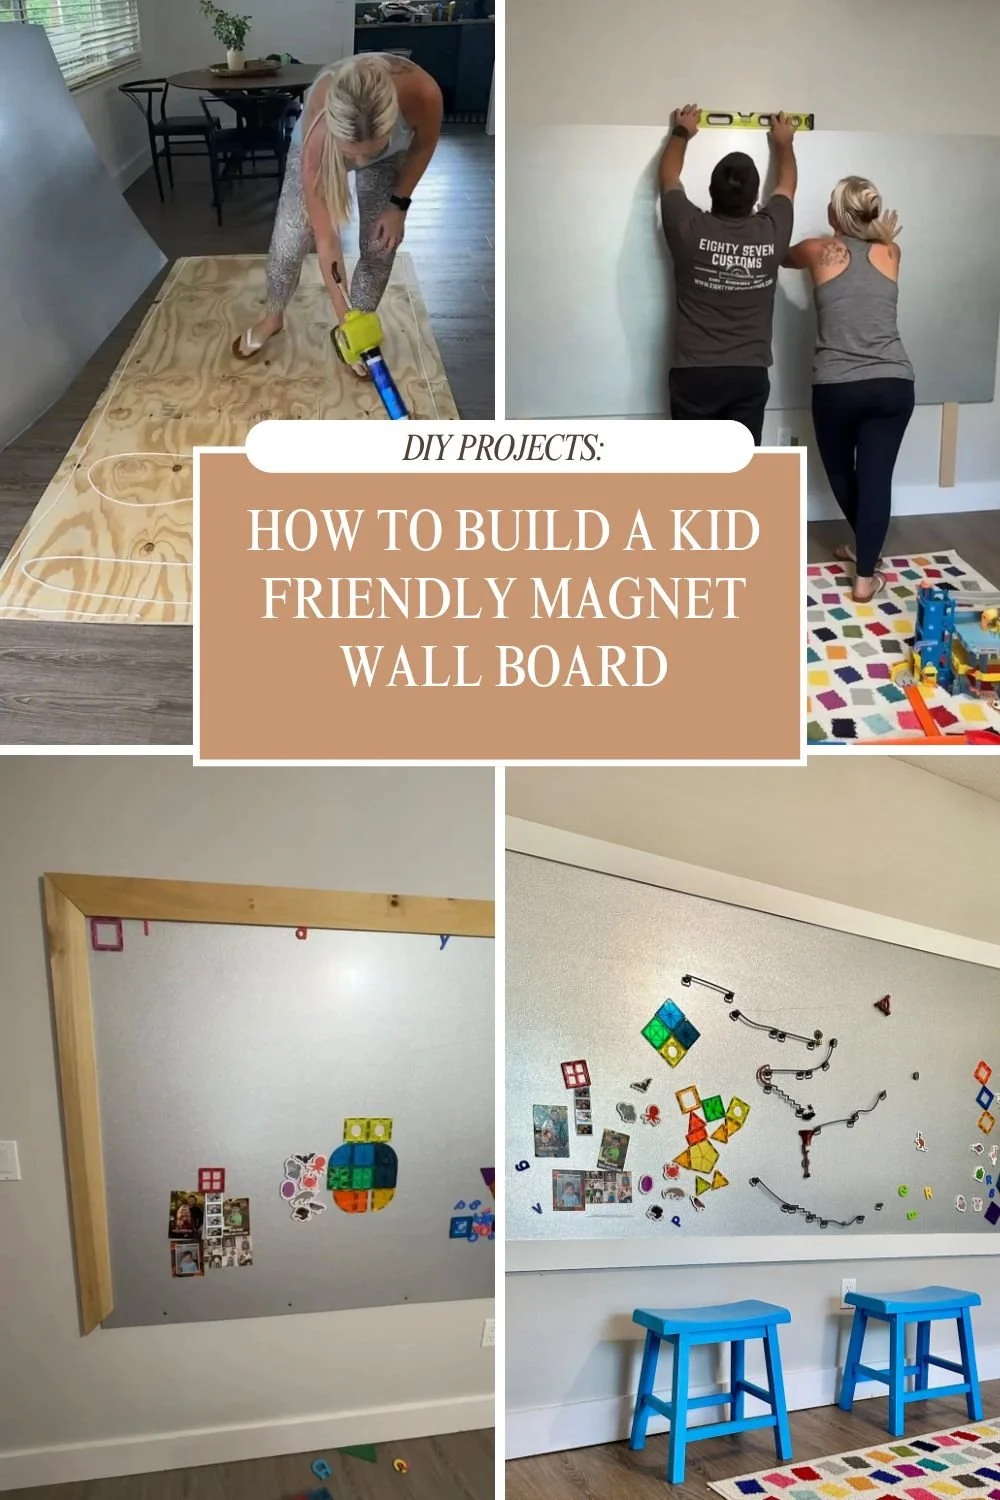
Once I got the sheet of metal home I realized it was a bit too flimsy to hang on the wall by itself so I ventured back out to the hardware store and picked up the cheapest 4ft x 8 ft sheet of 1/4 inch plywood I could find.
This would be a backer board for the metal. I laid the plywood down, applied construction adhesive all over it and then placed the metal on top making sure to press the metal down onto the adhesive.
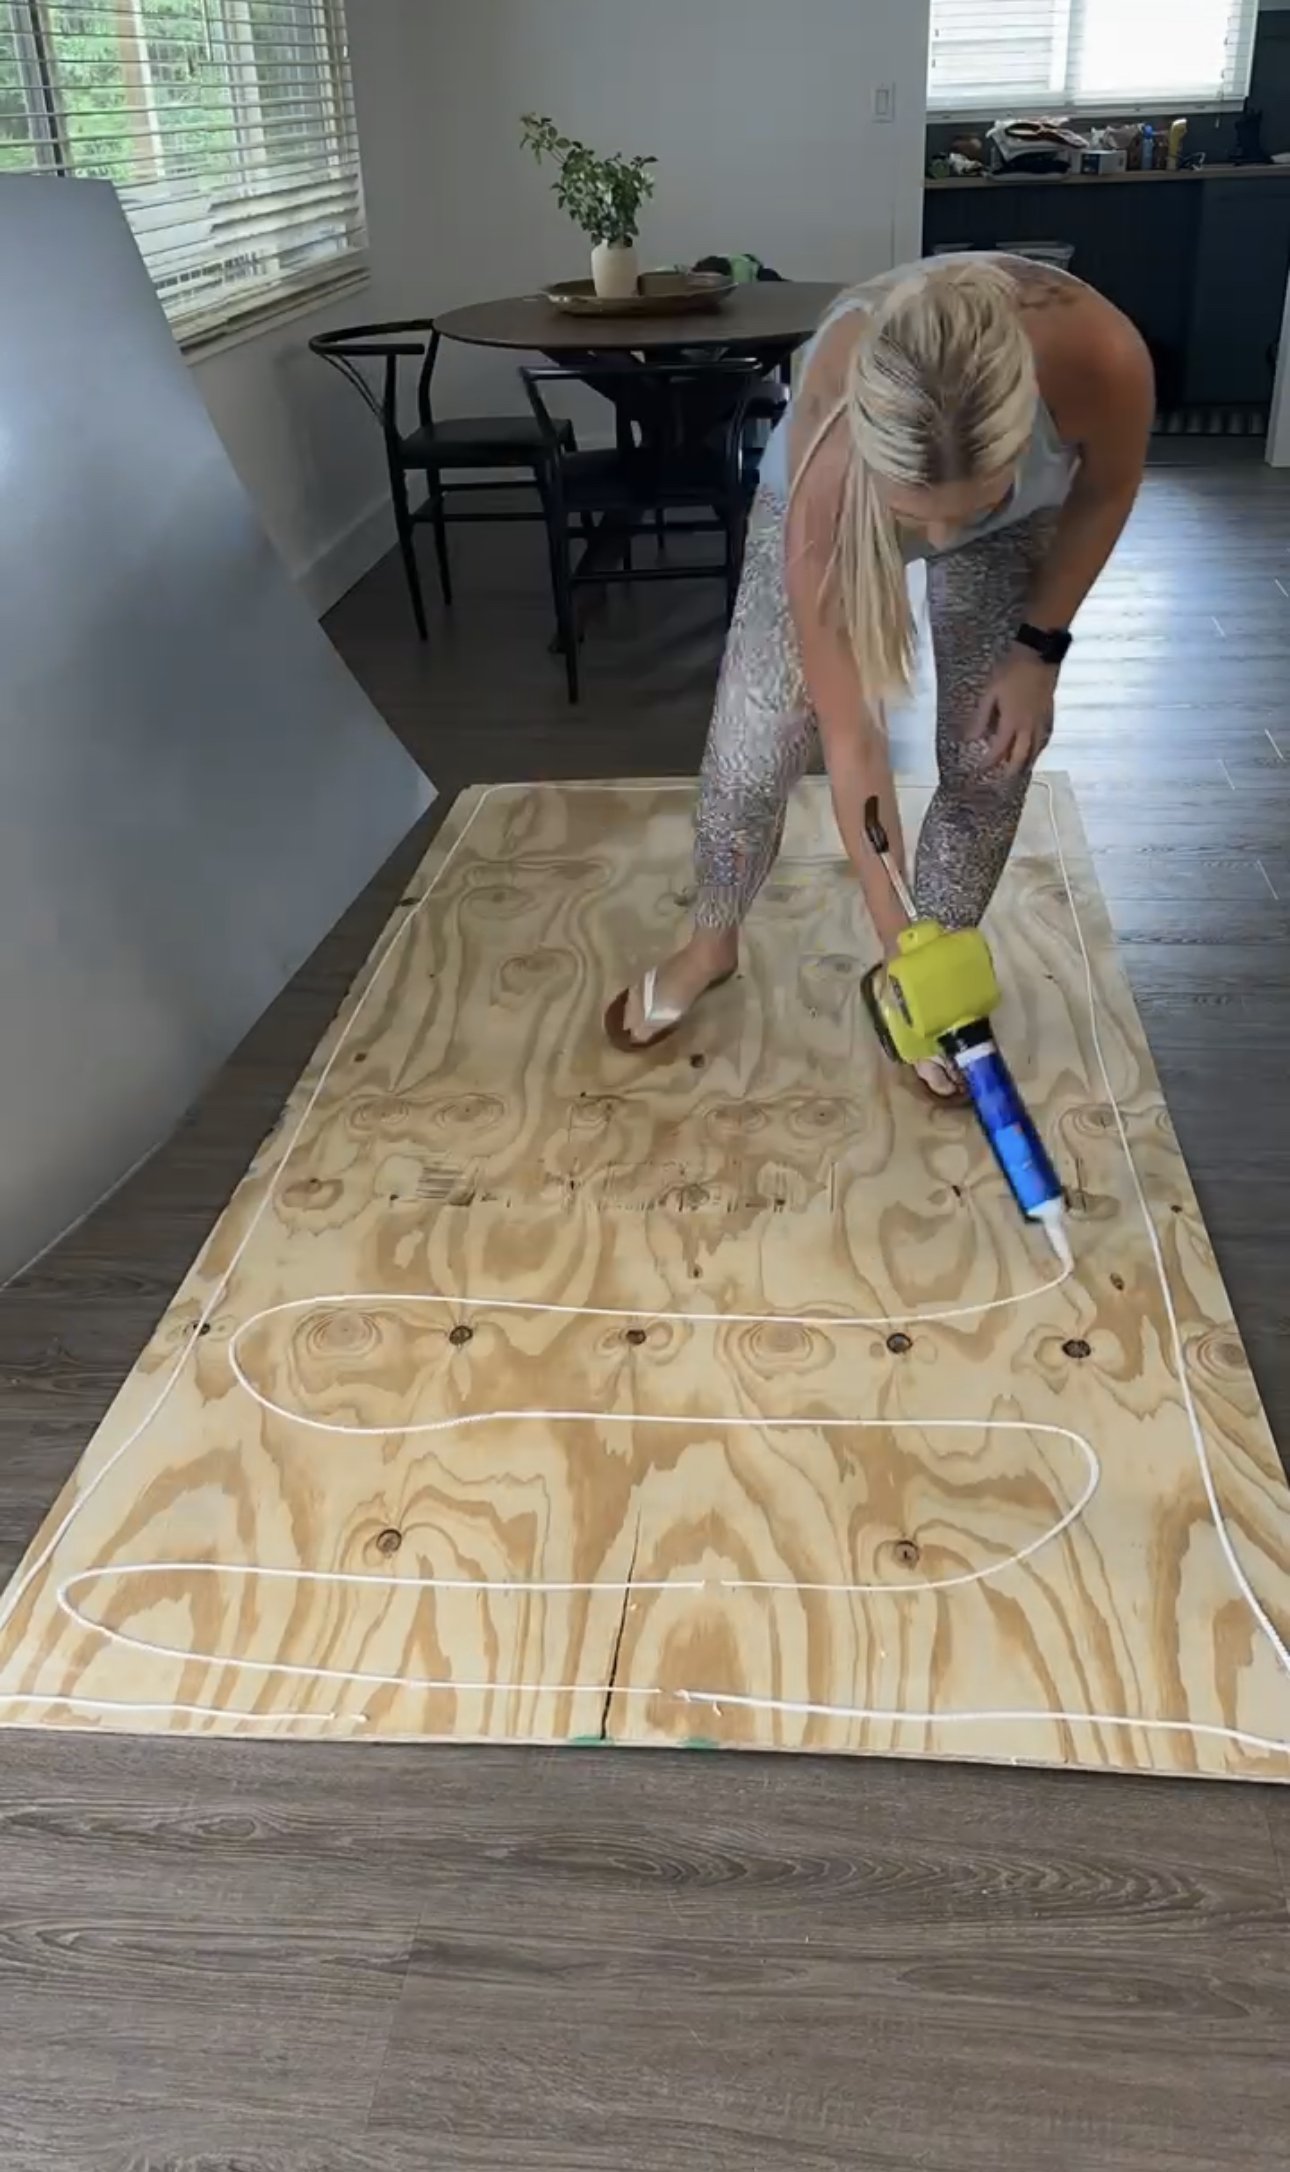

After drying overnight, the magnet board was ready to be hung on the wall. I used a stud finder to locate the studs in the wall and marked them with a piece of painters tape. Then I nailed in two pieces of scrap wood onto the wall as braces below where the magnet board would go.
This would allow us to temporarily set the very heavy magnet board onto the spacers while we went around and installed the screws into the perimeter of the metal. This part is definitely a two person job as the magnet board was very heavy and required someone to hold it against the wall while the other person installed the screws.
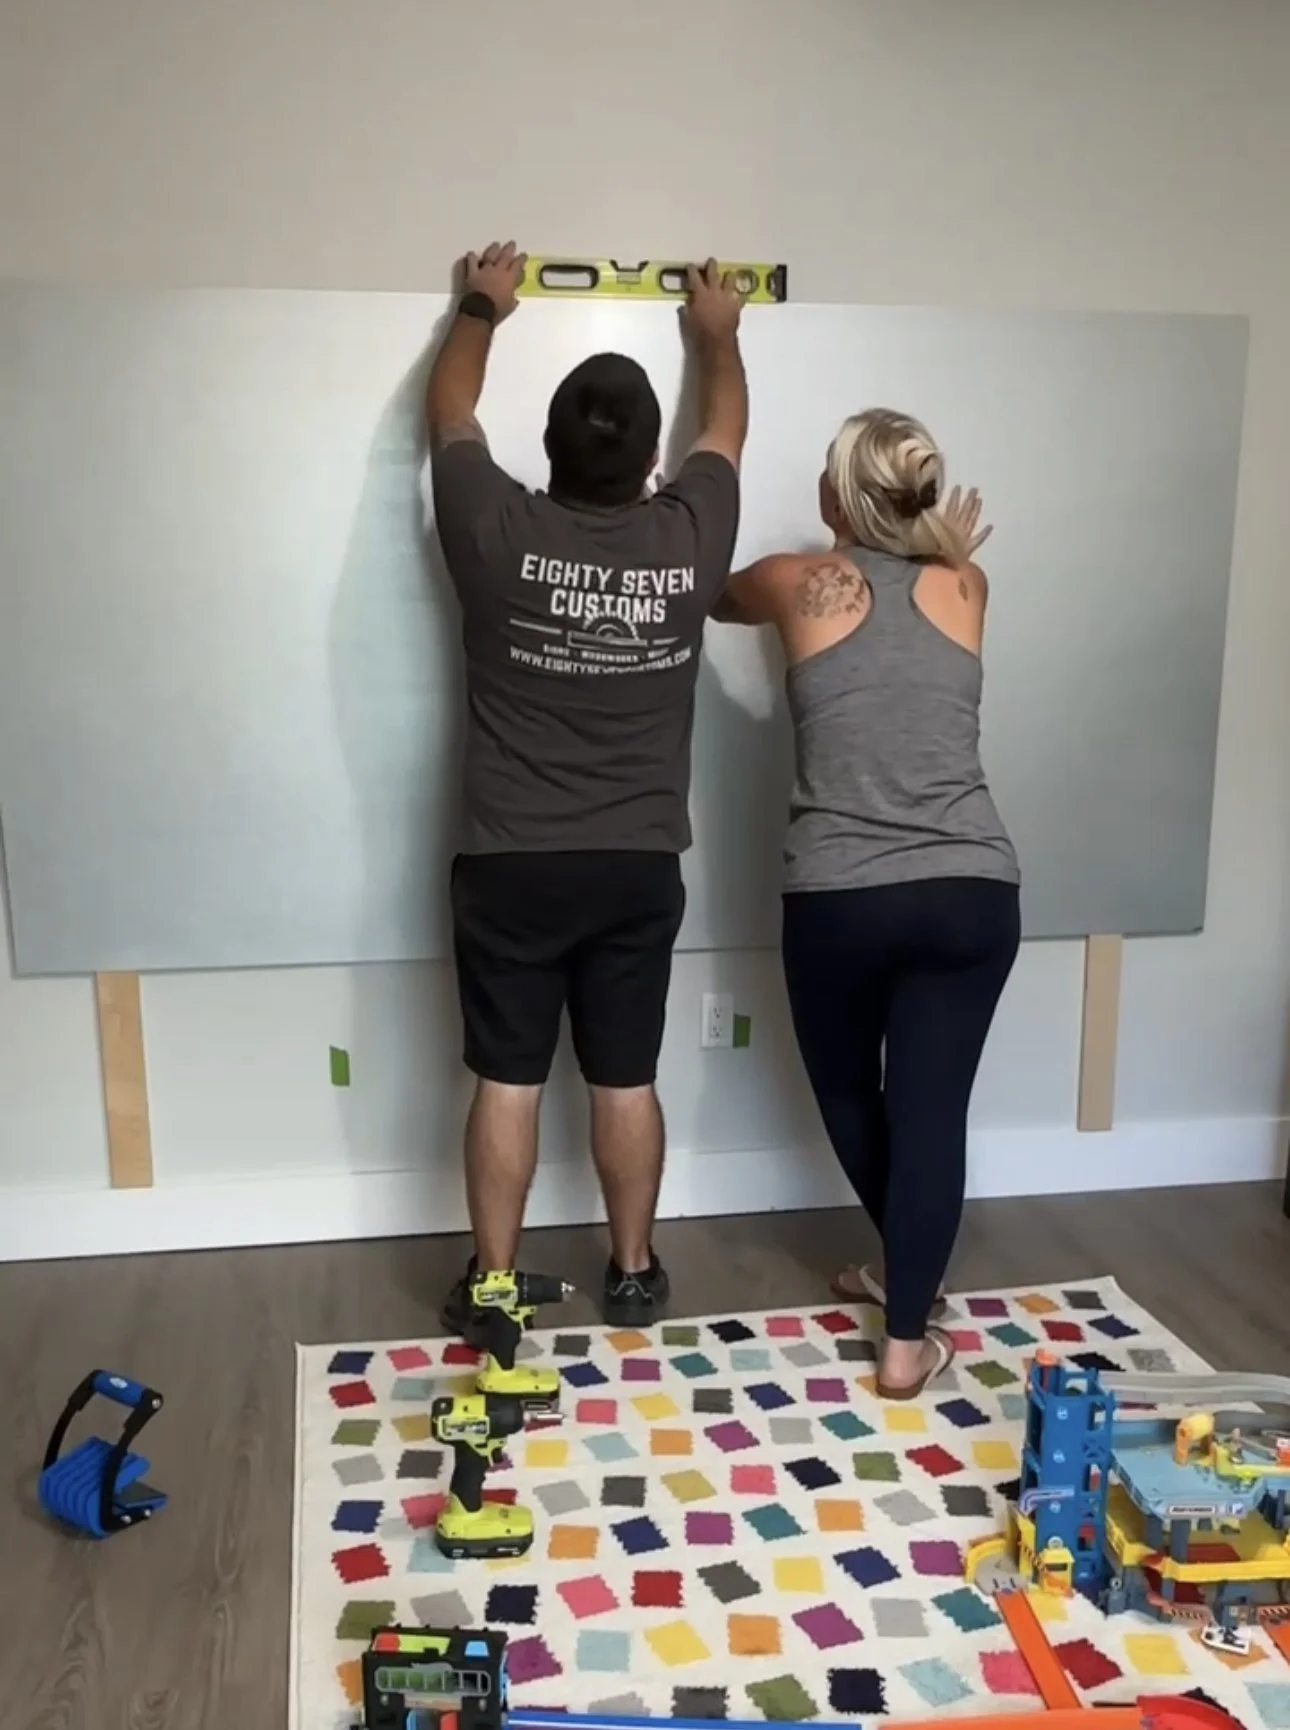
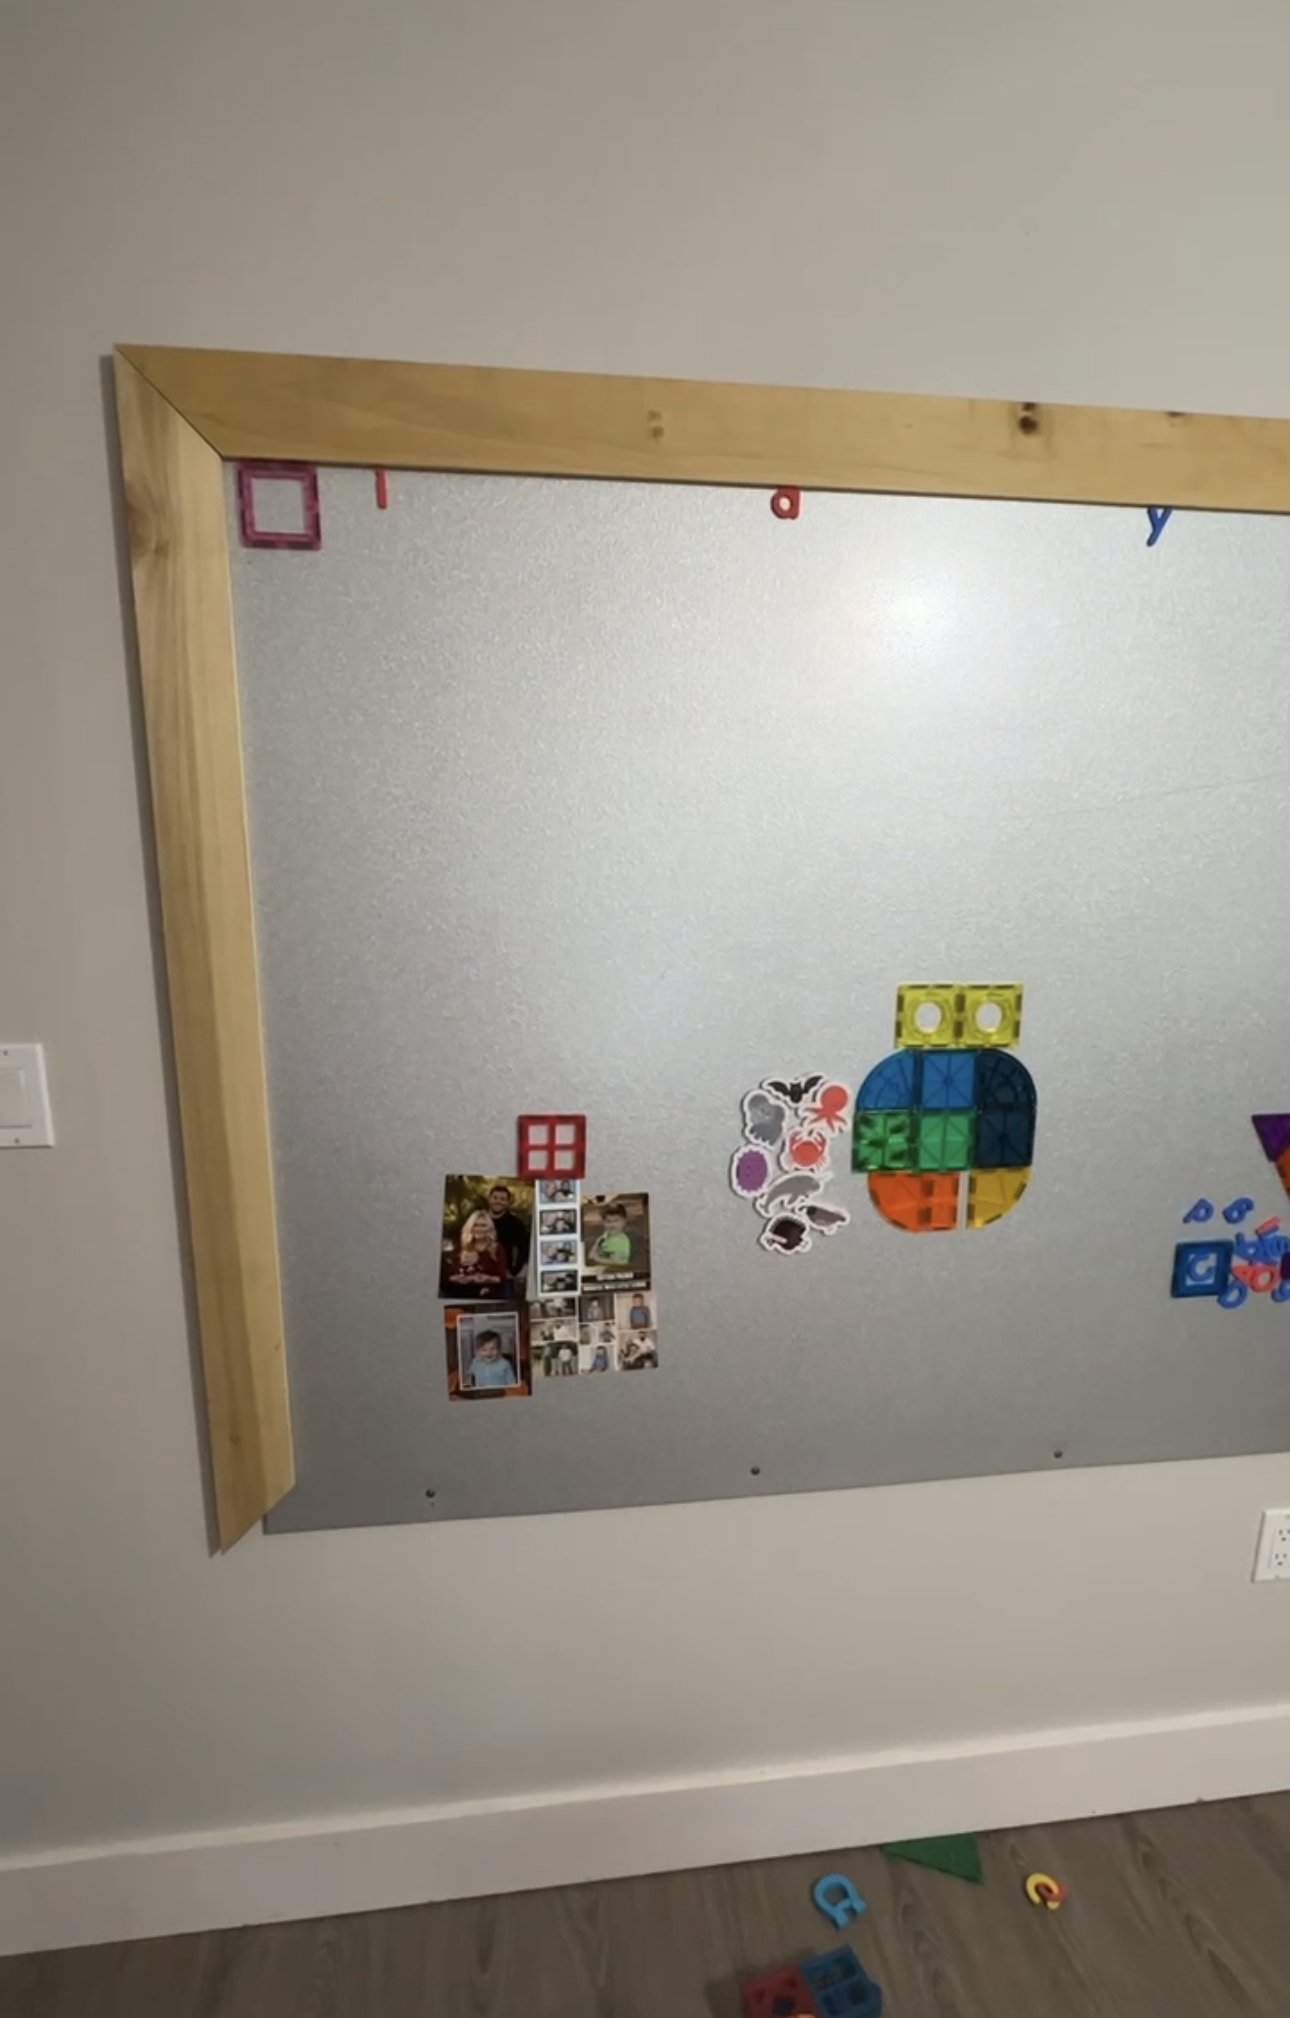
With the magnet board installed on the wall we removed the spacer boards and noticed the edge of the metal sheet was pretty sharp. Since this was in a playroom and being used by a child, we knew we needed to cover the edges with a wood border.
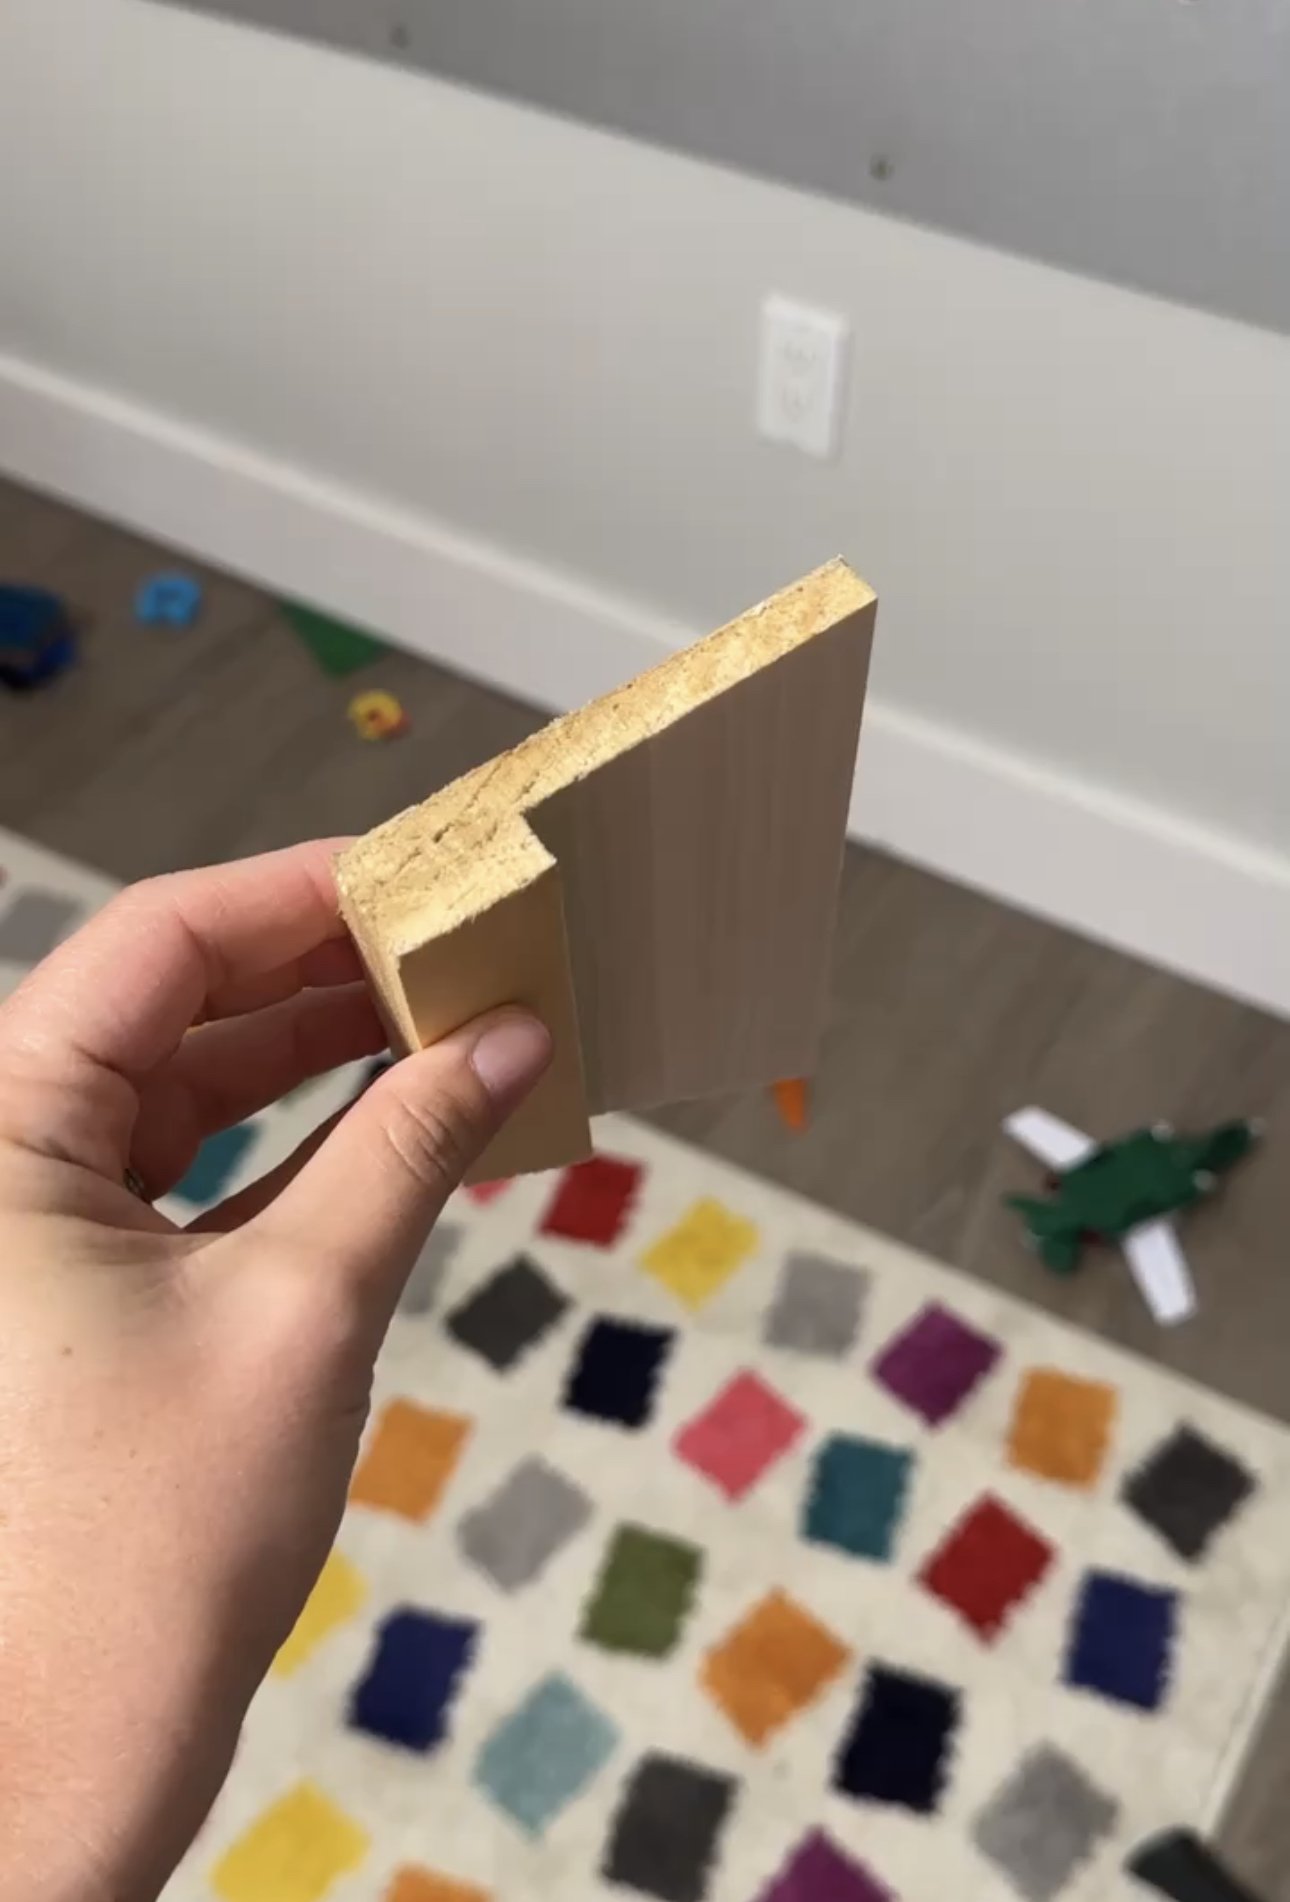
We used pine boards and my husband got a little fancy and used his wood jointer to cut a rabbetted groove or lip on the back of the boards so they would fit flush against the wall and magnet board. This isn’t necessary and you could either butt your wood frame up to the magnet board or have it overlap and fill the gap between the frame and wall with caulk.
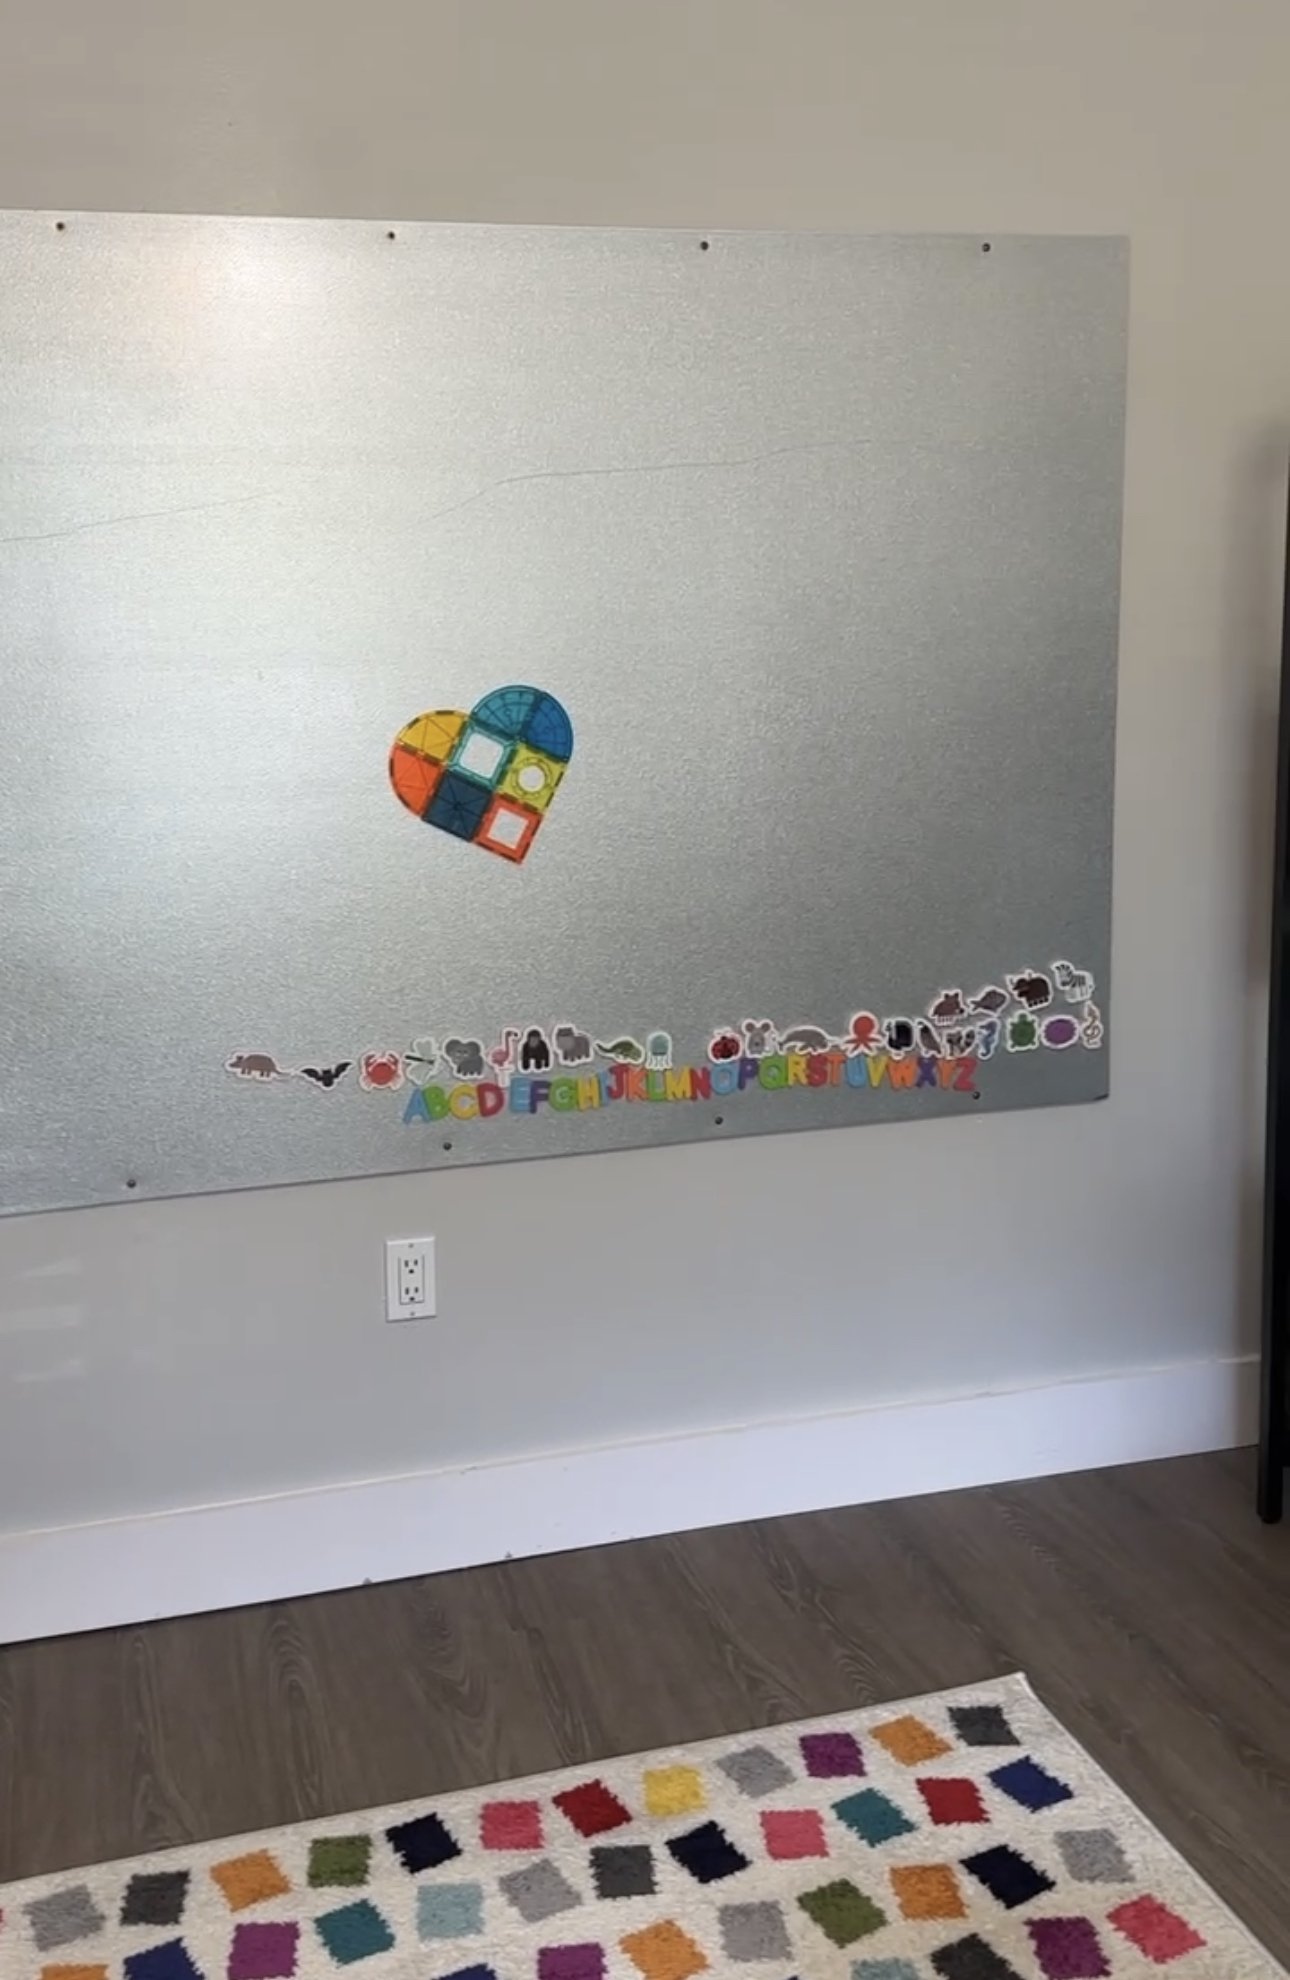
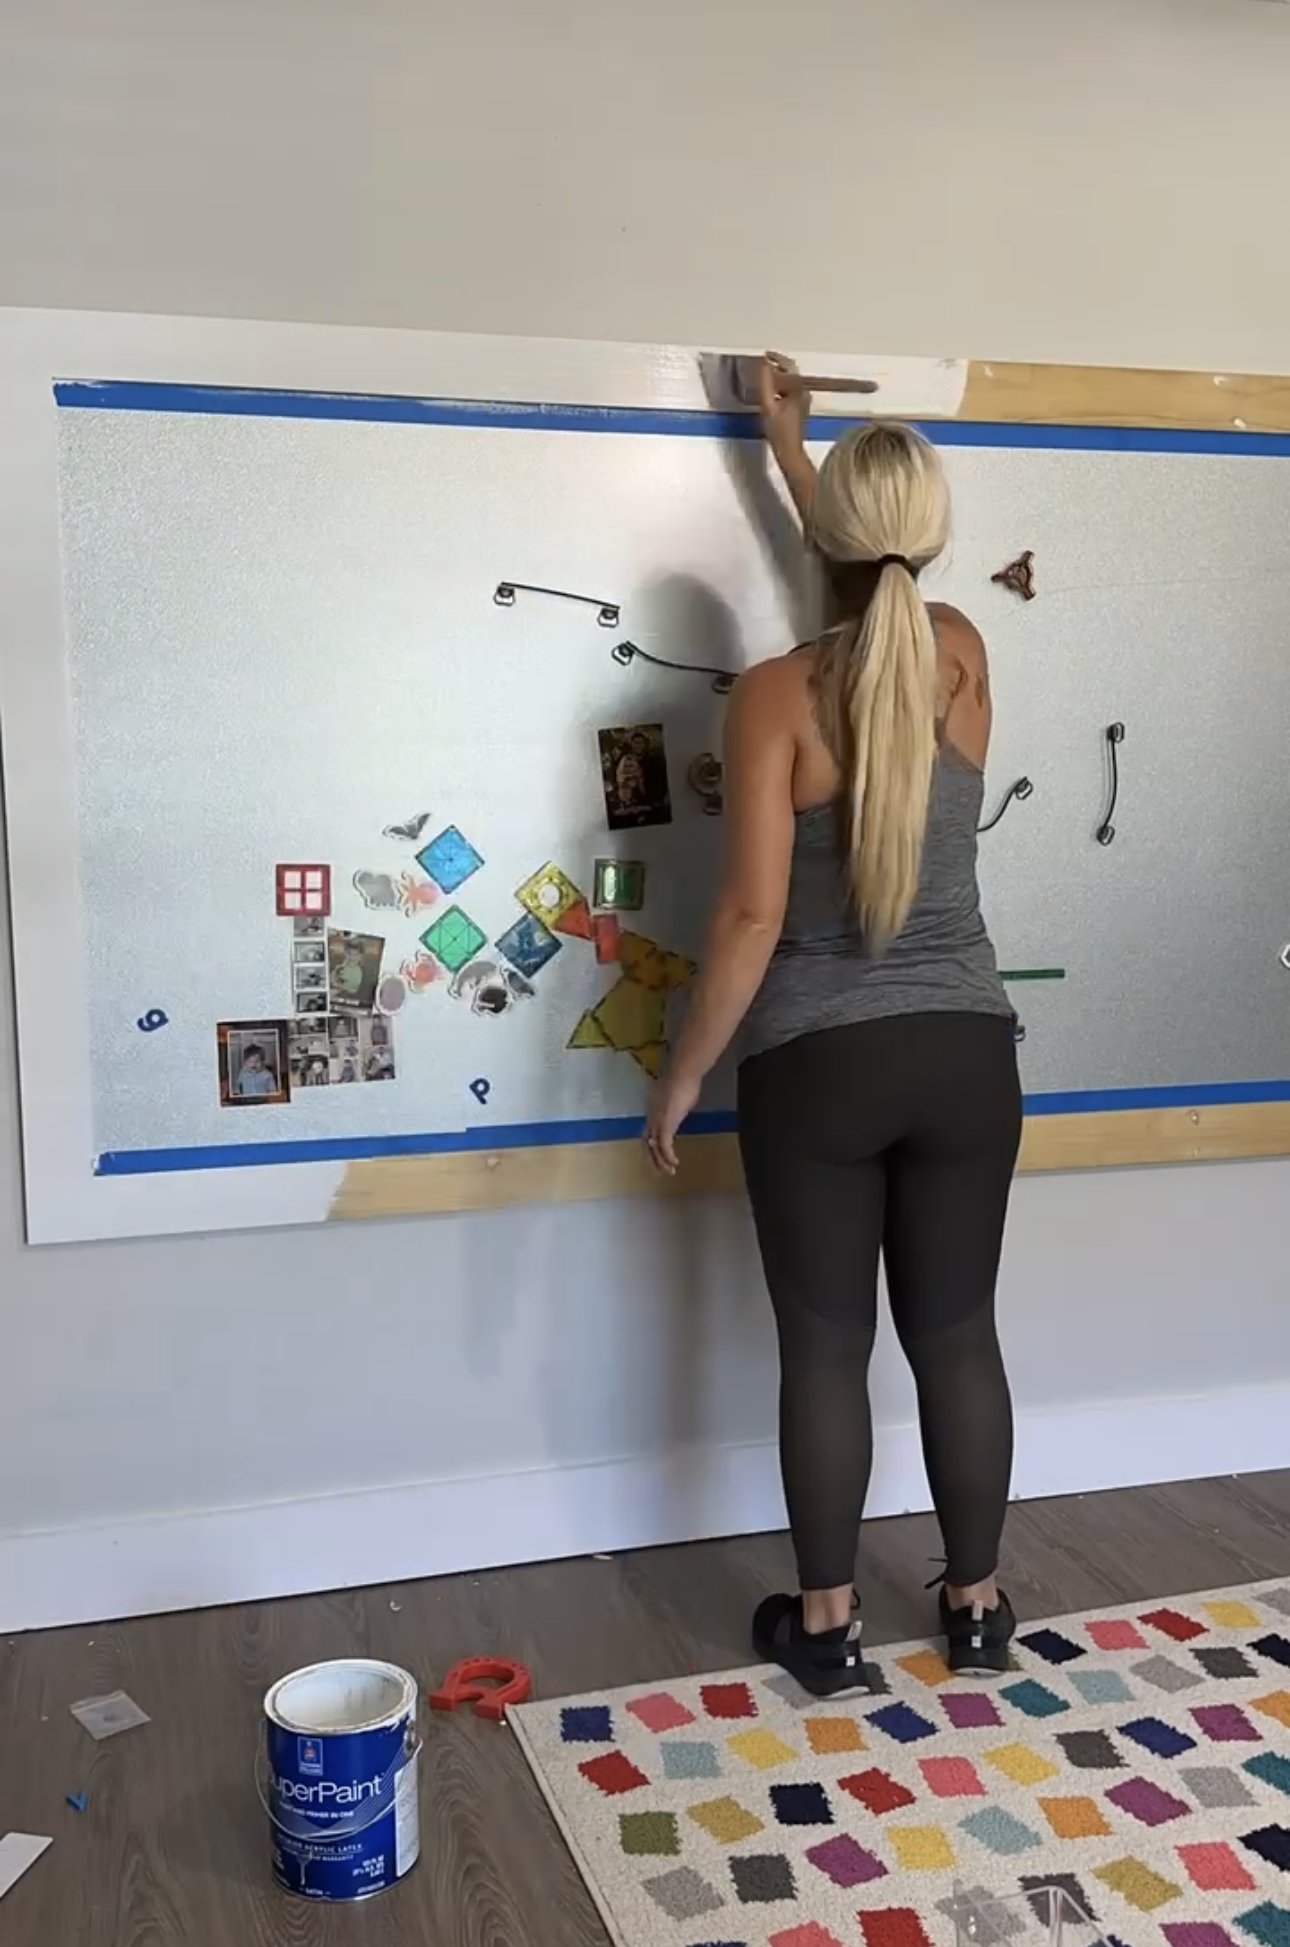
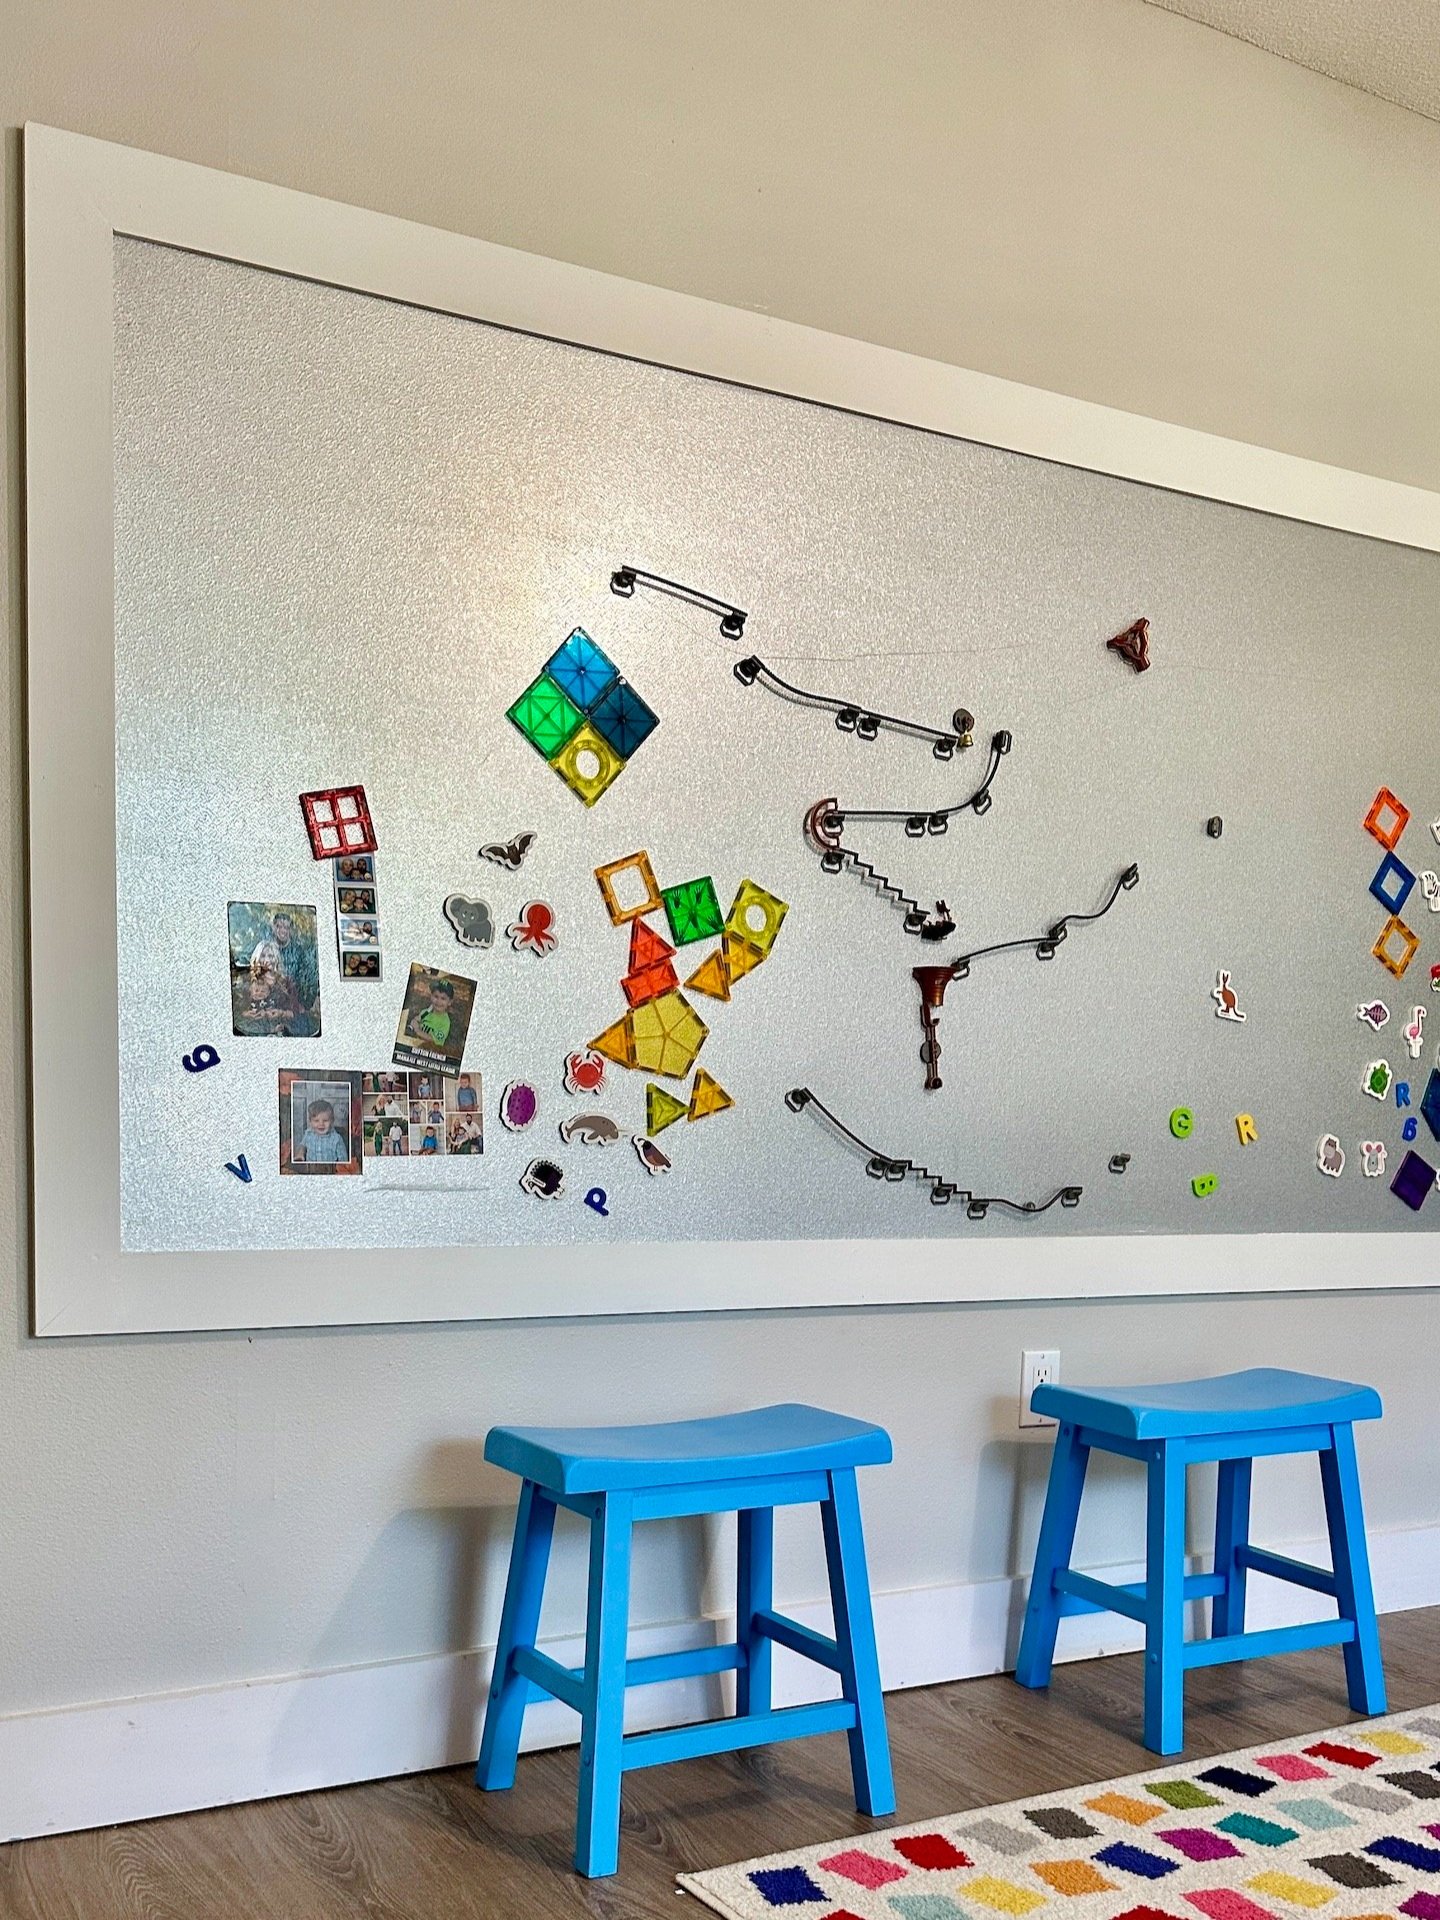
The final step was to fill the screw holes in the wood border with nail hole filler and then paint it. I decided to go with white paint to match the baseboards in this room and the magnetic play wall was done! My son has had so much fun playing on this wall. We use magnetic letters, magnatiles, a magnet marble run, and magnetic animals on it which has been so much fun.
This was an easy DIY project that I know he will enjoy for years and would also work great for homeschooling or office.

Checkout these other blog posts:


HEY THERE, I’M ASHLEY!
Here to inspire beginner DIYers!