Sharpie Wall
Here is an easy and budget-friendly tutorial on how to create a Sharpie wall that mimics the look of wallpaper or tile!

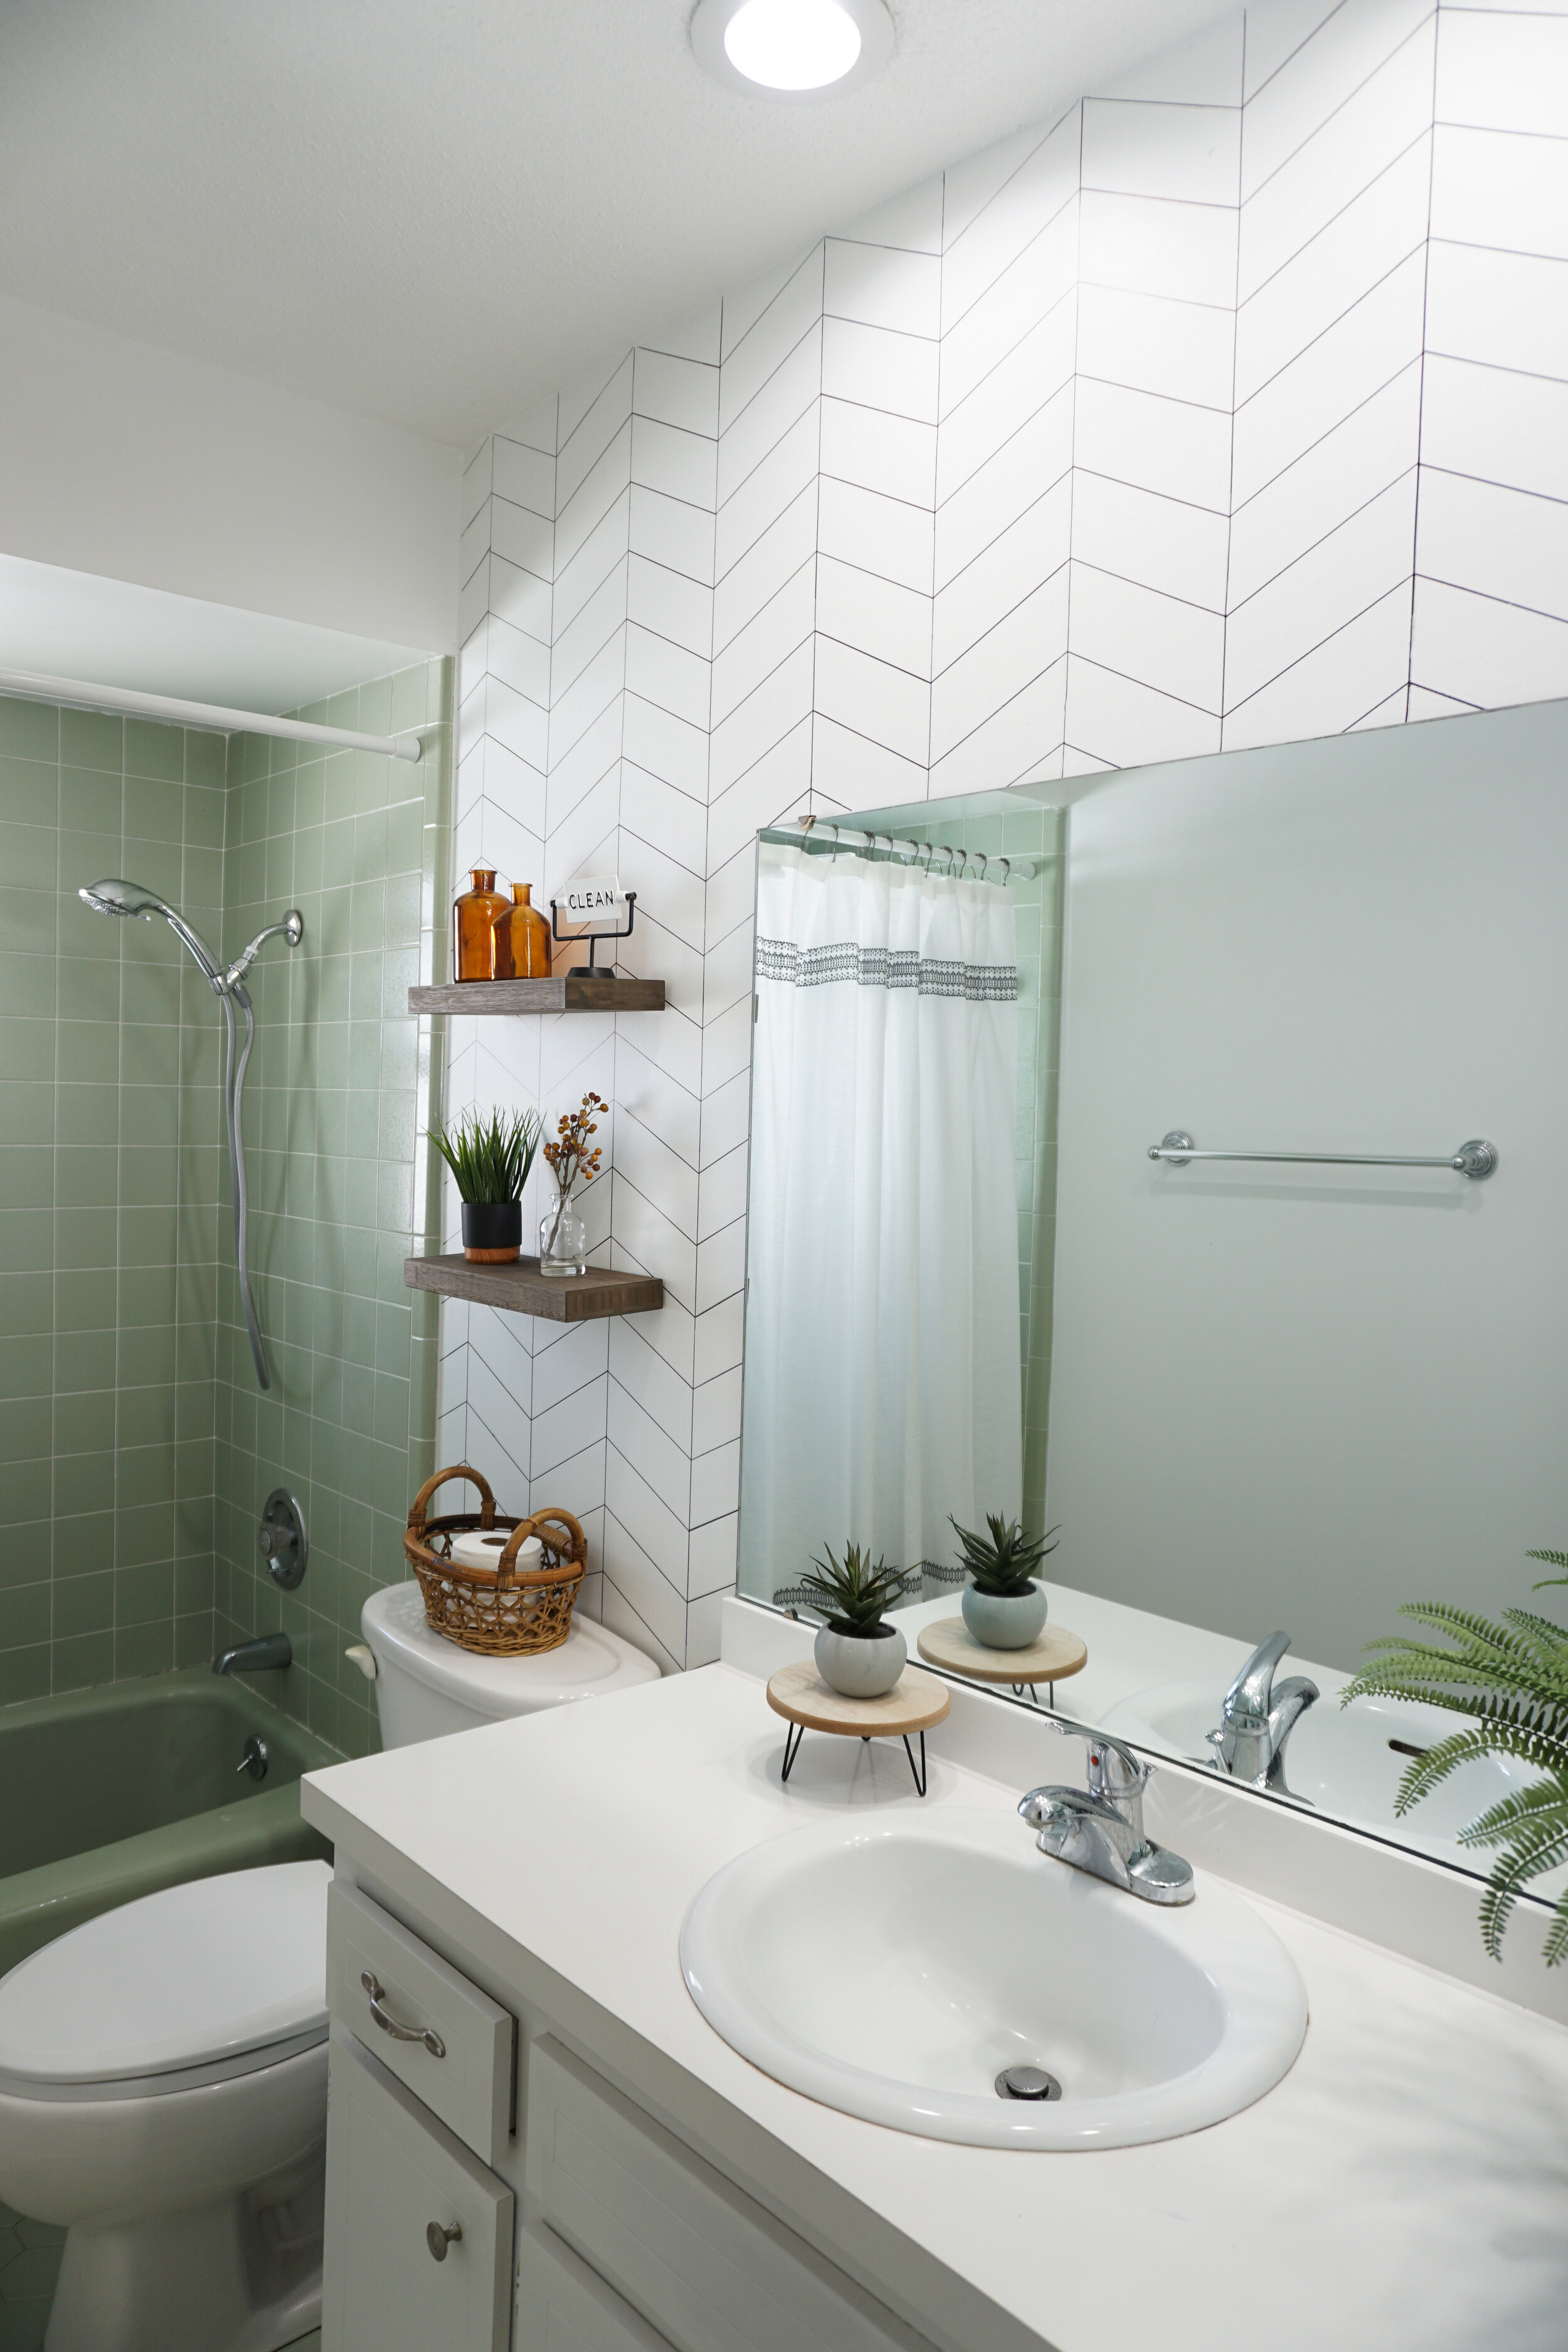
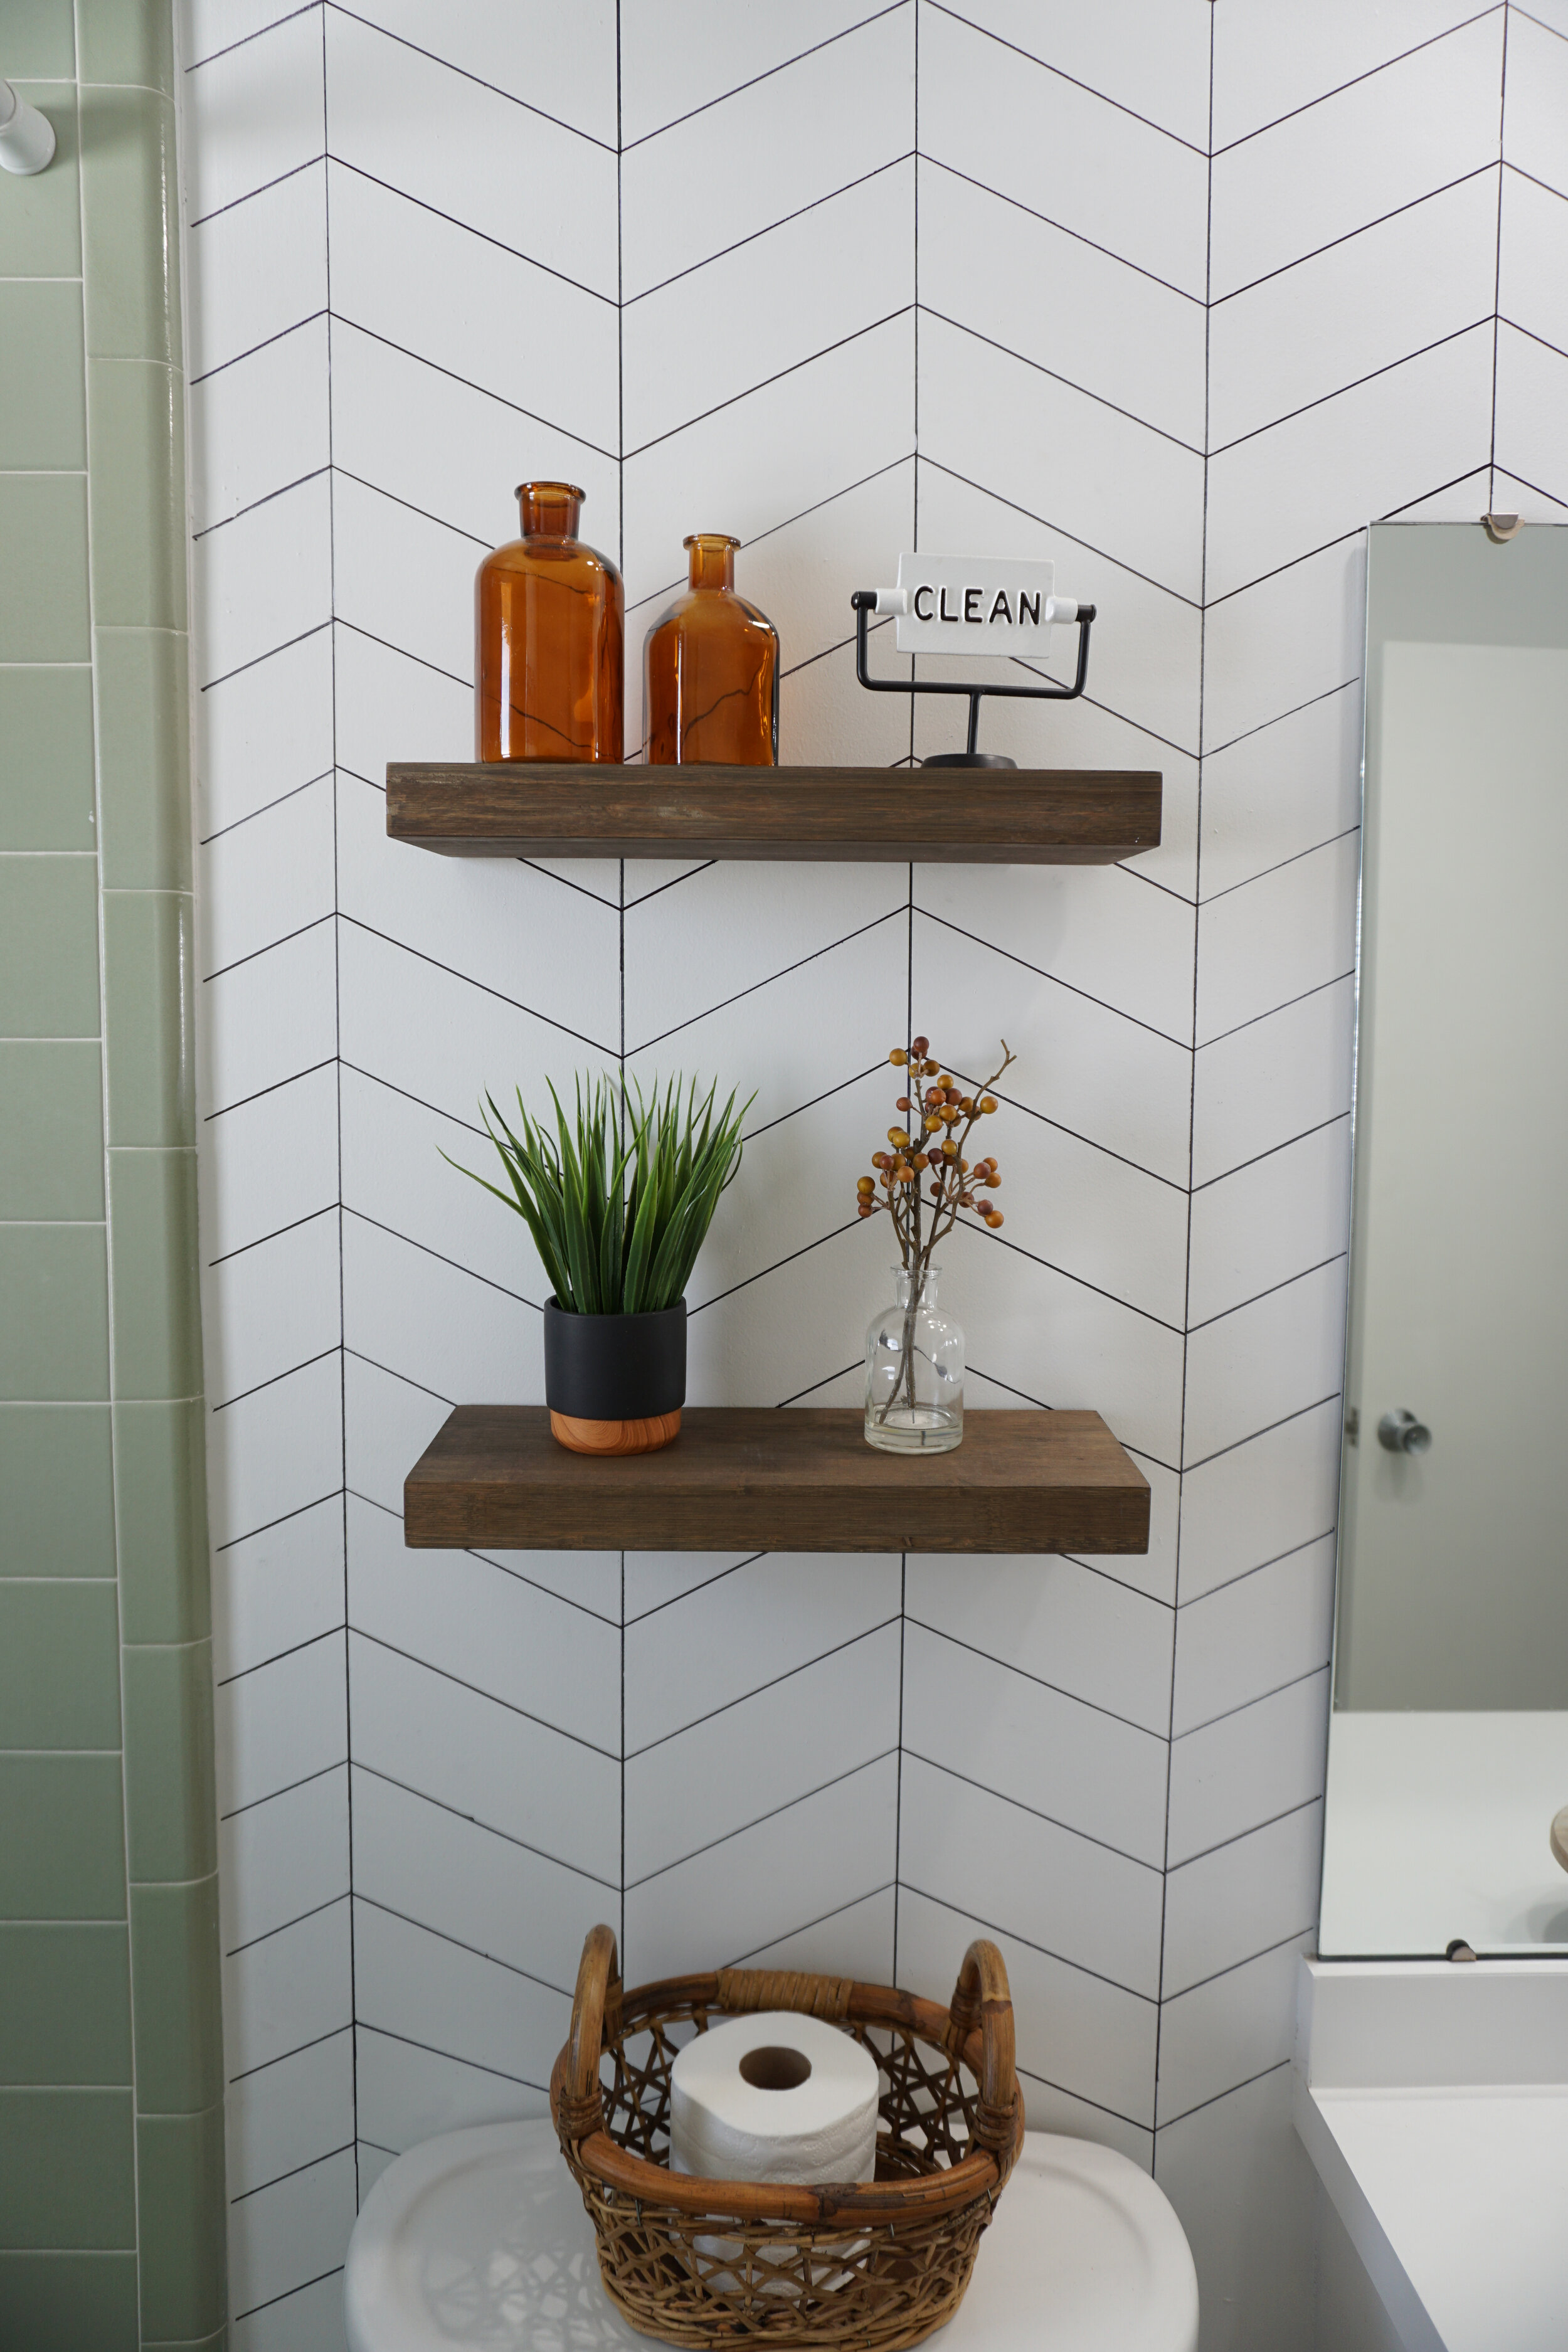
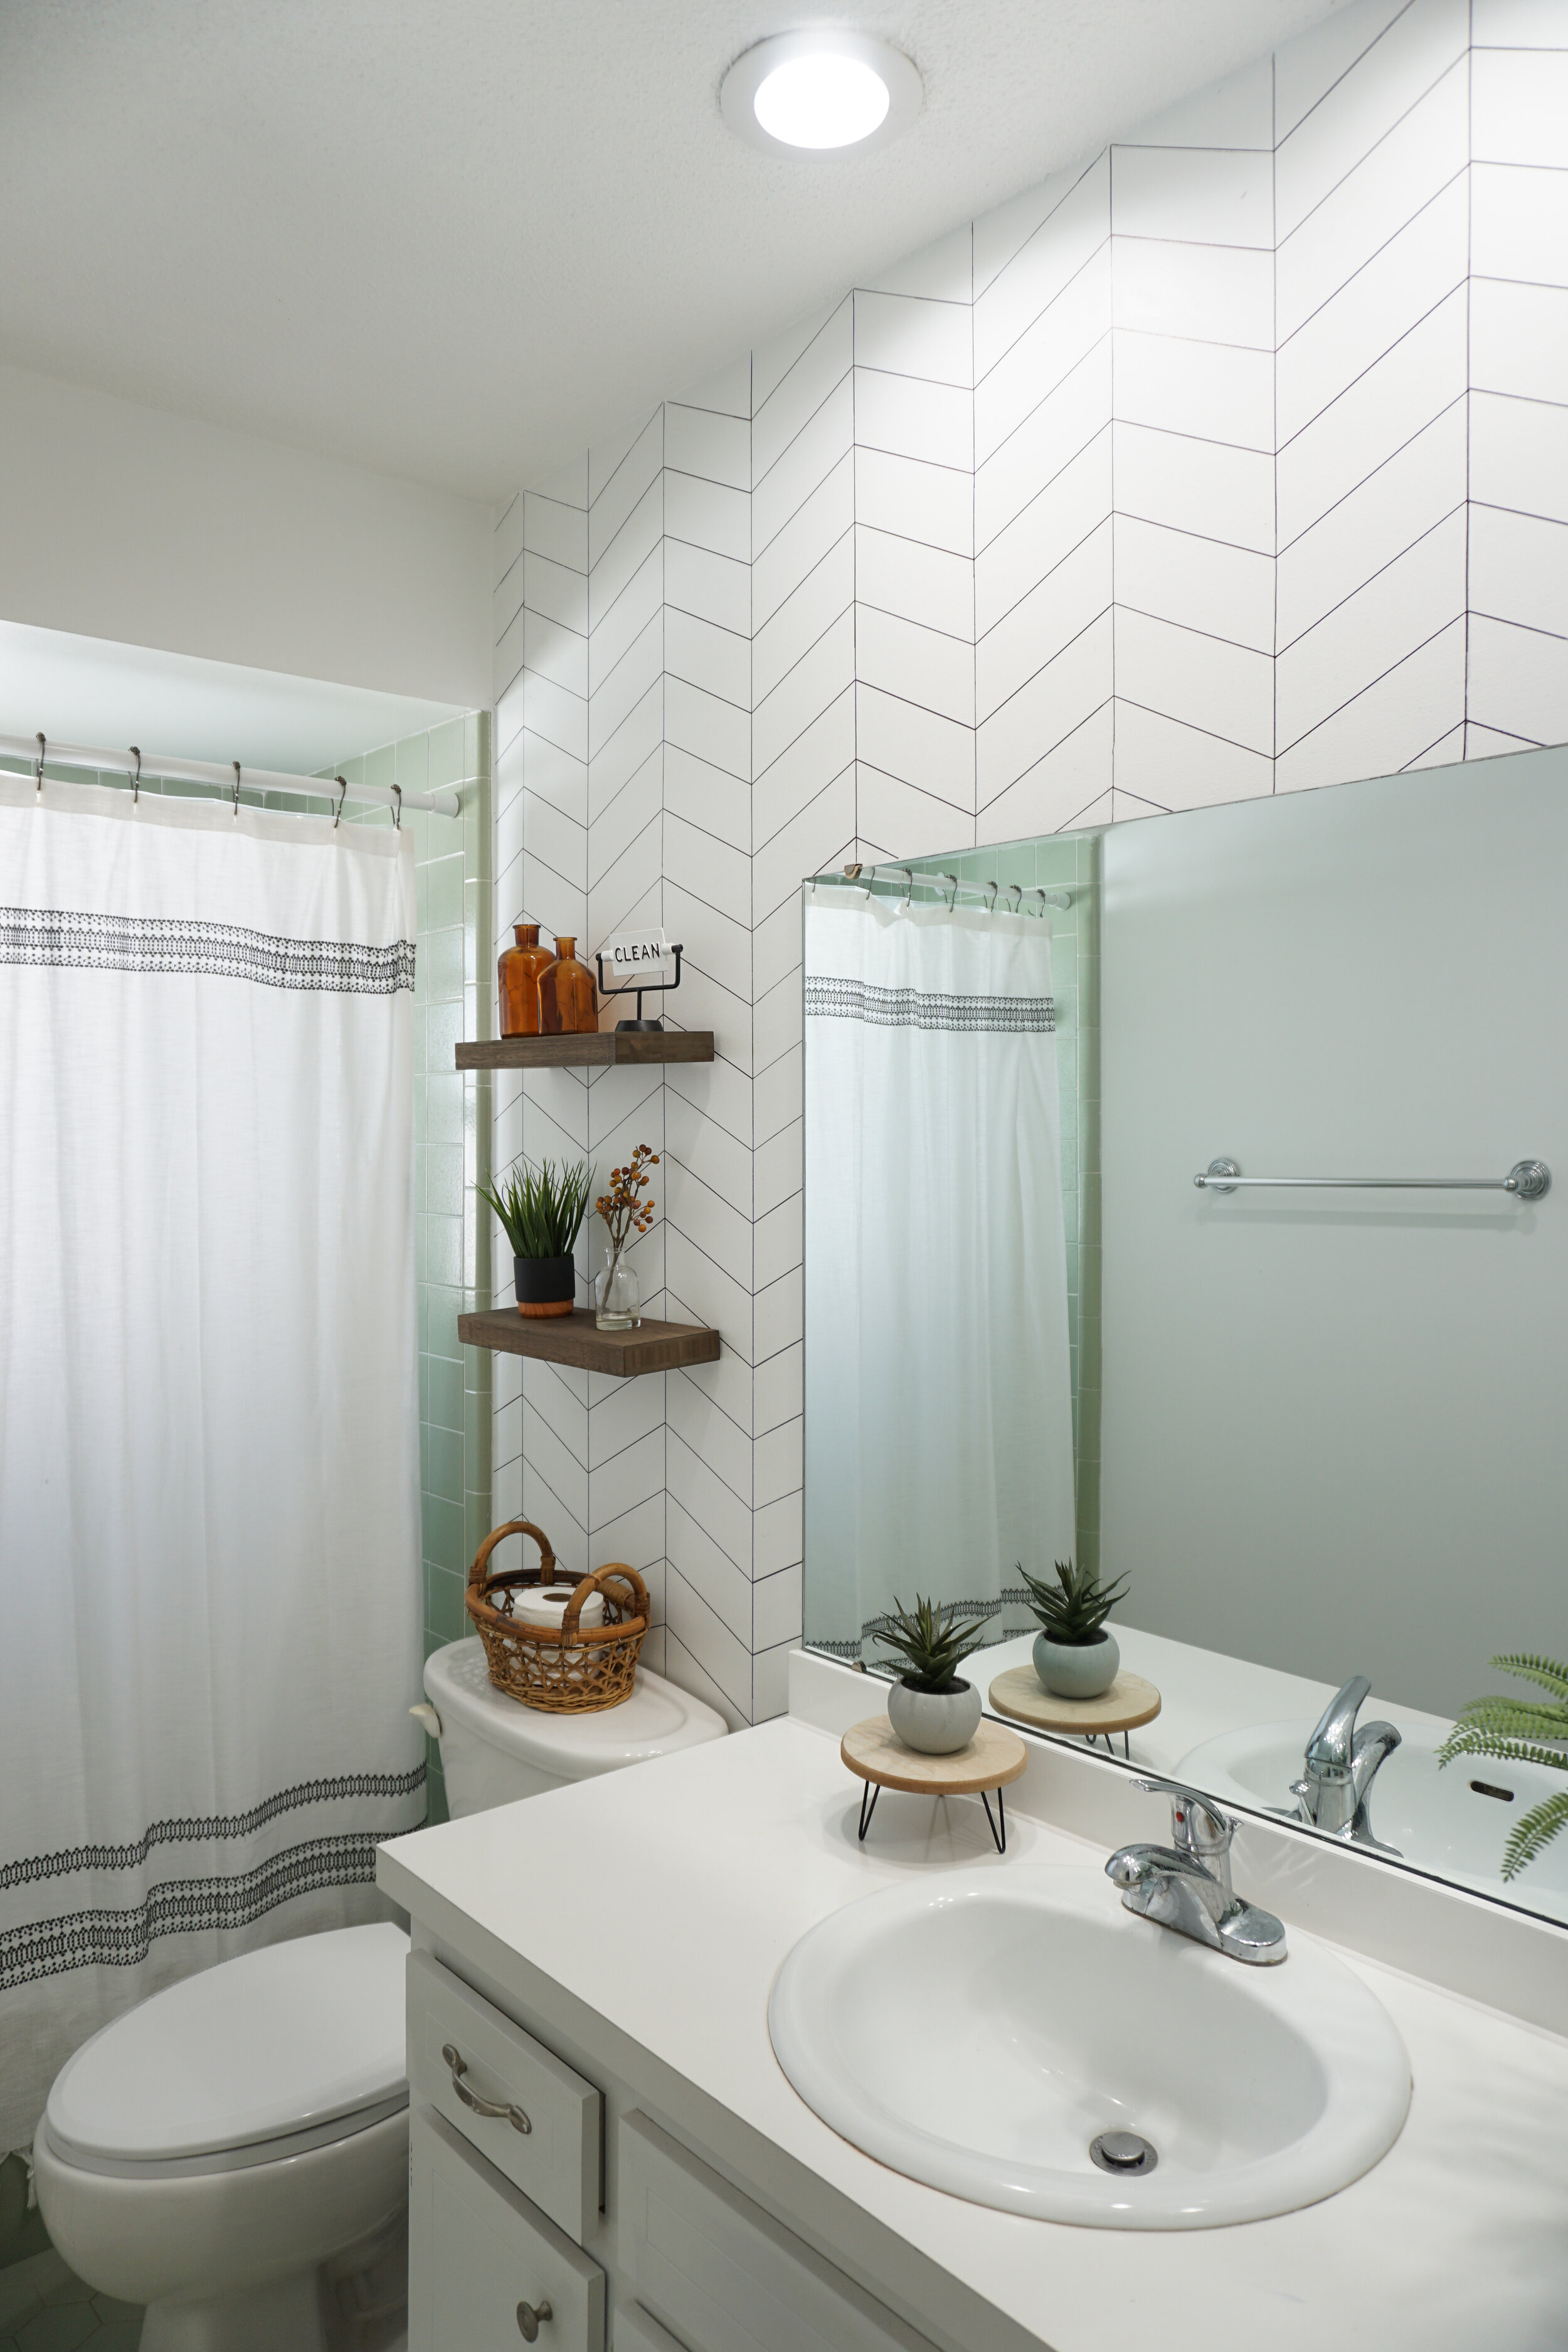
I am so excited to share this DIY with you. This ended up being one of the very first projects I completed in our new house. The guest bathroom, which is my son’s bathroom, just had plain white walls with the original 1970’s sage green tile. I knew I wanted to do something fun, bold, and a bit playful in here but needed it to be extremely budget-friendly. After digging through Pinterest for some inspiration, I decided to attempt an accent wall using Sharpie permanent markers.
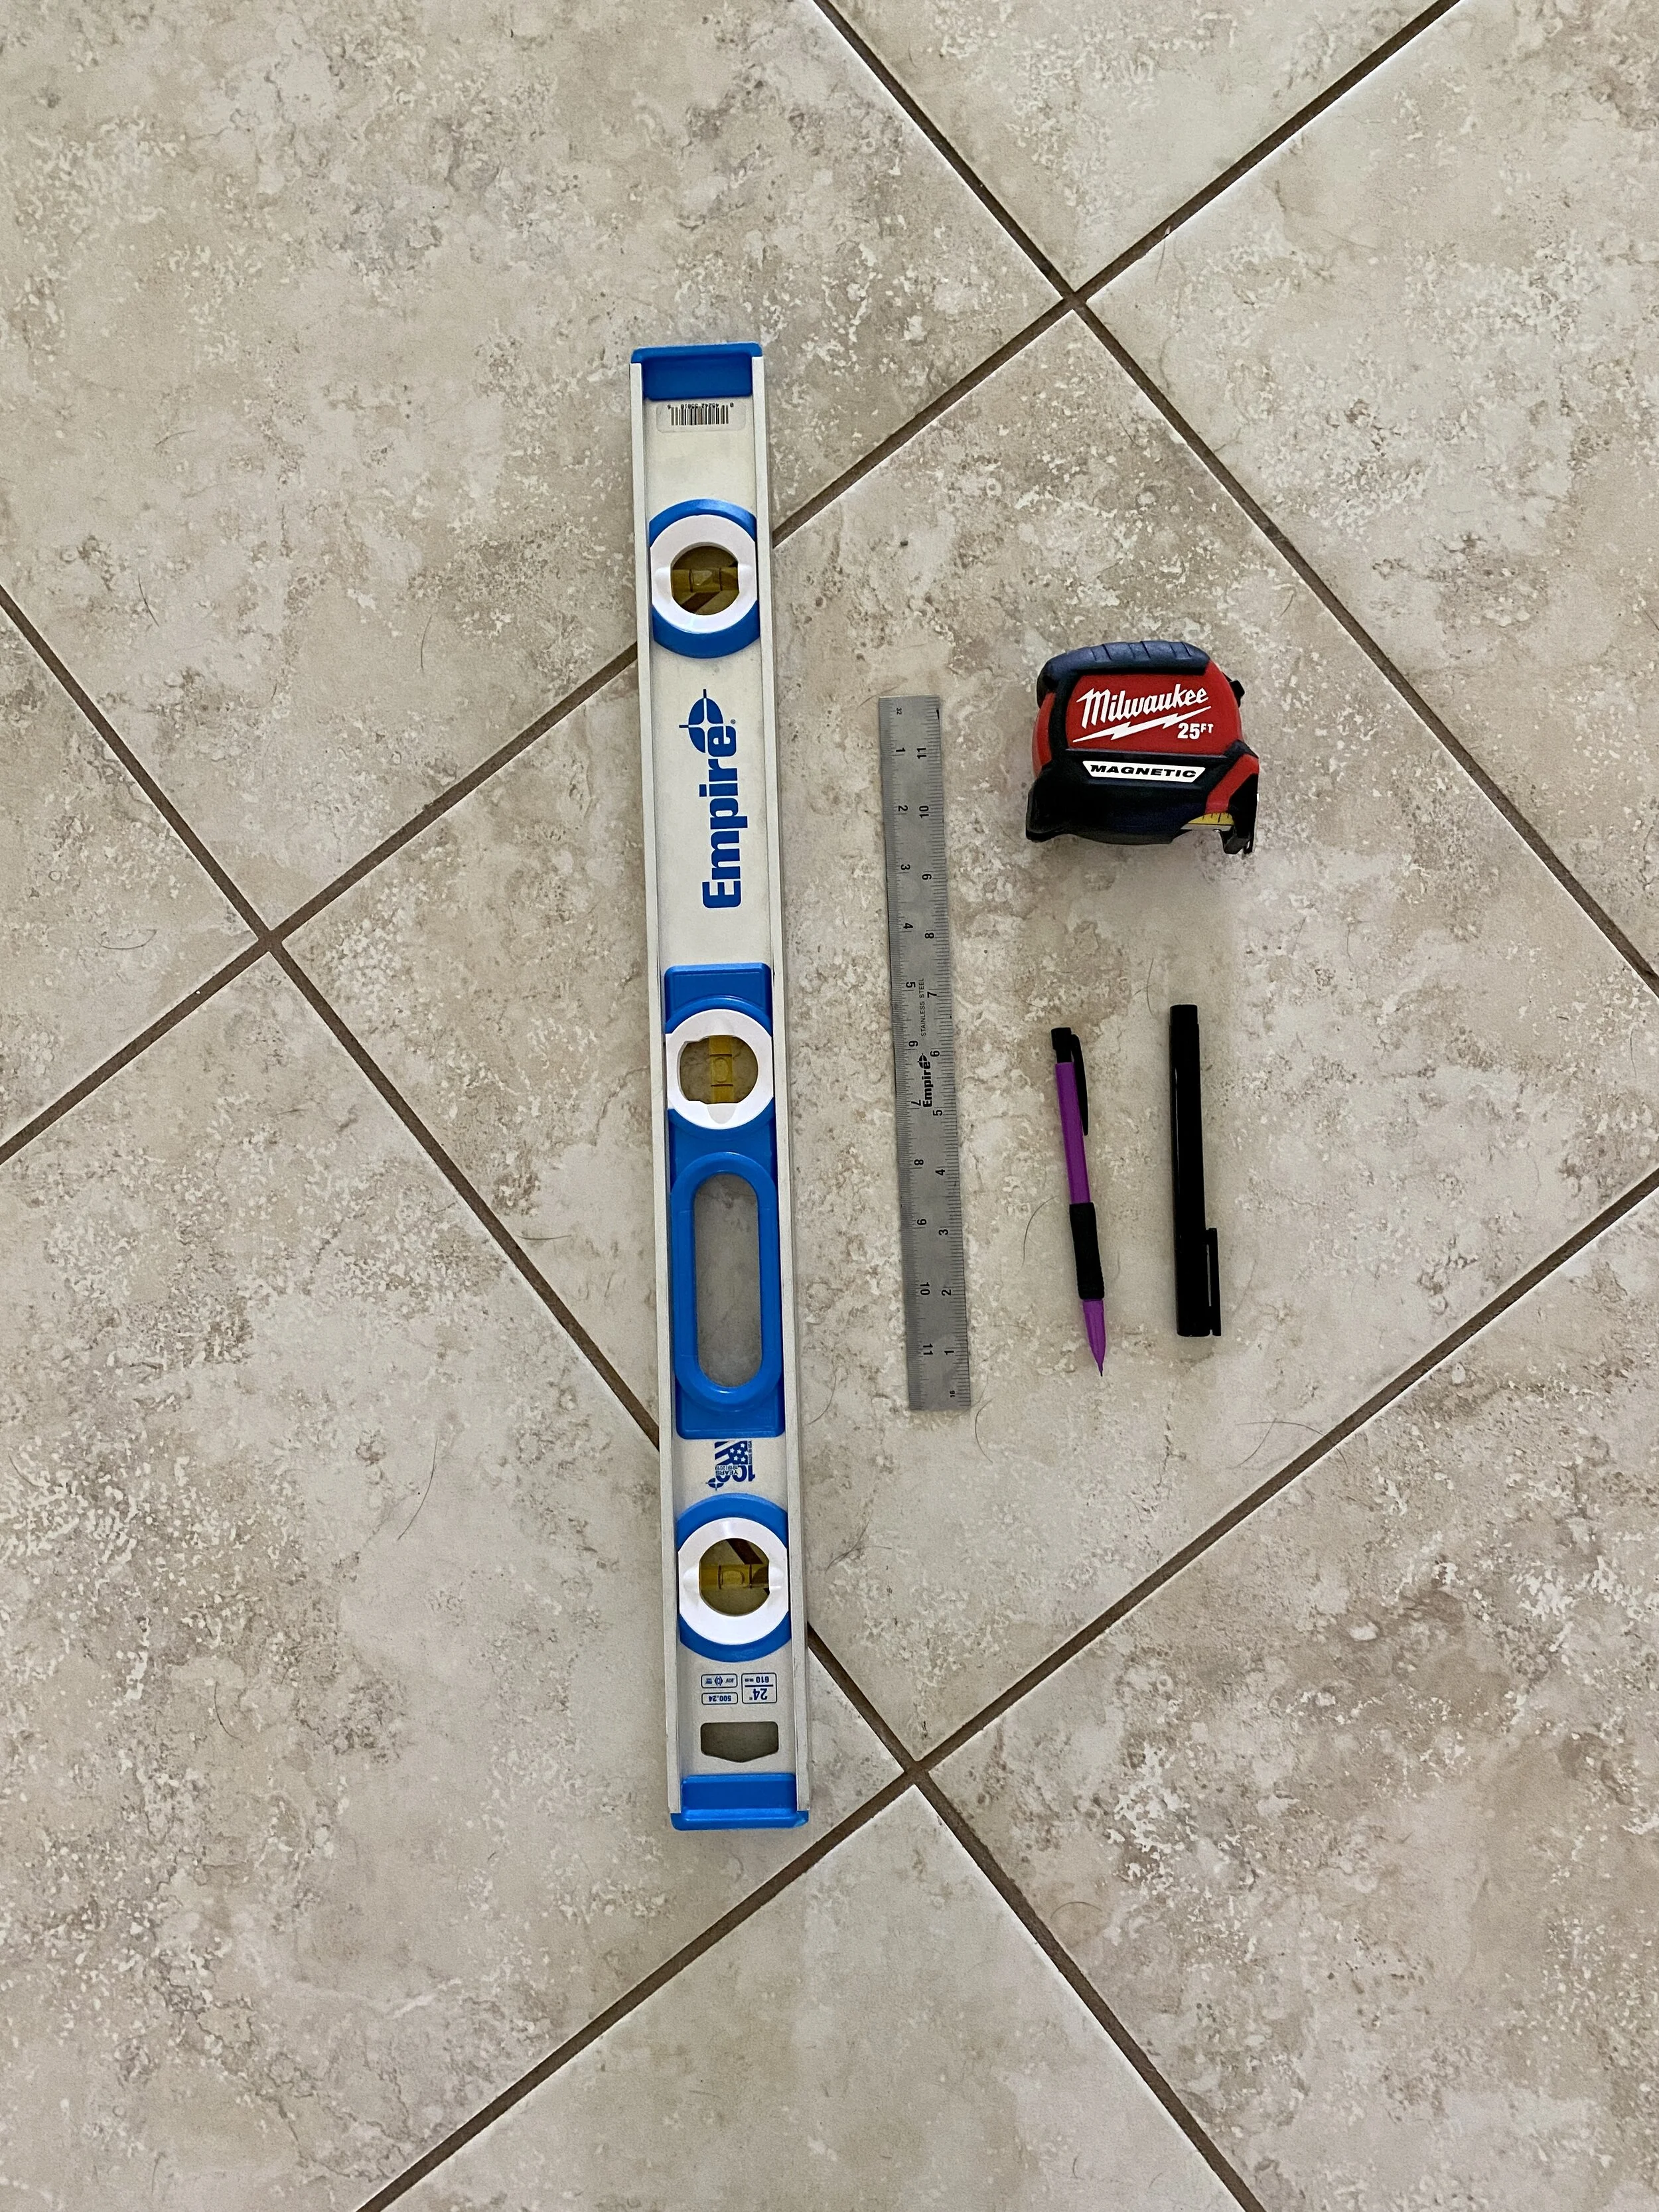
Materials/Tools Needed:
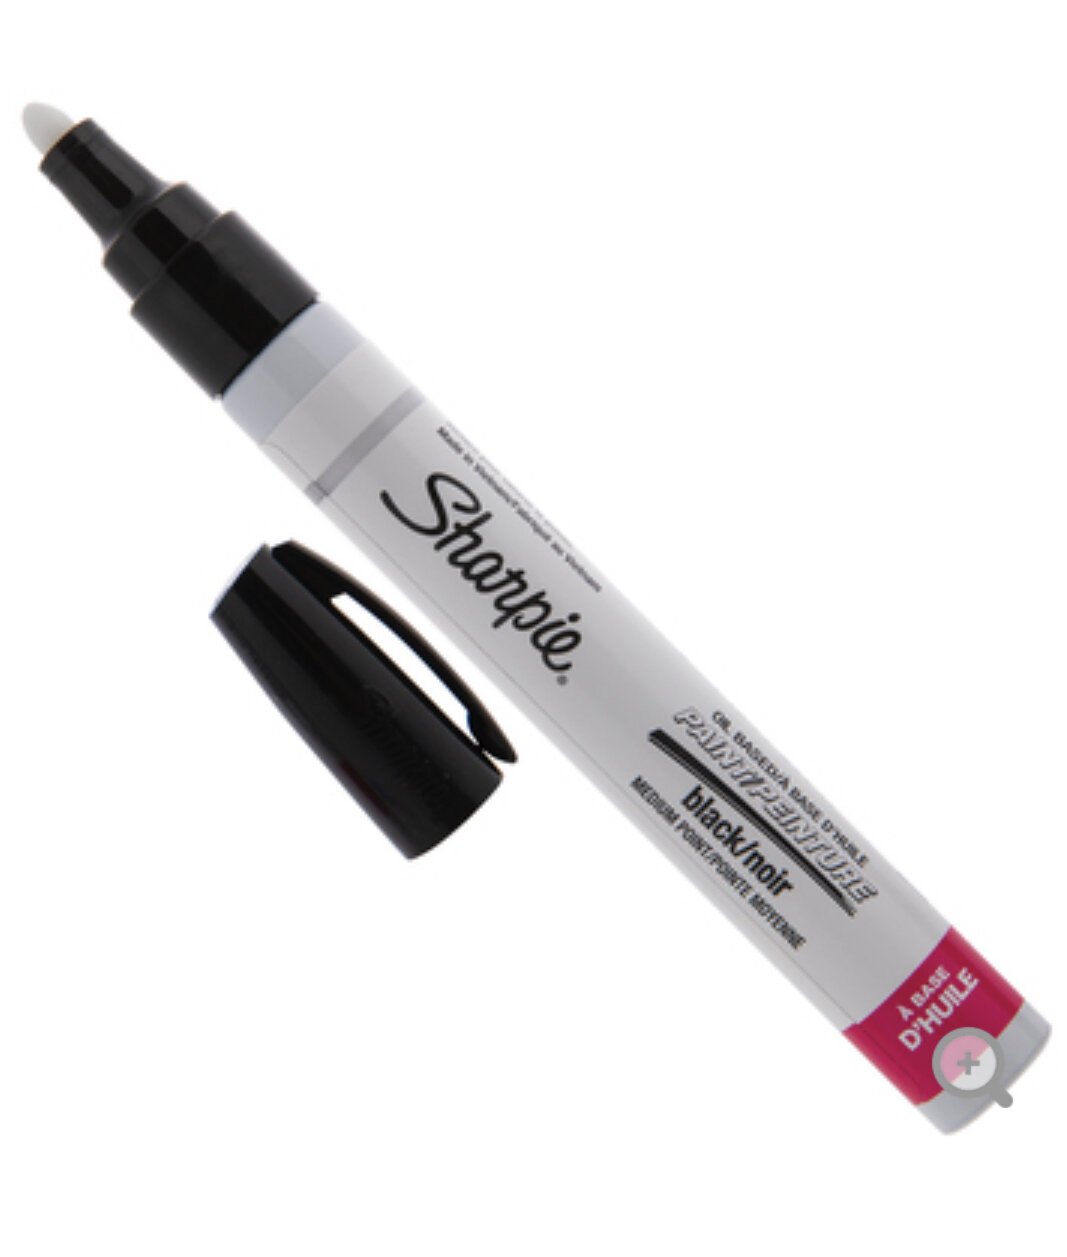
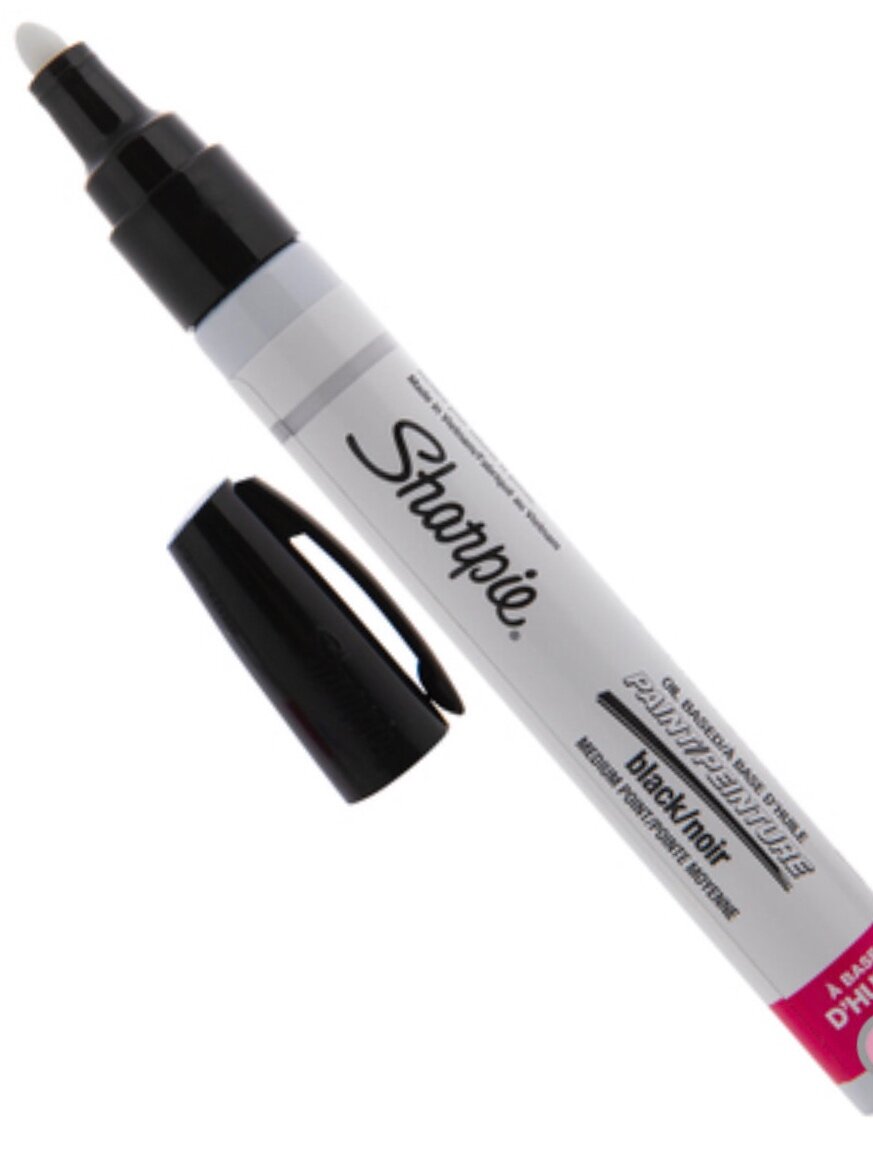
**A little disclaimer…after completing this and sharing it on my Instagram, I received a lot of messages. I was told that regular permanent marker is very hard to paint over in the future and it was highly recommended that this be done with Sharpie Paint Markers instead. So that is what I am going to recommend here.
Sharpie Paint Markers
Pencil
Measuring Tape
12 inch ruler
24-36 inch level
Piece of cardboard
Step One: Choose your Pattern
I played around with several measurements and spacings on regular paper to determine the pattern I wanted to achieve.
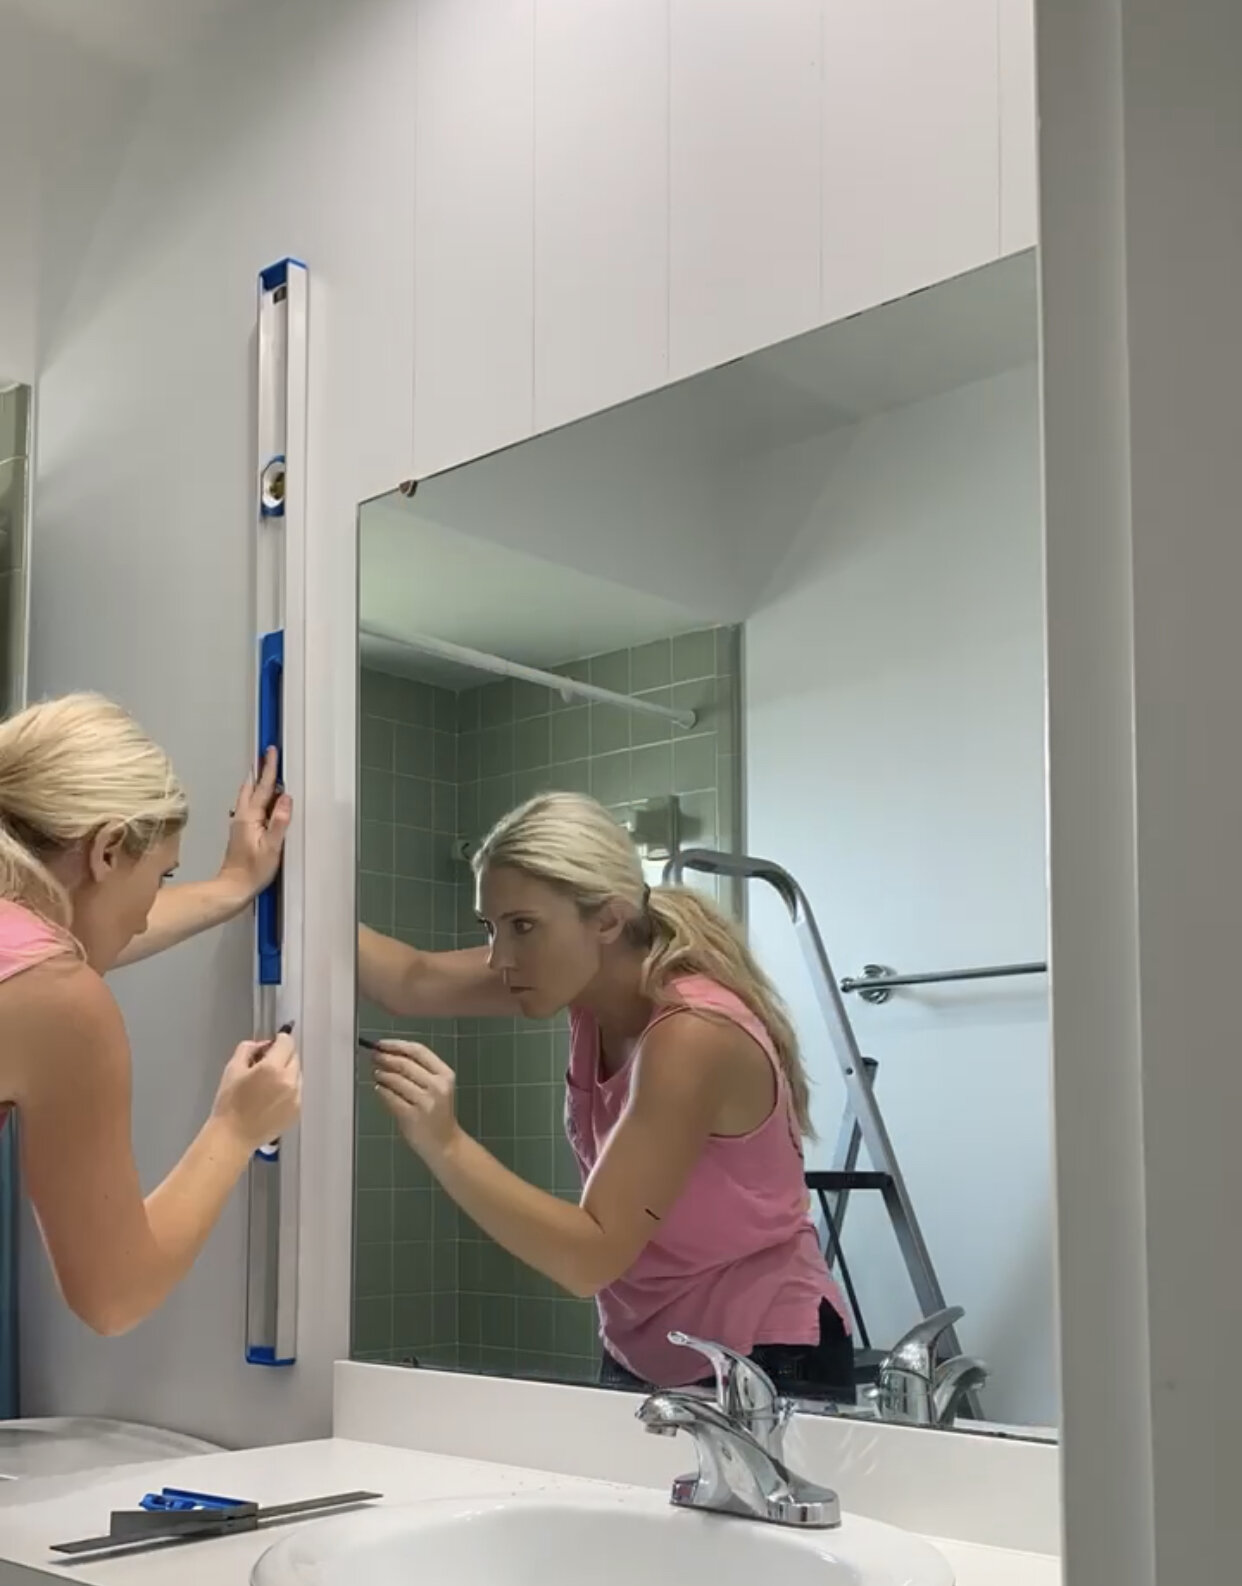
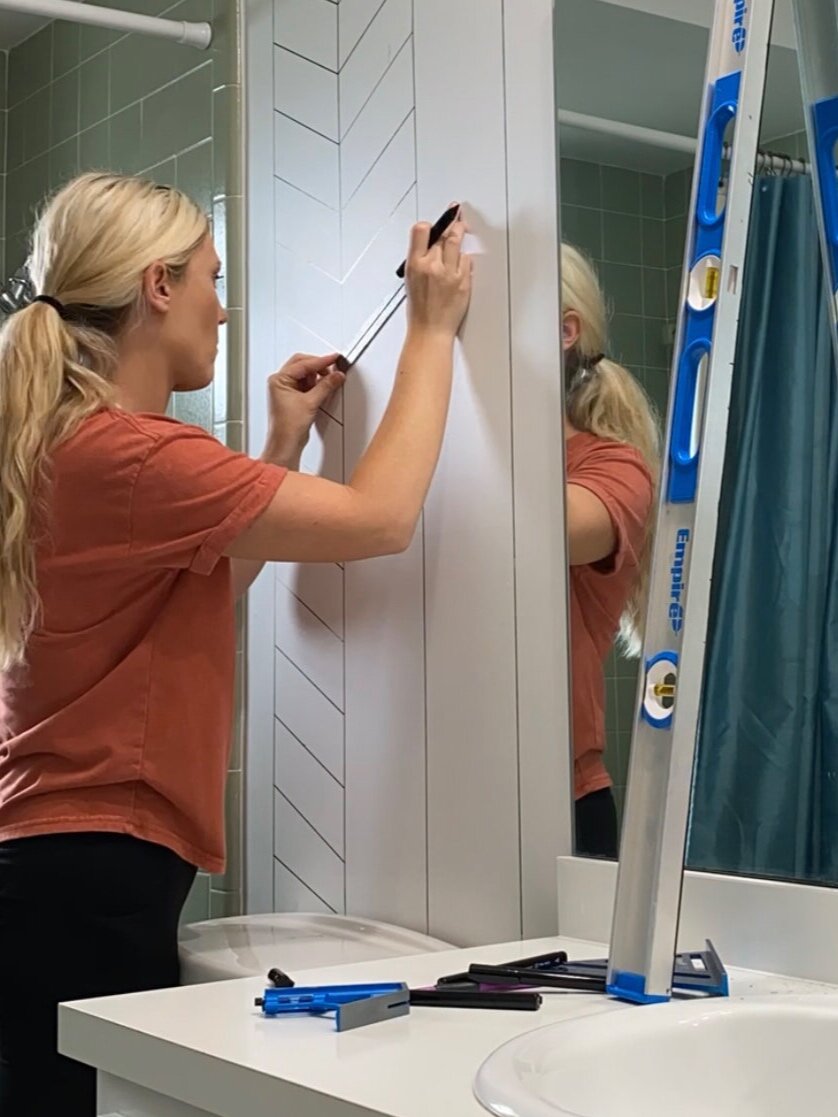
Step Two: Make all your Vertical Lines
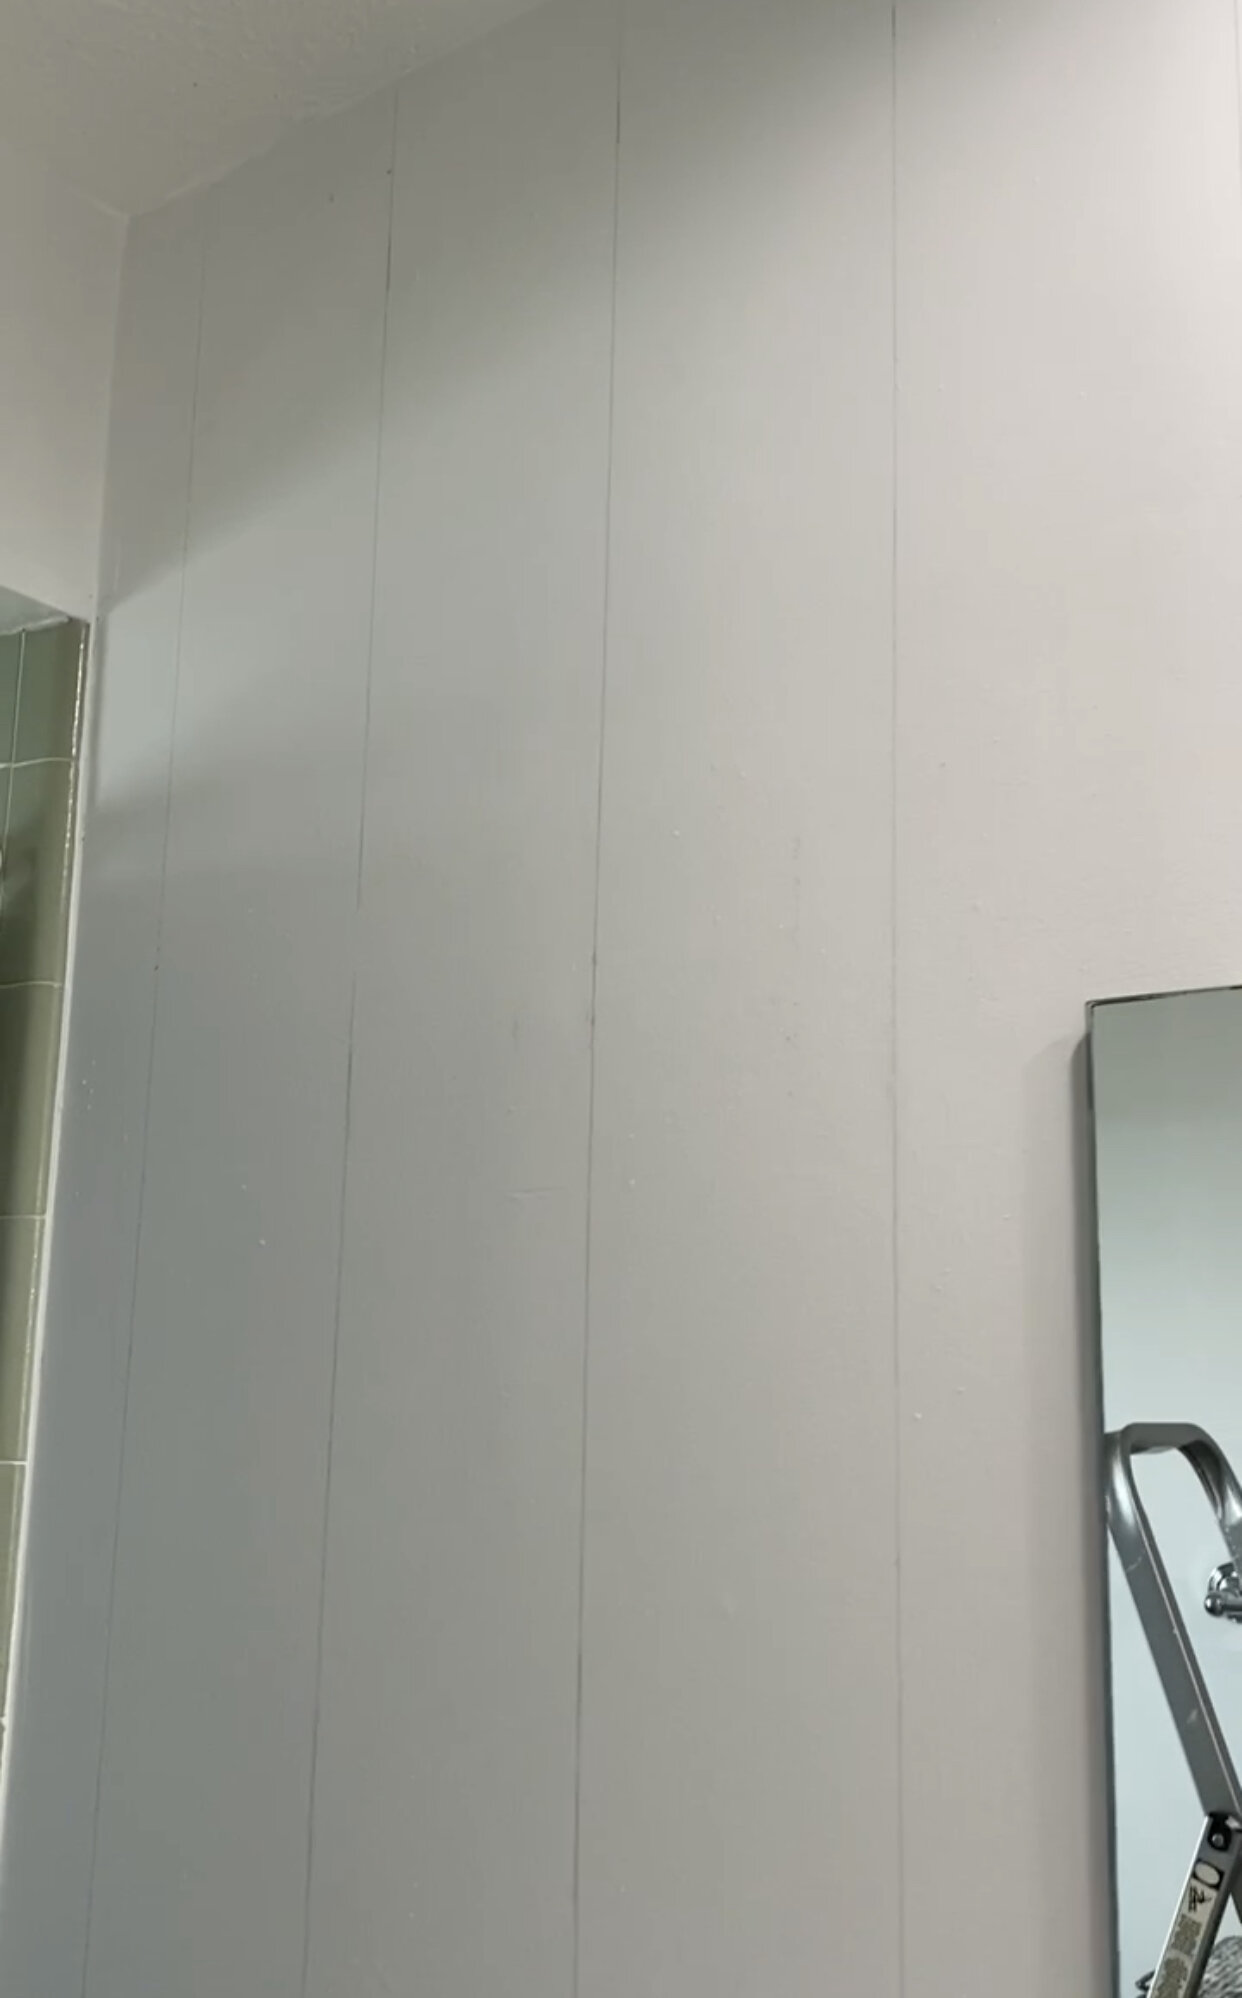
I started by finding the exact center of my wall and making my first vertical line on the center. From there, I measured out 7 inches to the right and drew my next vertical line. I did the same on the left side measuring out every 7 inches and making a vertical line. So all my vertical lines were exactly 7 inches apart. At this stage, I recommend going over all your vertical lined with your Sharpie Paint Marker.
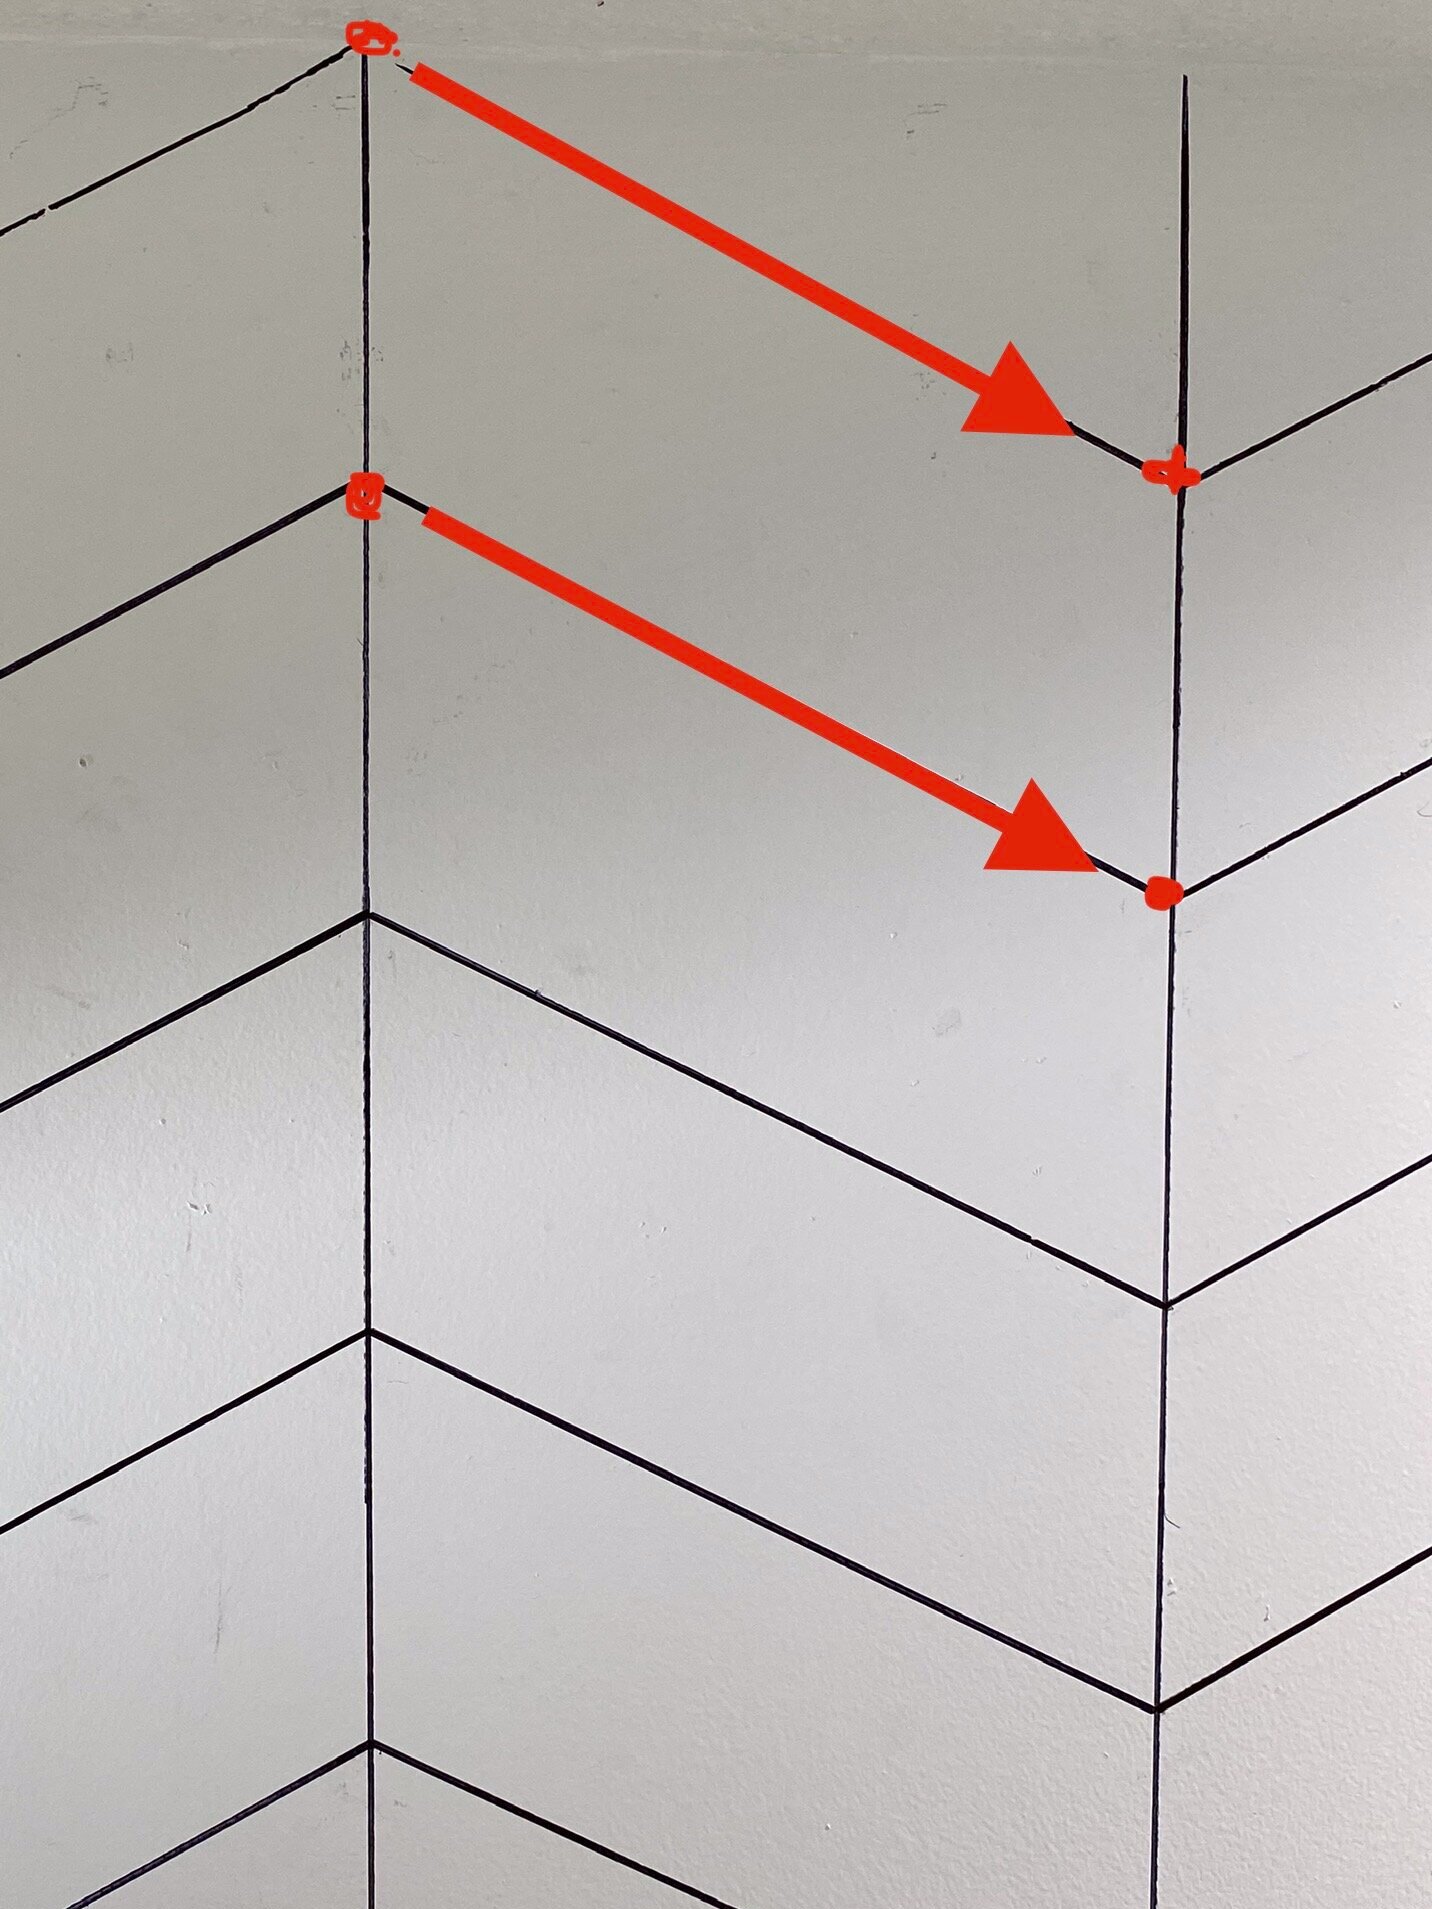
Then I started on the top of my vertical lines and went down 3.5 inches and made a dot in pencil. I made a pencil dot every 3.5 inches down every vertical line. Make sure that your dot is just slightly to the side of your Sharpie line so that it is slightly visible. You will need to see these dots when you move on to the next step.
Step Three: Make your Diagonal Lines
To make the diagonal lines, you start from the top dot on a vertical line and draw a diagonal line down to the second dot on the next line. You continue to go down the vertical line doing this. It is important that you use a ruler to ensure your lines are straight.
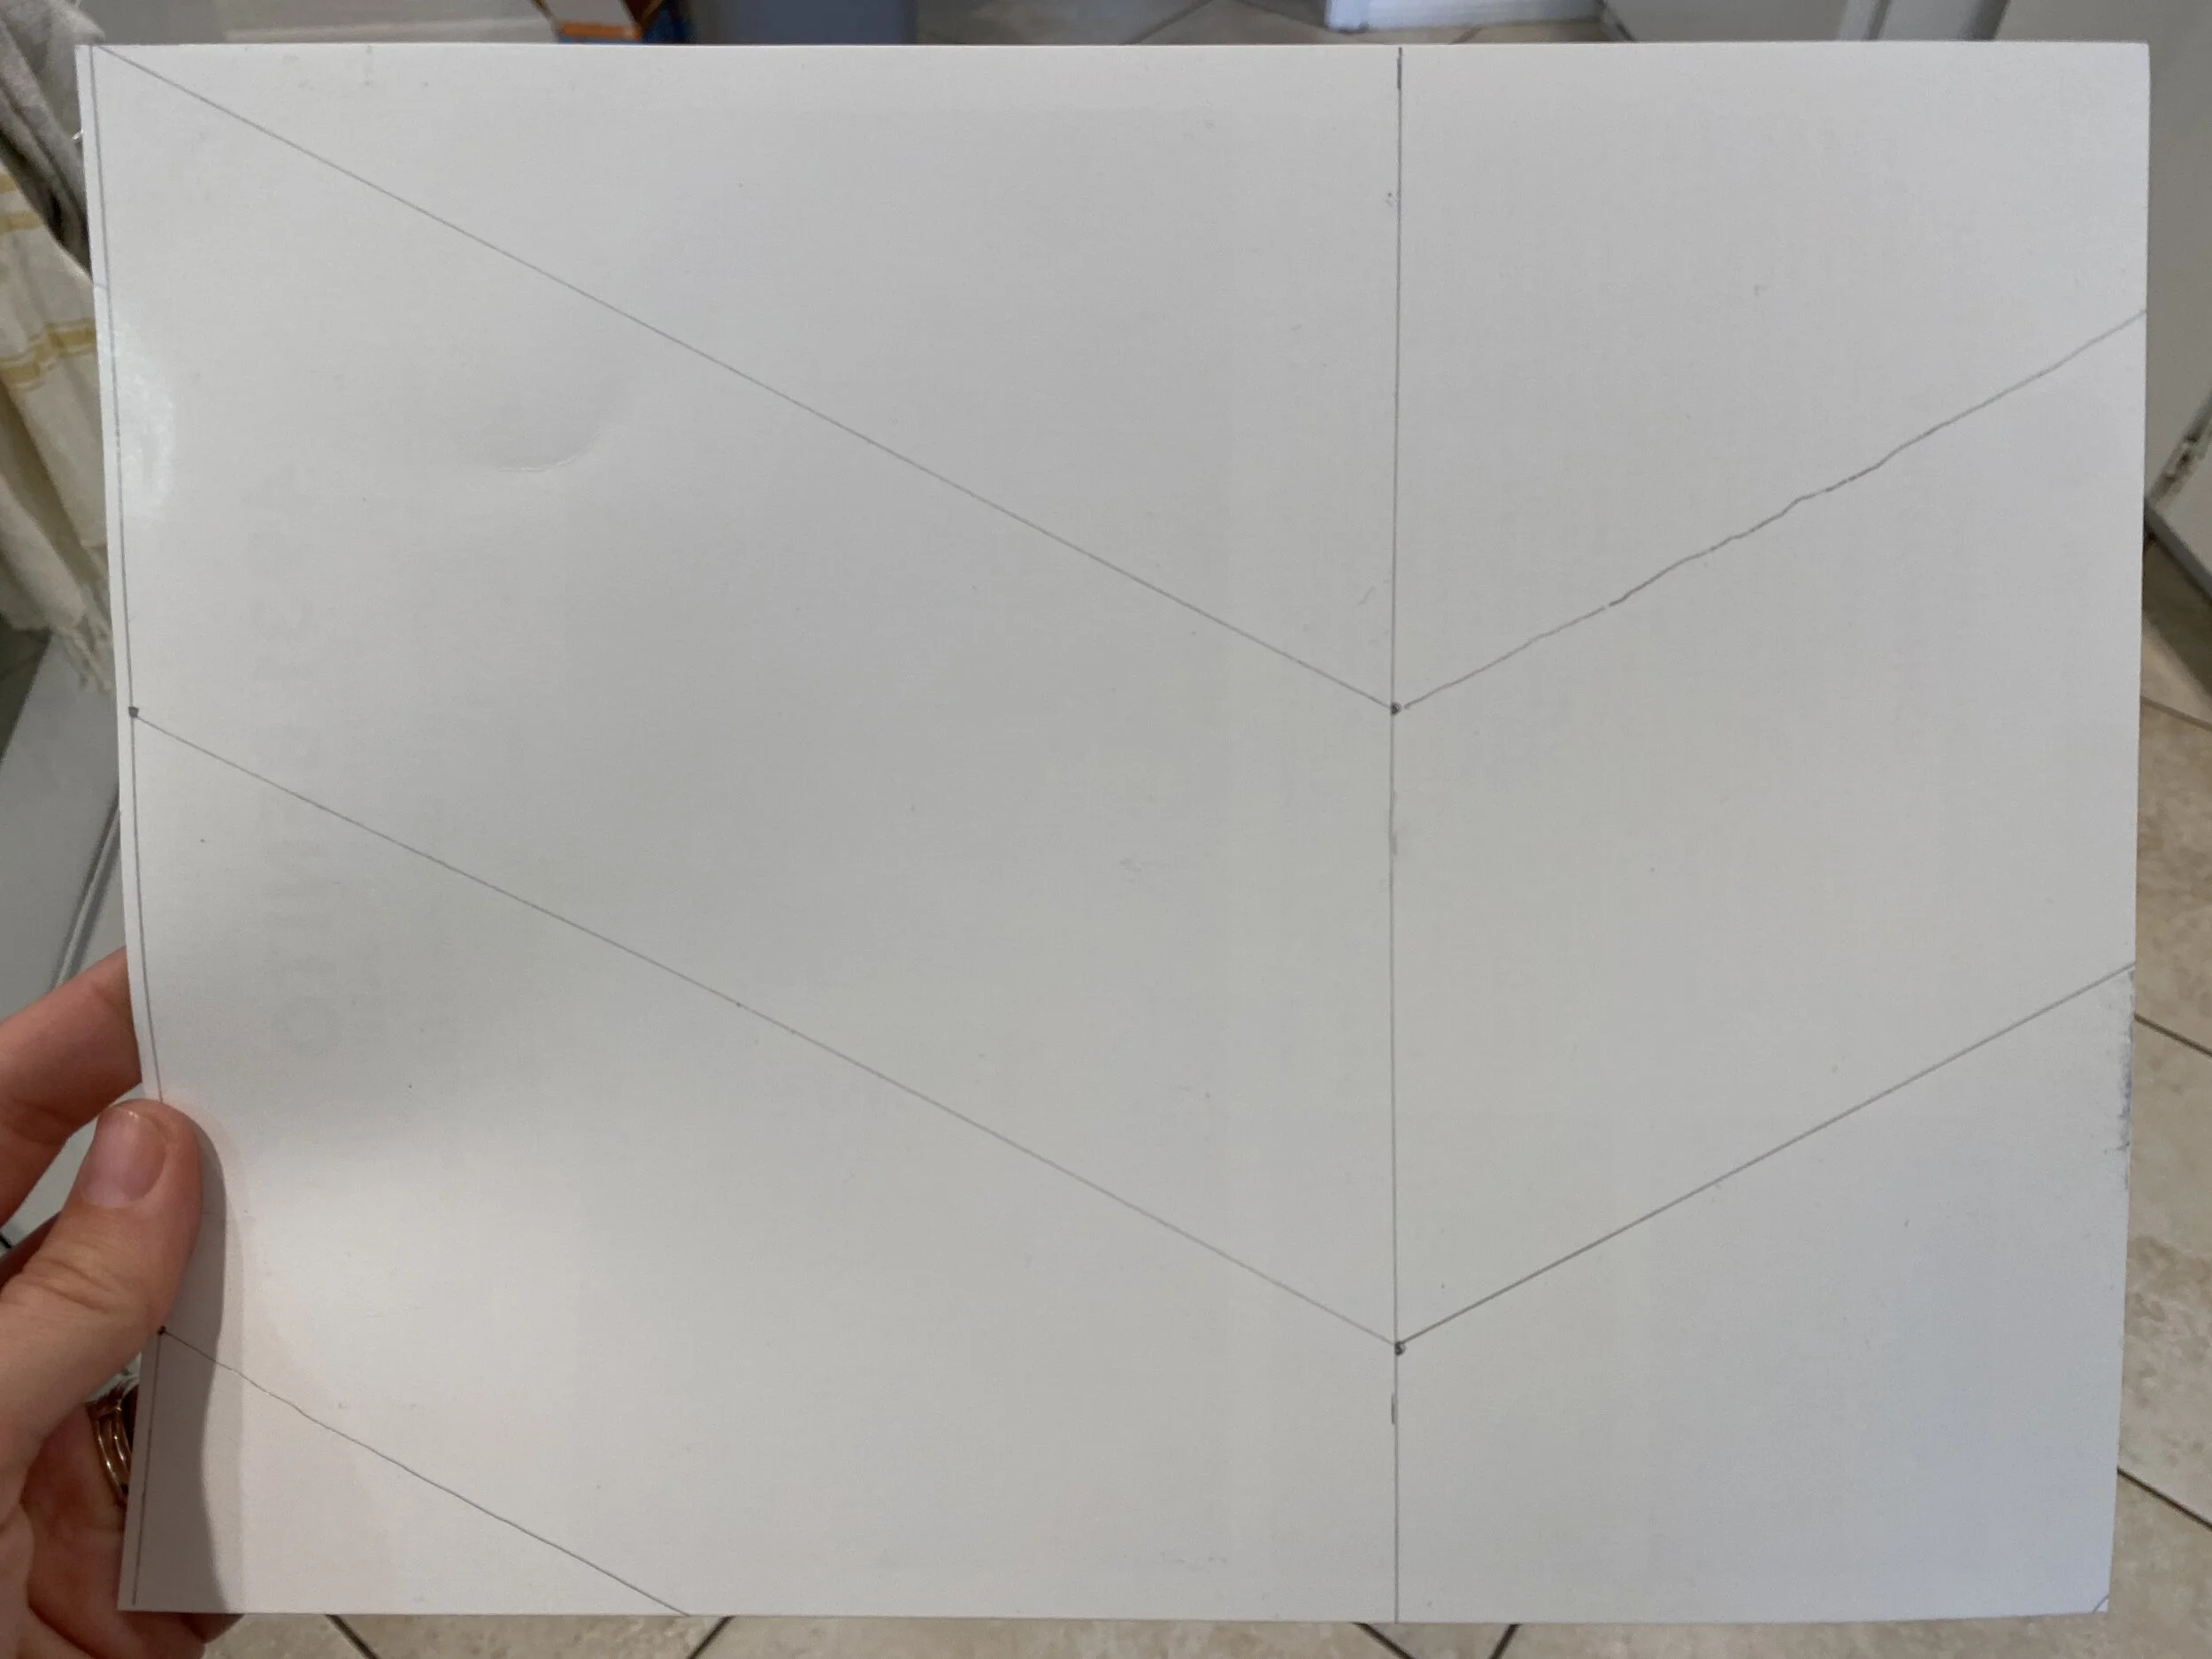
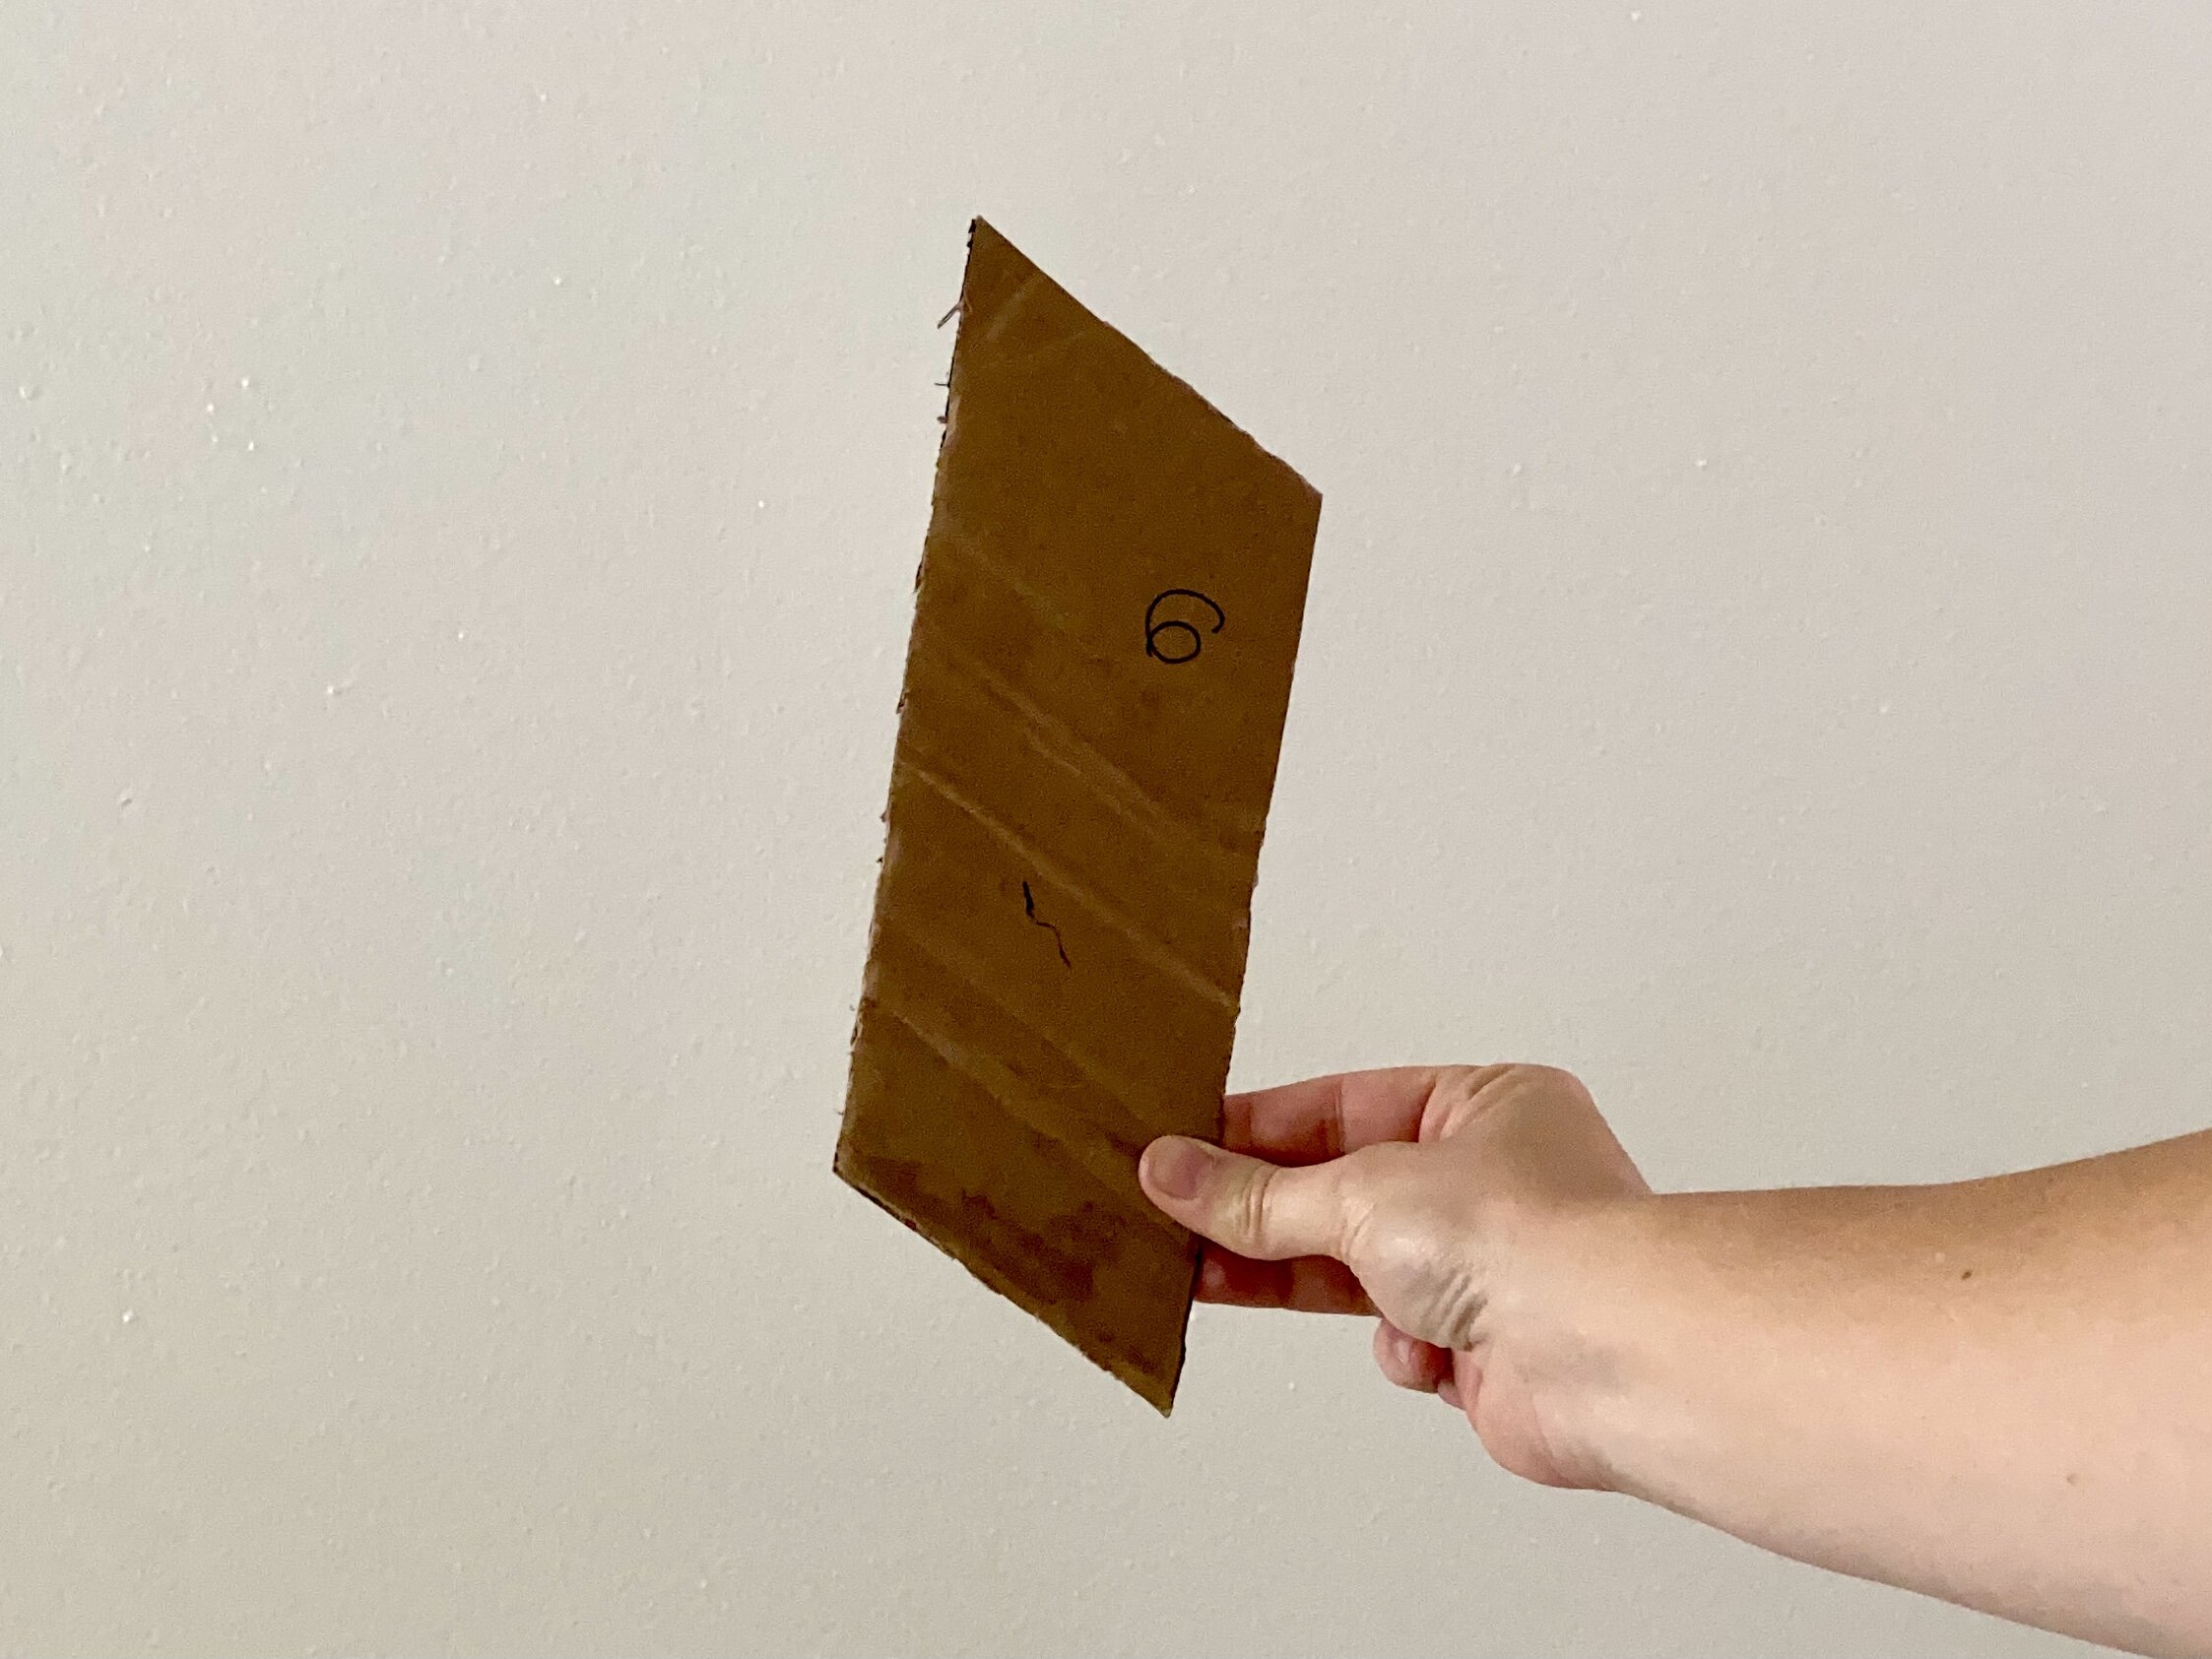
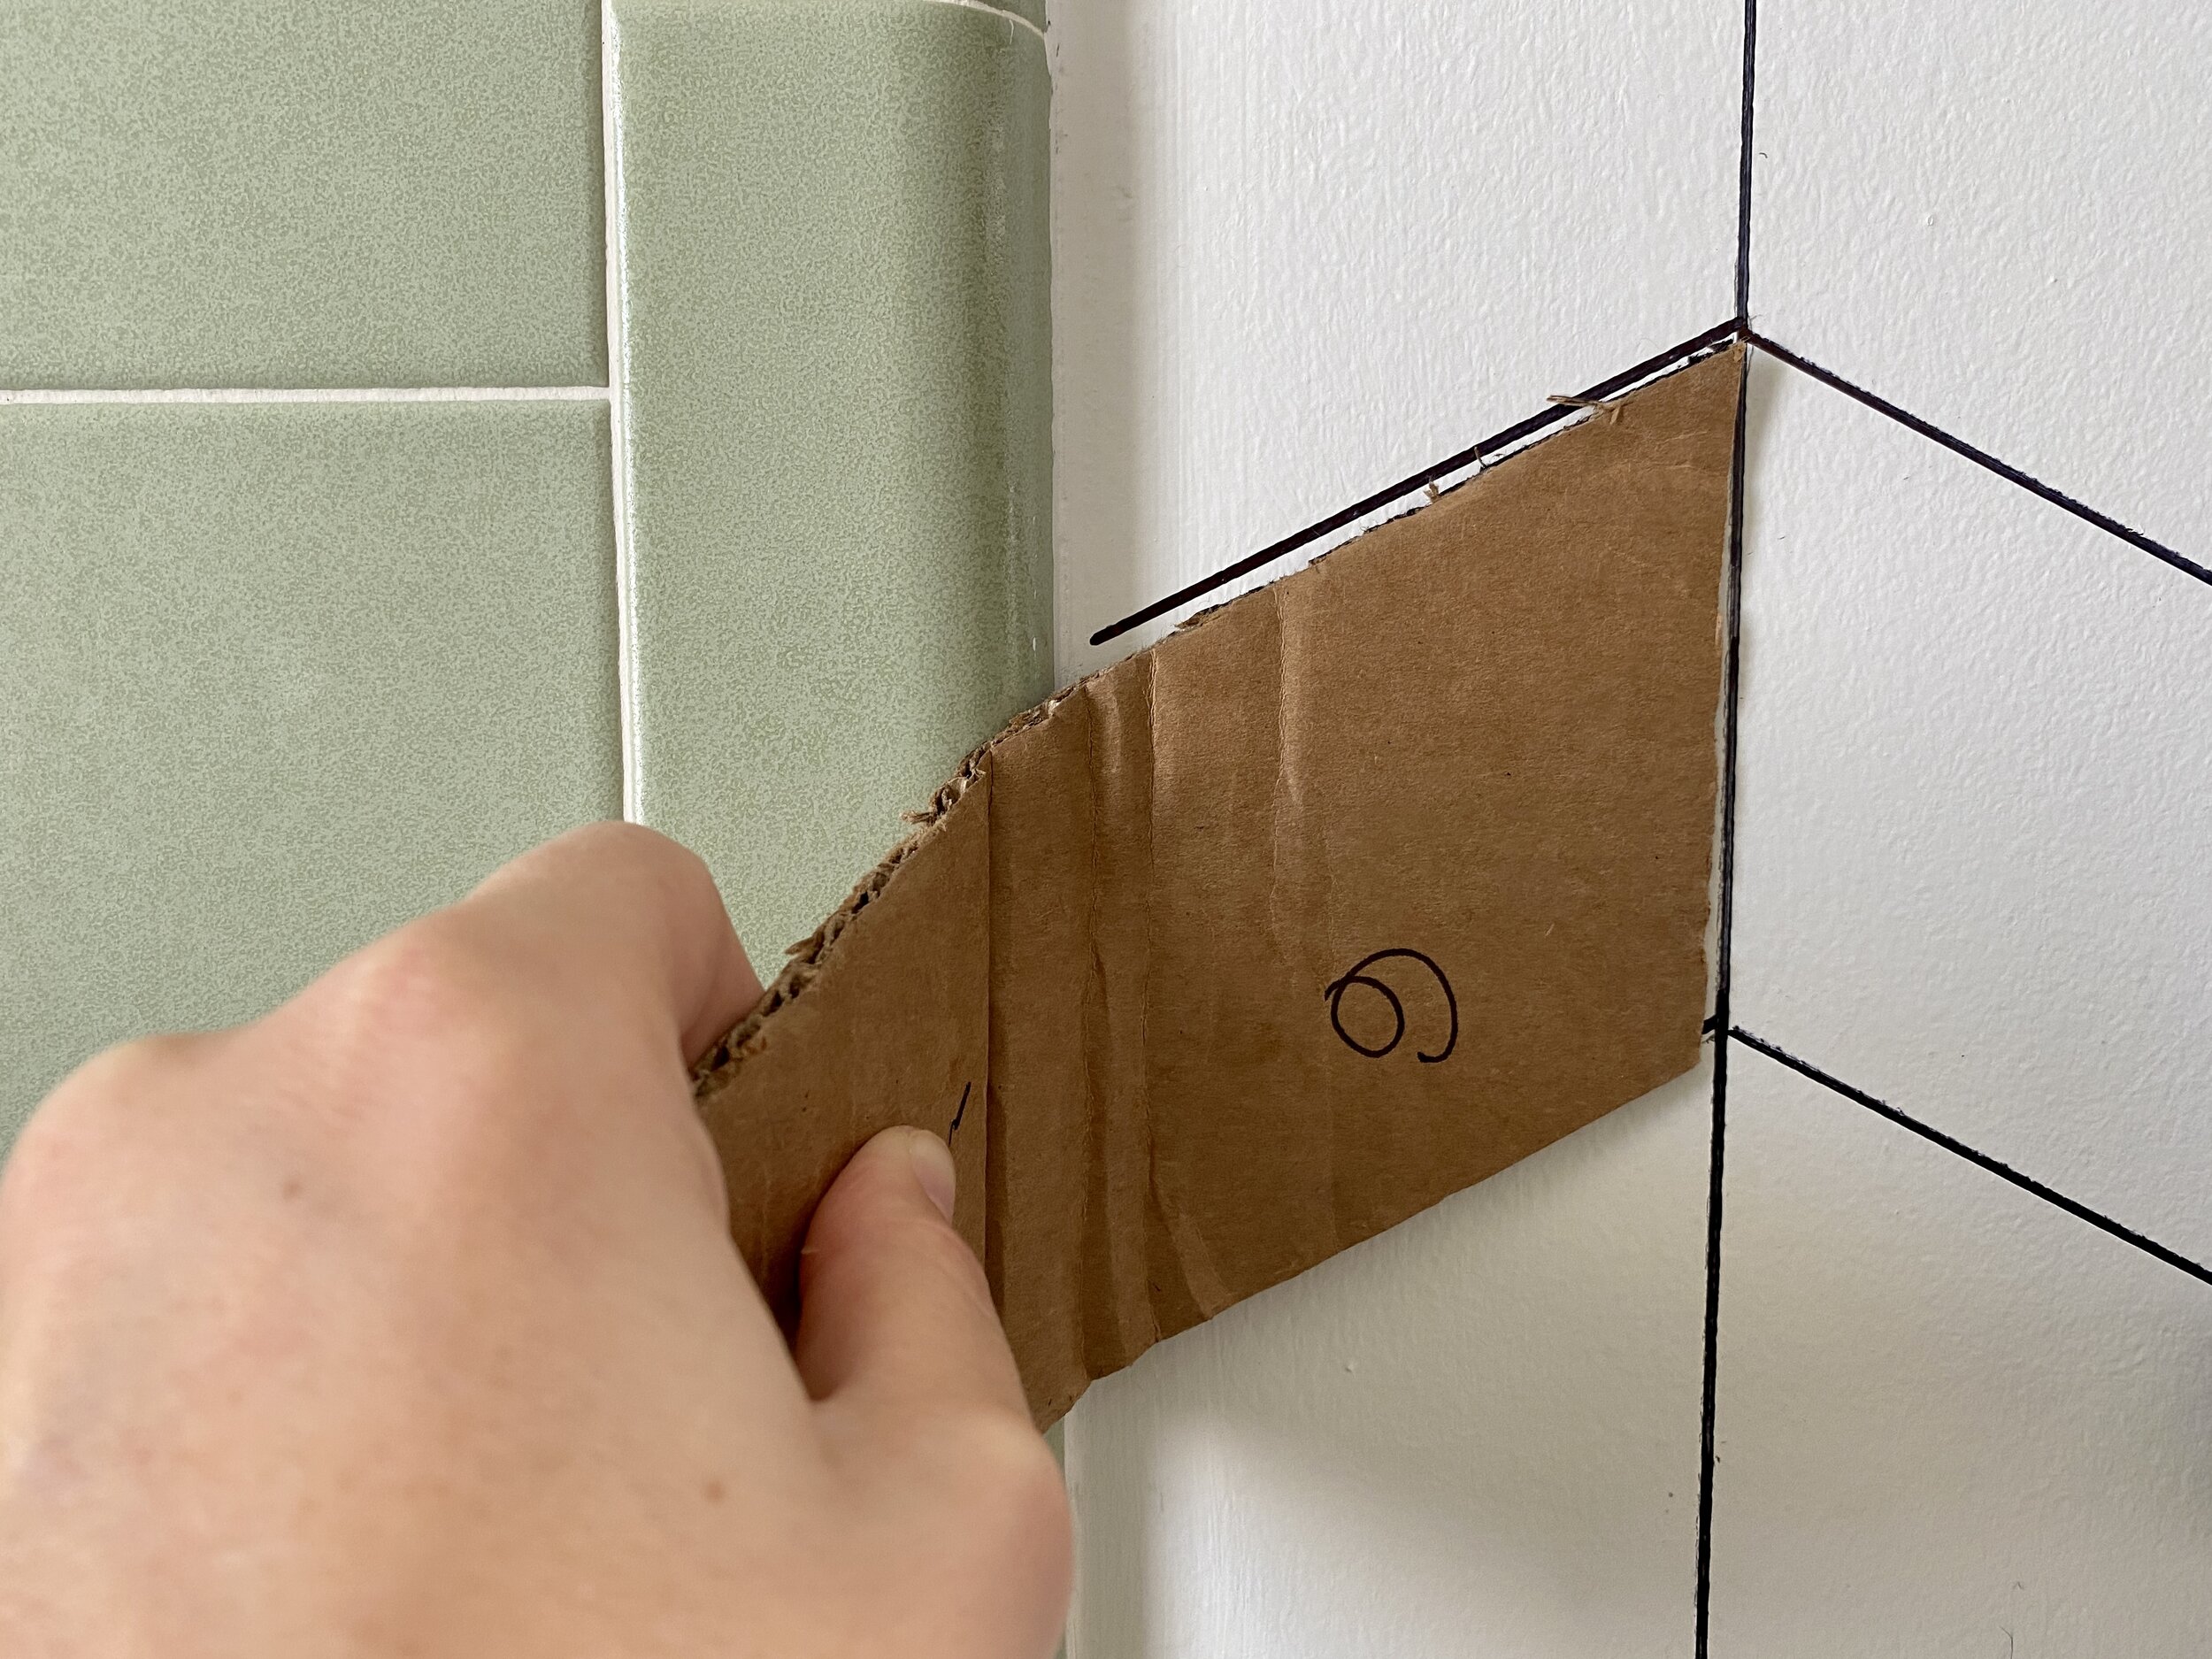
Step Four: Use Cardboard in Hard-to-Reach Areas
The final step is to create a cardboard replica of your pattern shape which will act as a guide allowing you to finish the edges and hard to reach areas of your wall (like behind the toilet). I created my replica by drawing my pattern out on a large piece of cardboard and then cutting out the shape which happens to be a parallelogram. The cardboard worked well because I was able to bend it to fit the areas I needed it as a guide.
Final Thoughts:
Here are a few tips that I wanted to share. I would recommend washing your hands periodically throughout this project. The pencil and the marker will get on your hands and palms so to prevent smudging your white wall, wash your hands often. For the several places where I did have a few smudges, I first tried washing the smudge with a lightly damp Magic Eraser. If that did not work, I did a little paint touch up using white paint to cover the smudges. Finally, go slow. Take your time and double check yourself on each line before using your paint marker. This will hopefully prevent you from making a mistake and having to try and remove an incorrect line.
Check out my saved highlight of this project on my Instagram!

Click Images Below to Shop
(Affiliate Links)