
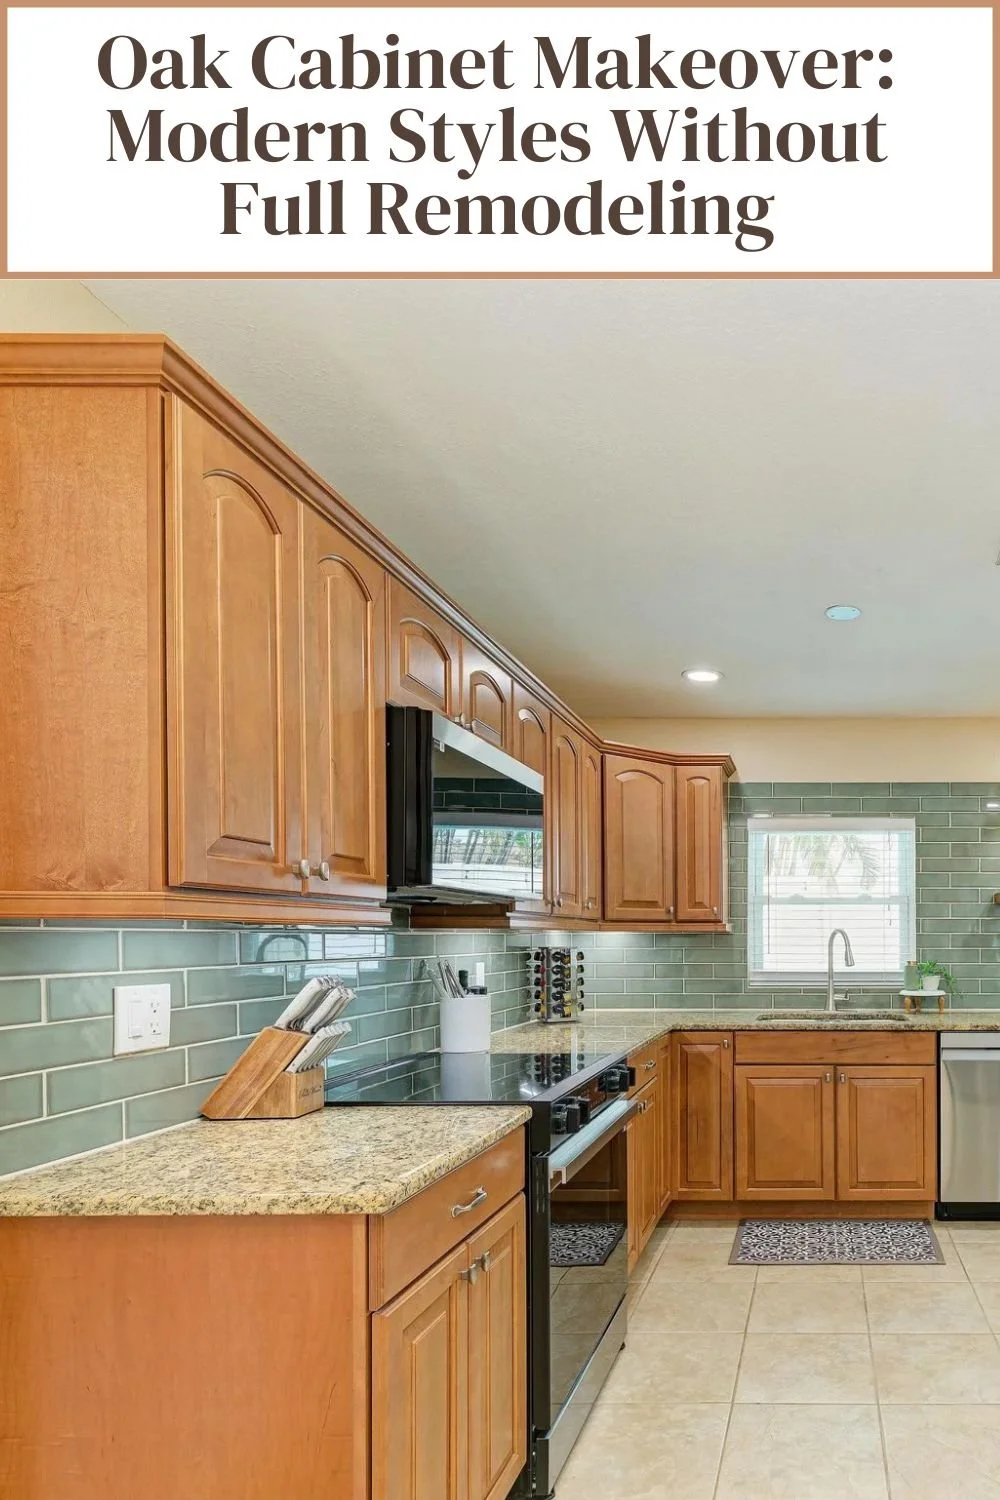
How to Make Oak Kitchen Cabinets Look Modern
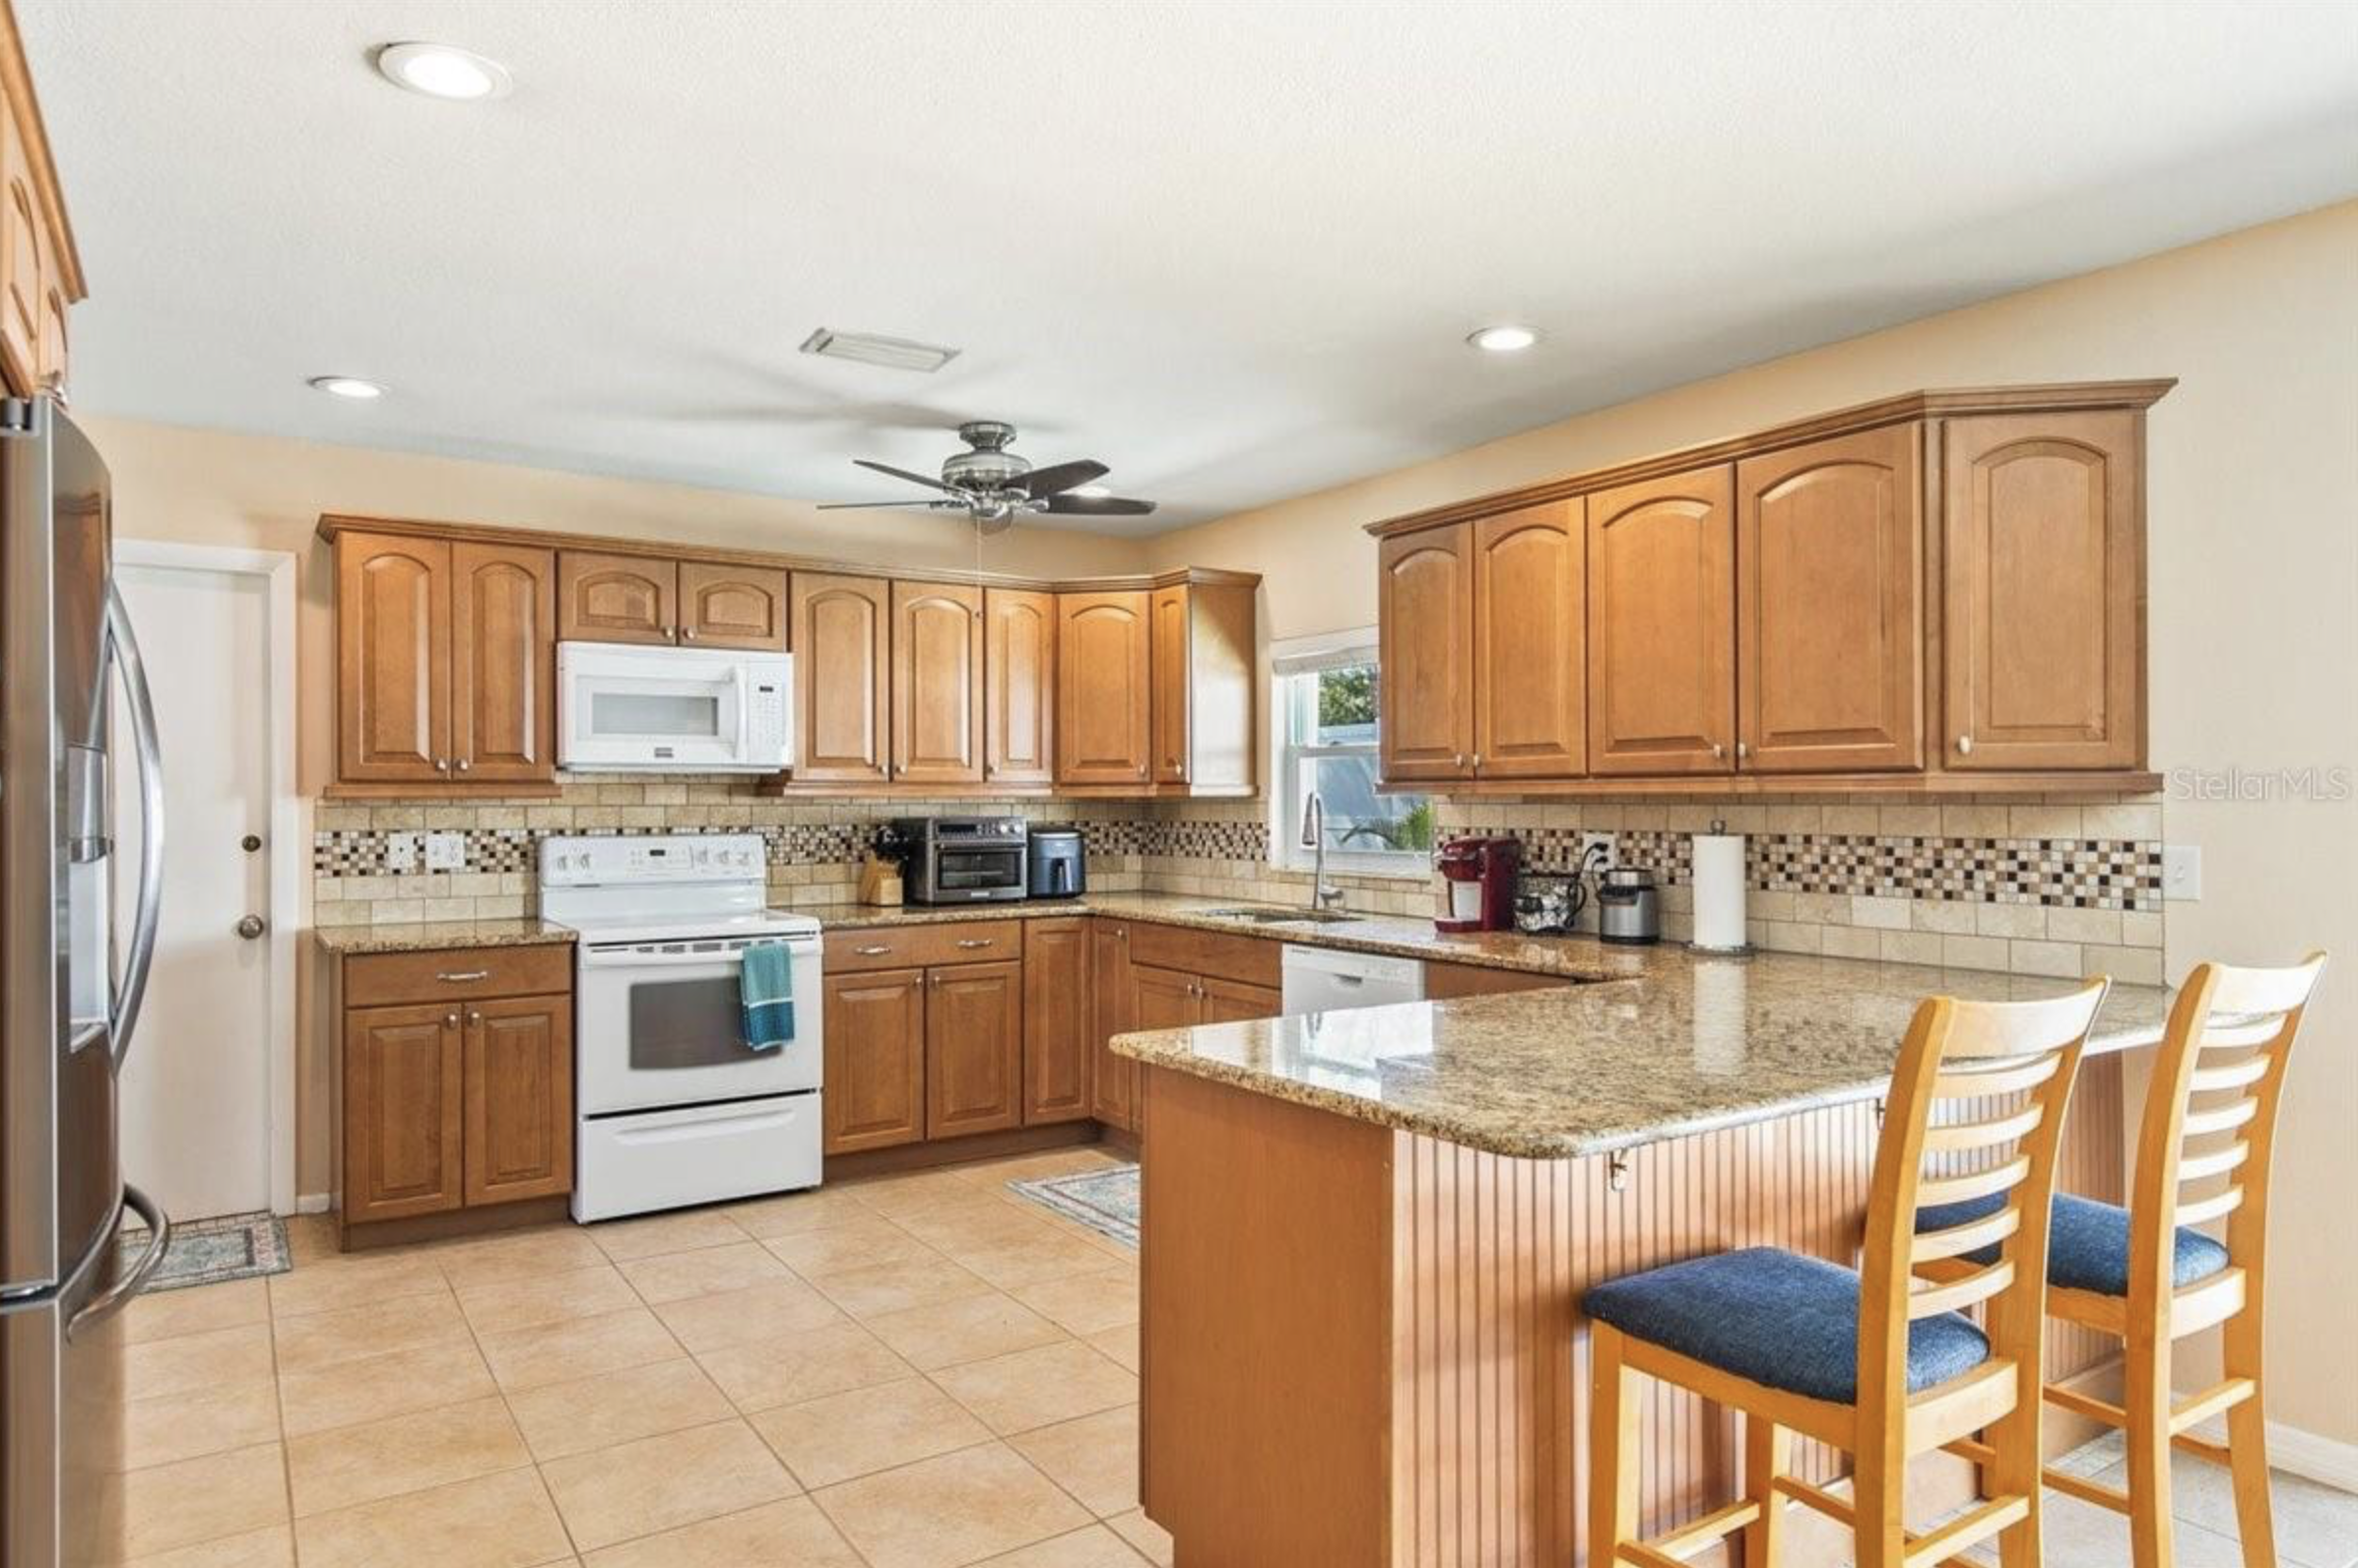
When we purchased our first Airbnb, we were thrilled—except for one thing: the outdated kitchen filled with orangey-brown oak cabinets. At first, we considered a full renovation, but the costs quickly added up. We also had a tight timeline to get this house listed on Airbnb, so a complete overhaul just wasn't an option.
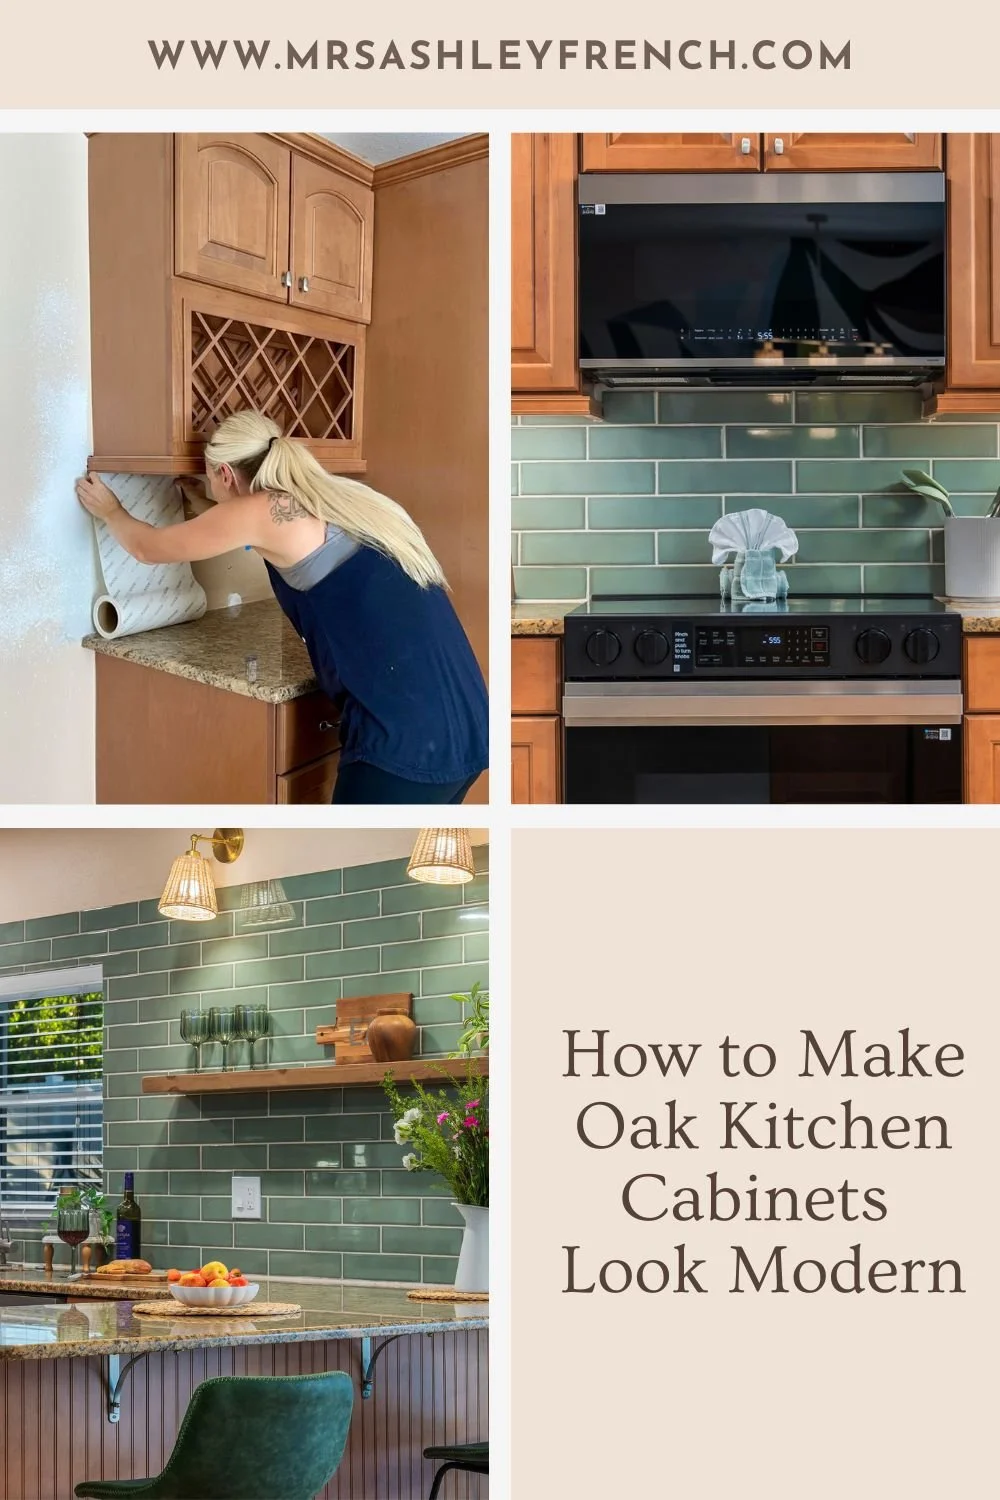
Instead, we challenged ourselves to find creative, budget-friendly ways to modernize the space without tearing it all out. With a few smart updates—like installing a sleek subway tile backsplash, swapping in stainless steel appliances, and adding a stylish floating shelf—we were able to completely transform the look and feel of the kitchen while keeping the original oak cabinets. In this post, I’m sharing exactly what we did to breathe new life into an old kitchen and how you can do the same.
Cabinets
I know that painting all the cabinets would have been a great way to really transform this space, but let me explain why we didn't do that. First, the wood cabinets were in excellent condition. The previous homeowners had installed them within the last 10 years, and they were a great quality cabinet. Second, wood tone cabinets have come back in style, and I really wanted to find a way to make these look new and modern again without painting them white.
Finally, painting cabinets is a very tedious and time-consuming job, and due to our tight timeline, we just couldn't set aside a couple of weeks to paint all the cabinets in this large kitchen. So instead, we cleaned them up and kept them exactly as they were. If you want a detailed tutorial on how to paint cabinets, I do have a blog tutorial on painting cabinets for beginners.
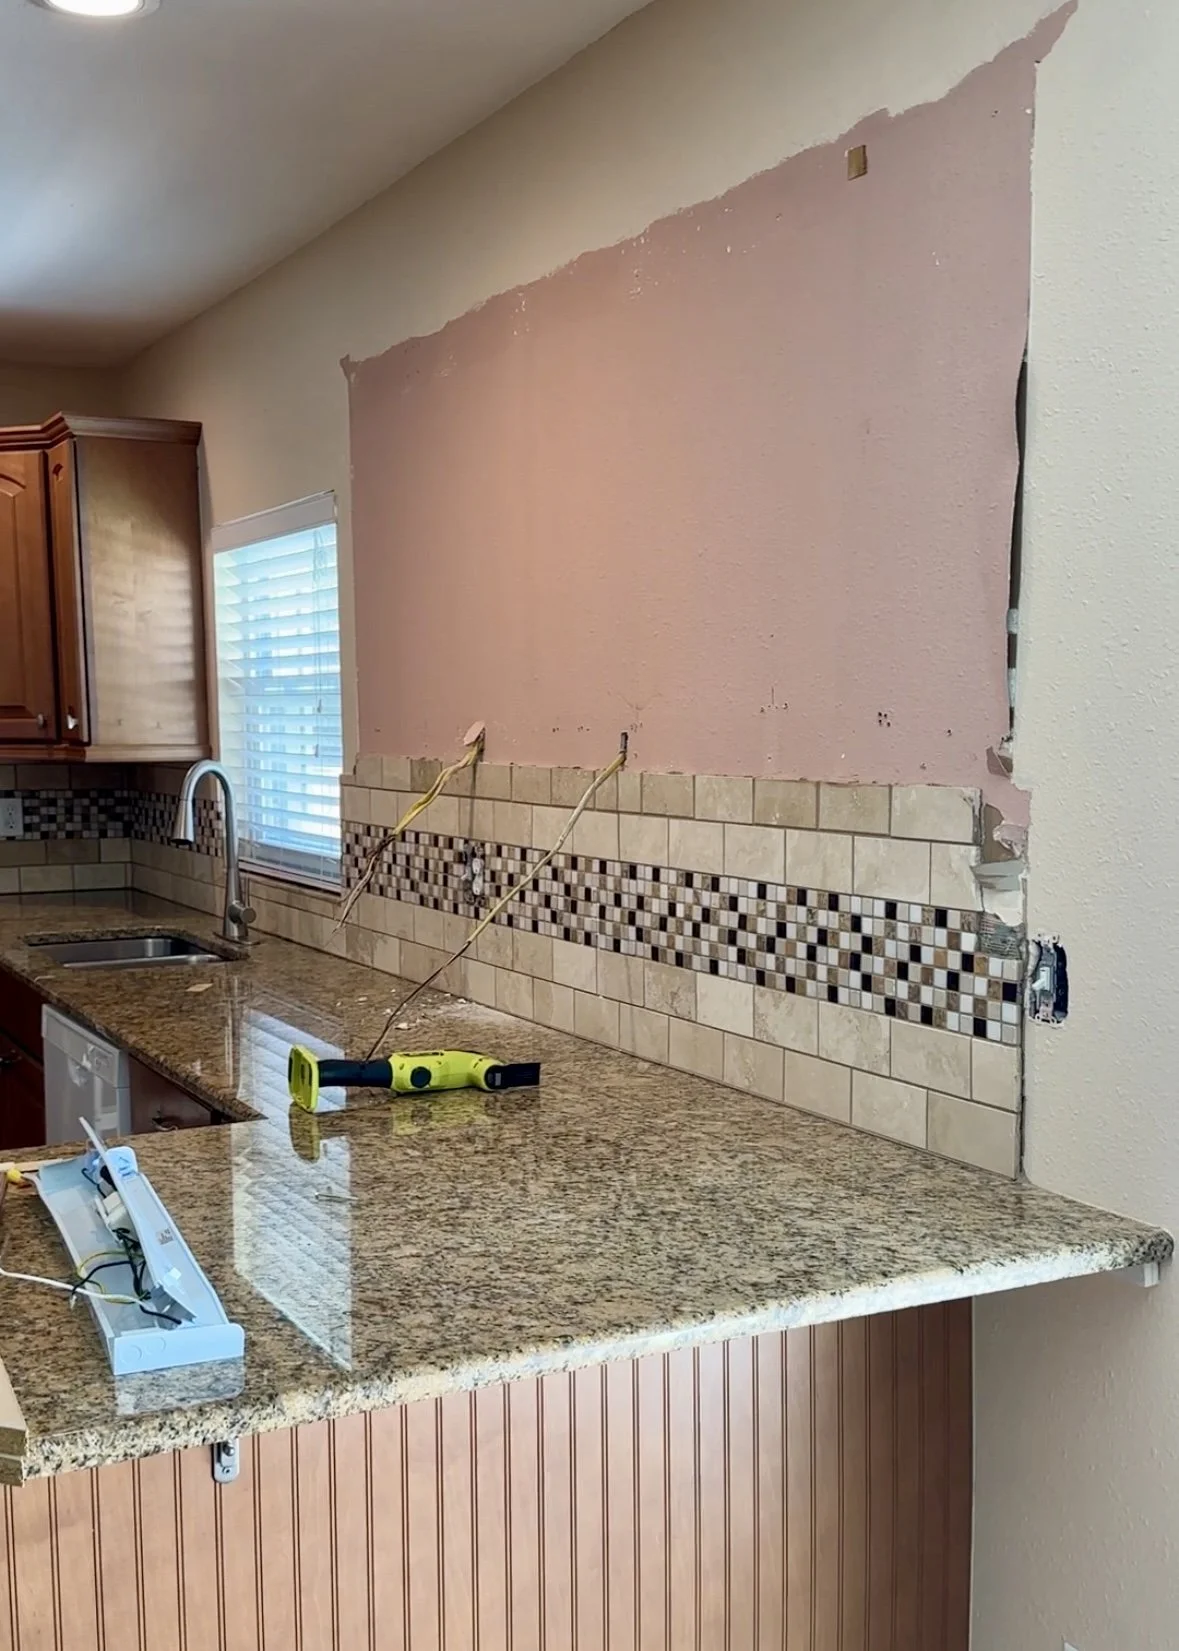
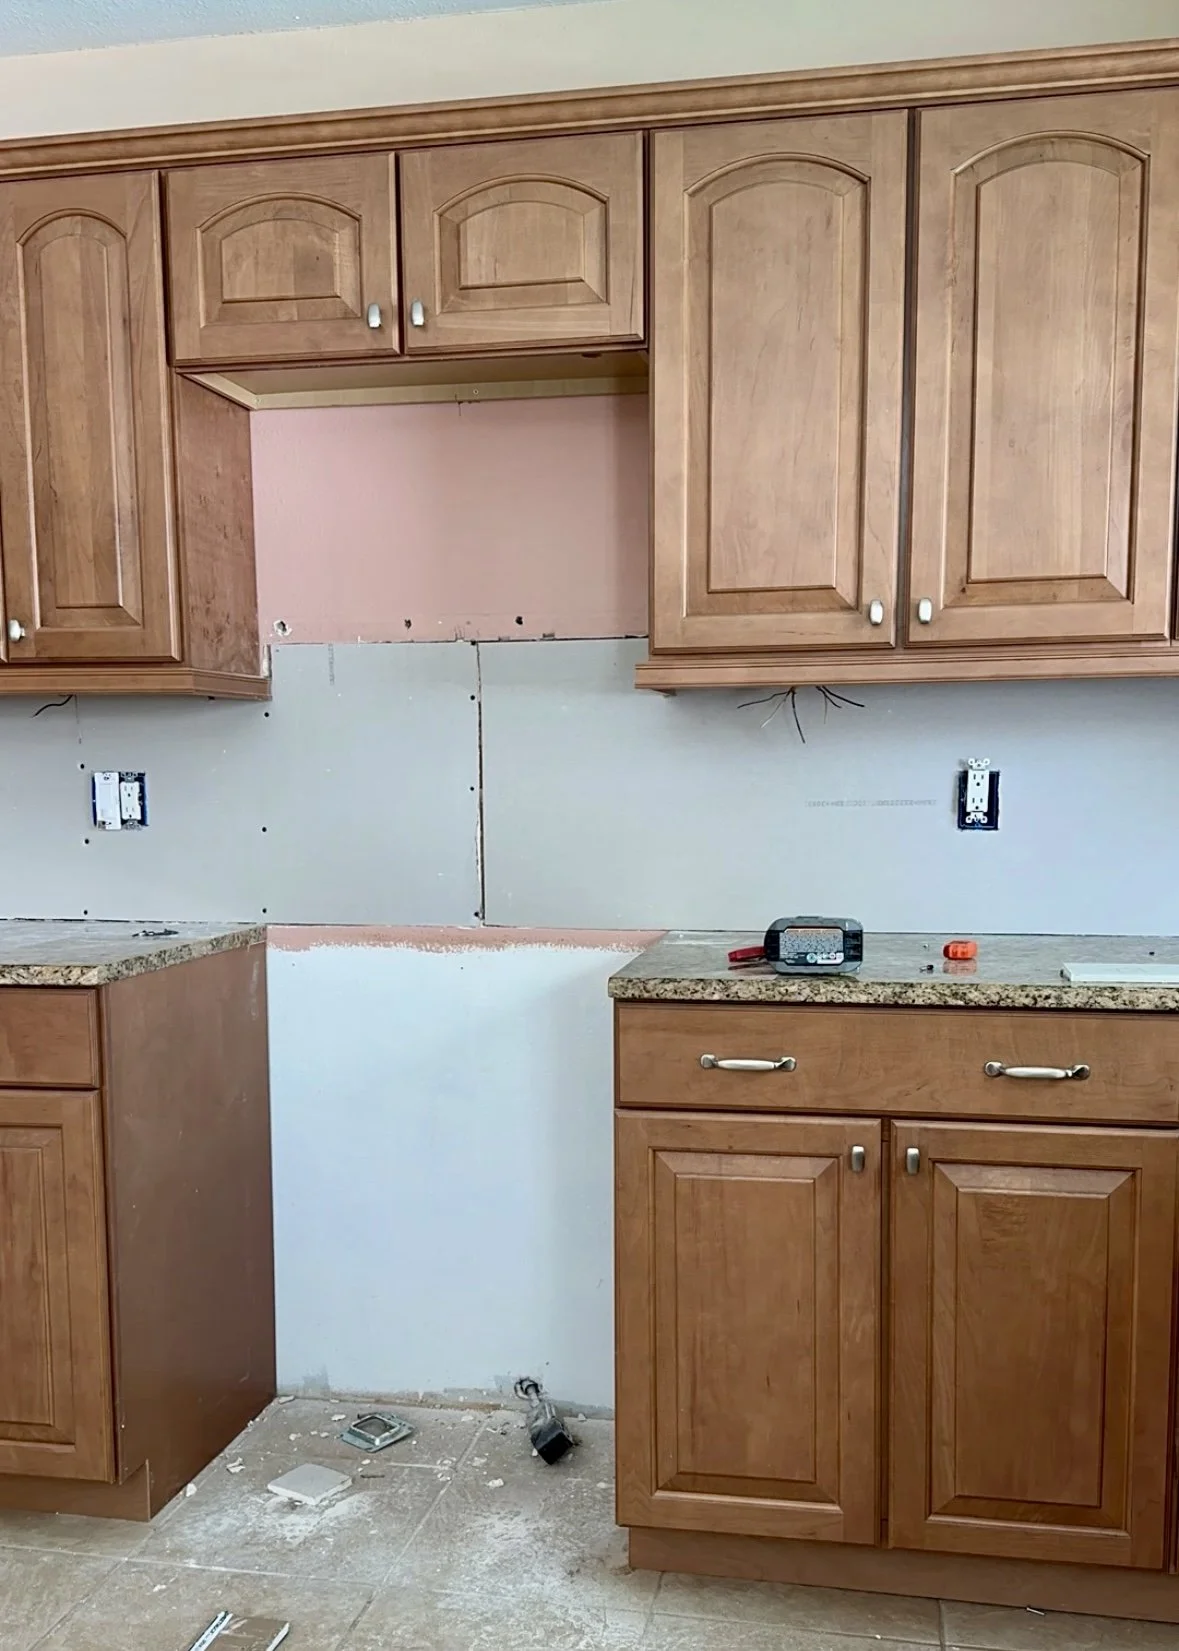
This kitchen also had a ton of cabinets, so we felt that we could remove one row of upper cabinets and not miss out on any storage. So we took down one row of uppers by removing the screws inside the cabinet boxes that held them to the wall and lowered down the cabinets.
This left us with a big empty wall, which immediately made the kitchen feel more open and modern. We planned to replace this row of cabinets with open shelving for a more contemporary look.

New Tile Backsplash
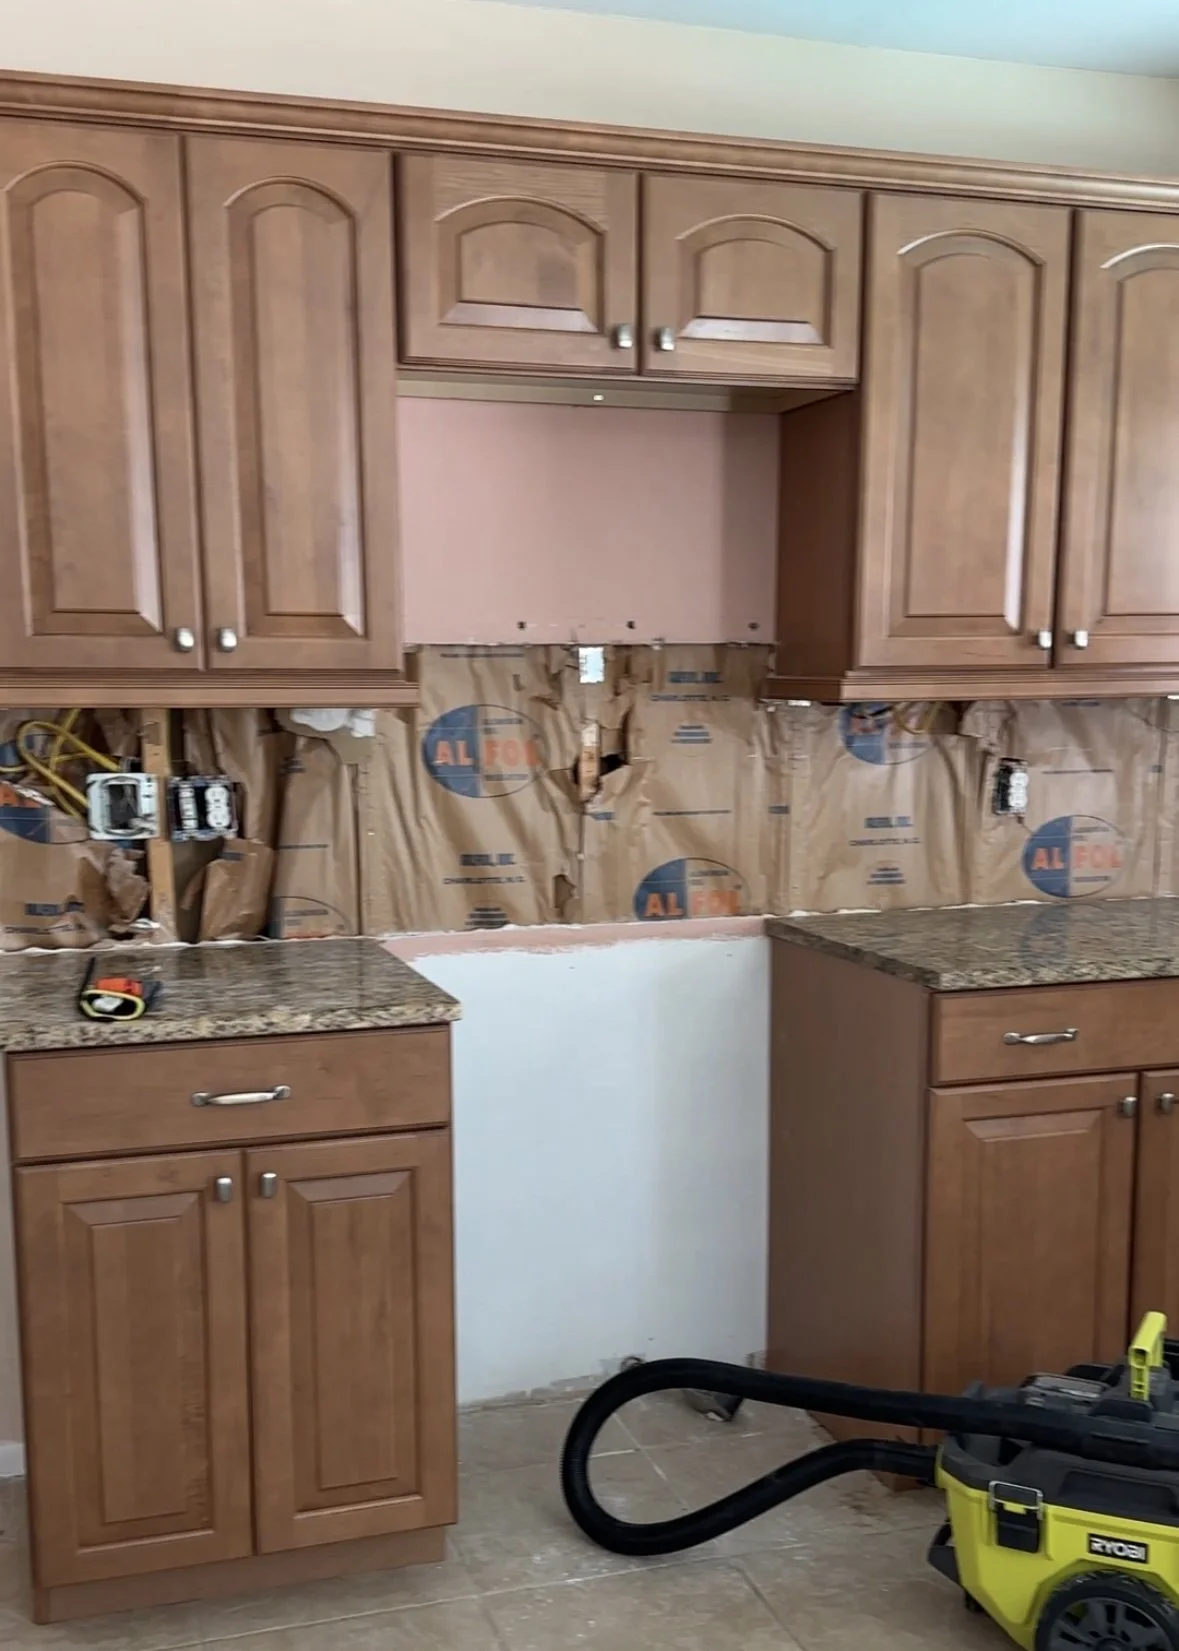
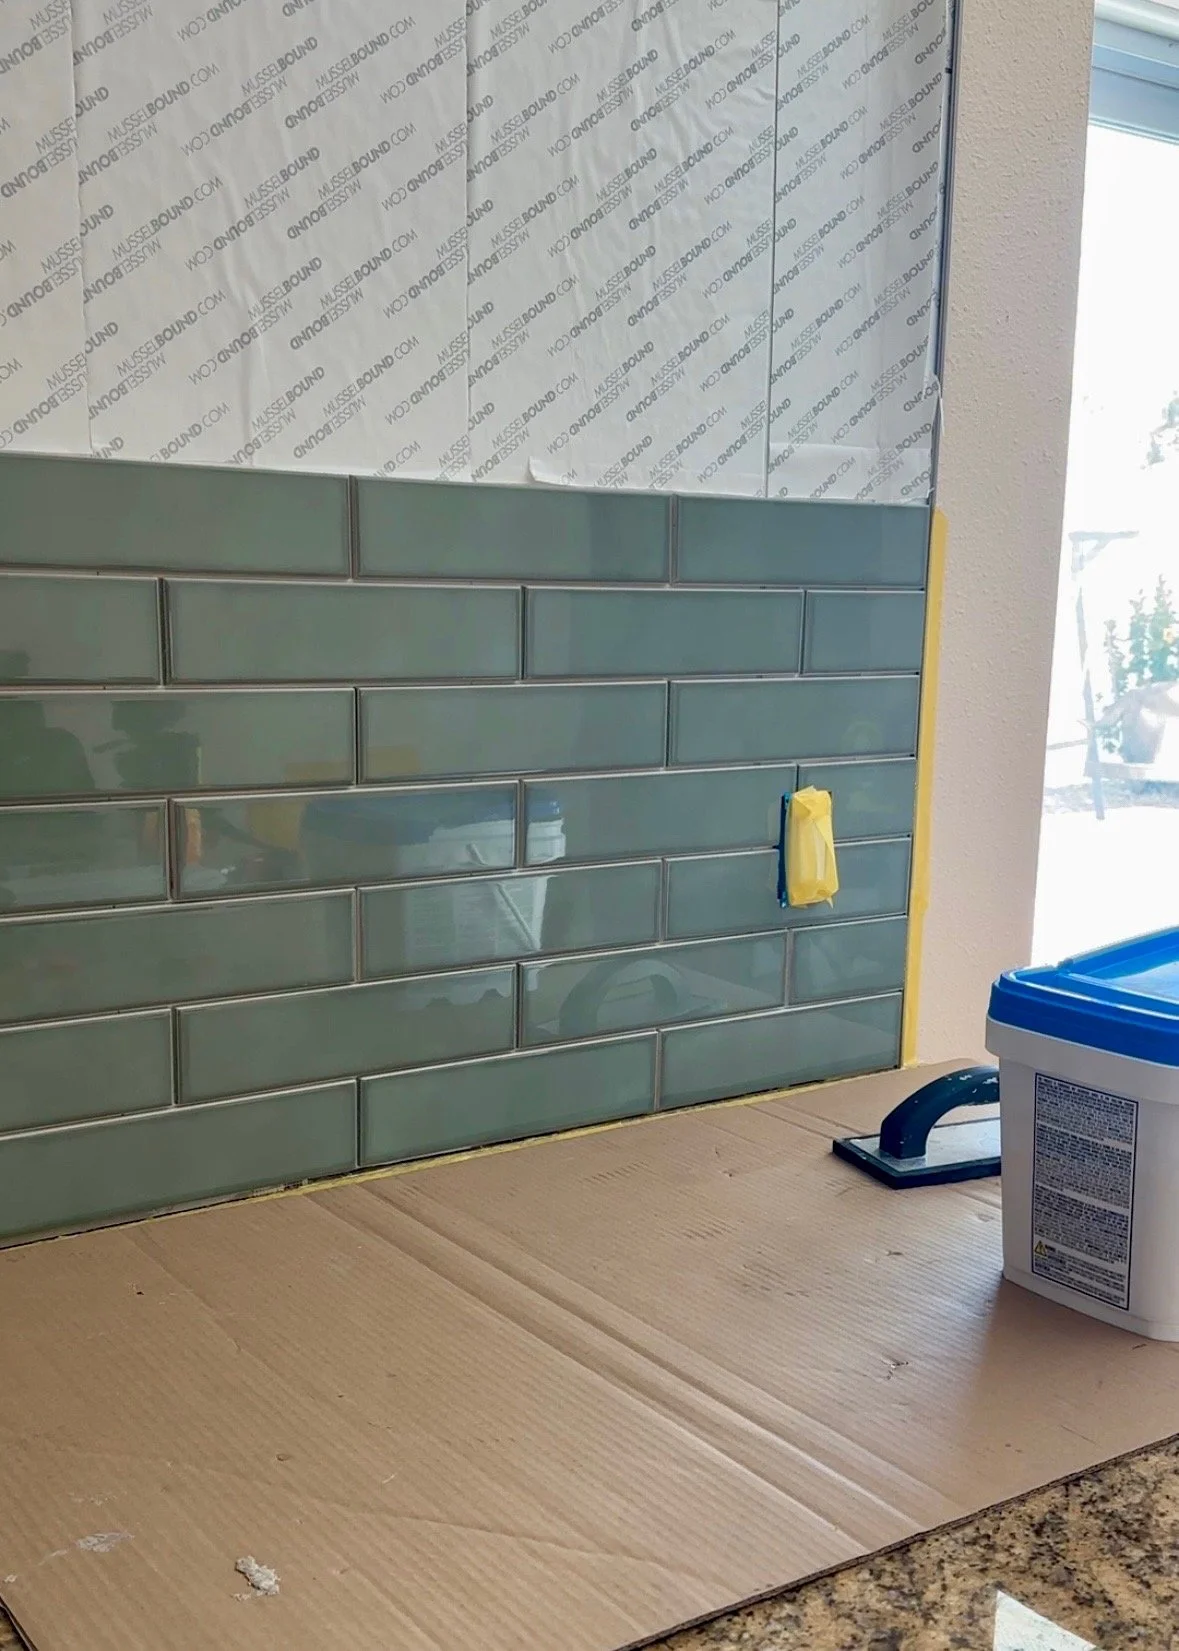
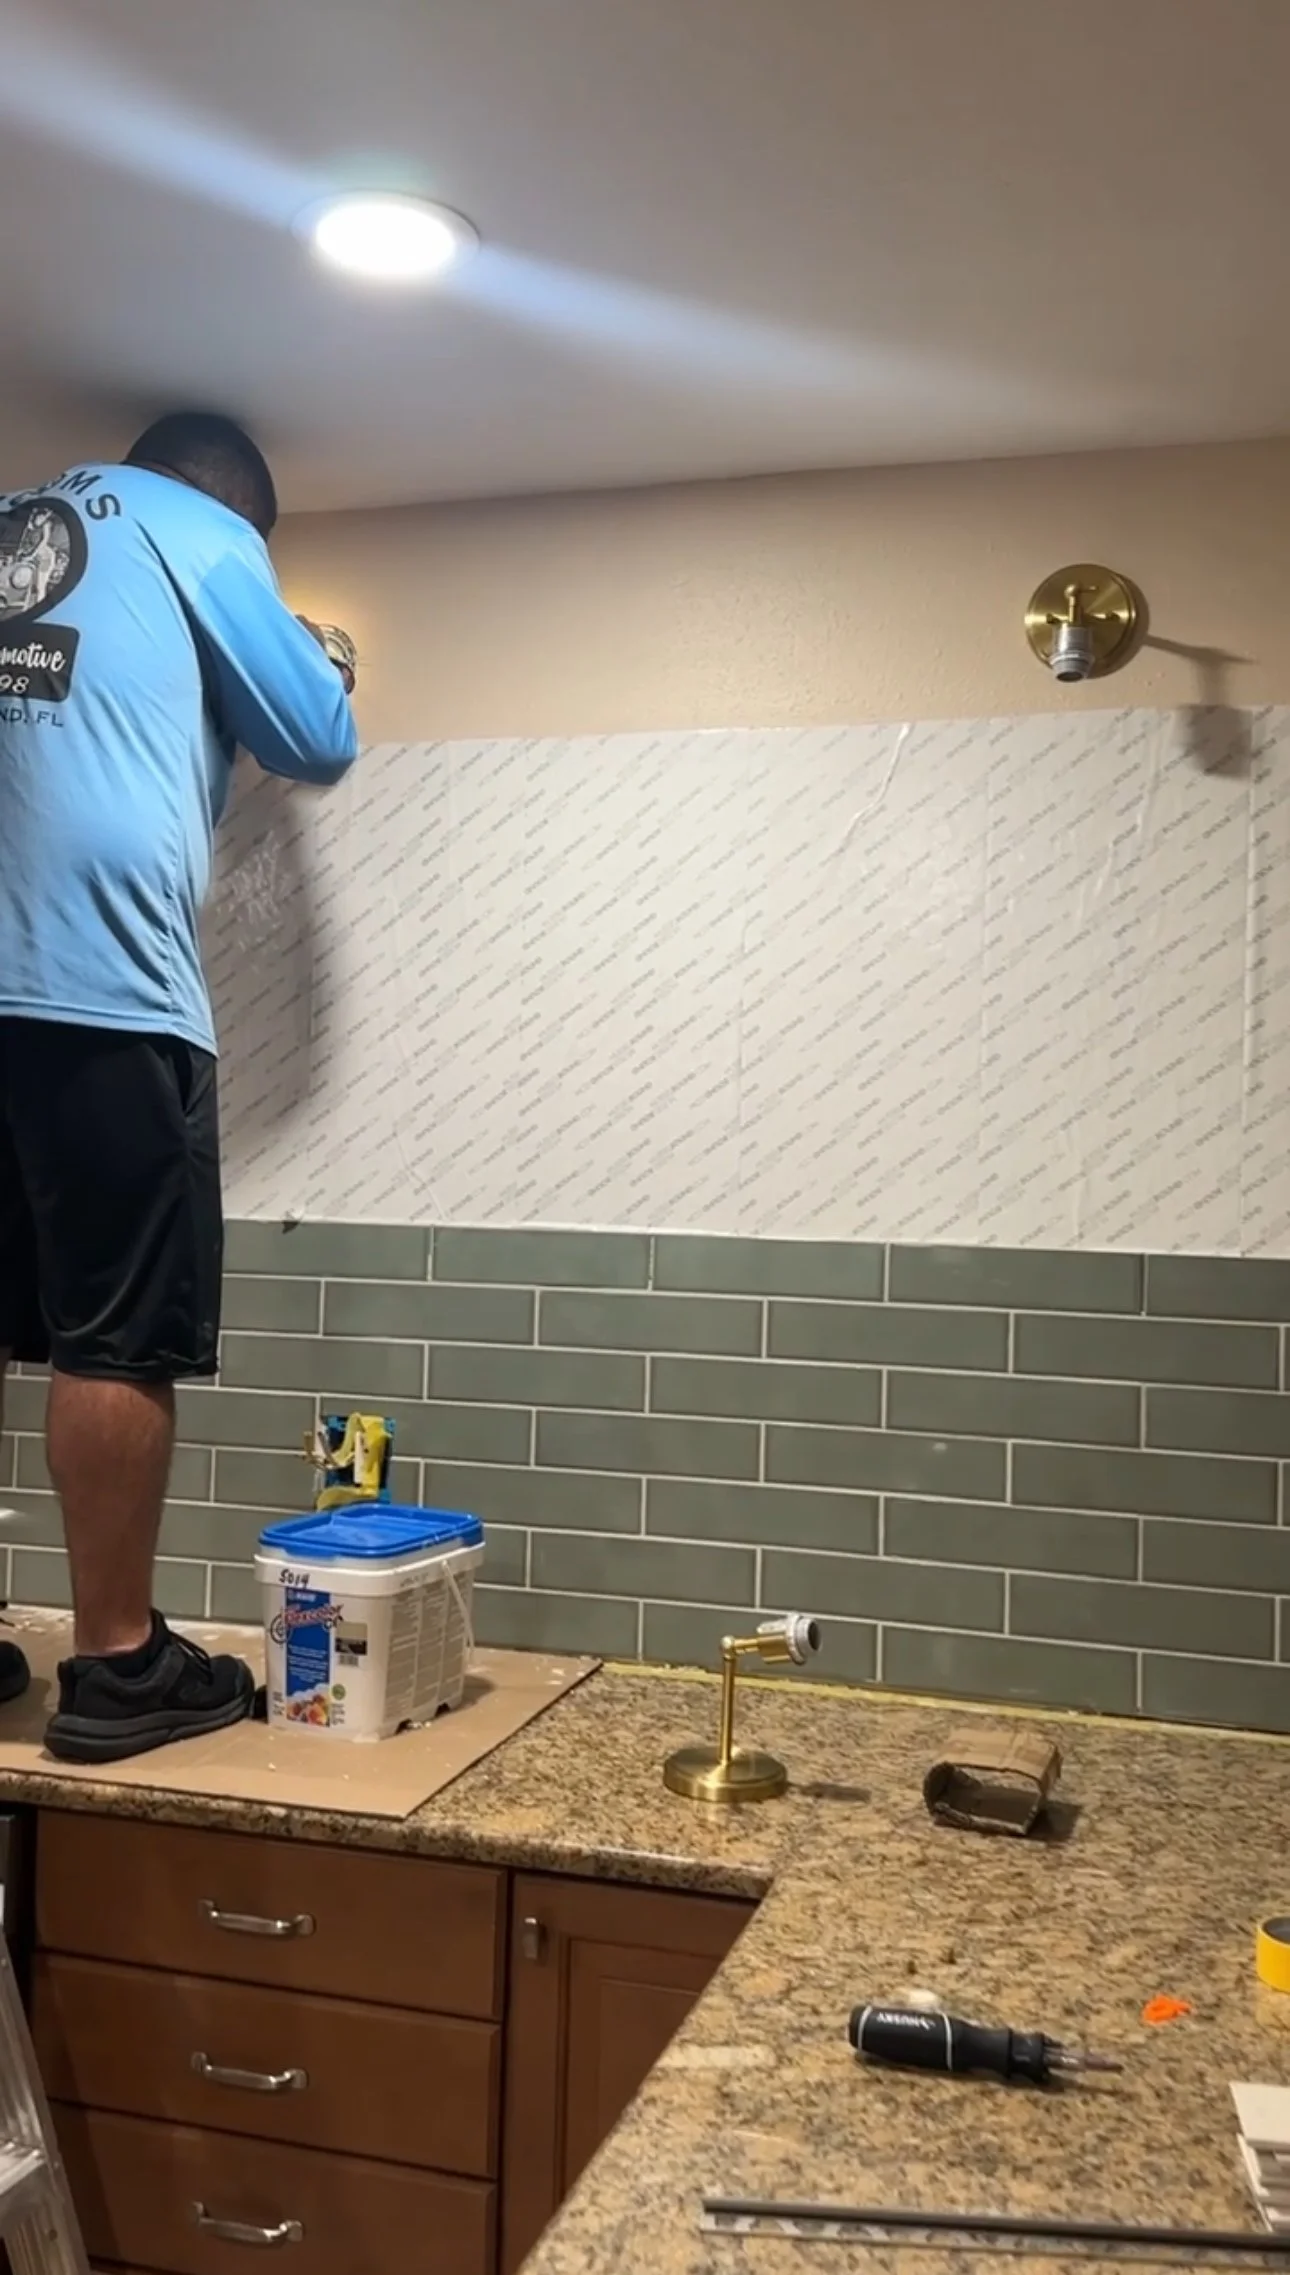
The next simple change we wanted to make to the kitchen was replacing the backsplash tile. The existing tile made the kitchen feel dark and outdated. We attempted to chip the old tile off the wall, but it just wasn't budging, so we cut out the drywall around the backsplash using a multi-tool. Next, we installed the new drywall, and I decided to use a tile adhesive mat instead of mortar to attach the subway tile to the wall.
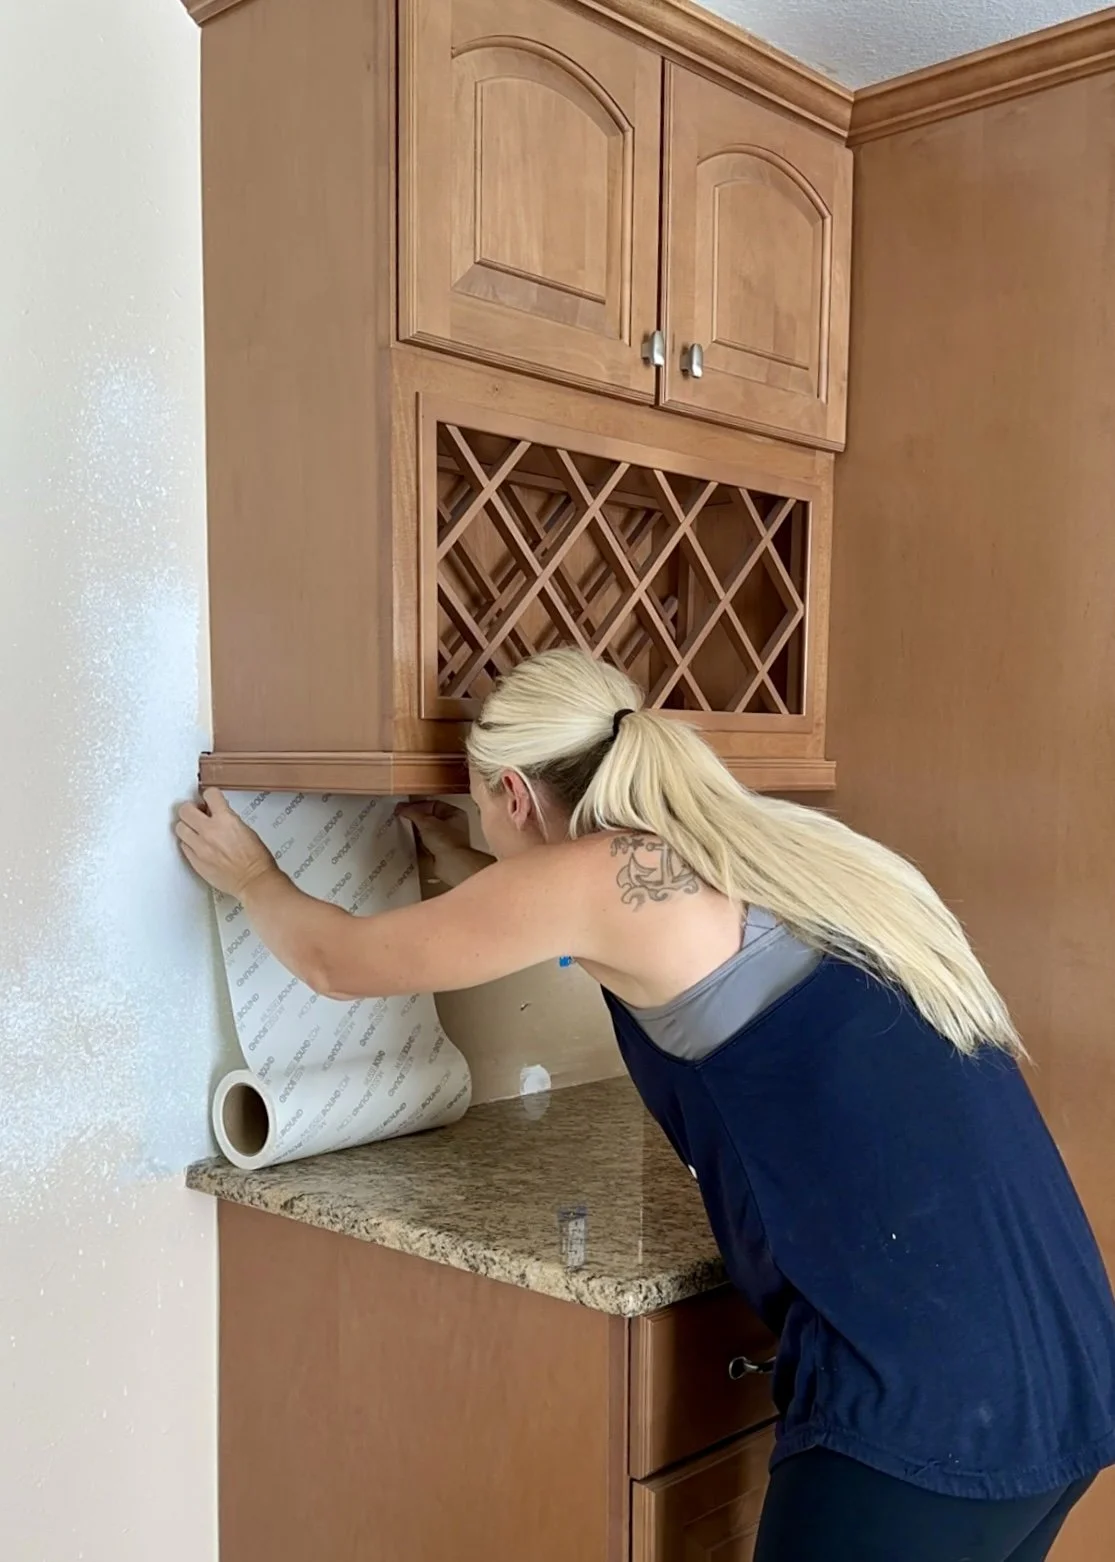
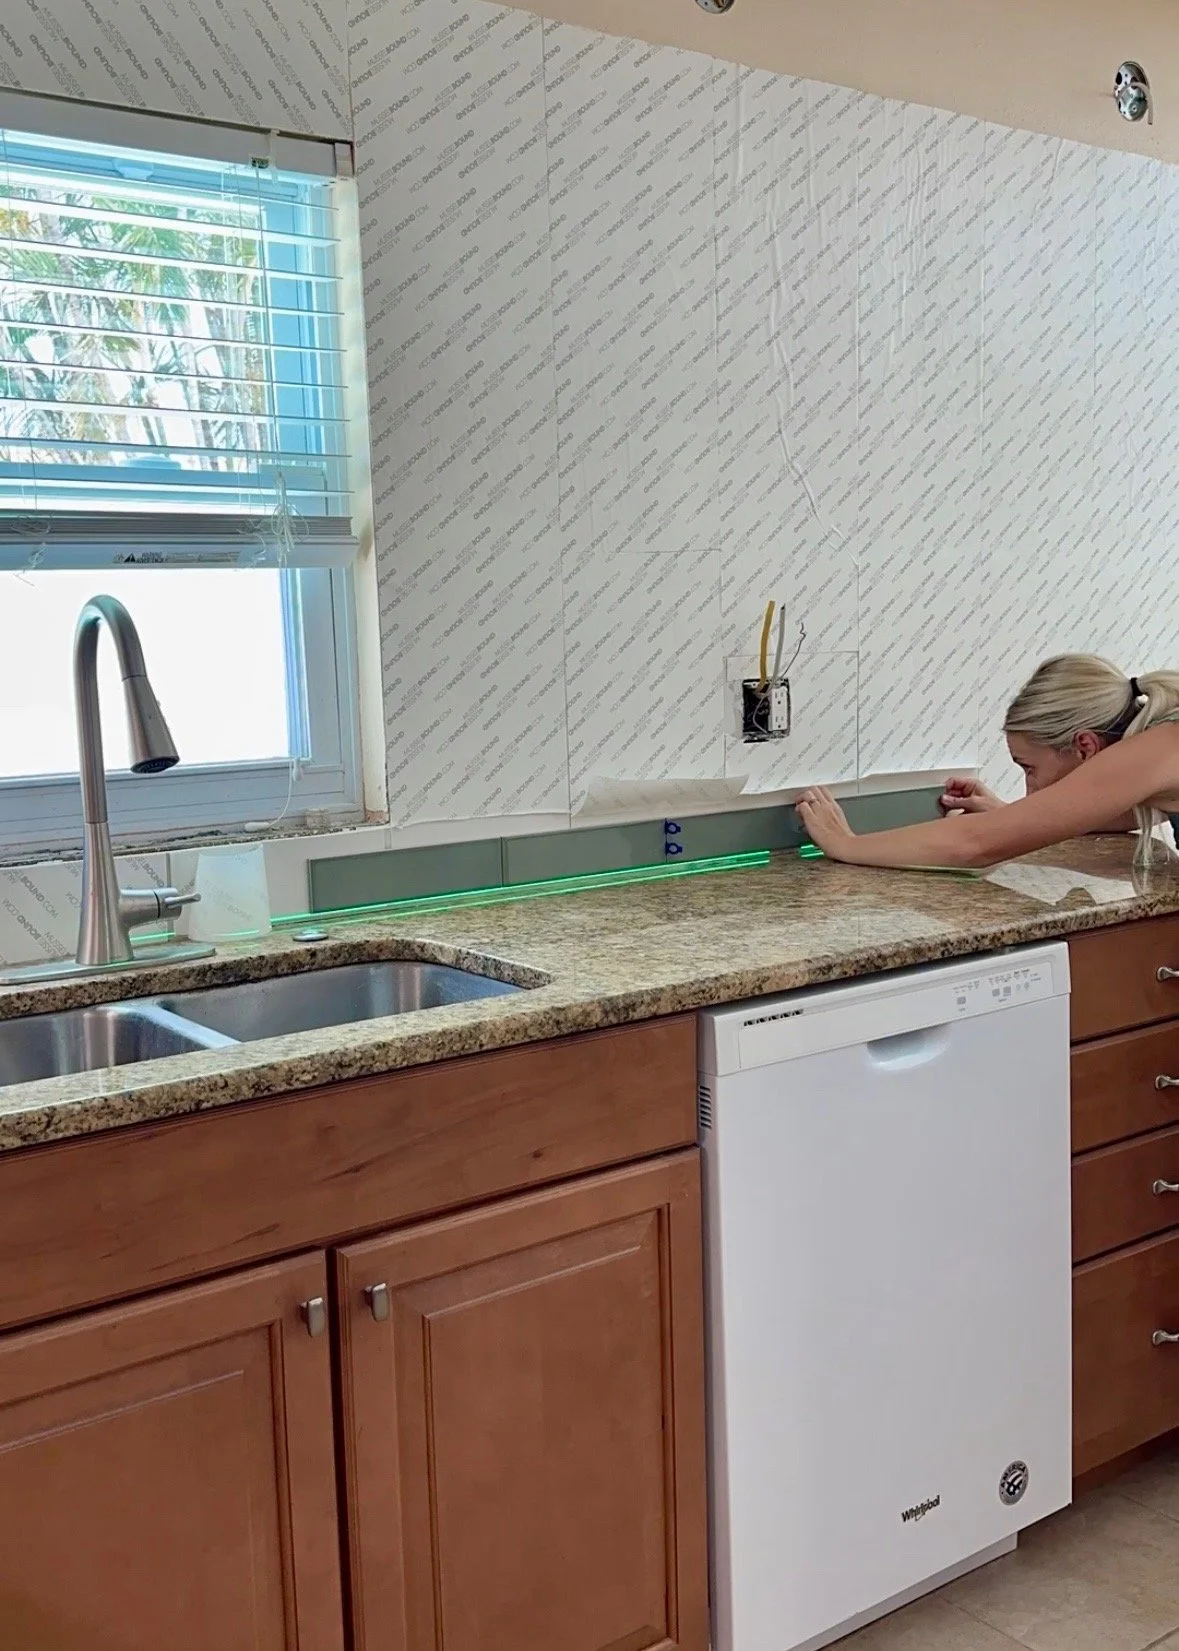
If you haven't used a tile adhesive mat like Musslebound for installing a wall tile, I highly recommend it! You simply apply the adhesive mat to the wall, push out any air bubbles, and then peel back the paper to reveal the sticky adhesive. Then you just place your tiles onto the mat and that's it. It’s easier and less messy than using a traditional tile mortar. Check out my tutorial on how to use tile adhesive mat here.
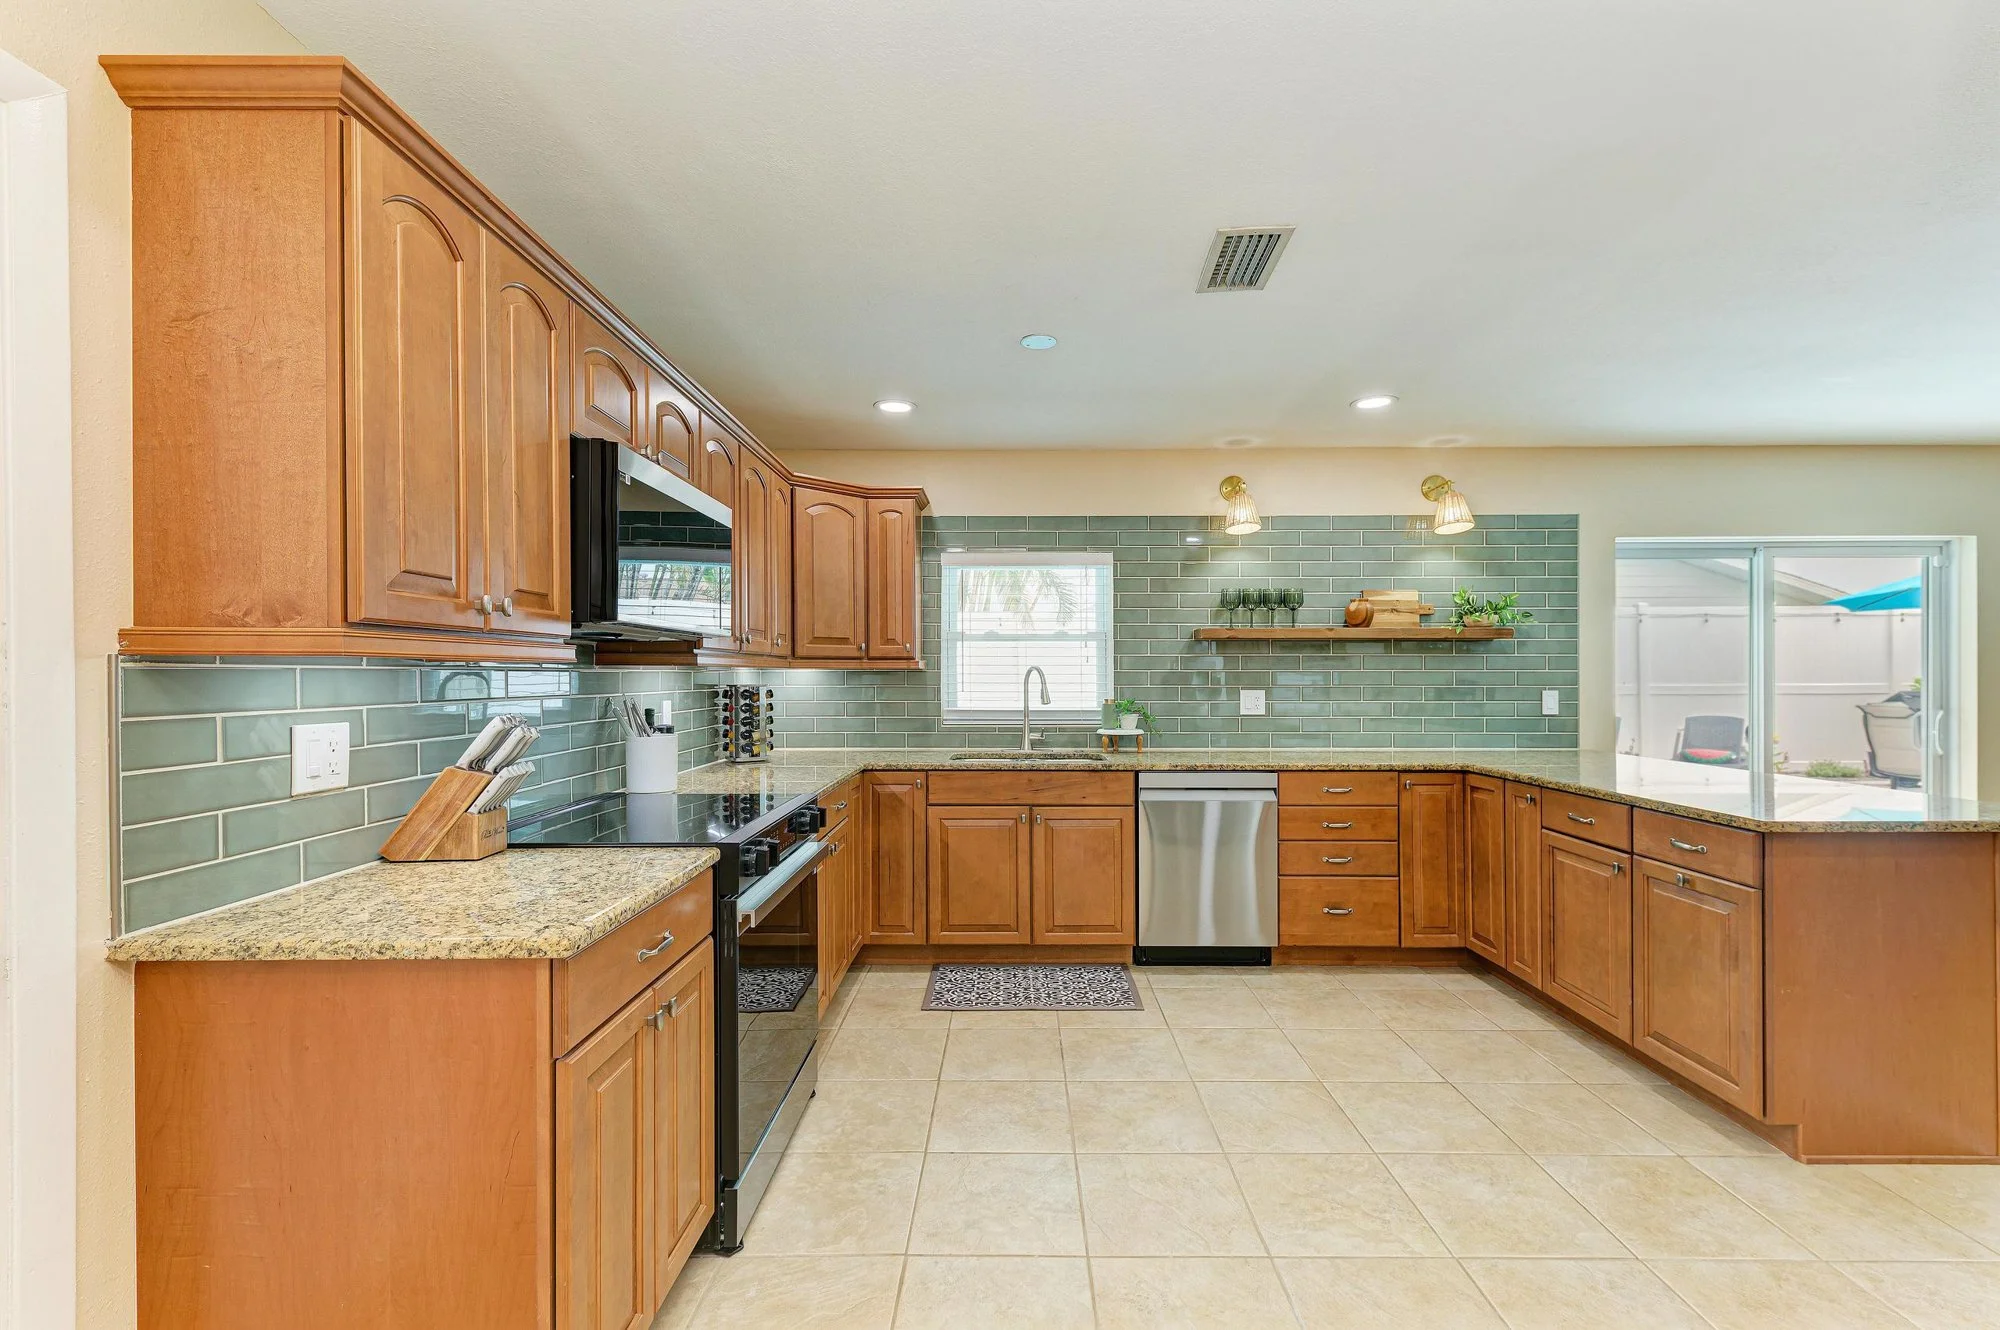
The tile color was the hardest thing for me to decide on. I wanted something fresh and modern, but that would still work with the color palette of the brown cabinets and granite counters. Originally, I planned to go with a white subway tile to keep it neutral, but then decided to go with a fun, but still neutral green color instead.
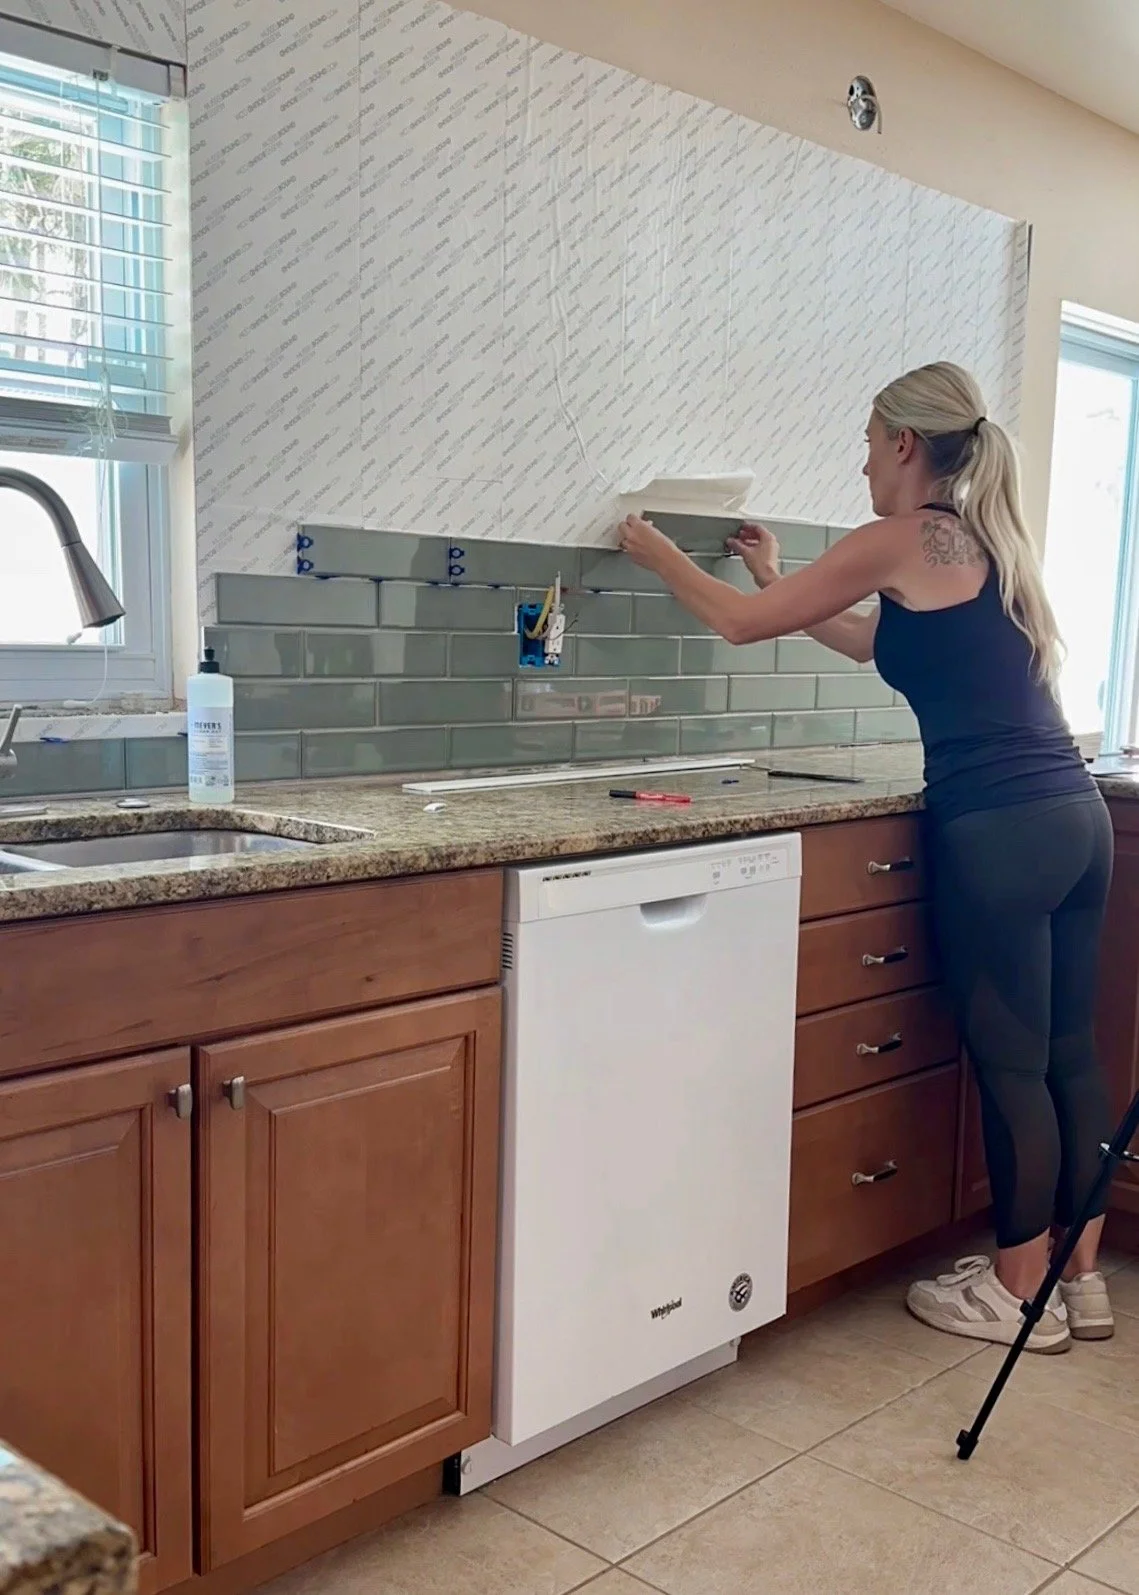
This green subway tile was a bit of a bold choice, but it gave the kitchen some much-needed visual interest, which it was lacking.
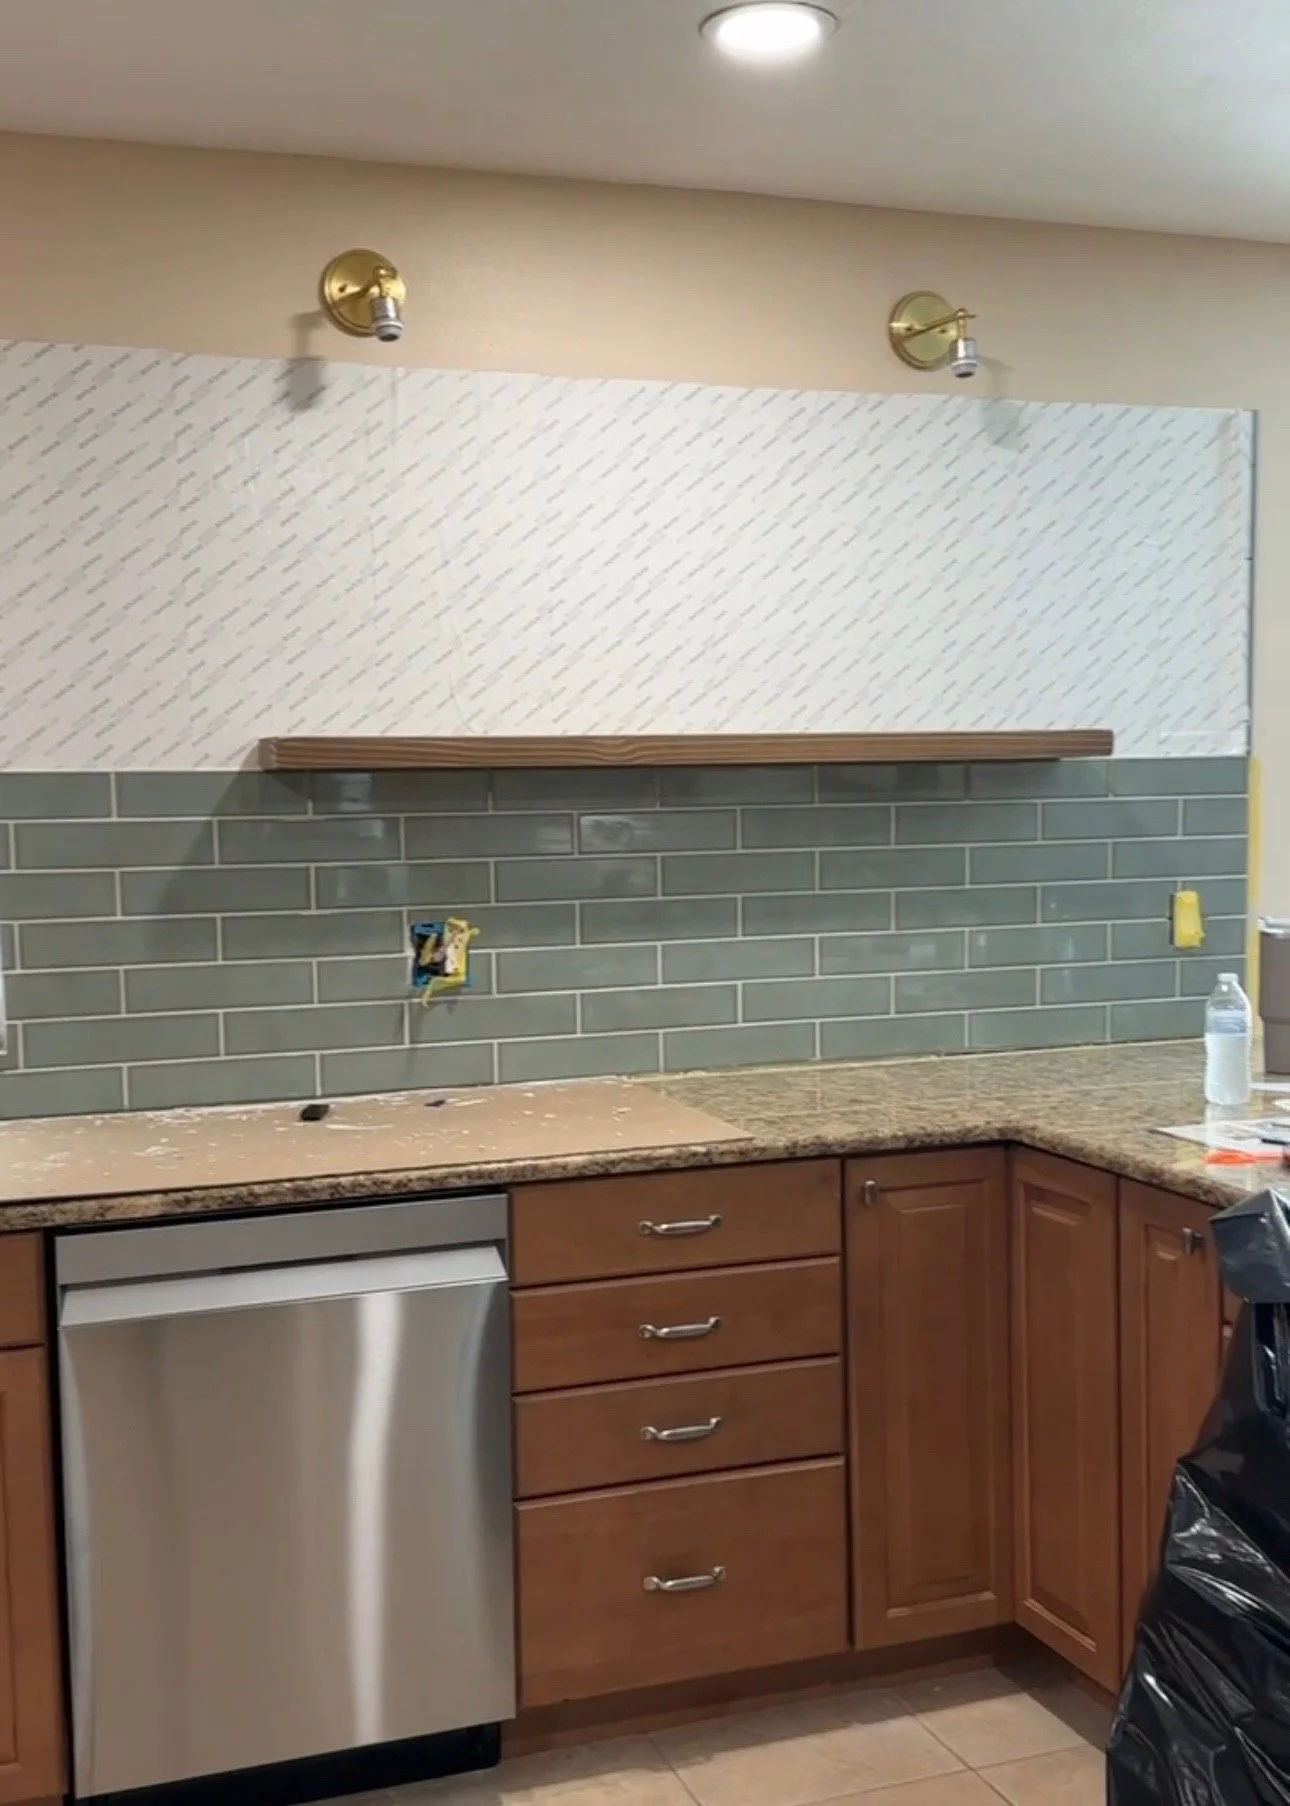
We also decided to bring the new tile up higher on the wall where we had removed the old cabinets and that helped modernize the look of the space as well. Updating a kitchen's backsplash is definitely one of the easiest ways to transform the look of a kitchen.
Open Shelving
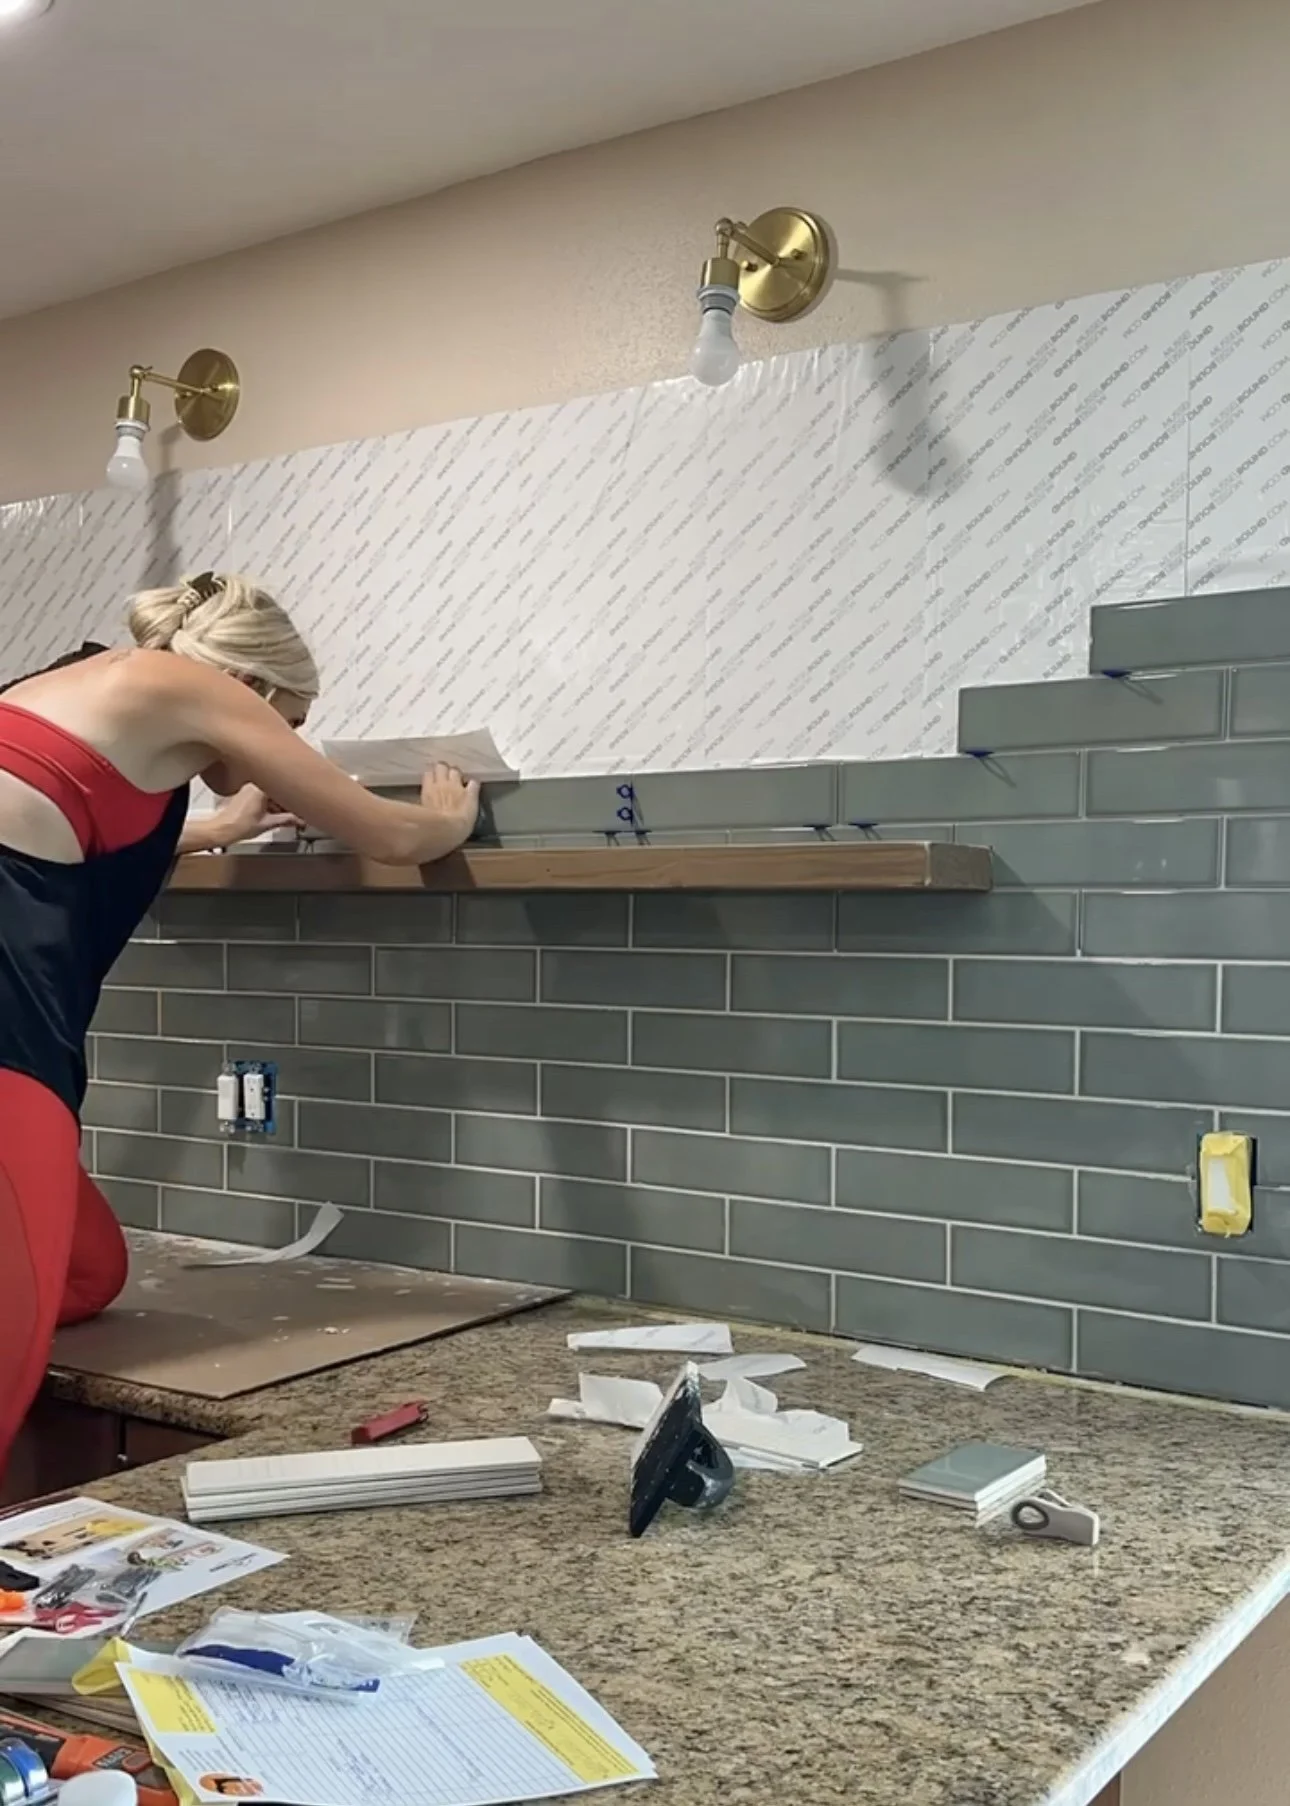
With the row of upper cabinets removed, it left the perfect space for a floating shelf. I tiled halfway up the empty wall, and then we installed the shelf. We chose a floating shelf from Dakota Timber Company in a color similar to the oak kitchen cabinets. It came with a flush mount bracket kit which was very easy to install. Once the new shelf was installed, we finished installing the backsplash tile up the wall.
Although the shelf is very sturdy and could hold stacks of dishware and cups, we planned to use it for more as a design element. It ended up becoming a focal point for the kitchen and my favorite spot in the kitchen.
Kitchen Appliances
The kitchen had mismatched appliances when we bought it. The refrigerator was newer and stainless steel, but the oven, washer, and microwave were white and very dated. We decided to keep the fridge and replace the other three appliances with new stainless steel ones.
Since this property is being used as a rental, we went with economical choices to stay on budget. I was really impressed with the Samsung stove we chose because it was both affordable and had a modern design that helped the kitchen feel a little more high-end.
Countertops
The kitchen had brown granite countertops. To be totally honest, this particular granite color and design is one of my least favorite. I would have loved to swap it out with new quartz counters, but again, they were in great shape, and we didn't want to extend our timeline to wait for new countertops.
The bright side was that due to the color and pattern of the granite, plus the durability of granite, we knew we wouldn't have to worry about rental guests staining or damaging them.
Lighting
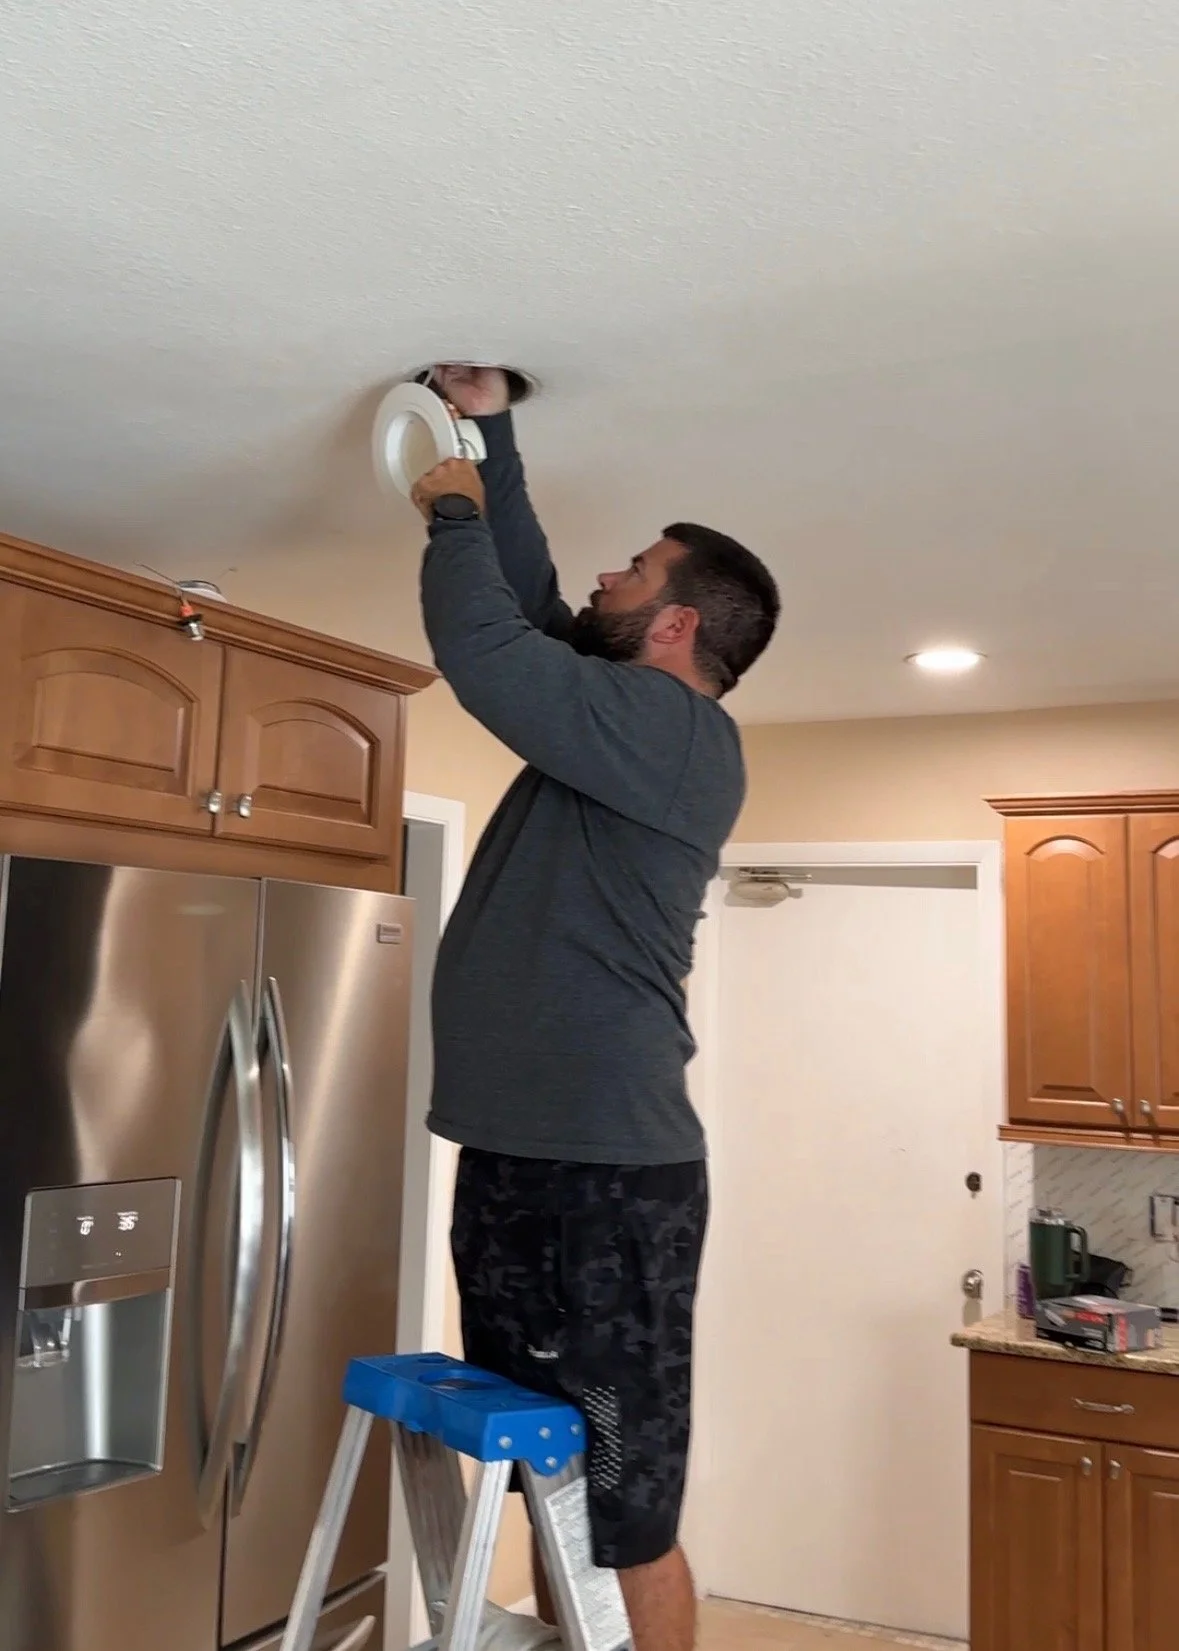
One of the most important changes we made to this kitchen (and every other room in this house) was to replace the light bulbs. Every light fixture in this home had lightbulbs that gave off very orange-hued light. This is due to using lightbulbs with very low Kelvins which give off a yellow to orange hue.
This yellow/orange light immediately dates any space, and I highly recommend you changing these out if you have them. We replaced the 2700K lightbulbs in this kitchen with 5000K lightbulbs, which give off a more neutral-white hue without any yellow tones.
In addition to replacing the lightbulbs in the ceiling, we added under-cabinet lighting under the remaining upper cabinets (with 5000K lightbulbs) and two sconce lights above the floating shelf. I went with rattan-style sconce lights to add some character and style to the space.
Additional Updates
Another way you can update the look of your kitchen is to add new hardware. We got lucky and were able to keep the existing cabinet hardware because they were already a contemporary style.
Replacing the kitchen sink and faucet are more updates you can do as well. The final additions we made to the kitchen were just decorative accents, which we added to the floating shelf and counters.
With these simple changes, we got the look of a modern kitchen without having to replace the wood cabinets. If your cabinets are in really good condition and you can't justify replacing them or if it's just not in the budget, I hope you can use these ideas to still give your kitchen a fresh look!


HEY THERE, I’M ASHLEY!
Here to inspire beginner DIYers!