
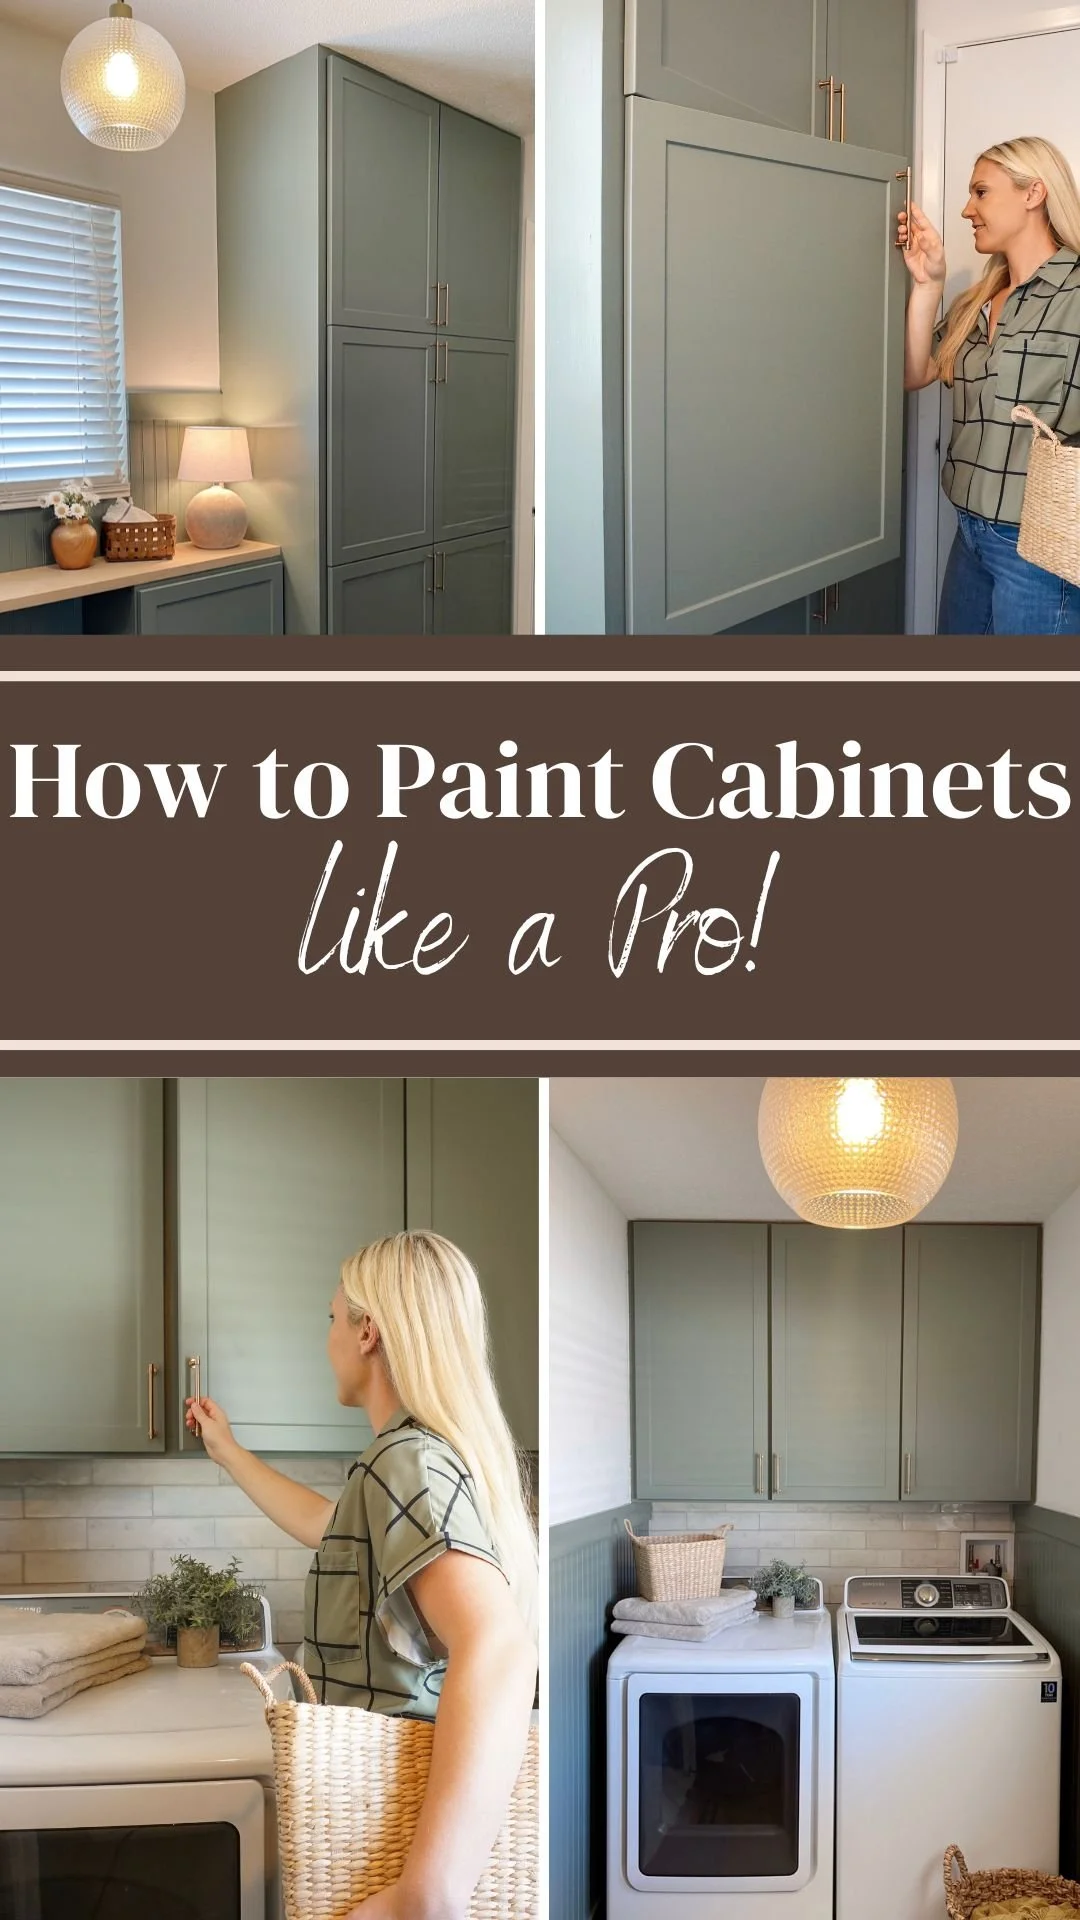
How to Paint Cabinets for Beginners
How to paint furniture or cabinets so they look like they were professionally done!
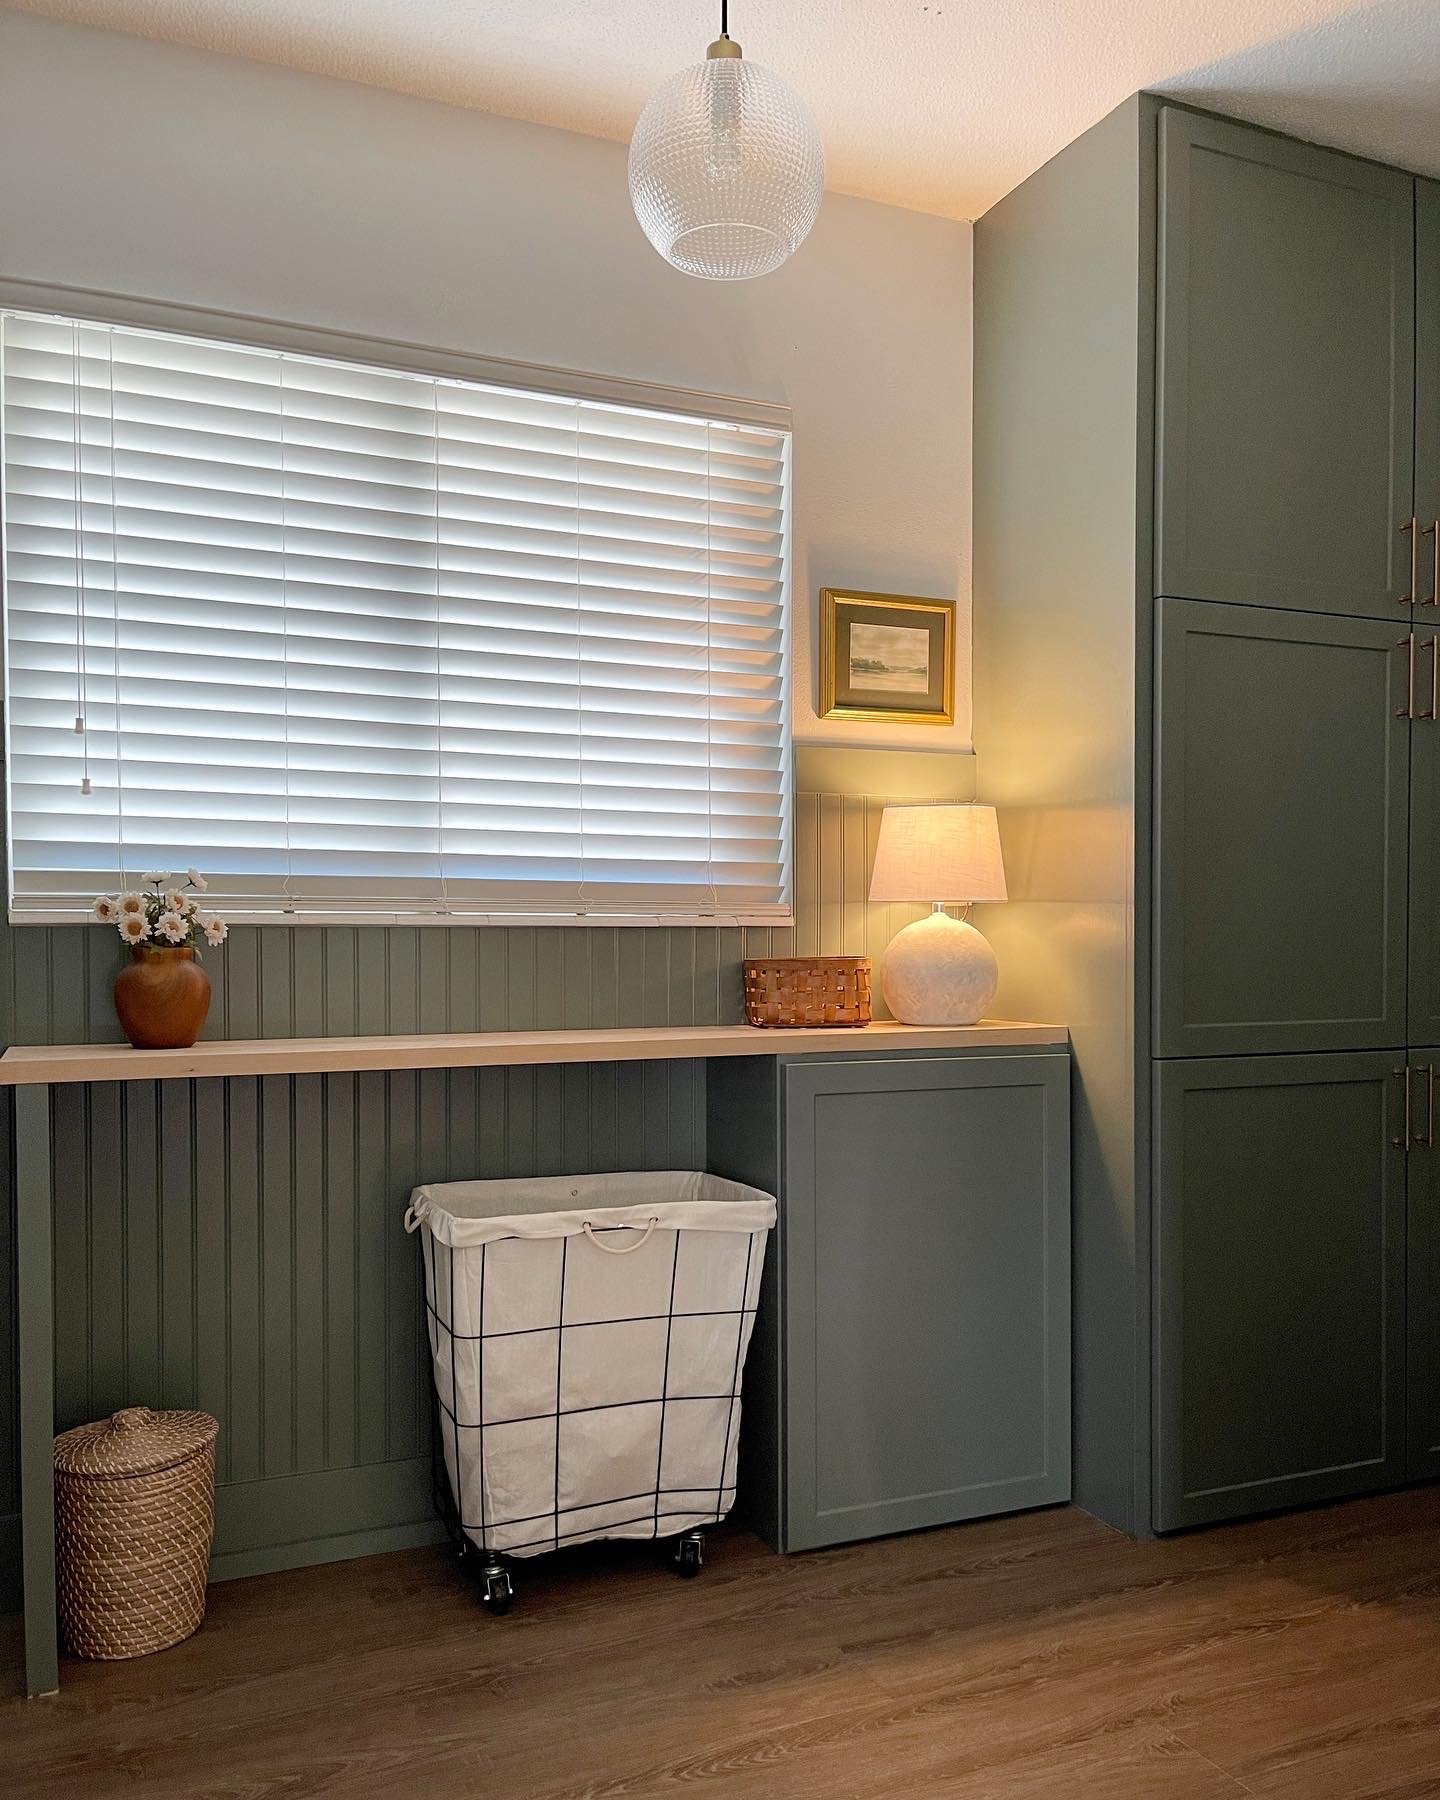
On my Instagram I have been sharing the process of me painting the TV console table that my husband and I built and I have been getting a ton of questions. In this blog post I will explain my go-to process for painting furniture and cabinets so that they look like they were professionally painted. I have used this method for a few years on bathroom vanities, cabinets, and many pieces of furniture.
Here is my step by step method on how I paint furniture and cabinets:
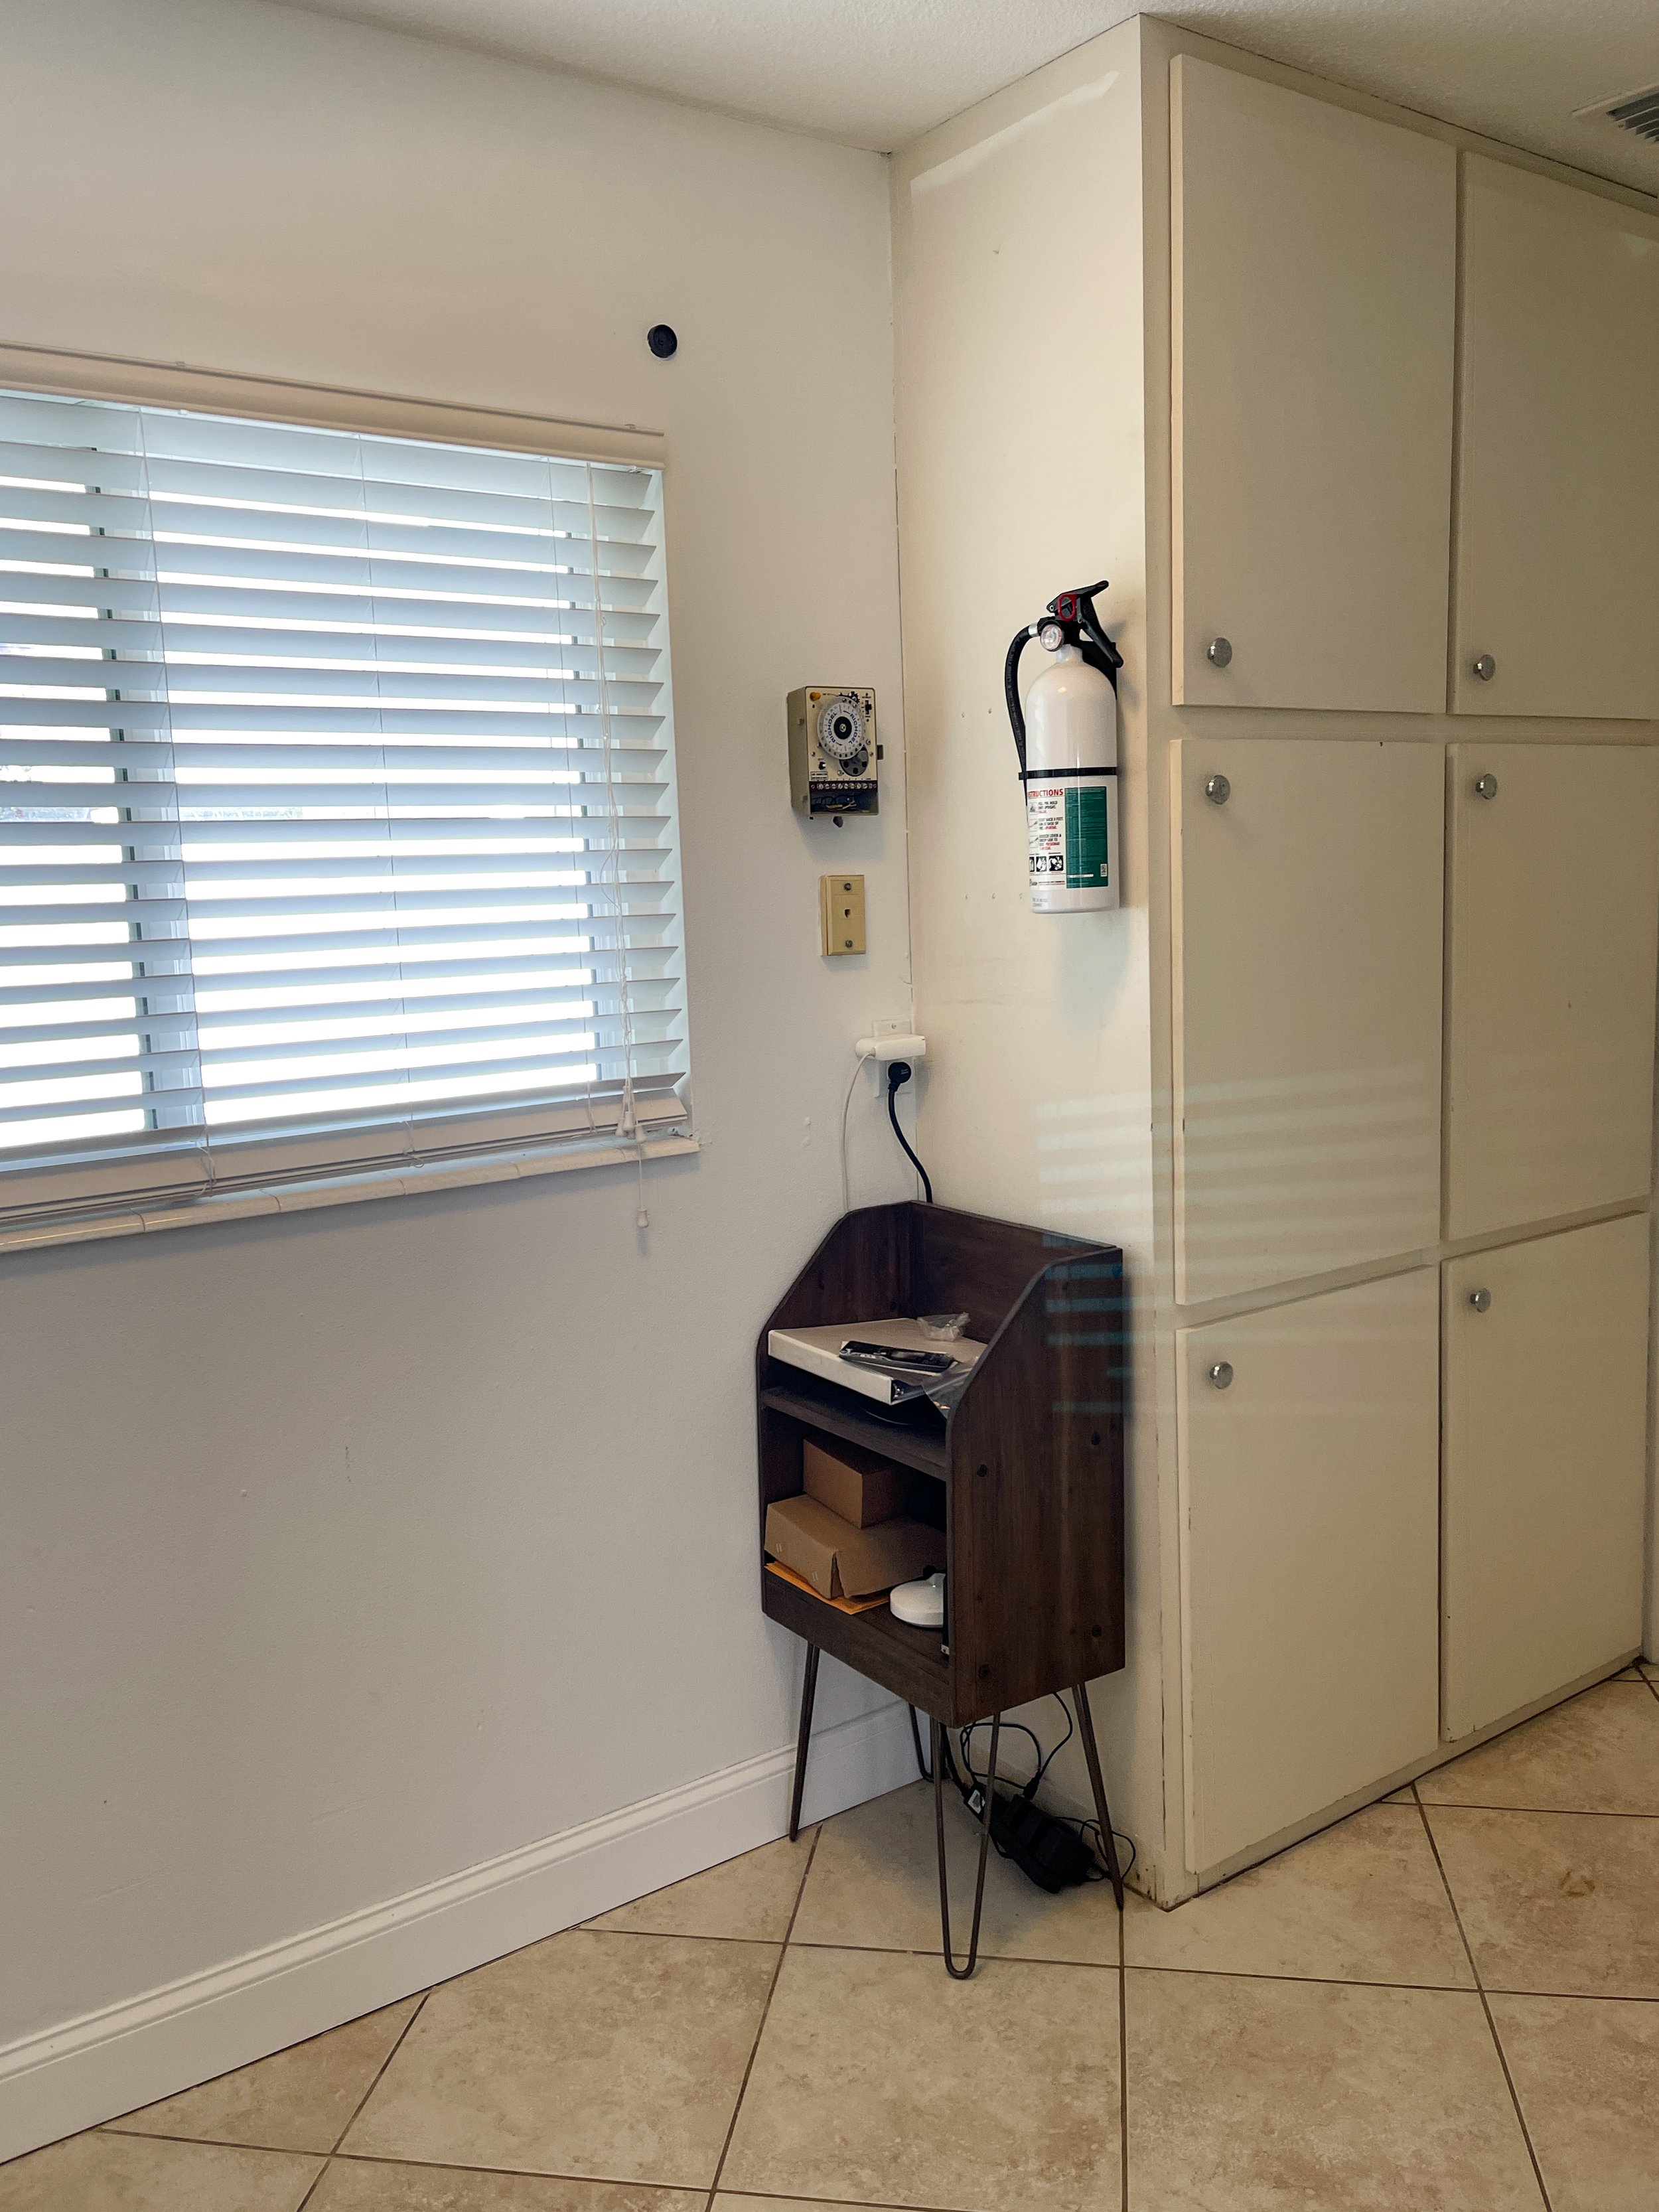
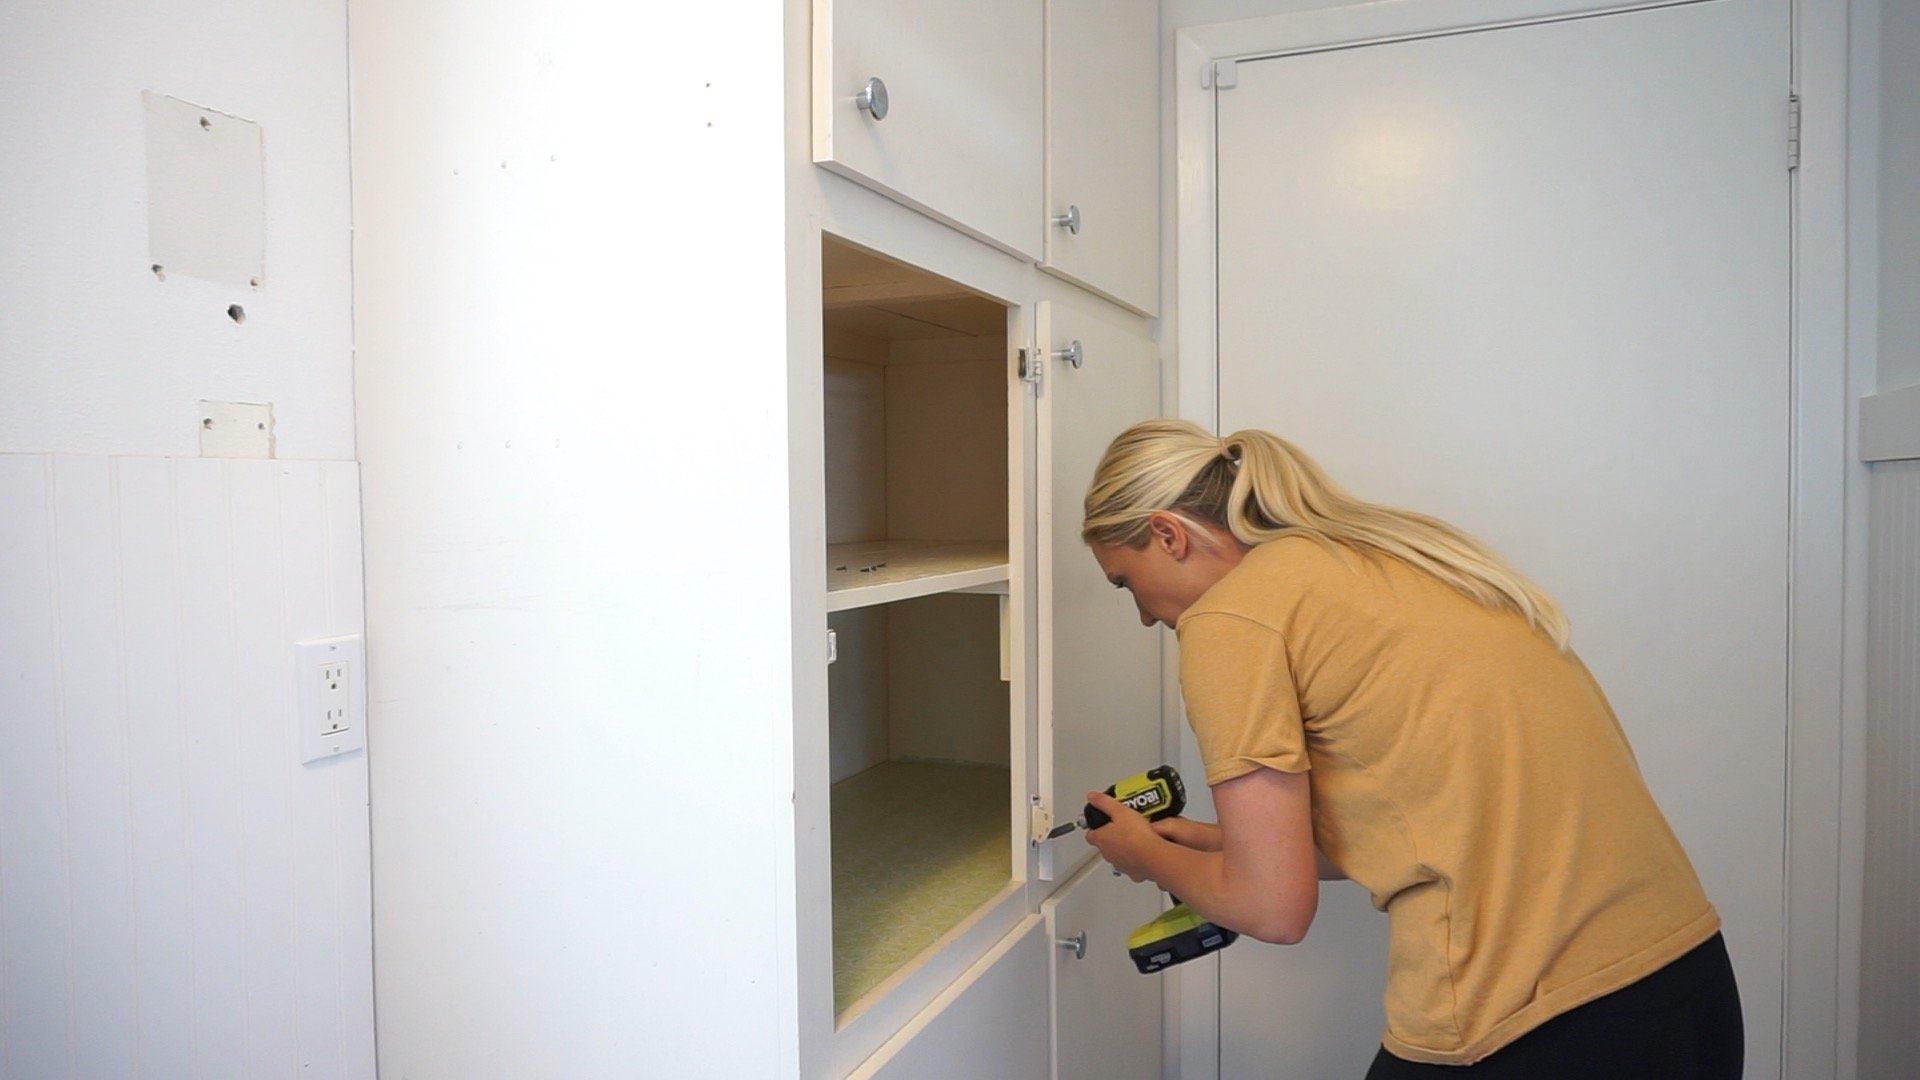
Step 1: Remove doors, drawers and hardware
You will need to remove all the doors, drawers, hinges, pulls, screws and any other hardware that exists. If you plan to reuse the doors, mark each door in pencil or with painters tape for where it belongs. If you plan to keep any of the hardware, keep them stored in ziplock bags that you have marked with a description of what the hardware is for.
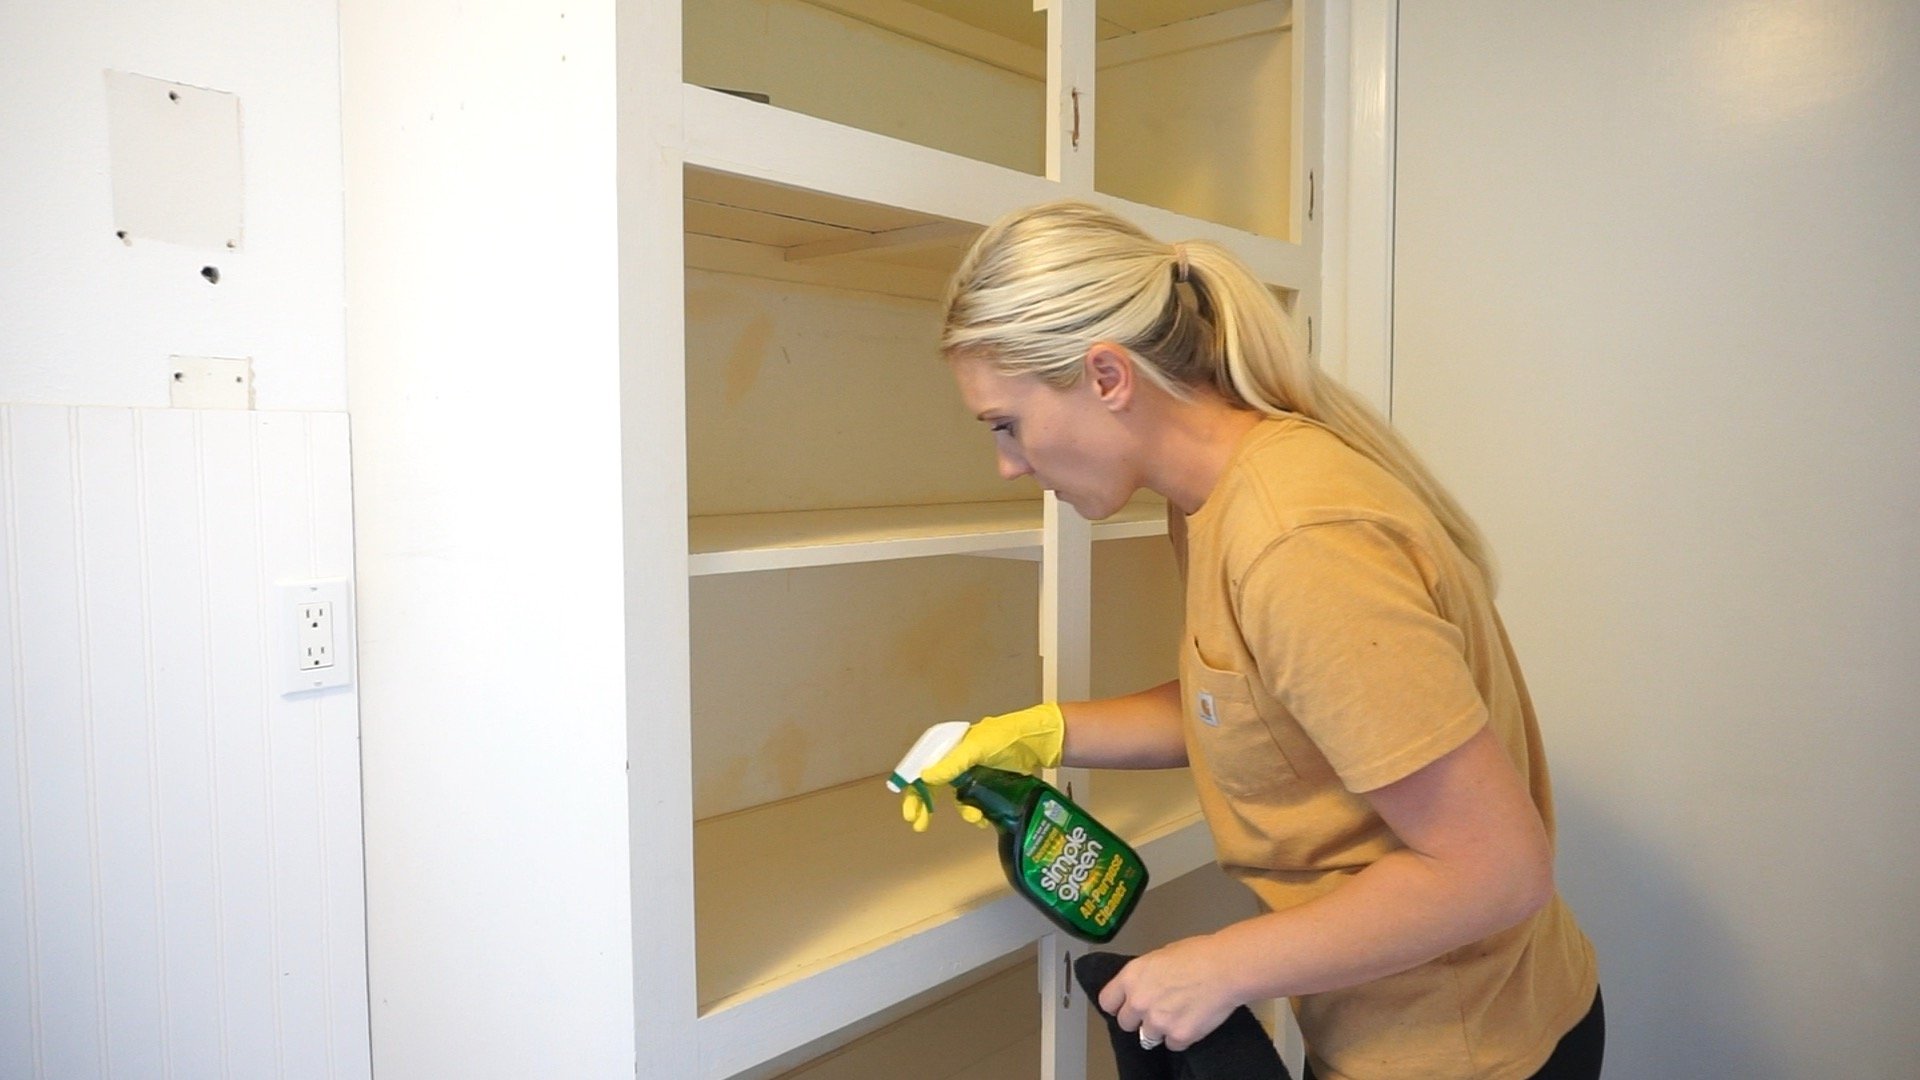
Step 2: Deep clean cabinets
This step is really only for old furniture or cabinets that are dirty and can be skipped.
Give your cabinets a deep clean to remove any dirt, grease or build-up. Make sure to clean all sides of the cabinet boxes, face frames, and doors if you are keeping them. I recommend using Simple Green cleaner and an old rag.
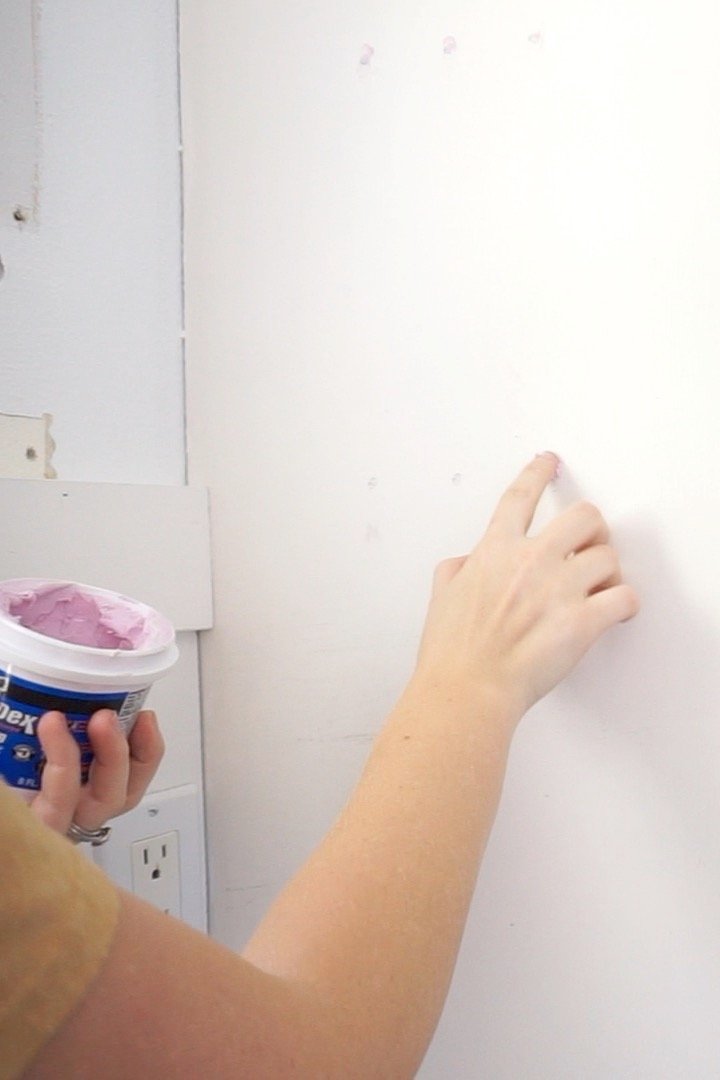
Step 3: Fill holes and repair damage
If you will be using new hardware or hinges that will go in a new place on the cabinets, you will need to fill the old screw holes with filler. If you plan to reuse the hinges and hardware then you do not need to fill in any screw holes. But if your cabinets or furniture have any deep dents, holes or scratches you will want to fill those in. I like to use DryDex Spackle for painted surfaces and Minwax Wood Filler on natural wood surfaces. I apply it using my finger and smooth it out using a putty knife.

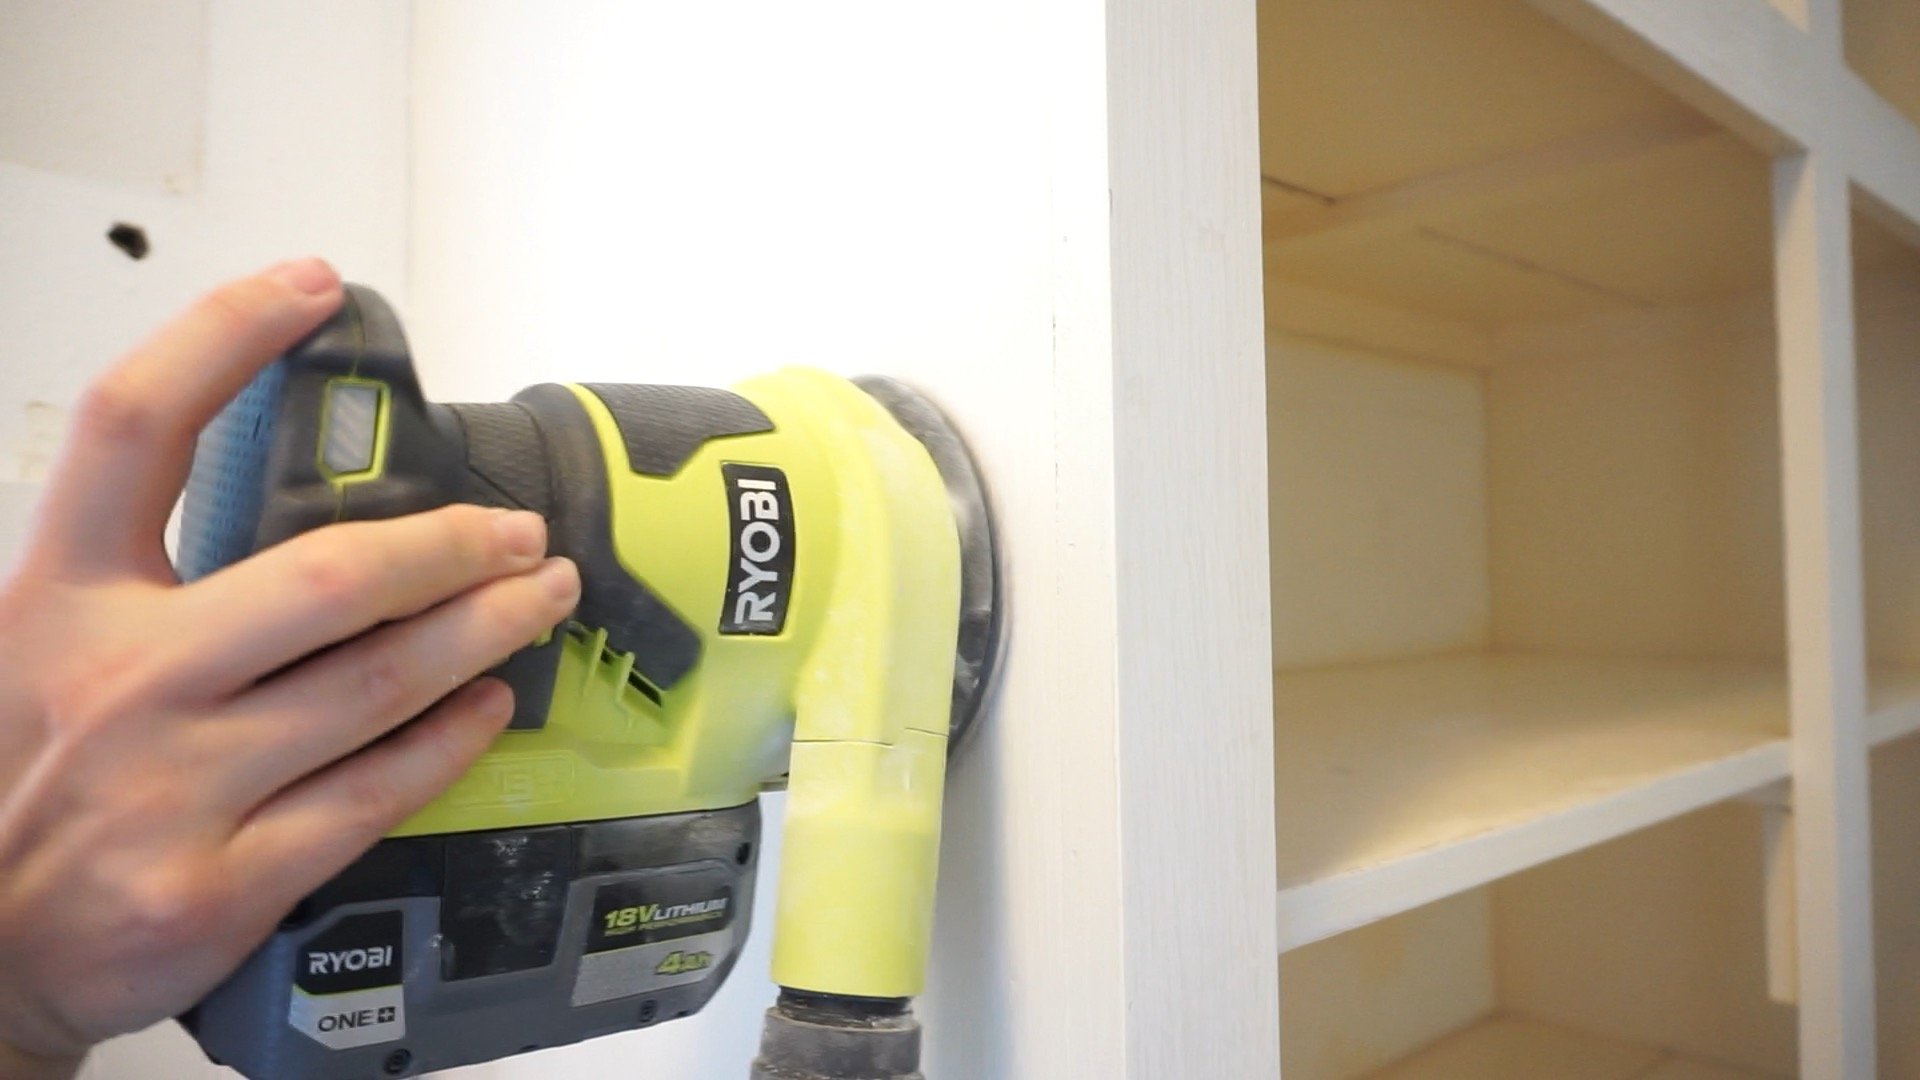
Step 4: Sanding furniture, cabinets and doors
It is time to sand down your furniture or cabinet boxes, face frames, and cabinet doors. I recommend using an orbital sander and attach it to a shop vac if possible to reduce the amount of dust. I recommend using a 220 grit sandpaper to sand everything down. You do not need to completely remove any old existing paint or clear lacquer.
You want to sand until the old existing paint or lacquer is dull and hazy and the sheen removed. The only time you need to completely sand off the old finish is if you plan to stain the natural wood. In that case, I recommend starting with a 120 grit sandpaper first to sand off the old existing finish and then sanding a second time with 220 grit to get a smooth finish on the wood.
If your piece is made of laminate or fake wood veneer, you only need to lightly sand with the 220 grit. It’s recommend to wear eye, ear, and breathing protection while sanding.
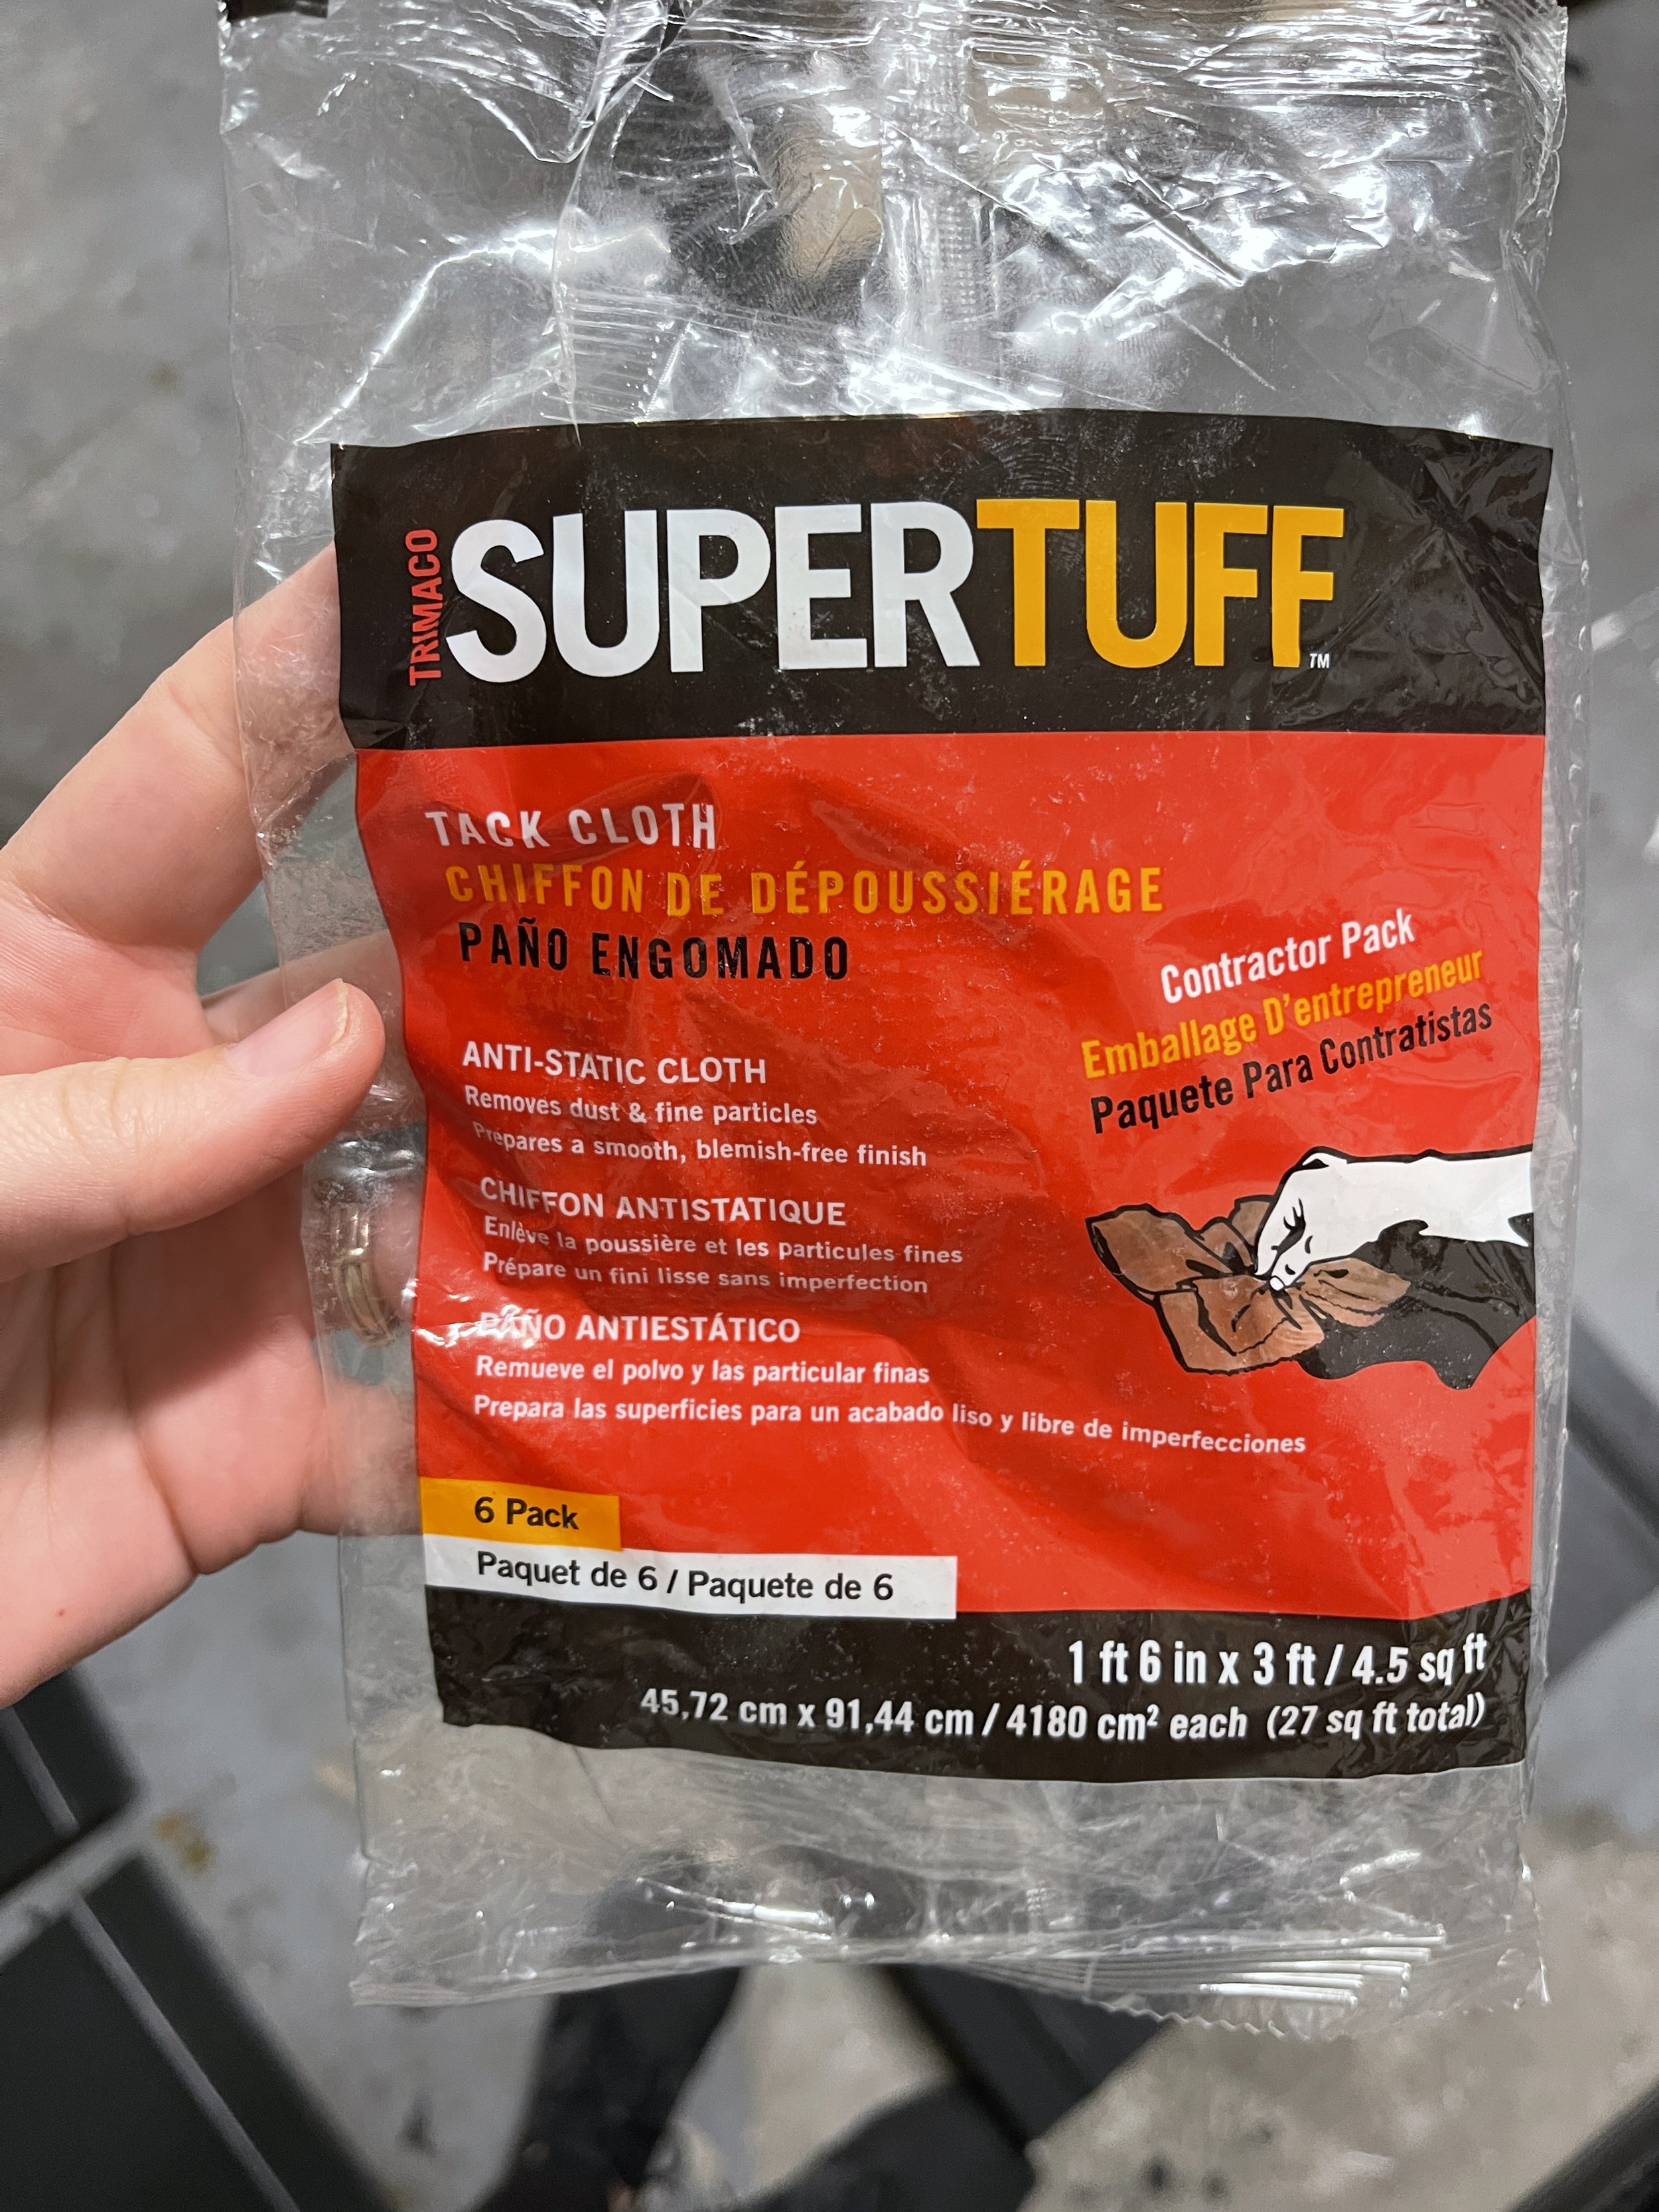
Step 5: Final cleaning and prep before paint
Once sanding is complete you will want to wipe everything down using either a tack cloth or a lightly damp rag. You will want to try and remove all the dust from all surfaces. If you are working with cabinets, I recommend wiping everything down with TSP solution prior to painting.
This is a special cleaning solution that is specifically made to prep a surface before painting. This can be purchased at any hardware store or online. Follow the bottle’s directions for mixing, application, and safety precautions. Use a clean rag, dip it in a bowl of your TSP solution and wipe down all your cabinet boxes, face frames, and cabinet doors.
Step 6: Apply first coat of paint
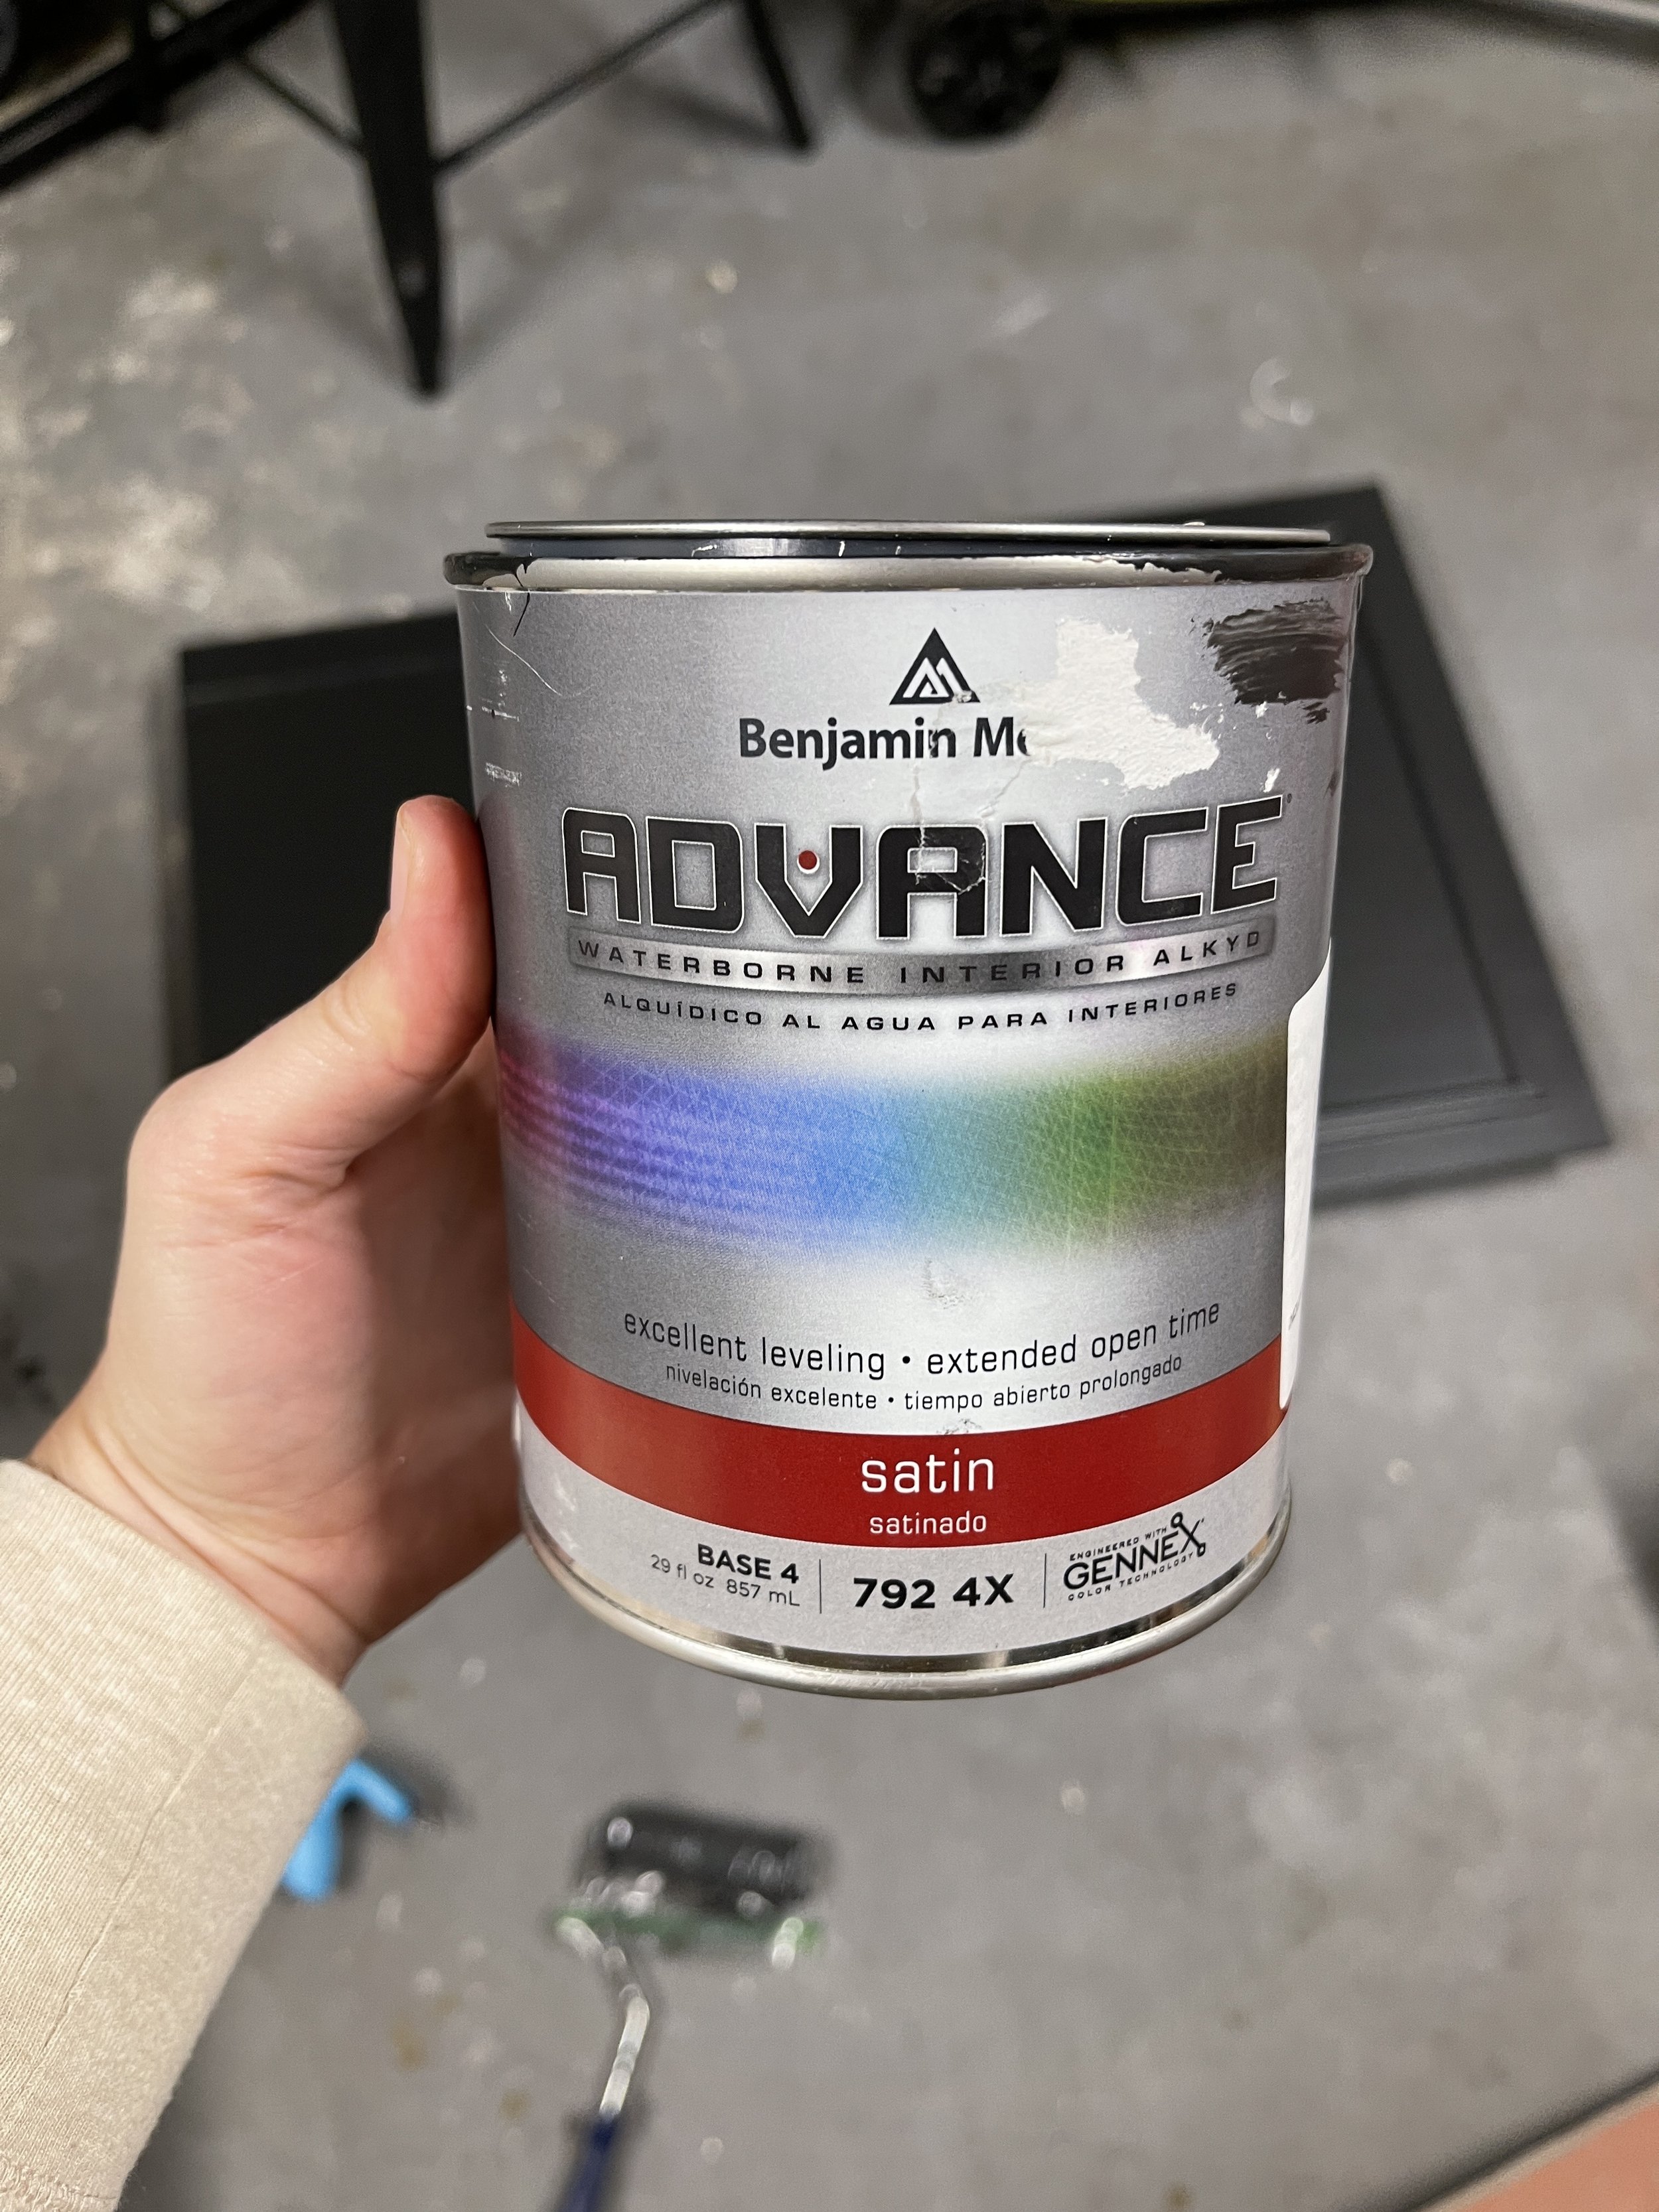
I recommend using a paint that is specifically made for cabinets or furniture. Many brands make them but I like to use Sherwin Williams Urethane Enamel or Benjamin Moore Advance paint. Ask your hardware store what they have that is specifically made for painting cabinets.
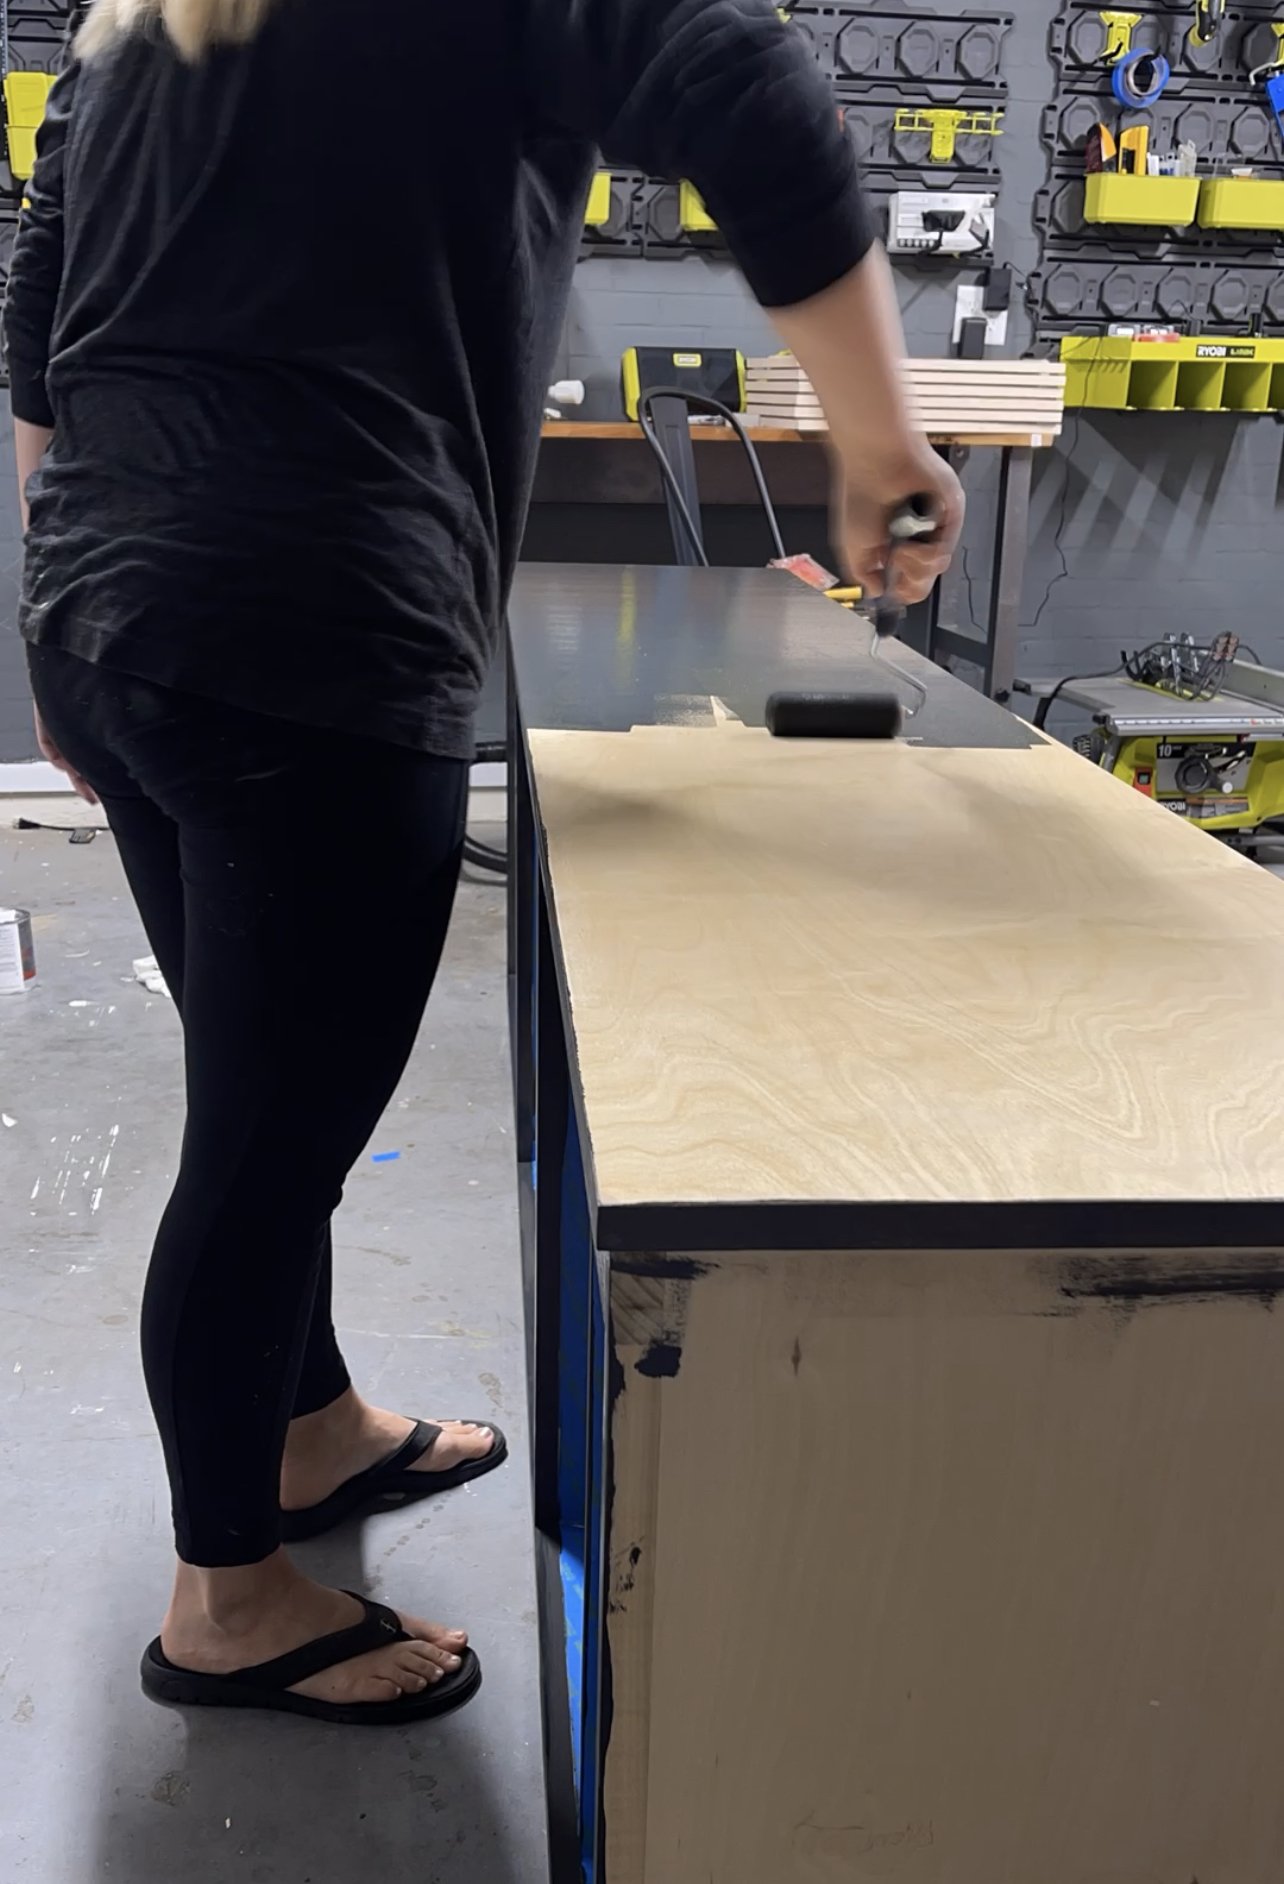
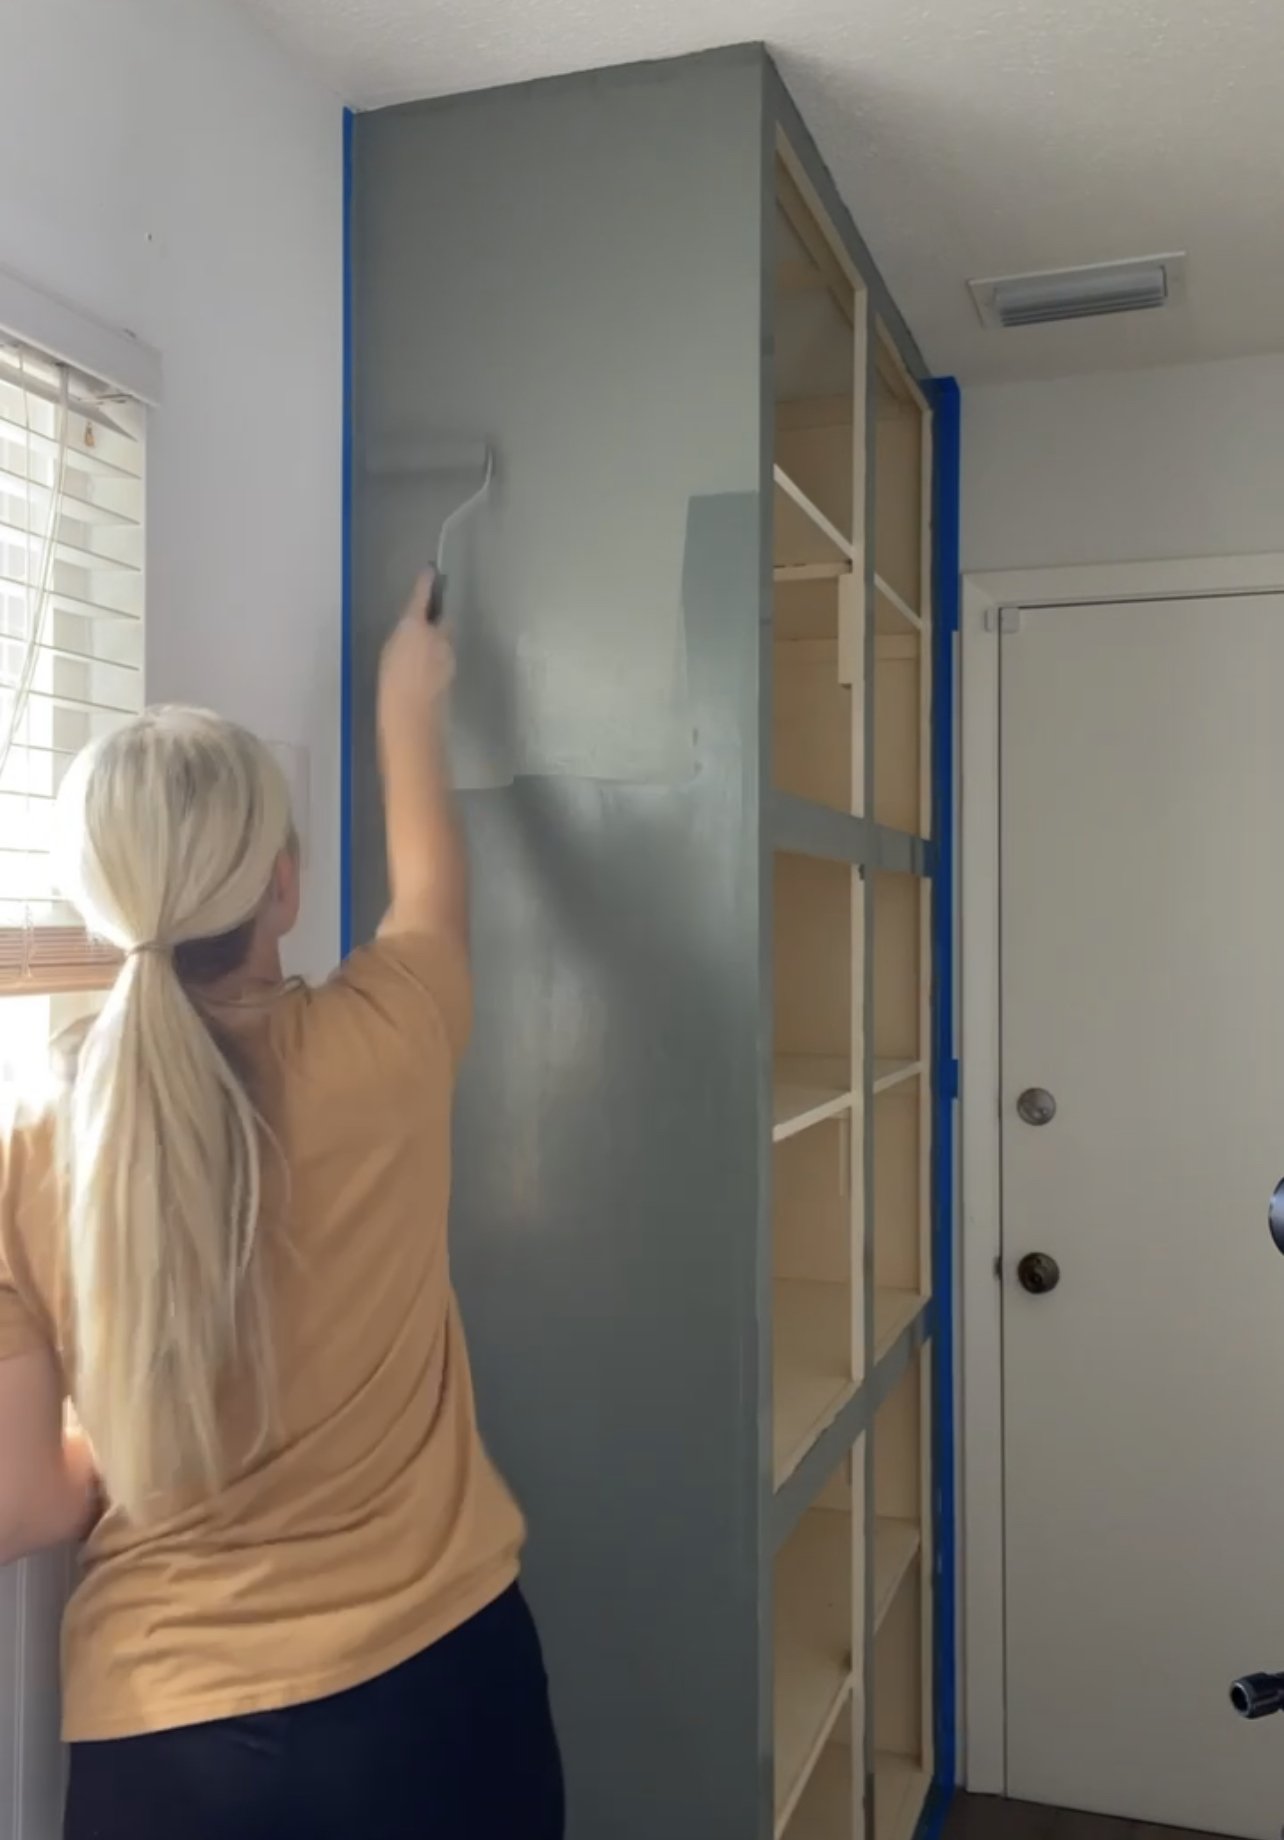
You will want to use a high quality angled brush to paint all the edges or small areas and a firm foam roller to roll all the flat surfaces. You can also use a paint sprayer if you have one but it is not required. You will want to get a full coat of paint on all your surfaces and then allow it to dry for a minimum of 24 hours.
**If you are painting something that is laminate, plastic, or a super glossy slick fake veneer surface, then I recommend painting a coat of bonding primer first like Zinsser BIN shellac primer. If your project is not made of one of those materials, you can skip the primer but make sure you are using a paint+primer in one for your paint.
Step 7: Sanding first coat of paint
Once the first coat of paint is completely dry you will use a 320-400 grit sanding block to lightly sand all the painted surfaces by hand. You are not trying to remove any paint, you just want to achieve a hazy look. After sanding, wipe down all surfaces with a tack cloth or a very lightly damp rag to remove all the dust.

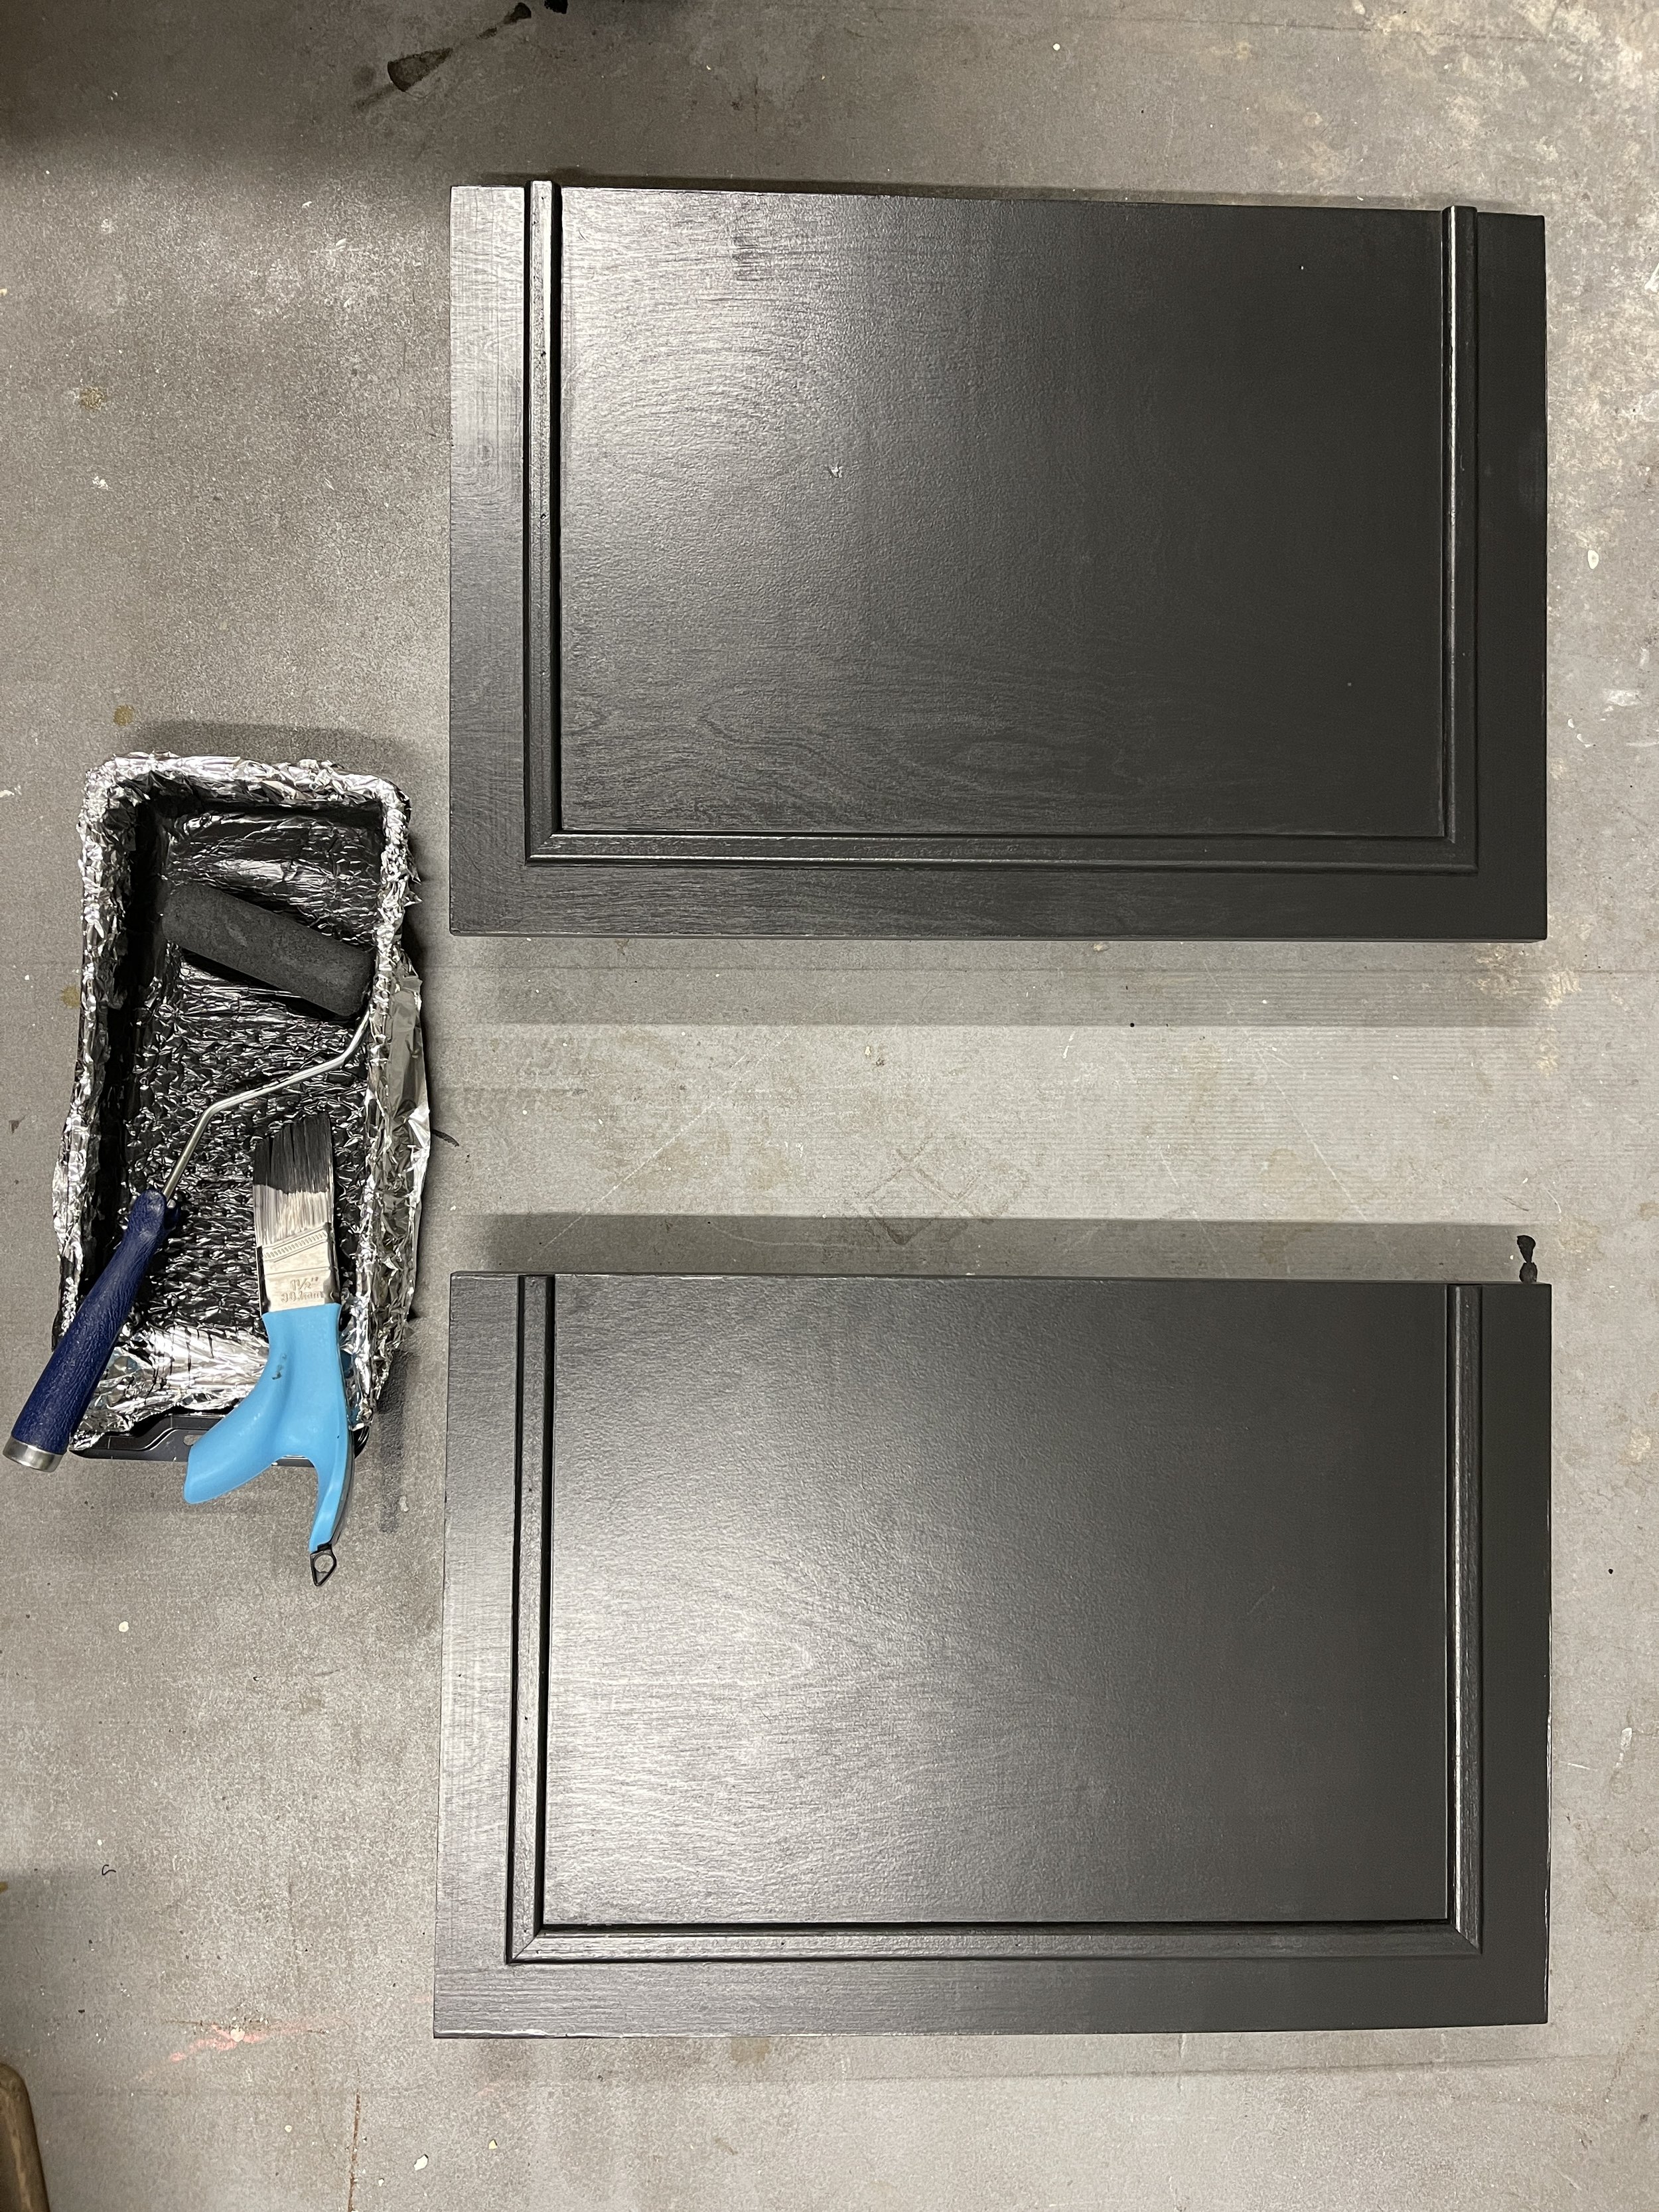
Step 8: Apply final coat of paint
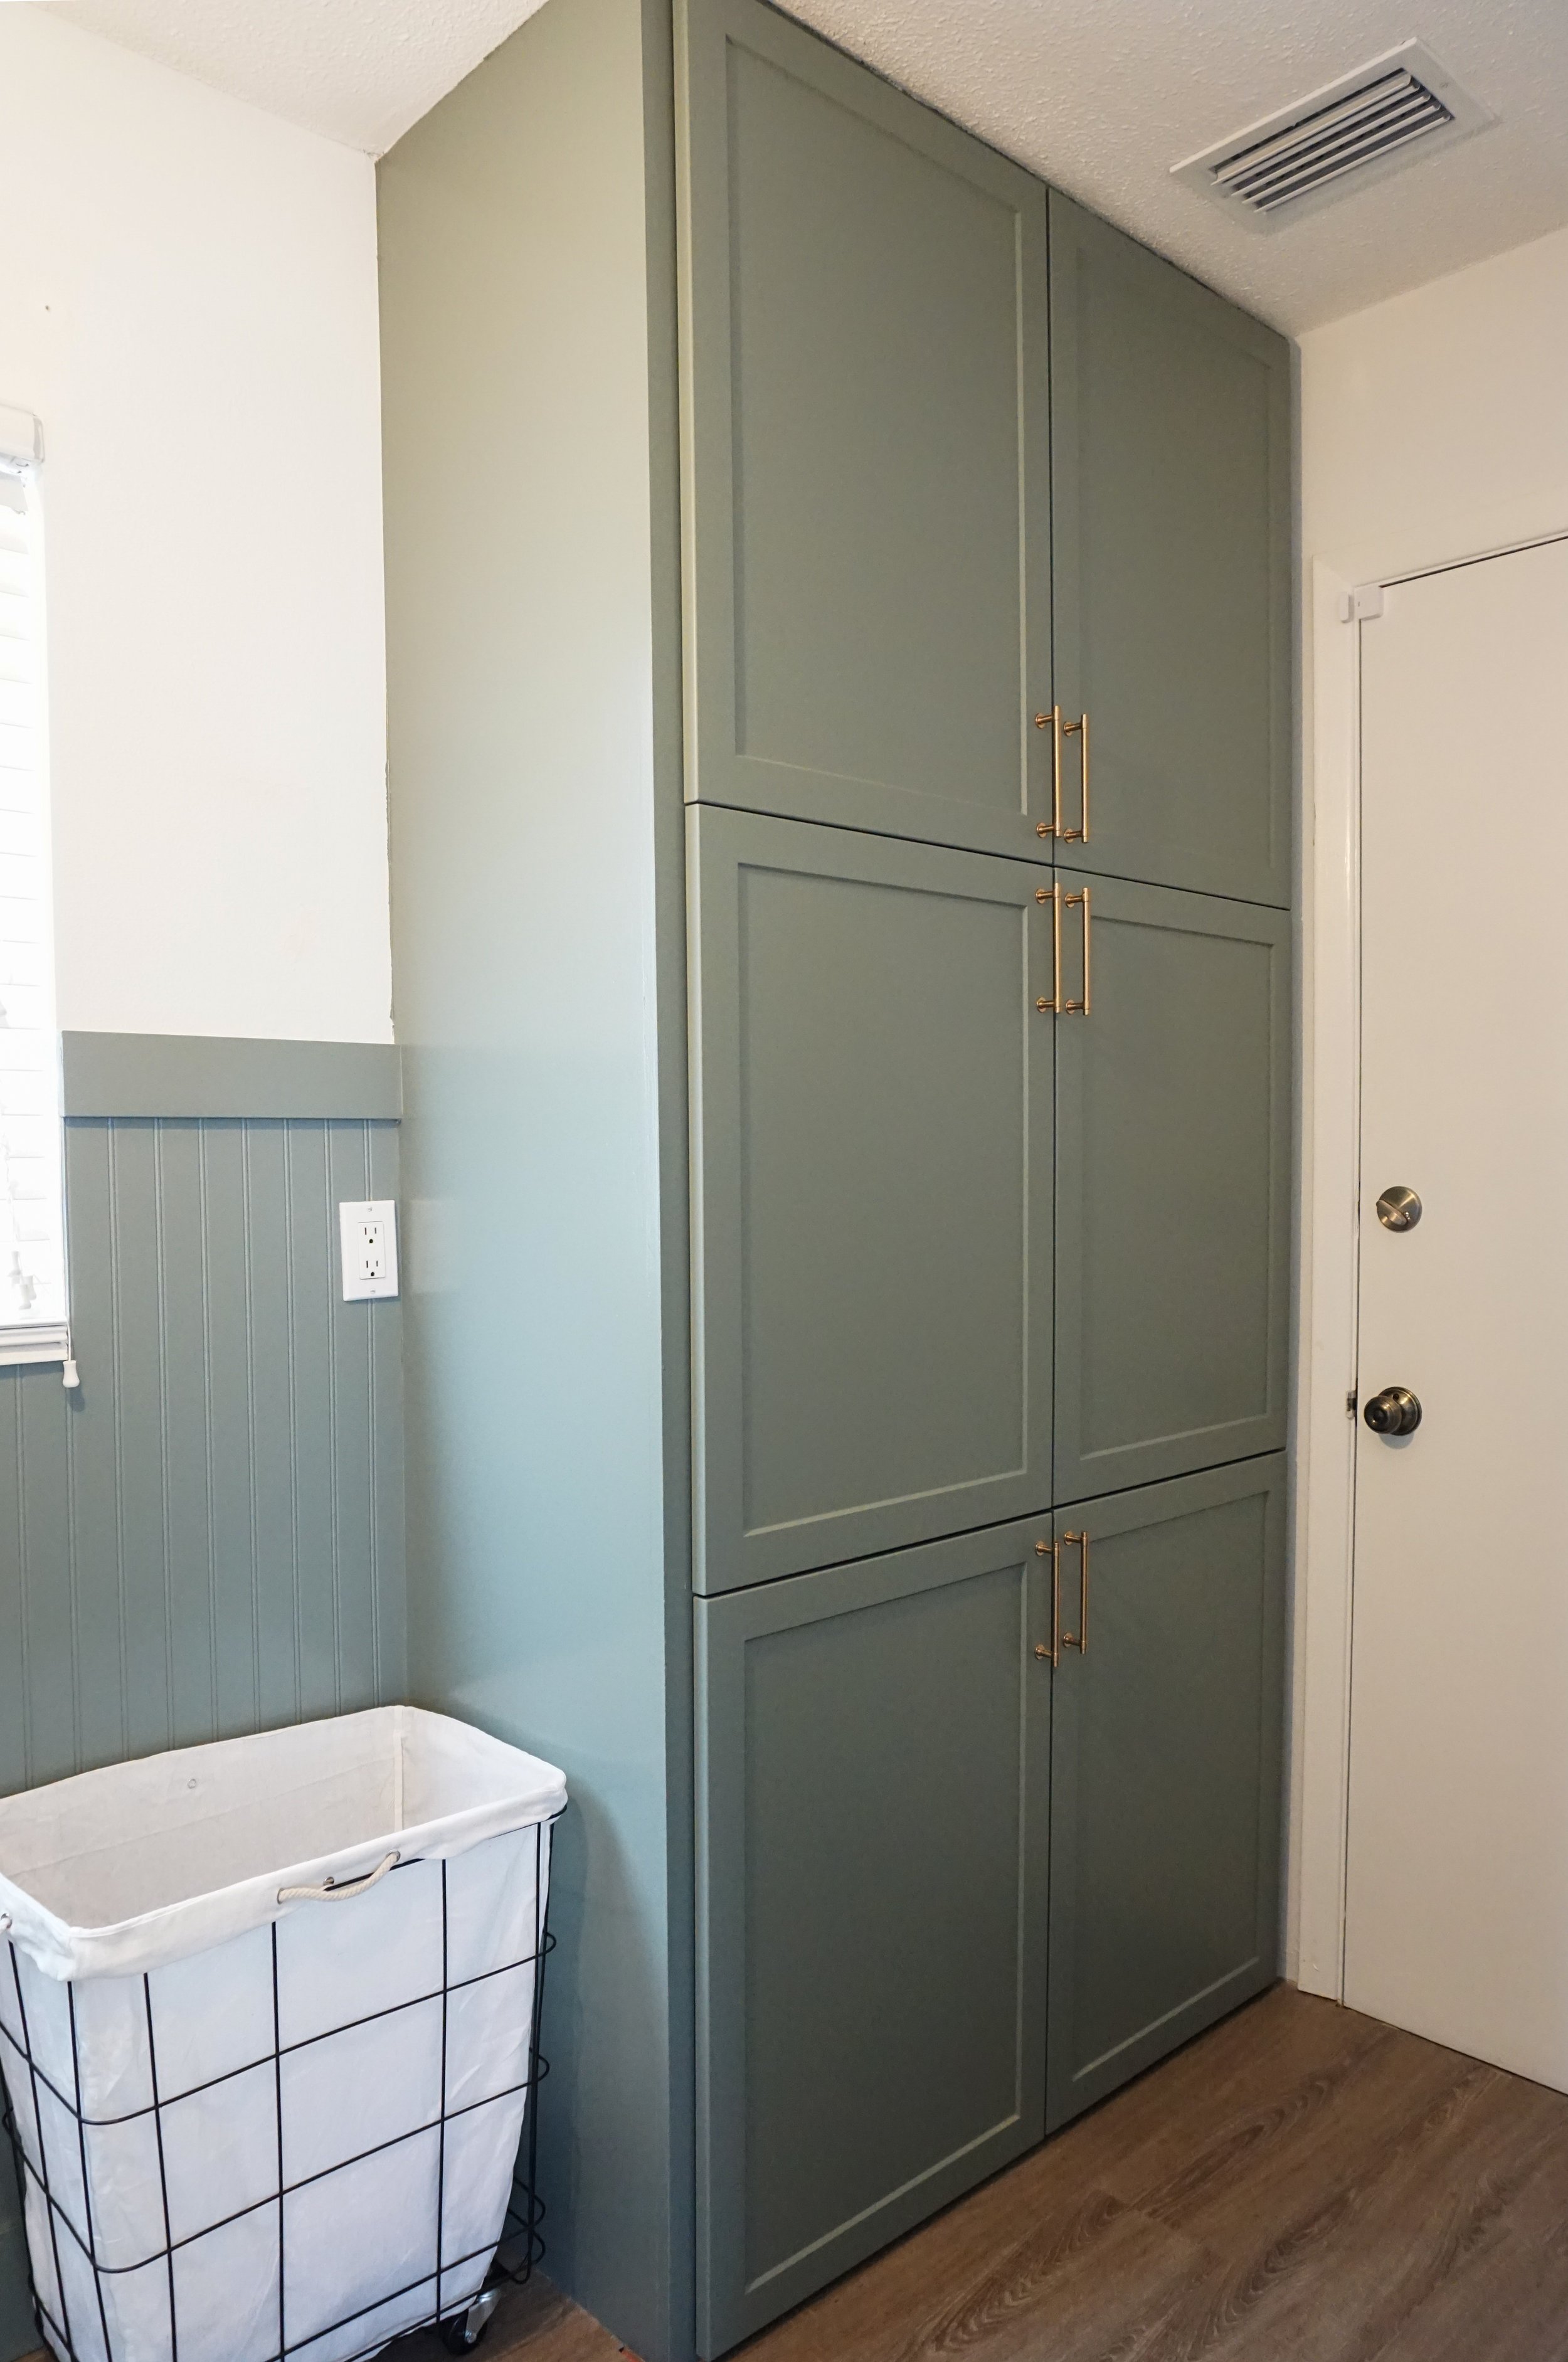
You will paint all the furniture or cabinet surfaces again using your angled brush and firm foam roller. Once all surfaces are painted, allow a full 5-7 days for the paint to fully dry and cure. The longer you can wait, the better. I can’t stress enough how important it is to allow a full 5-7 days of drying before reinstalling hardware, doors, etc.
The paint will feel completely dry to the touch but it takes a week for the paint to fully cure. Then you can reinstall all the cabinet doors and hardware. Putting the doors on before the paint has fully dried and cured will cause the doors to stick to the face frames and eventually pull the paint off the face frames.
Last, let’s talk about clear top coats. This is a debated topic. It is totally optional to apply a clear Polycrylic top coat after your paint has cured for 5-7 days. If you are using a high quality cabinet paint, I do not think it is as necessary to apply a Polycryic top coat. For my laundry room cabinets and our TV console table that we recently painted, I did not use Polycrylic on either. If you do decide to apply a Polycrylic top coat, I recommend used a foam brush and a foam roller to apply it and allowing 2-3 days for it to dry and cure.
Materials Needed:


HEY THERE, I’M ASHLEY!
Here to inspire beginner DIYers!