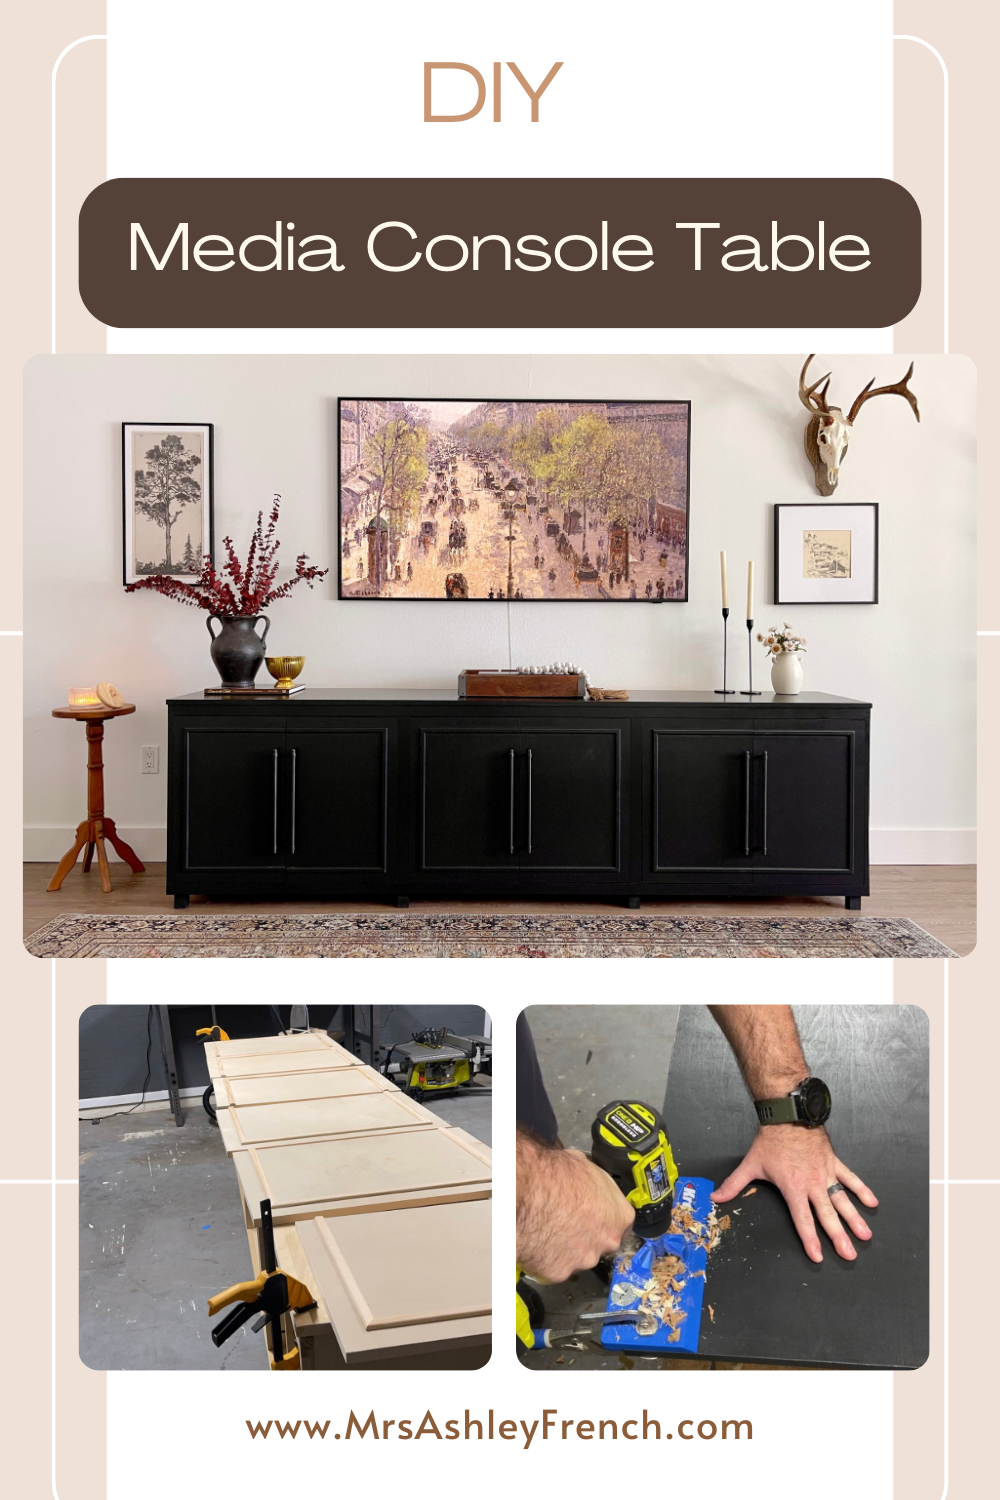
DIY T V Console Cabinet
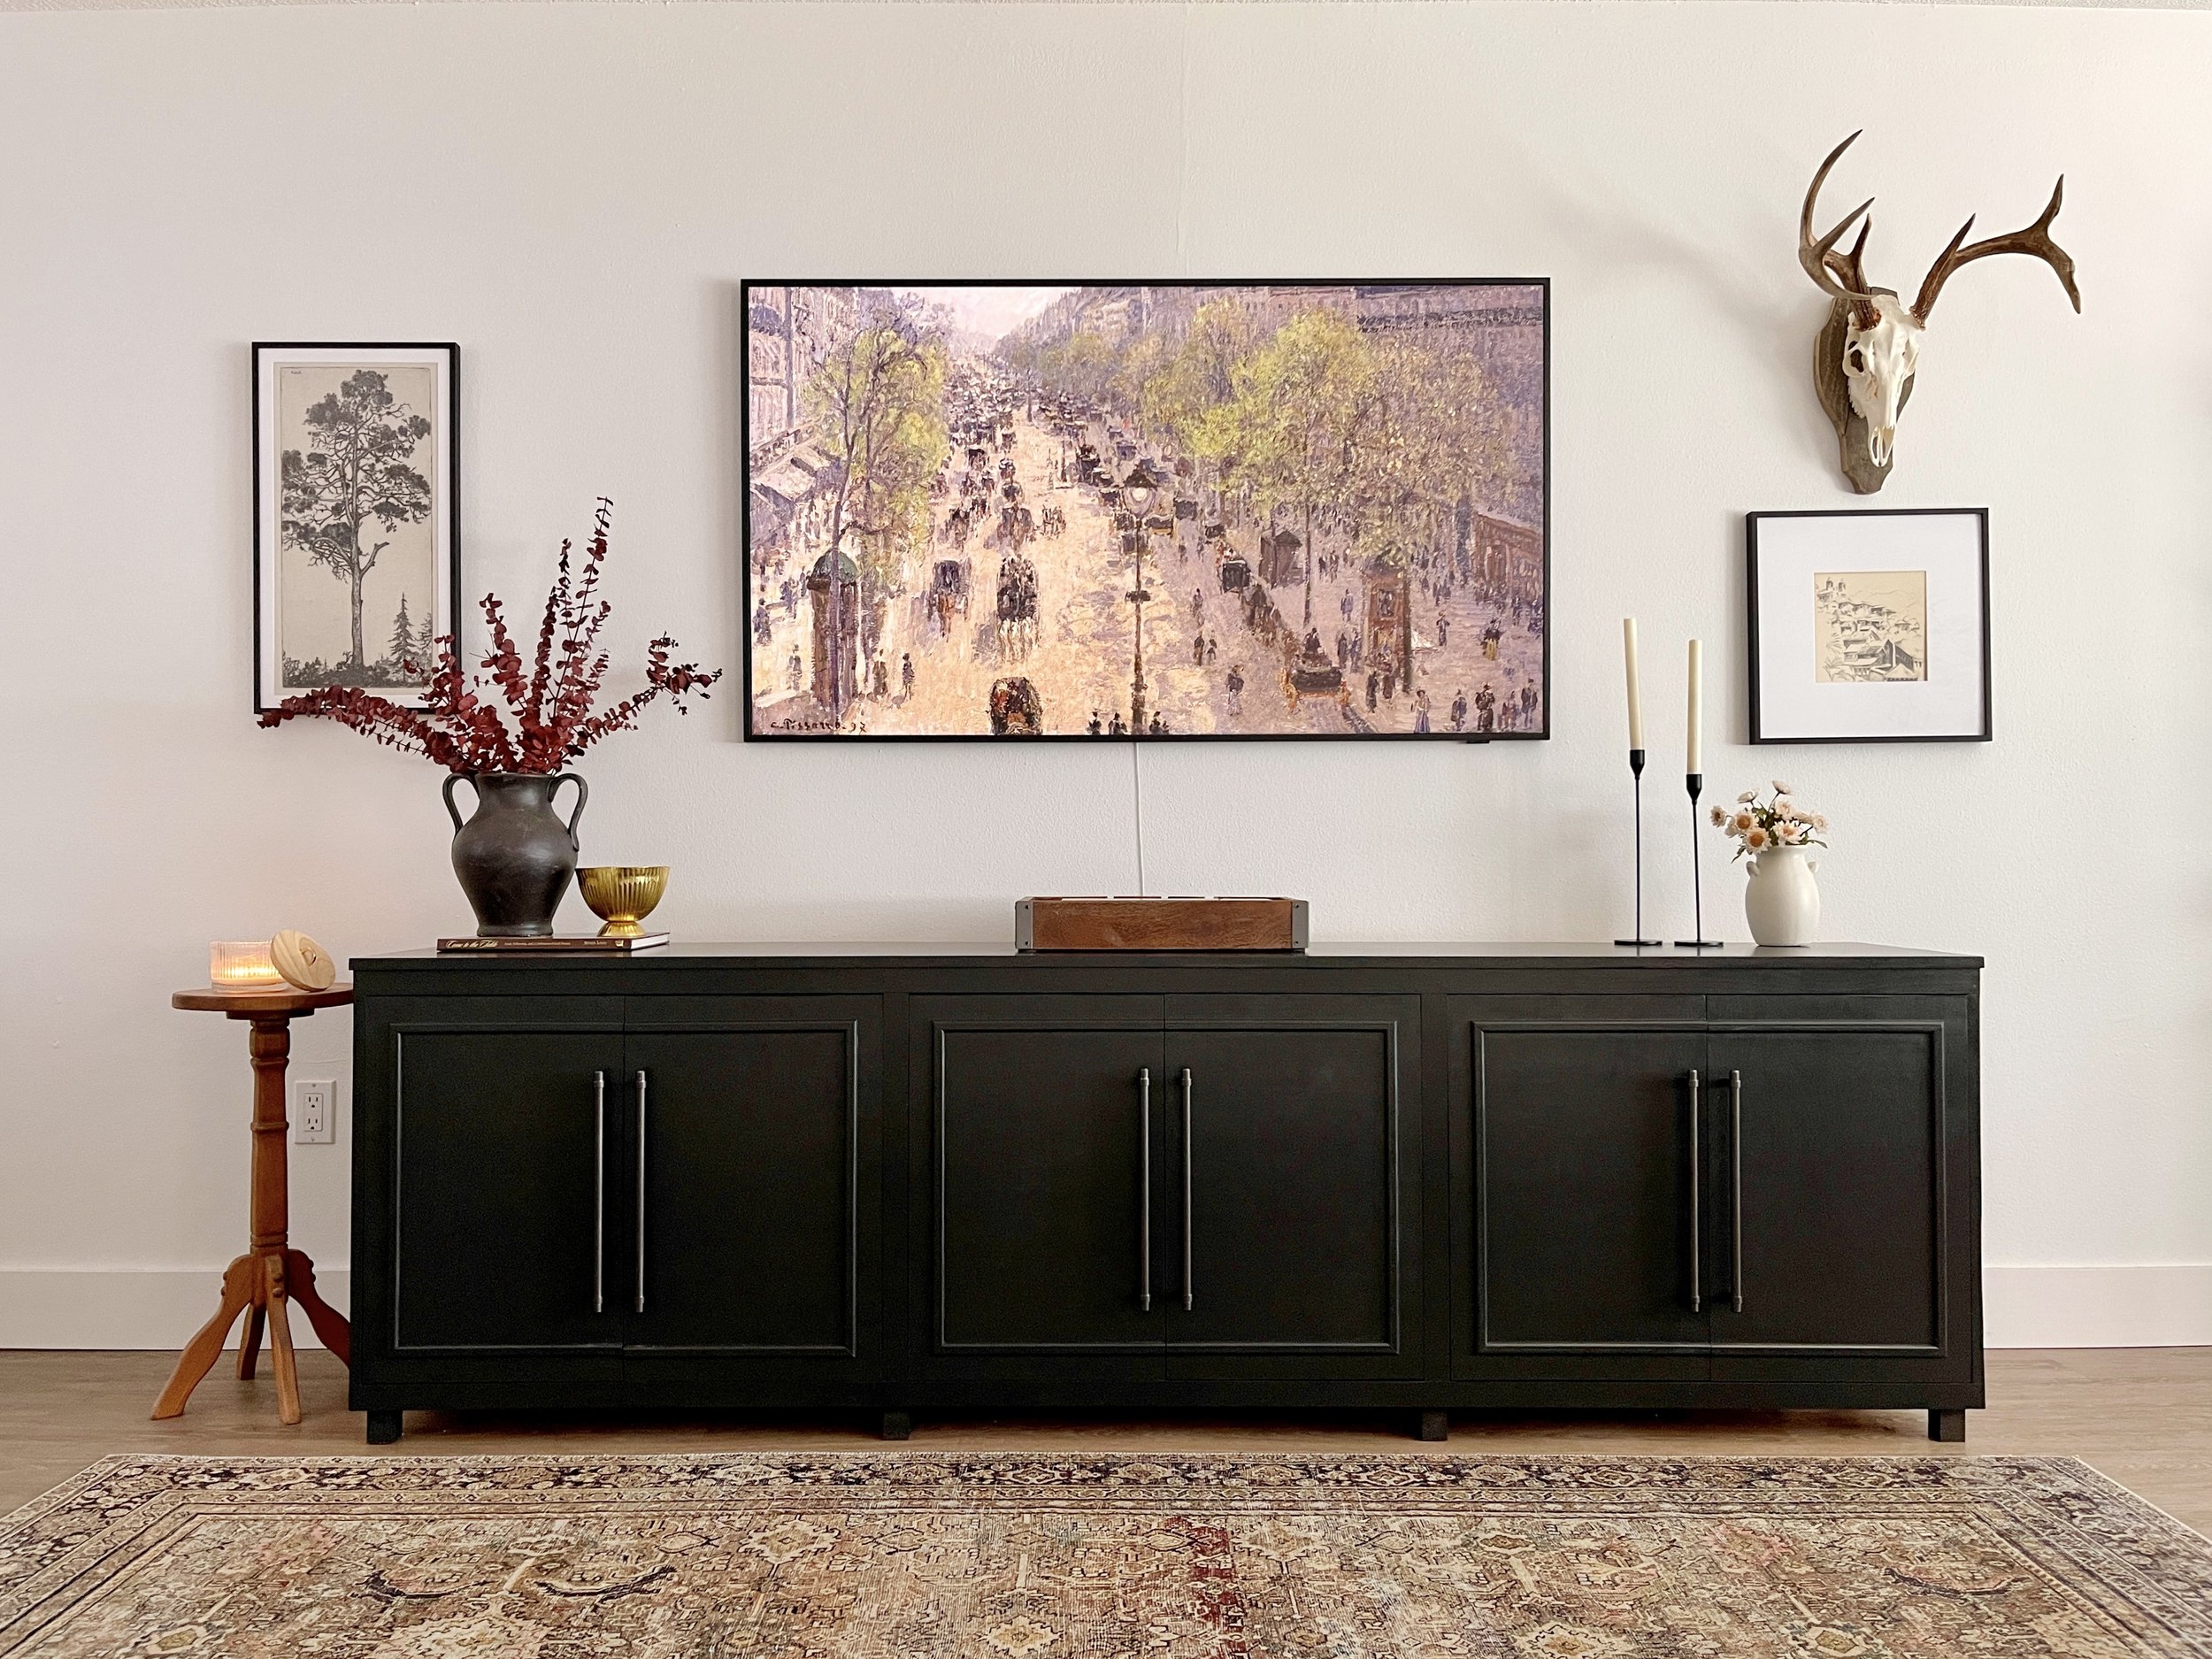
My husband and I built this TV console table from scratch to mimic one I saw and loved at Arhaus that was over $4,000!
In this blog post I am going to share the materials we used and a brief overview of how it was built. My husband did 90% of the cabinet building and I did all the finishing work and painting of the cabinet. Click here to see the $4,000 cabinet that we were inspired by.
The dimensions of the cabinet are roughly 96” long, 28.75” high, and 16” deep.
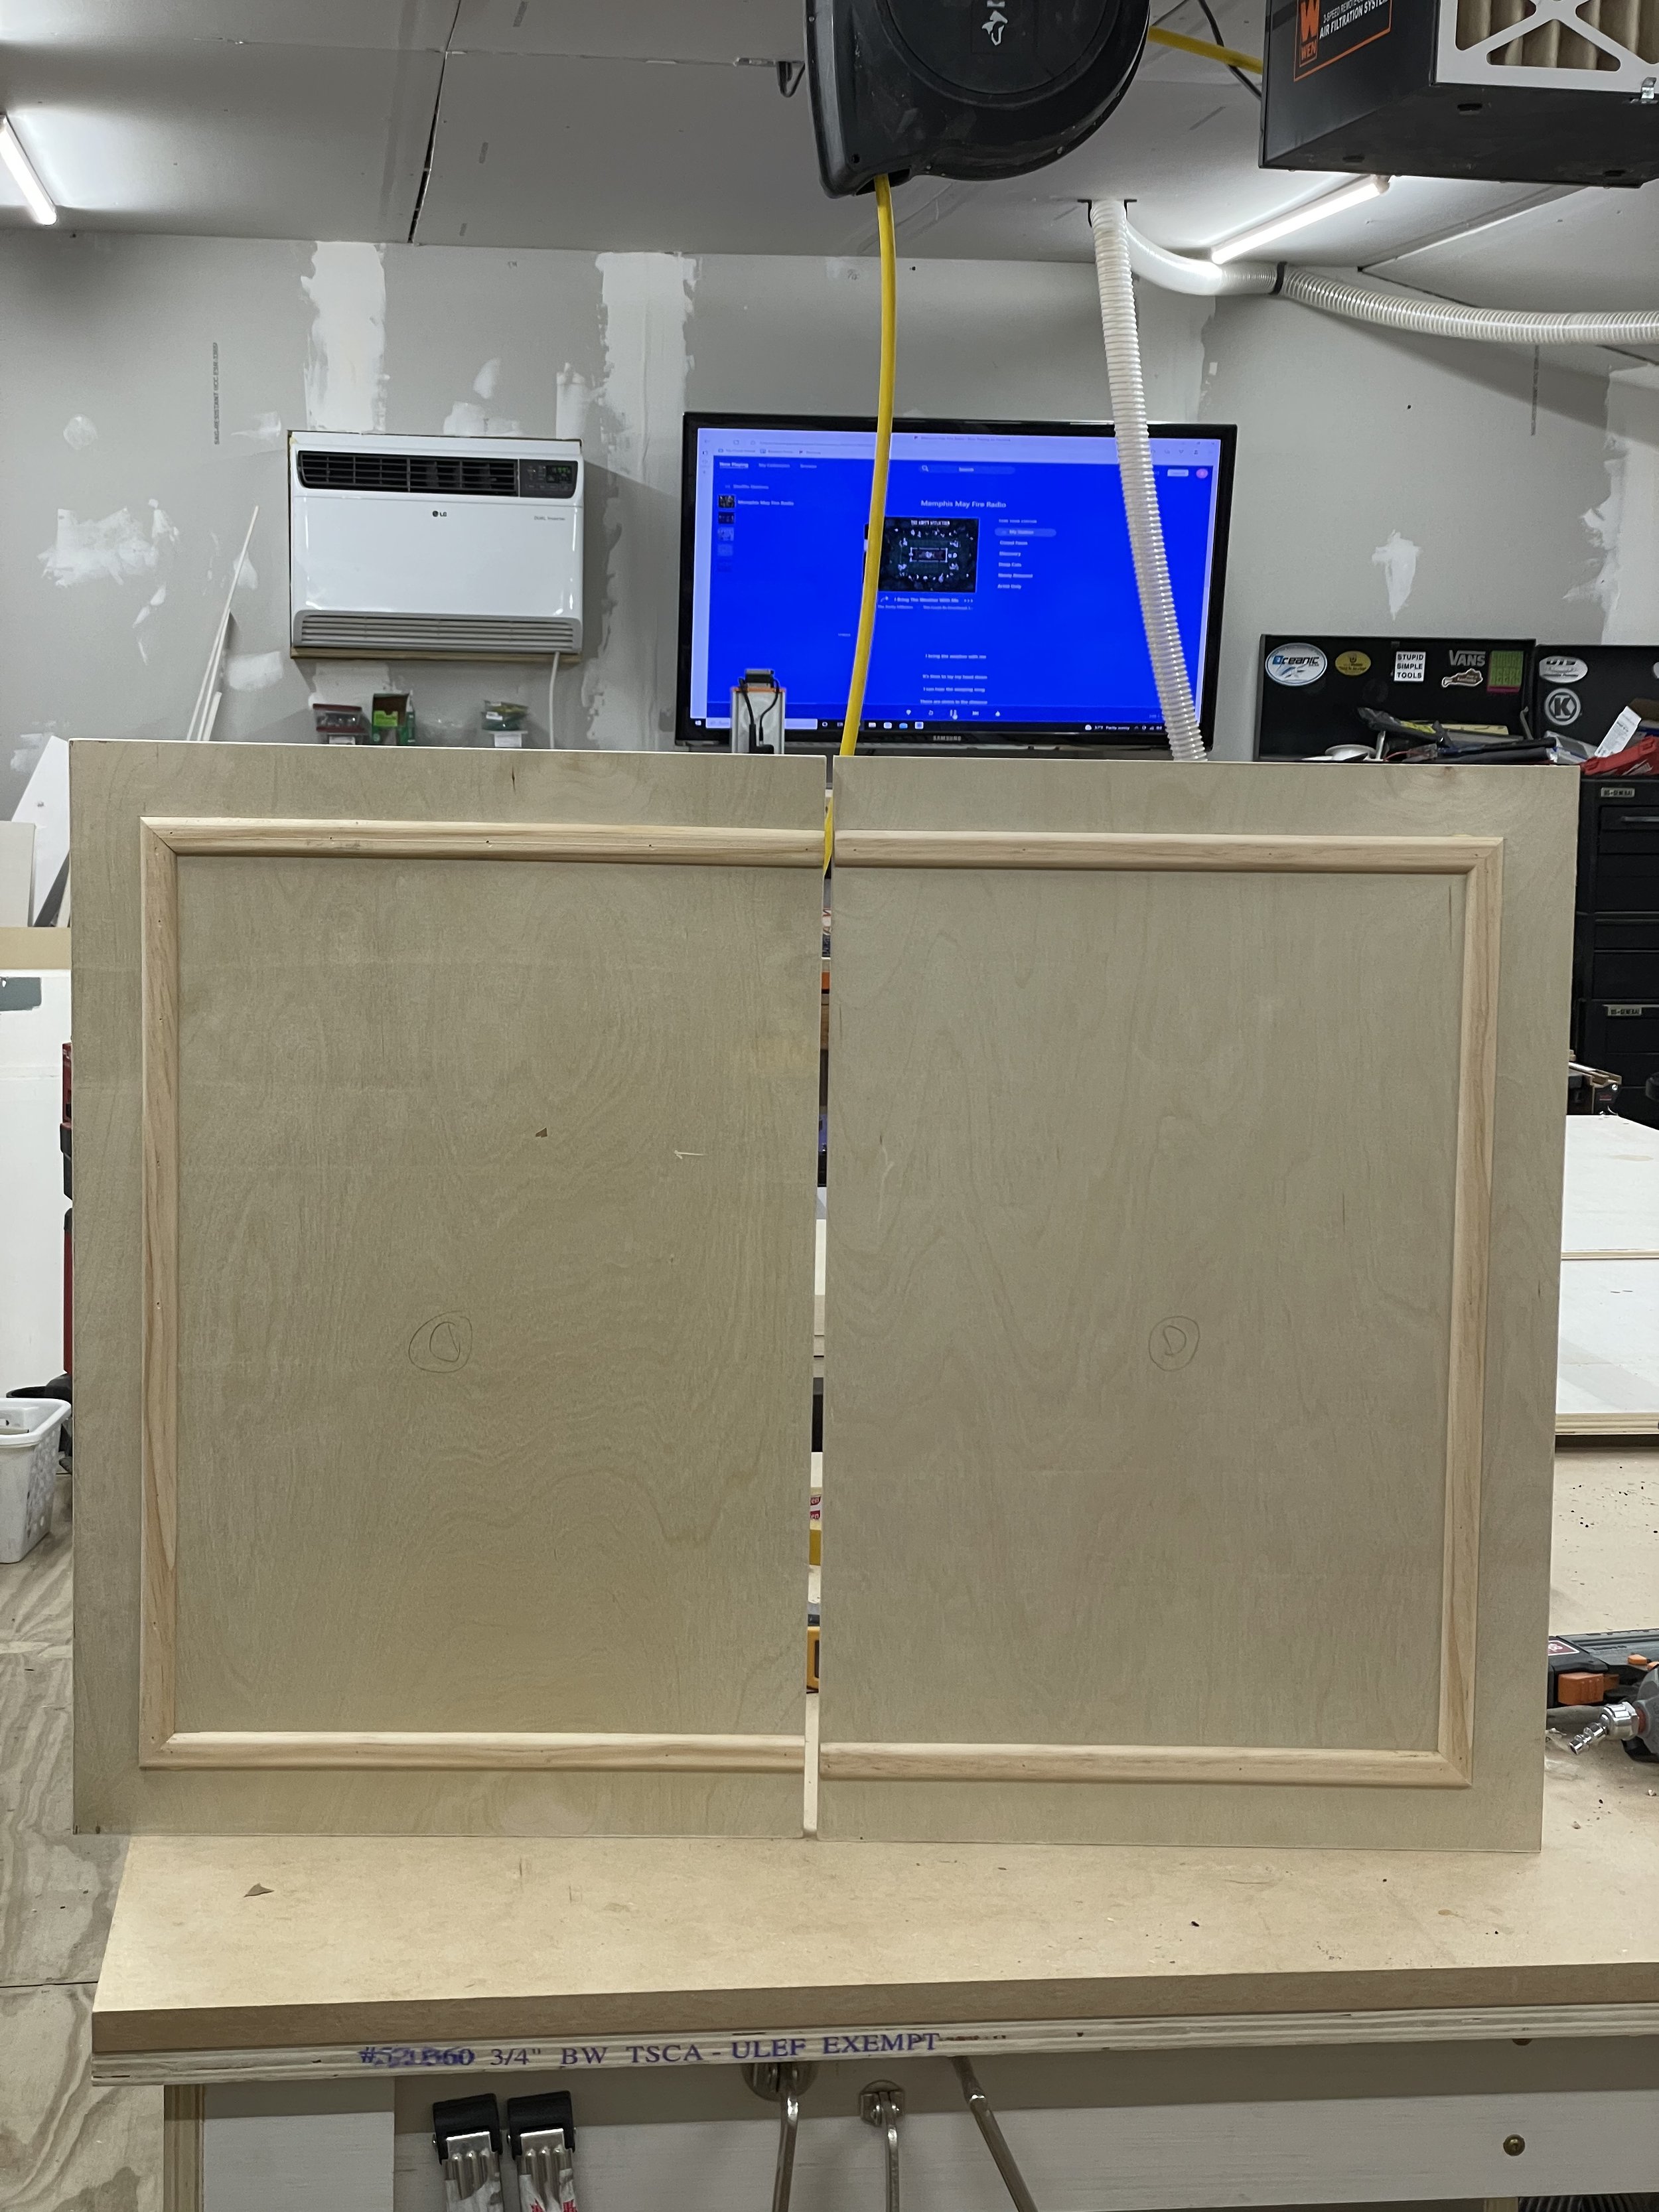
The dimensions of the doors are 22.75” by 15.125”.
We used 3/4” Baltic Birch Plywood that was prefinished on one side for the cabinet itself. Prefinished means that it is super smooth on one side and actually has a thin epoxy finish on it. This prefinished side is what you commonly see on the inside of kitchen cabinets. We could not find anything this nice at our local hardware store so we ended up purchasing the wood from a local cabinet supply store (Suncoast Cabinet Supply in Largo, FL).
For the cabinet doors, we used 3/4” Baltic Birch Plywood that was not pre-finished. We purchased ours from the same cabinet supply company but this plywood is sold at our local Lowe’s. We used a piece of half-round pine trim molding on the doors for some added detail and used a pin nailer to attach the trim to the doors (see photos below).
Since we used plywood for this build, the edges of the cabinet doors, the edges of the top of the cabinet, and the edges of the divider inside of the cabinet were a raw plywood edge which we did not like. We attached birch edge banding to those edges using an iron which really gave the pieces a finished look.
With the cabinet and doors built, it was now time to paint everything. I decided to go with my favorite cabinet/furniture paint - Benjamin Moore Advanced Paint in a Satin finish. This paint is specifically made for painting cabinets and furniture and I highly recommend it. I used the color ‘Black Satin’ by Benjamin Moore. For a detailed, step-by-step guide on how I painted this cabinet, see my Furniture Painting Post here.
Once the cabinet and doors were painted, we waited a full 3 days for the paint to fully dry before be installed the cabinet doors and hardware. First we used the Kreg Cabinet Concealed Hinge Jig to drill the holes on the cabinet doors for the hinge holes. We simply followed the direction that came with the Kreg Jig and the directions for placement that we found online for the hinge brand.
For the hinges, we used a frameless soft close clip top hinge. Once the hinge holes were drilled, we installed the hinges onto the doors and then brought them over to the cabinet and screwed the hinge to the inside of the cabinet. Since we had not installed the top of the cabinet yet it was very easy to reach in the cabinet through the top to drill in the hinges.
Once the doors were installed and adjusted, we installed the top of the cabinet by drilling screws from the inside of the cabinet, through the the cabinet box framing and into the bottom of the top board. Then we installed these cabinet door pulls. Before installing the door pulls I did paint them using Rustoleum Spray Paint in the color ‘Black Stainless Steel’ to get more of a dark pewter color as opposed to the shiny silver.
Estimated Cost Breakdown:
3/4” Baltic Birch prefinished plywood sheets and non-prefinished plywood boards: $300.00
1” x 2” Popular Boards 8ft long, 3 pieces: $30.00
3/8” Pine Half Round Molding 8ft long, 3 pieces: $8.00
Edge Banding: $16.00
1 Gallon of Paint: $60.00
Paint rollers and brush: $20.00
Kreg Cabinet Hole Jig: $30.00
Hinges: $140.00
Screws: $20.00
Total Cost: $624.00
*We only used 12 of the 20 hinges we ordered, we have a bunch of edge banding leftover for future projects, and we actually already owned the Kreg Hinge Jig.


HEY THERE, I’M ASHLEY!
Here to inspire beginner DIYers!