
DIY Beginner Tools
I get asked all the time - What tools do I need to get started in DIY? Here is my list of the must-have tools with descriptions.
I am breaking this list up into two sections. The first section is what I would consider the must-haves and are completely beginner friendly. The tools in this first section are ones I was comfortable learning to use on my own without any guidance from anyone (other than a couple YouTube videos). The tools listed in the second section of this list are ones I would consider to be a step up from a new beginner. They are tools that I believe you should have someone with some experience show you how to operate them correctly and safely. They are also tools that I don’t think you need right away when first getting started in DIY.
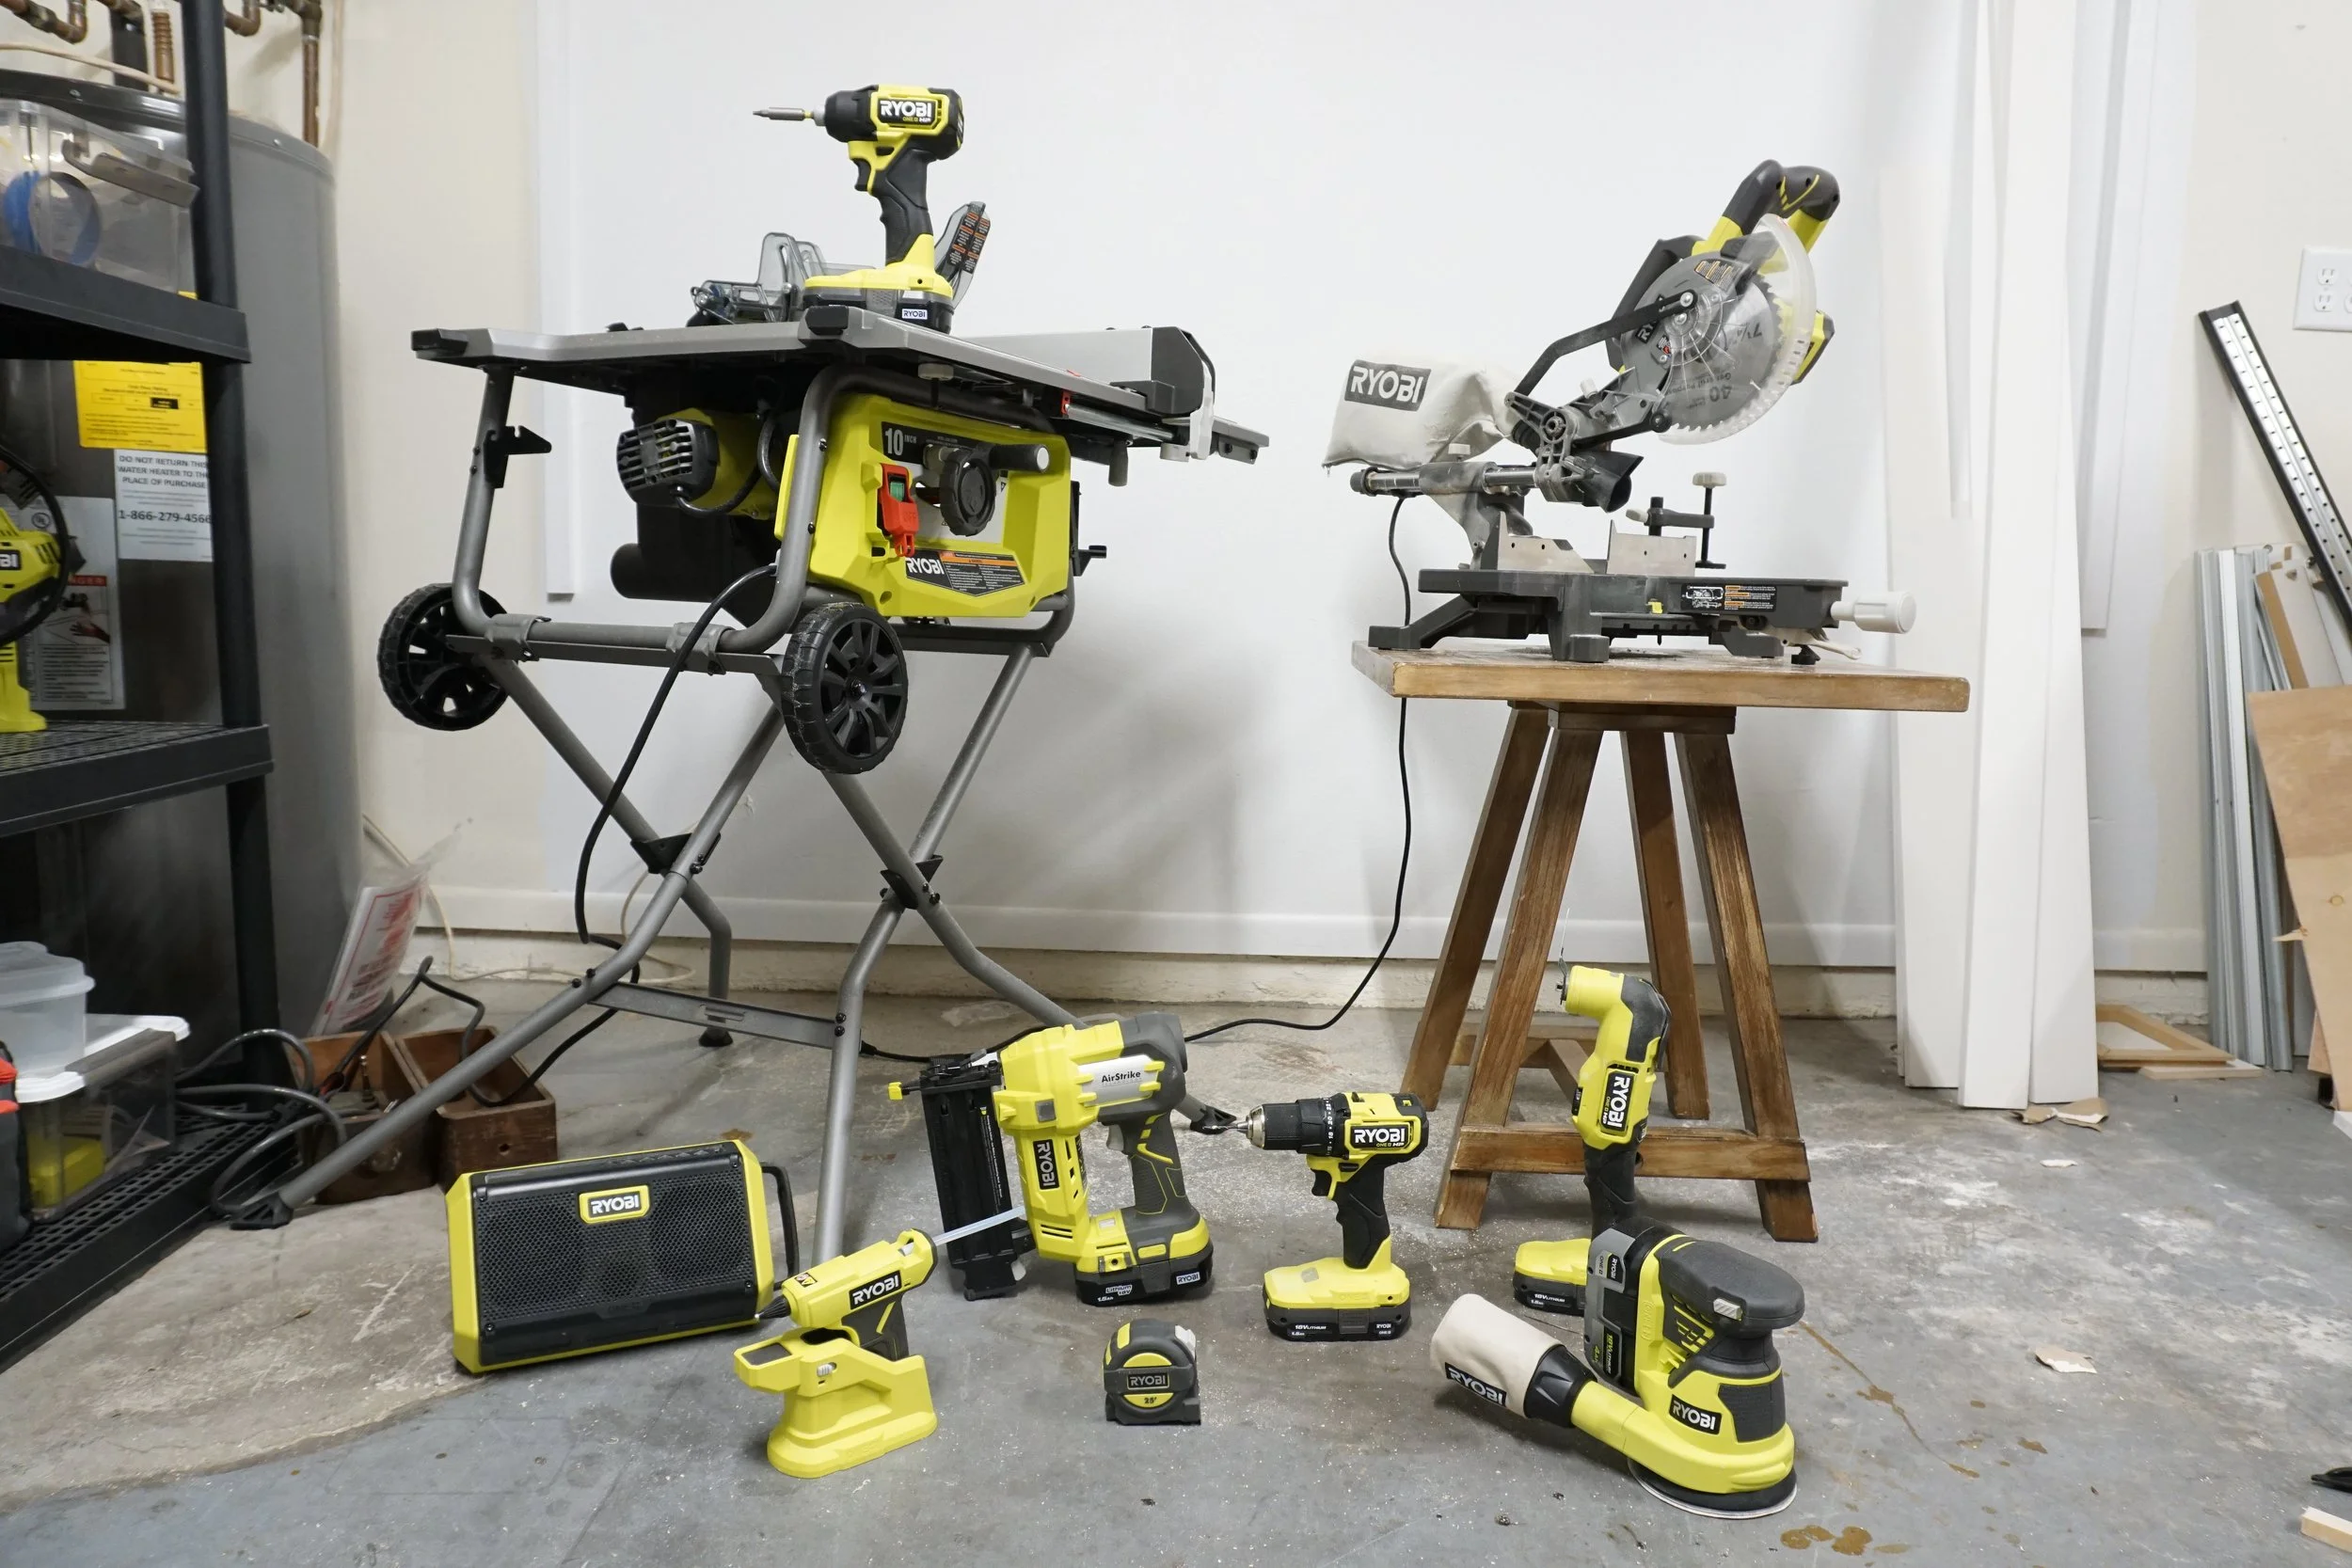
Section 1 - DIY Beginner Must-Have Tools
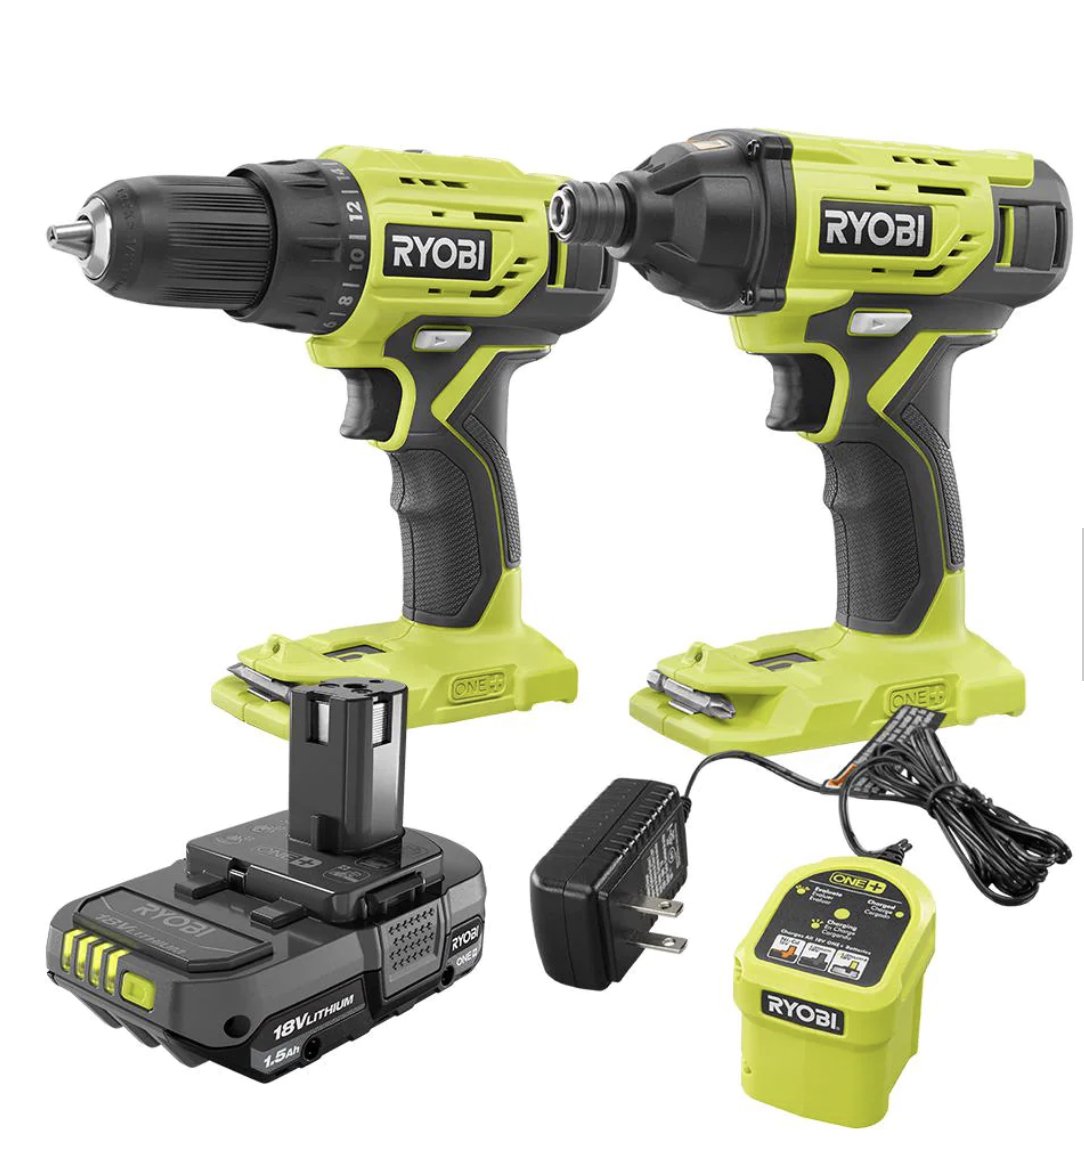
1. Drill/Driver set - First let’s talk about the difference. An impact driver is typically stronger and has more torque than a drill. I use my drill with drill bits to drill holes into materials while I use my impact driver to screw/unscrew fasteners (screws) into boards, walls, etc. Another difference is that a drill uses an adjustable chuck to fit a variety of bit sizes while an impact driver has a fixed quick change clamp that holds drill bits and driver bits with hex shanks. I use my drill and impact driver in tandem for hanging shelves and art on the wall, building or fixing furniture, and more. Side note: If you can only afford to buy one, buy a drill. A drill does most everything an impact driver does. Watch this video for beginners on how to use a drill and impact driver.
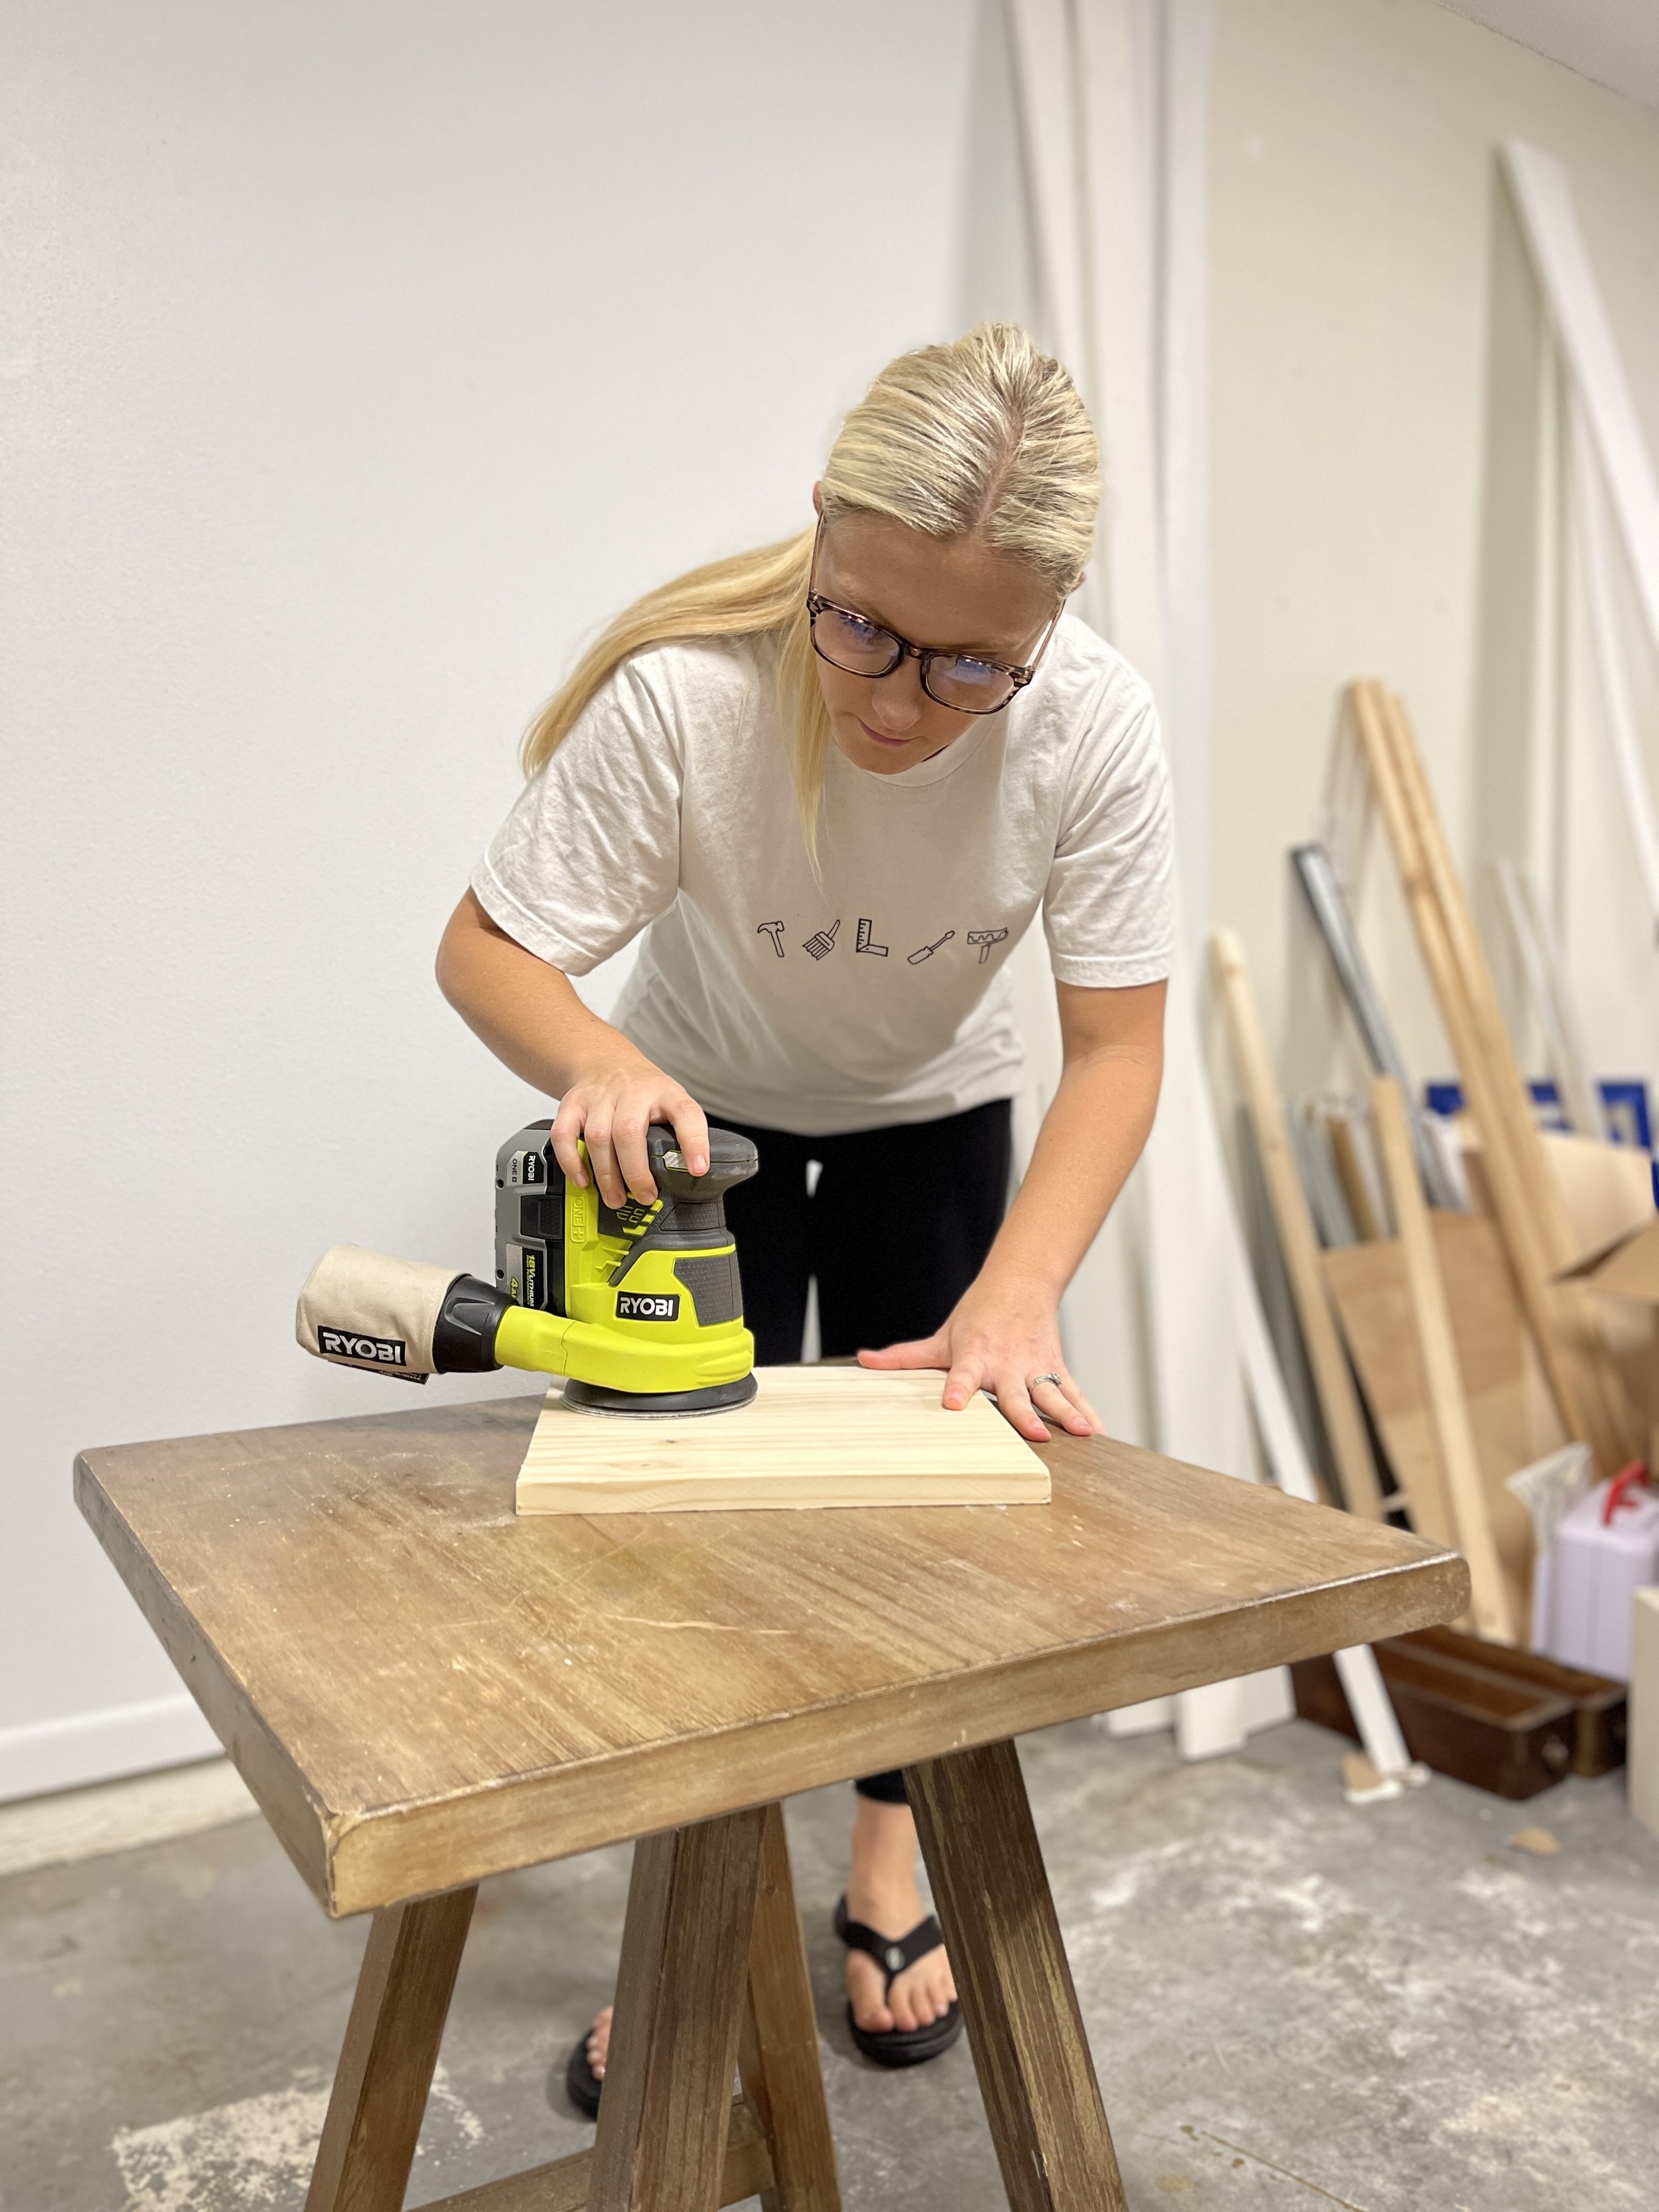
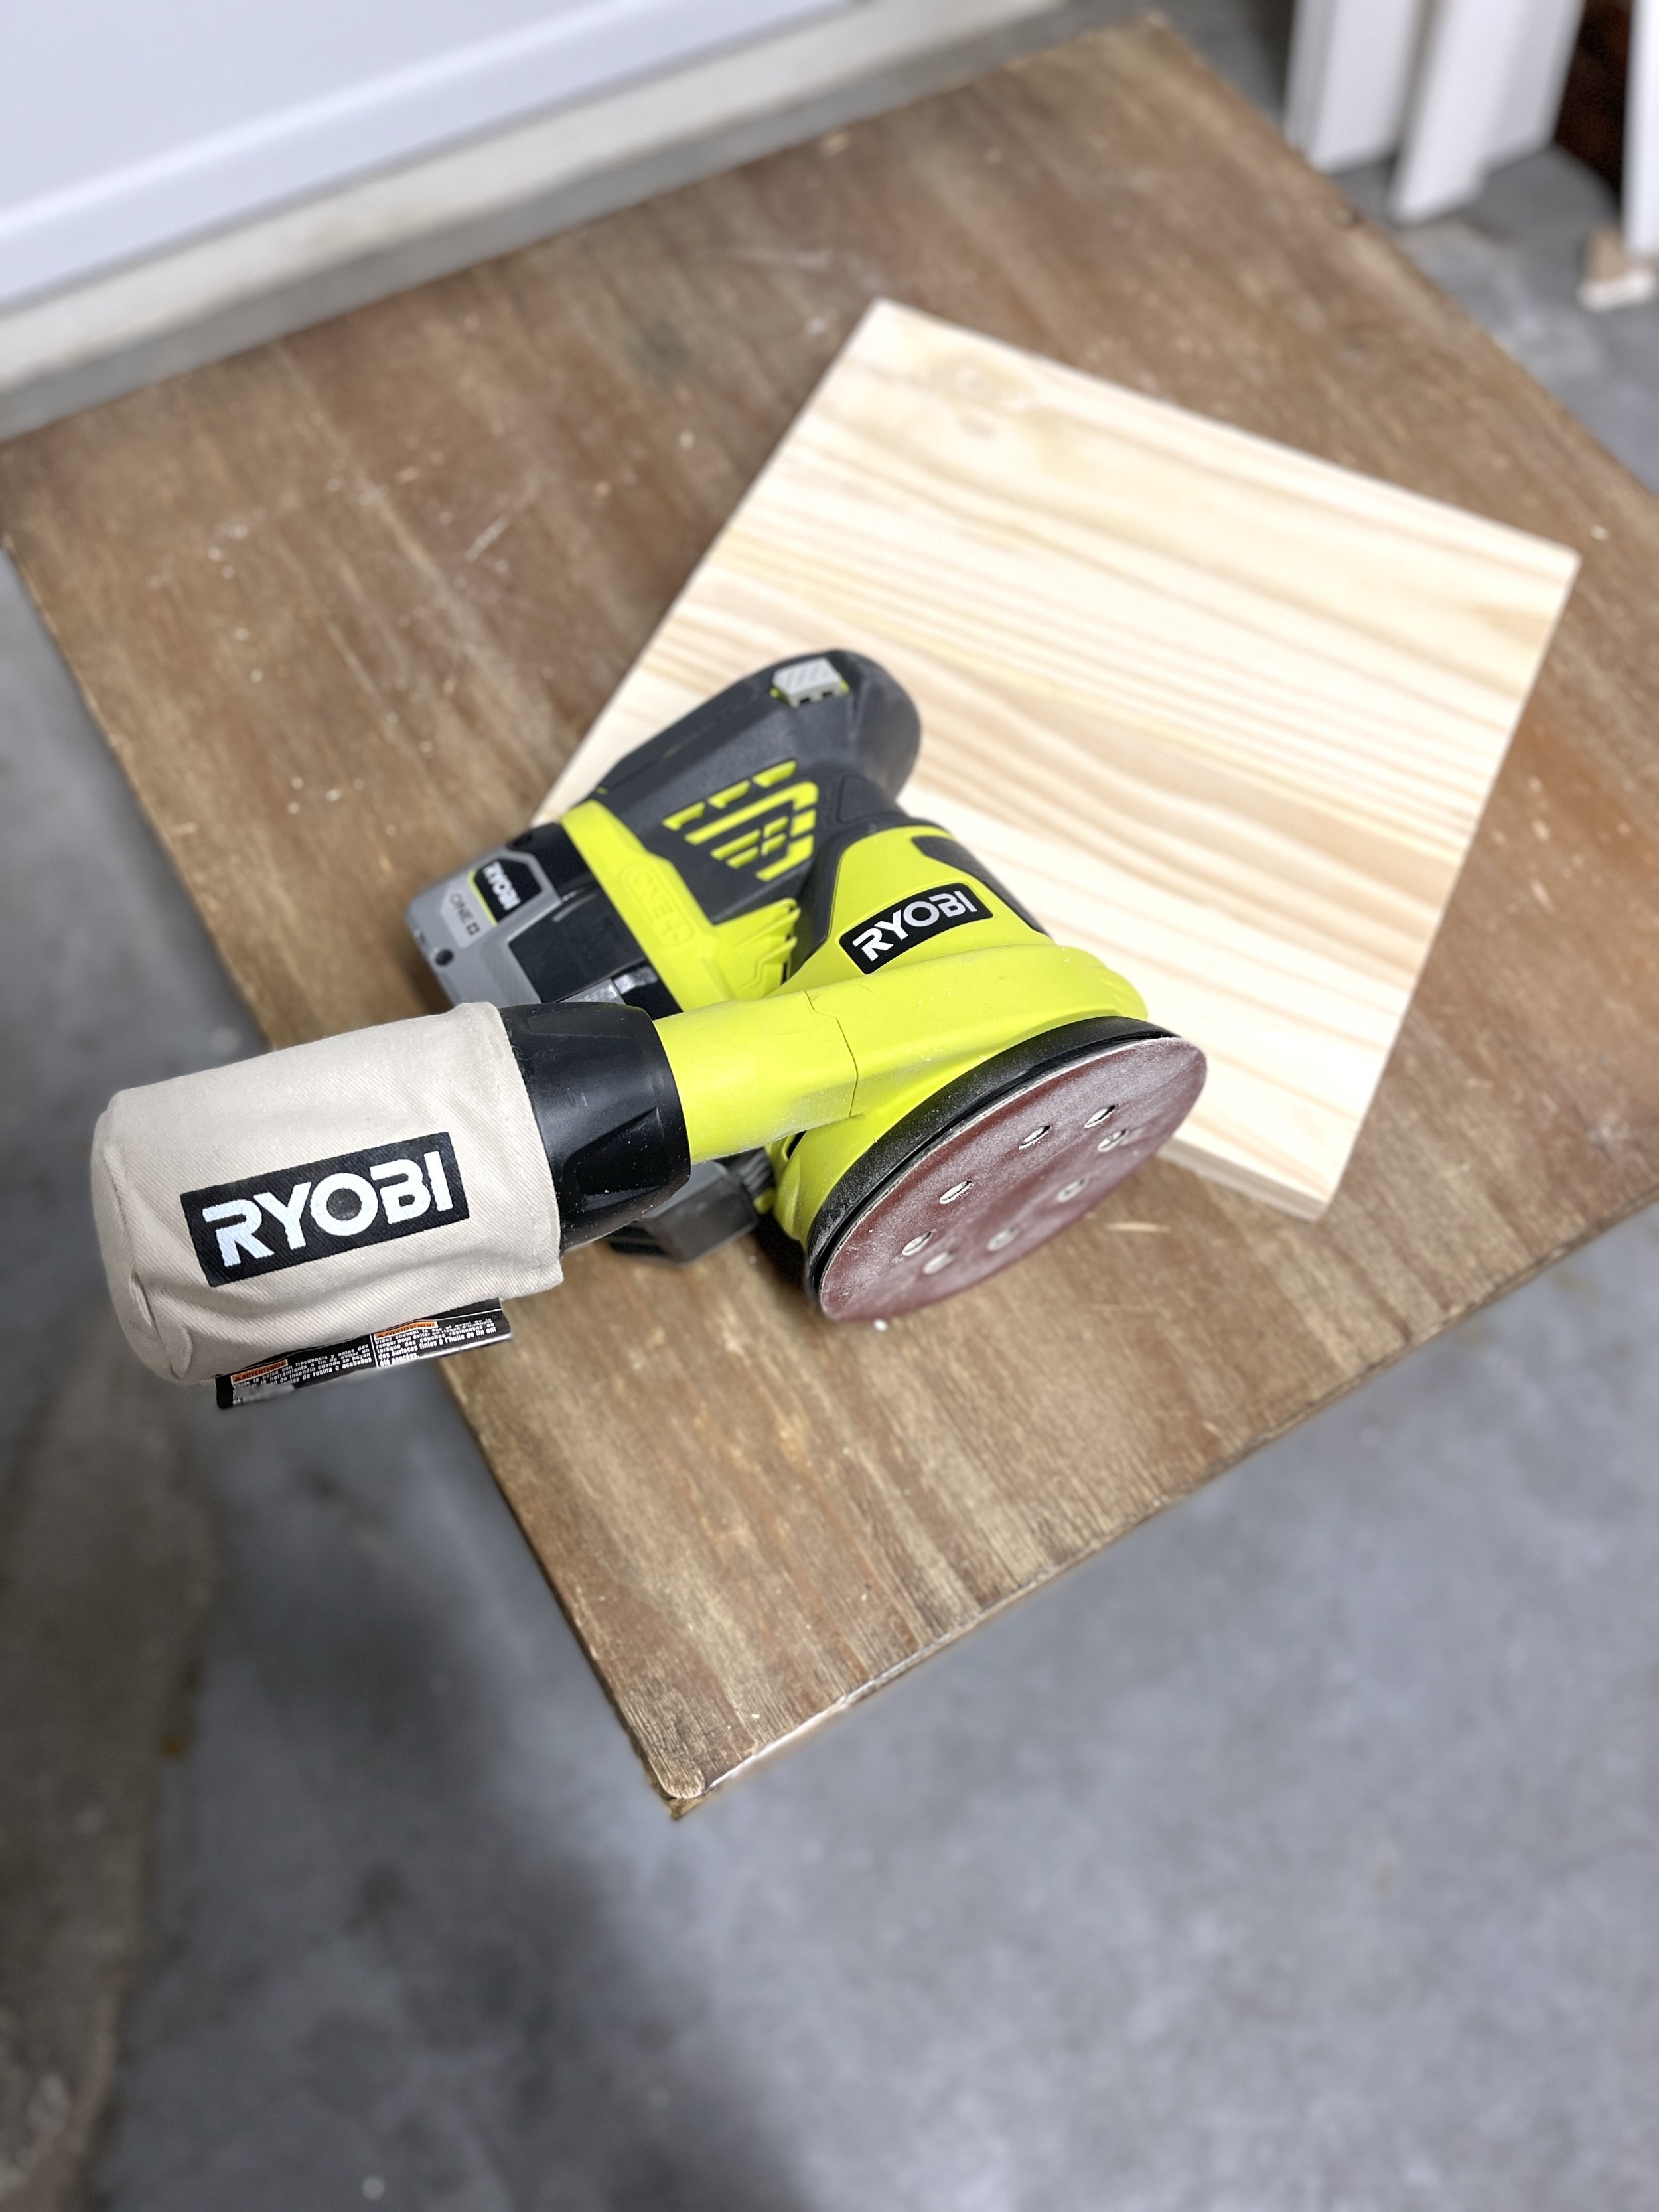
2. Orbital Sander - You may also see it called a Random Orbital Sander. These are usually sold in a corded plug-in style or a cordless battery operated style. The cordless is definitely easier to use. I have used my sander on many furniture transformations and on most all of my projects involving wood. Watch this video for beginners on how to use an orbital sander.
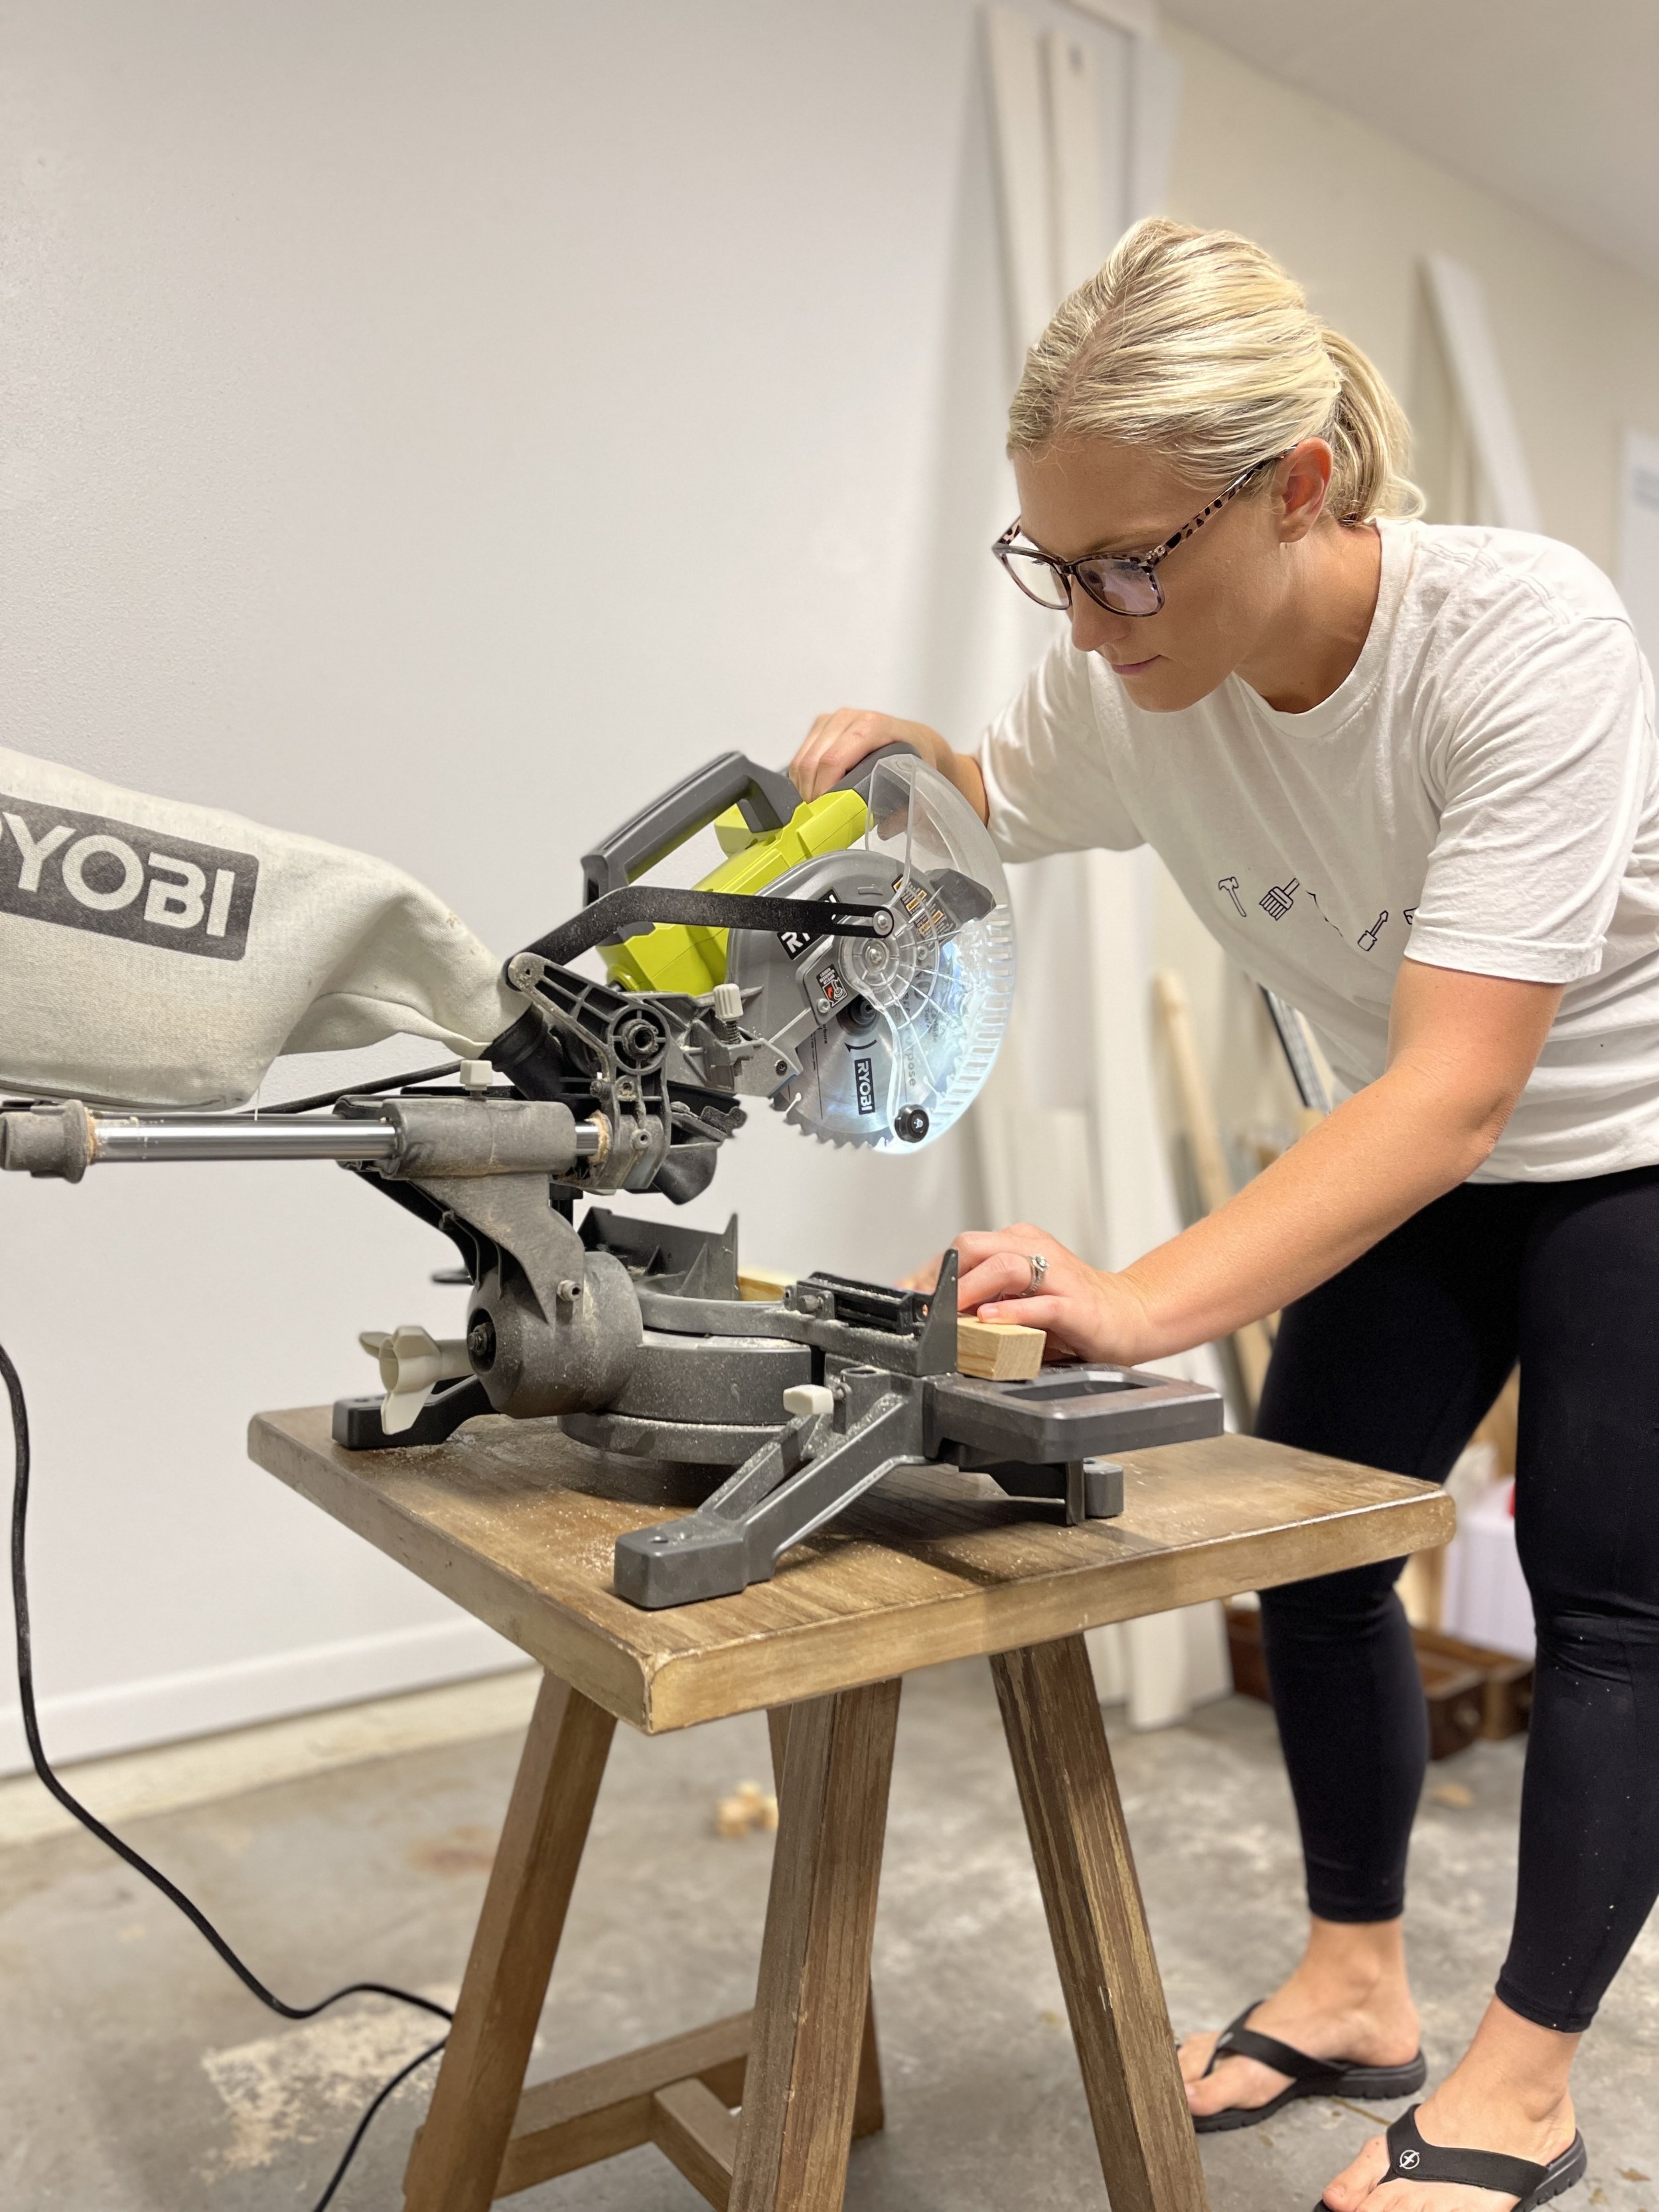
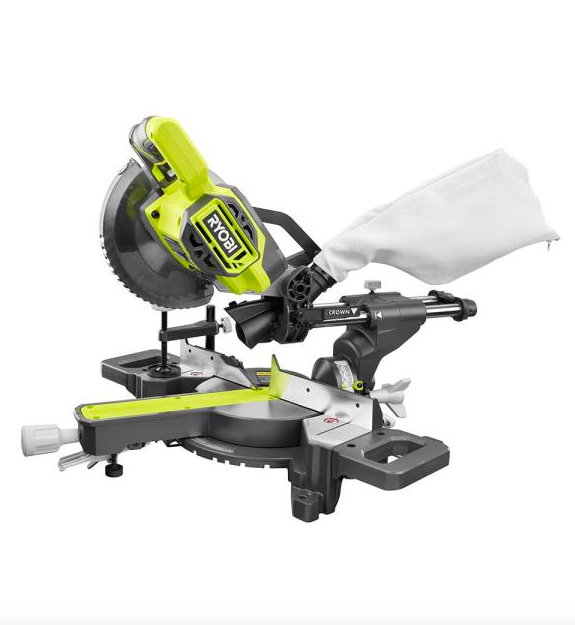
3. Miter Saw - You may also hear them called a Chop Saw. There are three types of Miter Saws. The first is a Sliding Miter Saw where the blade is mounted to a sturdy metal track and you can slide the blade forward and then down to make your cuts. This allows you to cut wider materials. The second type is a Compound Miter Saw where the blade does not slide forward but it does bevel left and right allowing you to cut cross cuts. The last type is the Sliding Compound Miter saw that essentially combines the two giving you the advantage of cutting capacity found in sliding miter saws with the cutting flexibility of the compound miter saw. When I learned to use the miter saw my DIY capabilities were almost endless. I use my miter saw on almost every single accent wall I do and it may be my most used tool in DIY. If you are afraid or intimidated at the thought of using a saw, then start with a miter saw with a 7-10” blade which I would consider small. I personally have the 7.25” blade pictured below and it is extremely easy to use and not scary. Watch this video for beginners on how to use a miter saw.
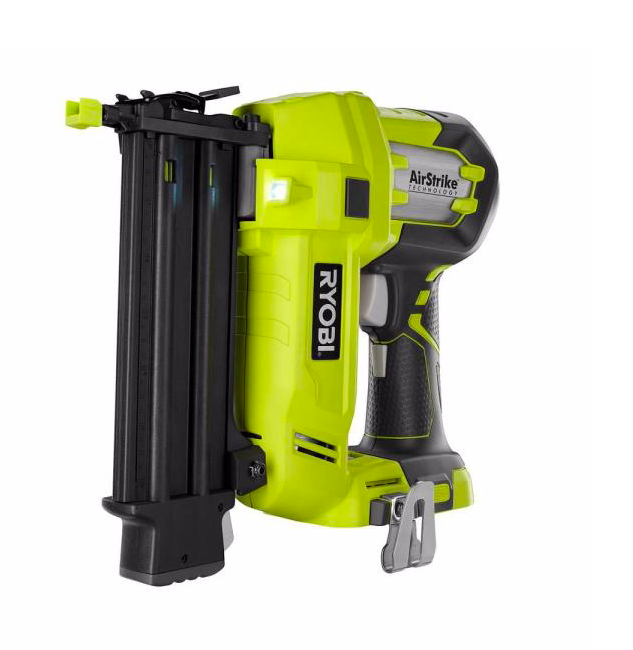
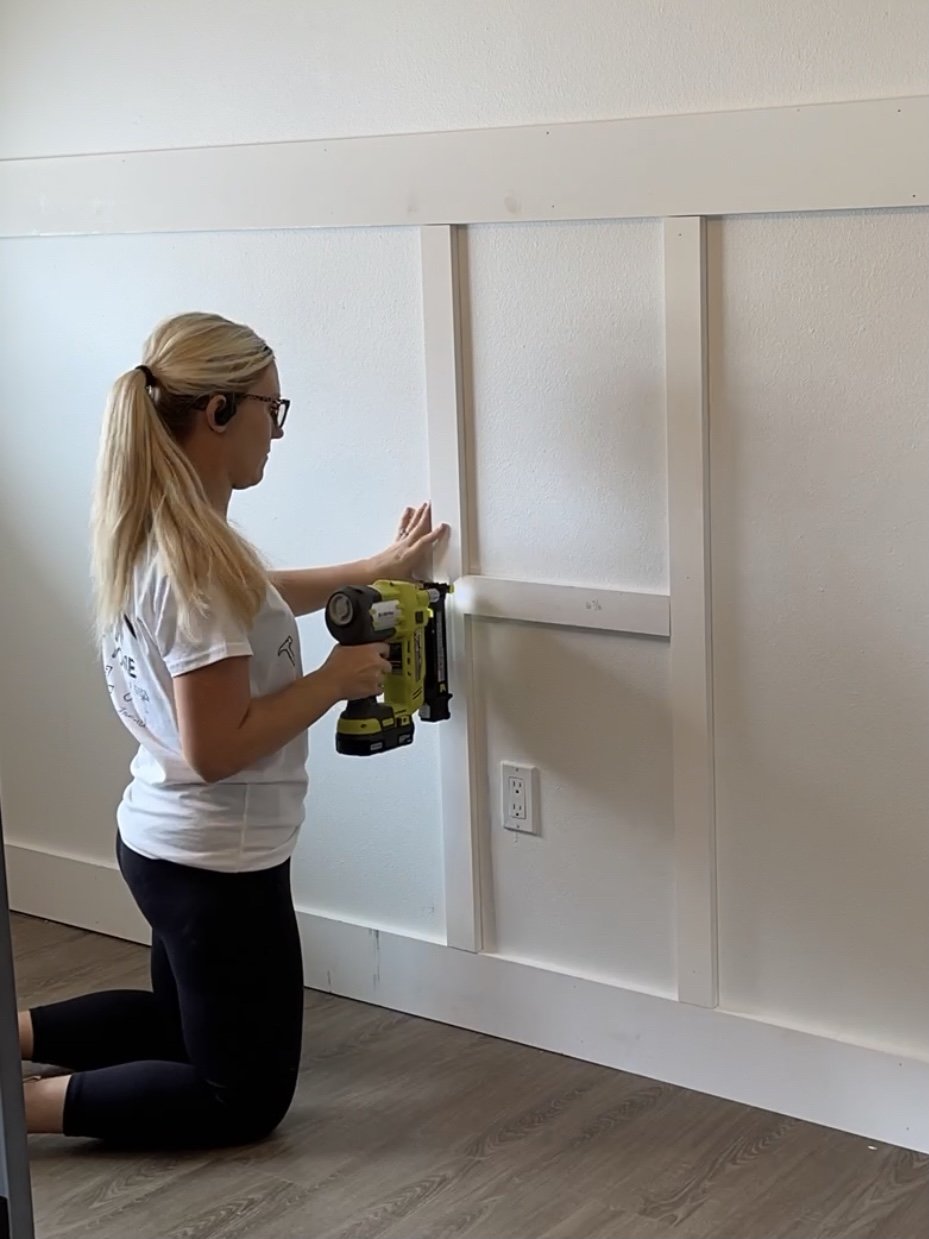
4. Brad Nailer - These are commonly called ‘nail guns’ or ‘finish nailers’ by most DIYers but are technically Brad Nailers. Most Brad Nailers are battery operated and cordless and do not require an air compressor (make sure of this when purchasing one). However, they do make Brad Nailers that are pneumatic and are air driven. You can only use brad nails in this type of nail gun but can use a variety of lengths of brad nails (1”, 2”, etc). Most Brad Nailers use either 16 gauge or 18 gauge brad nails. It is very important that you purchase the correct gauge for your gun, This tool may be tied with the miter saw as my most used tool. Like the miter saw, I have used my brad nailer on almost every single accent wall I have done. It is also a must if you plan to install any baseboards or door/window trim in your home. This is a tool that I became comfortable using almost immediately after shooting my first couple nails. Watch this video made for beginners on how to use a brad nailer.
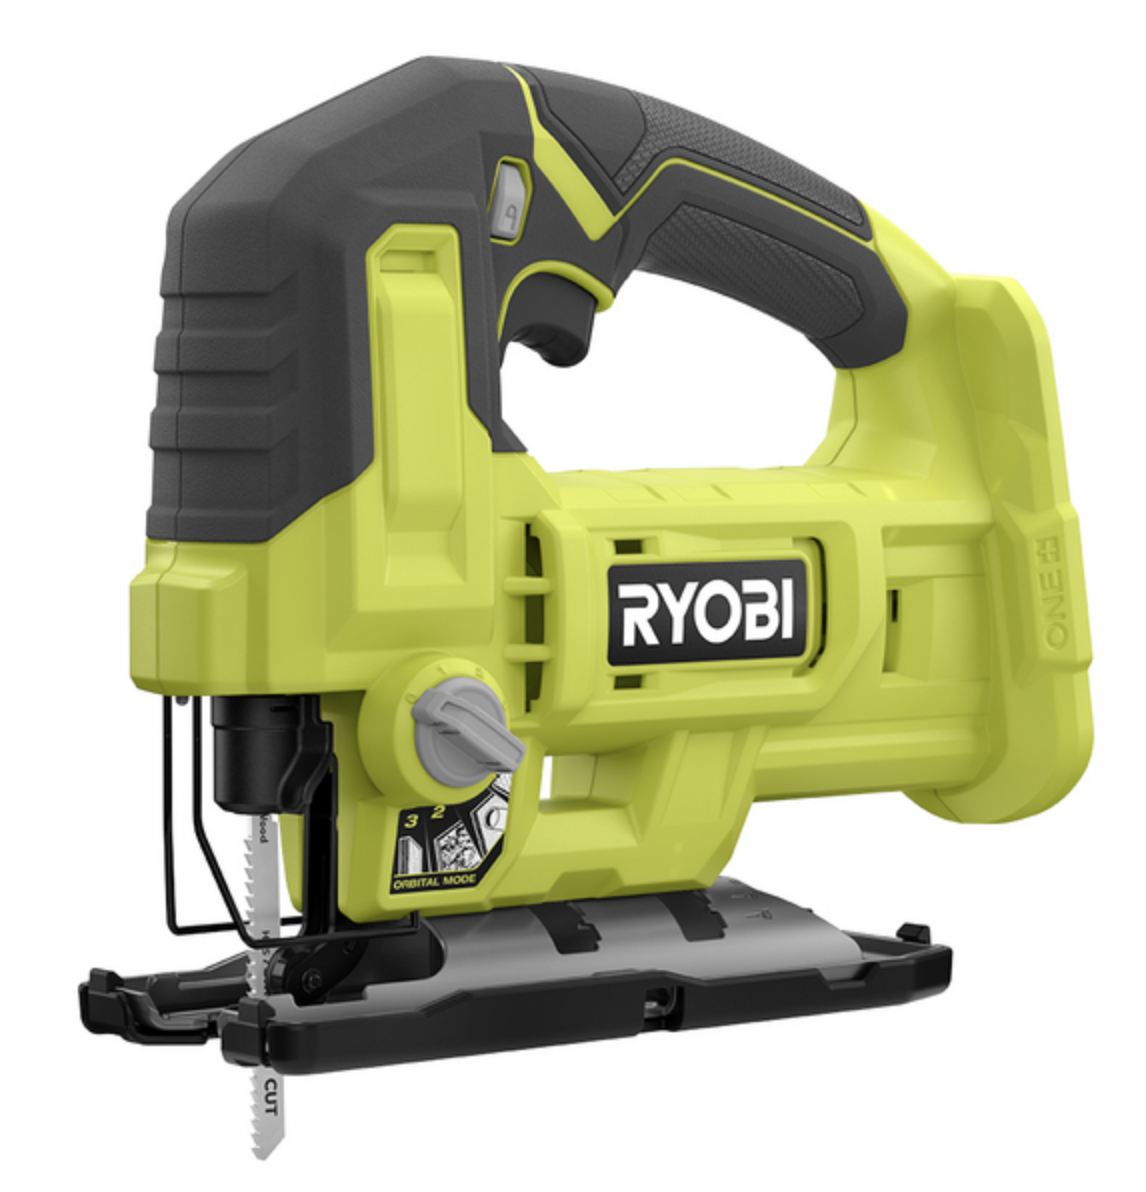
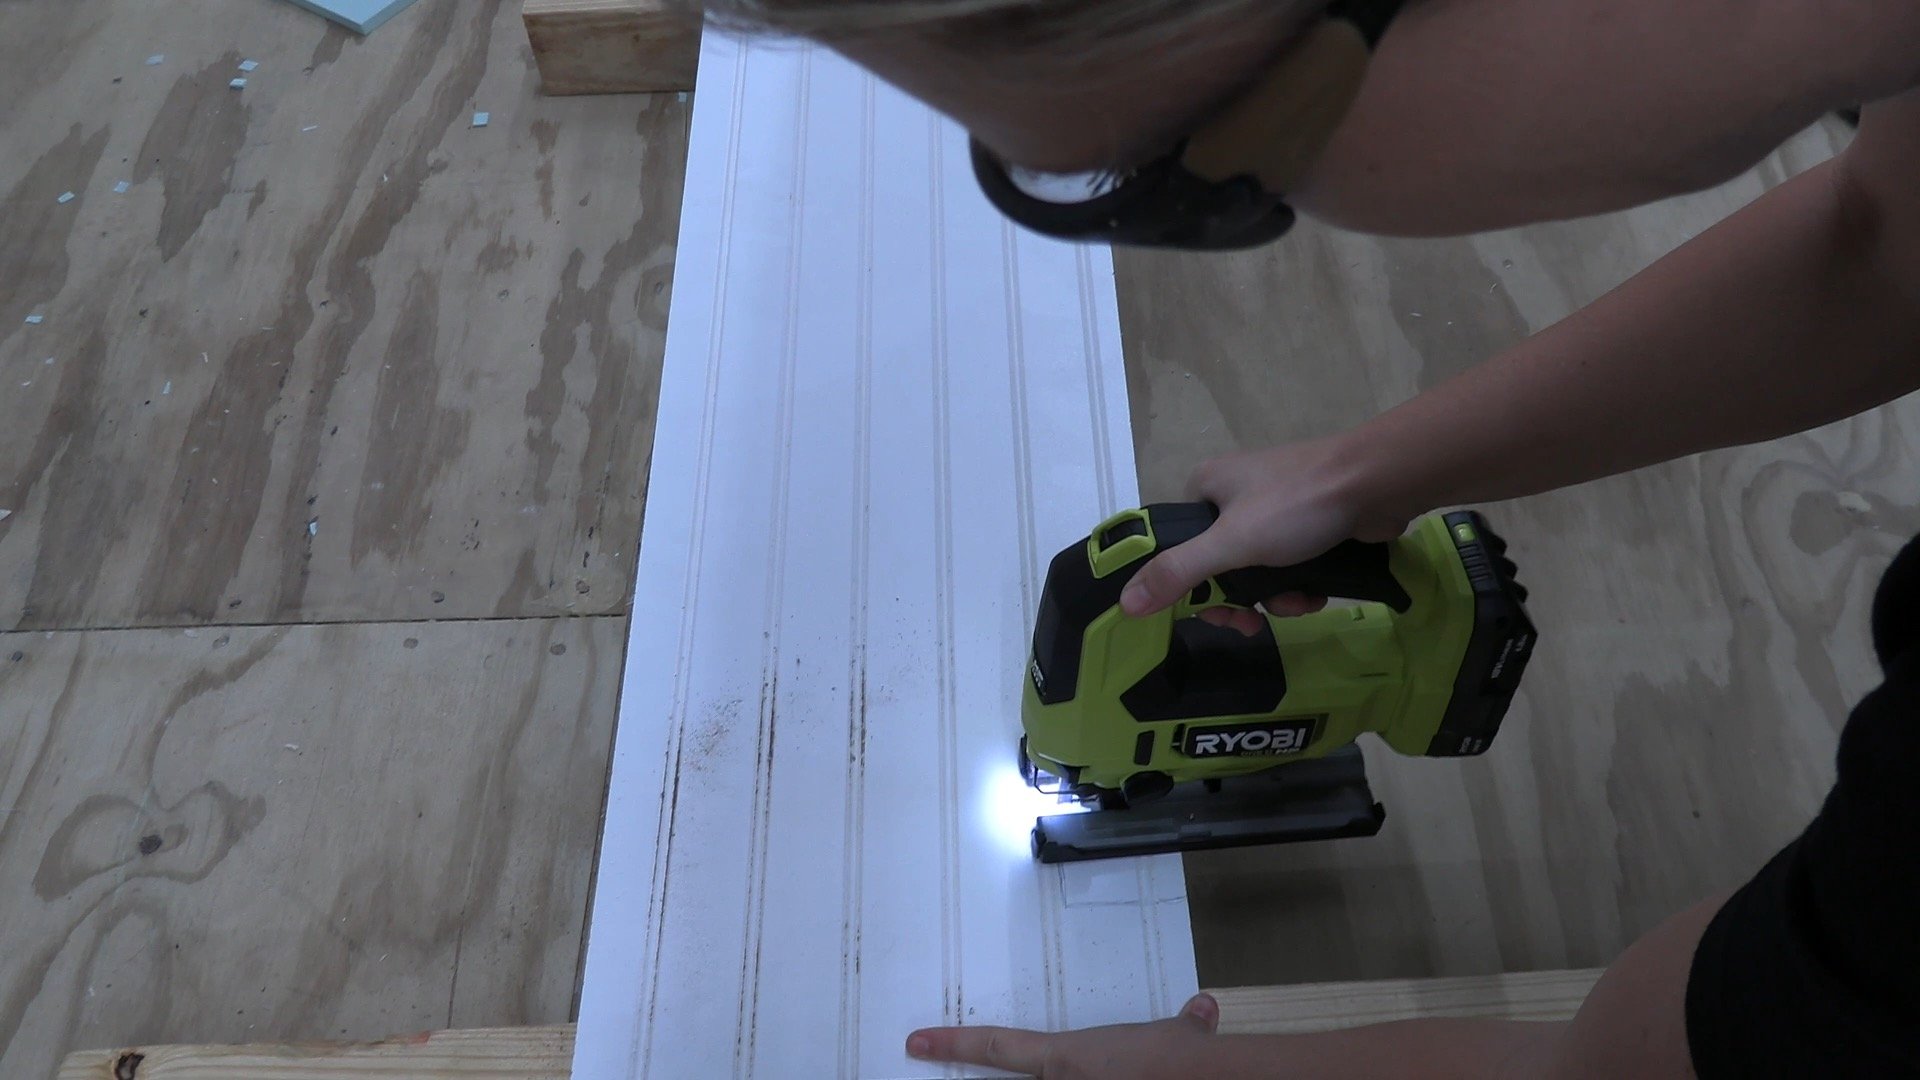
5. Jigsaw - A jigsaw uses a reciprocating blade and is primarily used to make curved or intricate cuts. It can be used on wood, plastic, thin metal and other materials. It comes in both cordless and corded options. I personally have a corded one but hope to upgrade to a cordless one soon. It is not easy to cut a straight line with a jigsaw but it is extremely handy when you need to make an odd-shaped cut or even cut out a stencil. I have used my jigsaw to cut out openings for outlets in beadboard and brick paneling and to make odd cuts in thin sheets of wood. It is very easy to use. Watch this video on how to use a jig saw.
Section 2 - ‘Next Level’ Tools
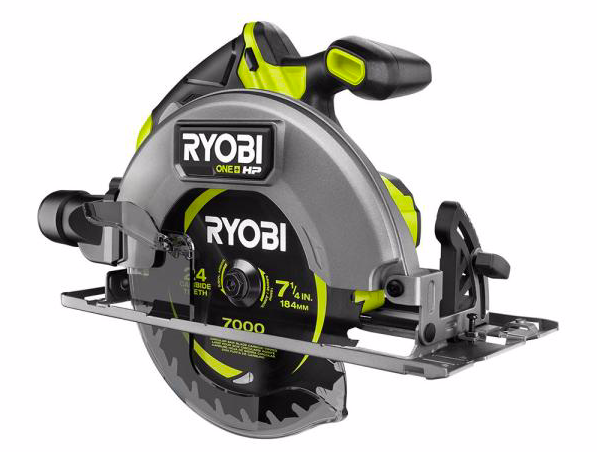
6. Circular Saw - A circular saw is a portable saw with a spinning blade that you have to manually push along your material to make the cut. When used in conjunction with a straight edge guide, a circular saw makes long straight cuts in materials such as sheets of plywood. A circular saw is more affordable than a table saw which is another kind of saw that can be used to make long, straight cuts. You will want to learn the specifics about your particular circular saw before using it as each one is a bit different. I think a circular saw can be intimidating if you have never used one. I would recommend having a friend or family member who knows how to use them, help you with it for the first time to build up your experience and confidence.
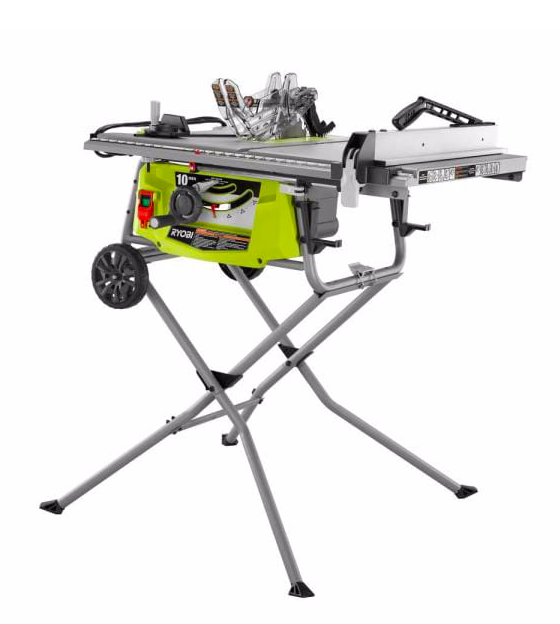
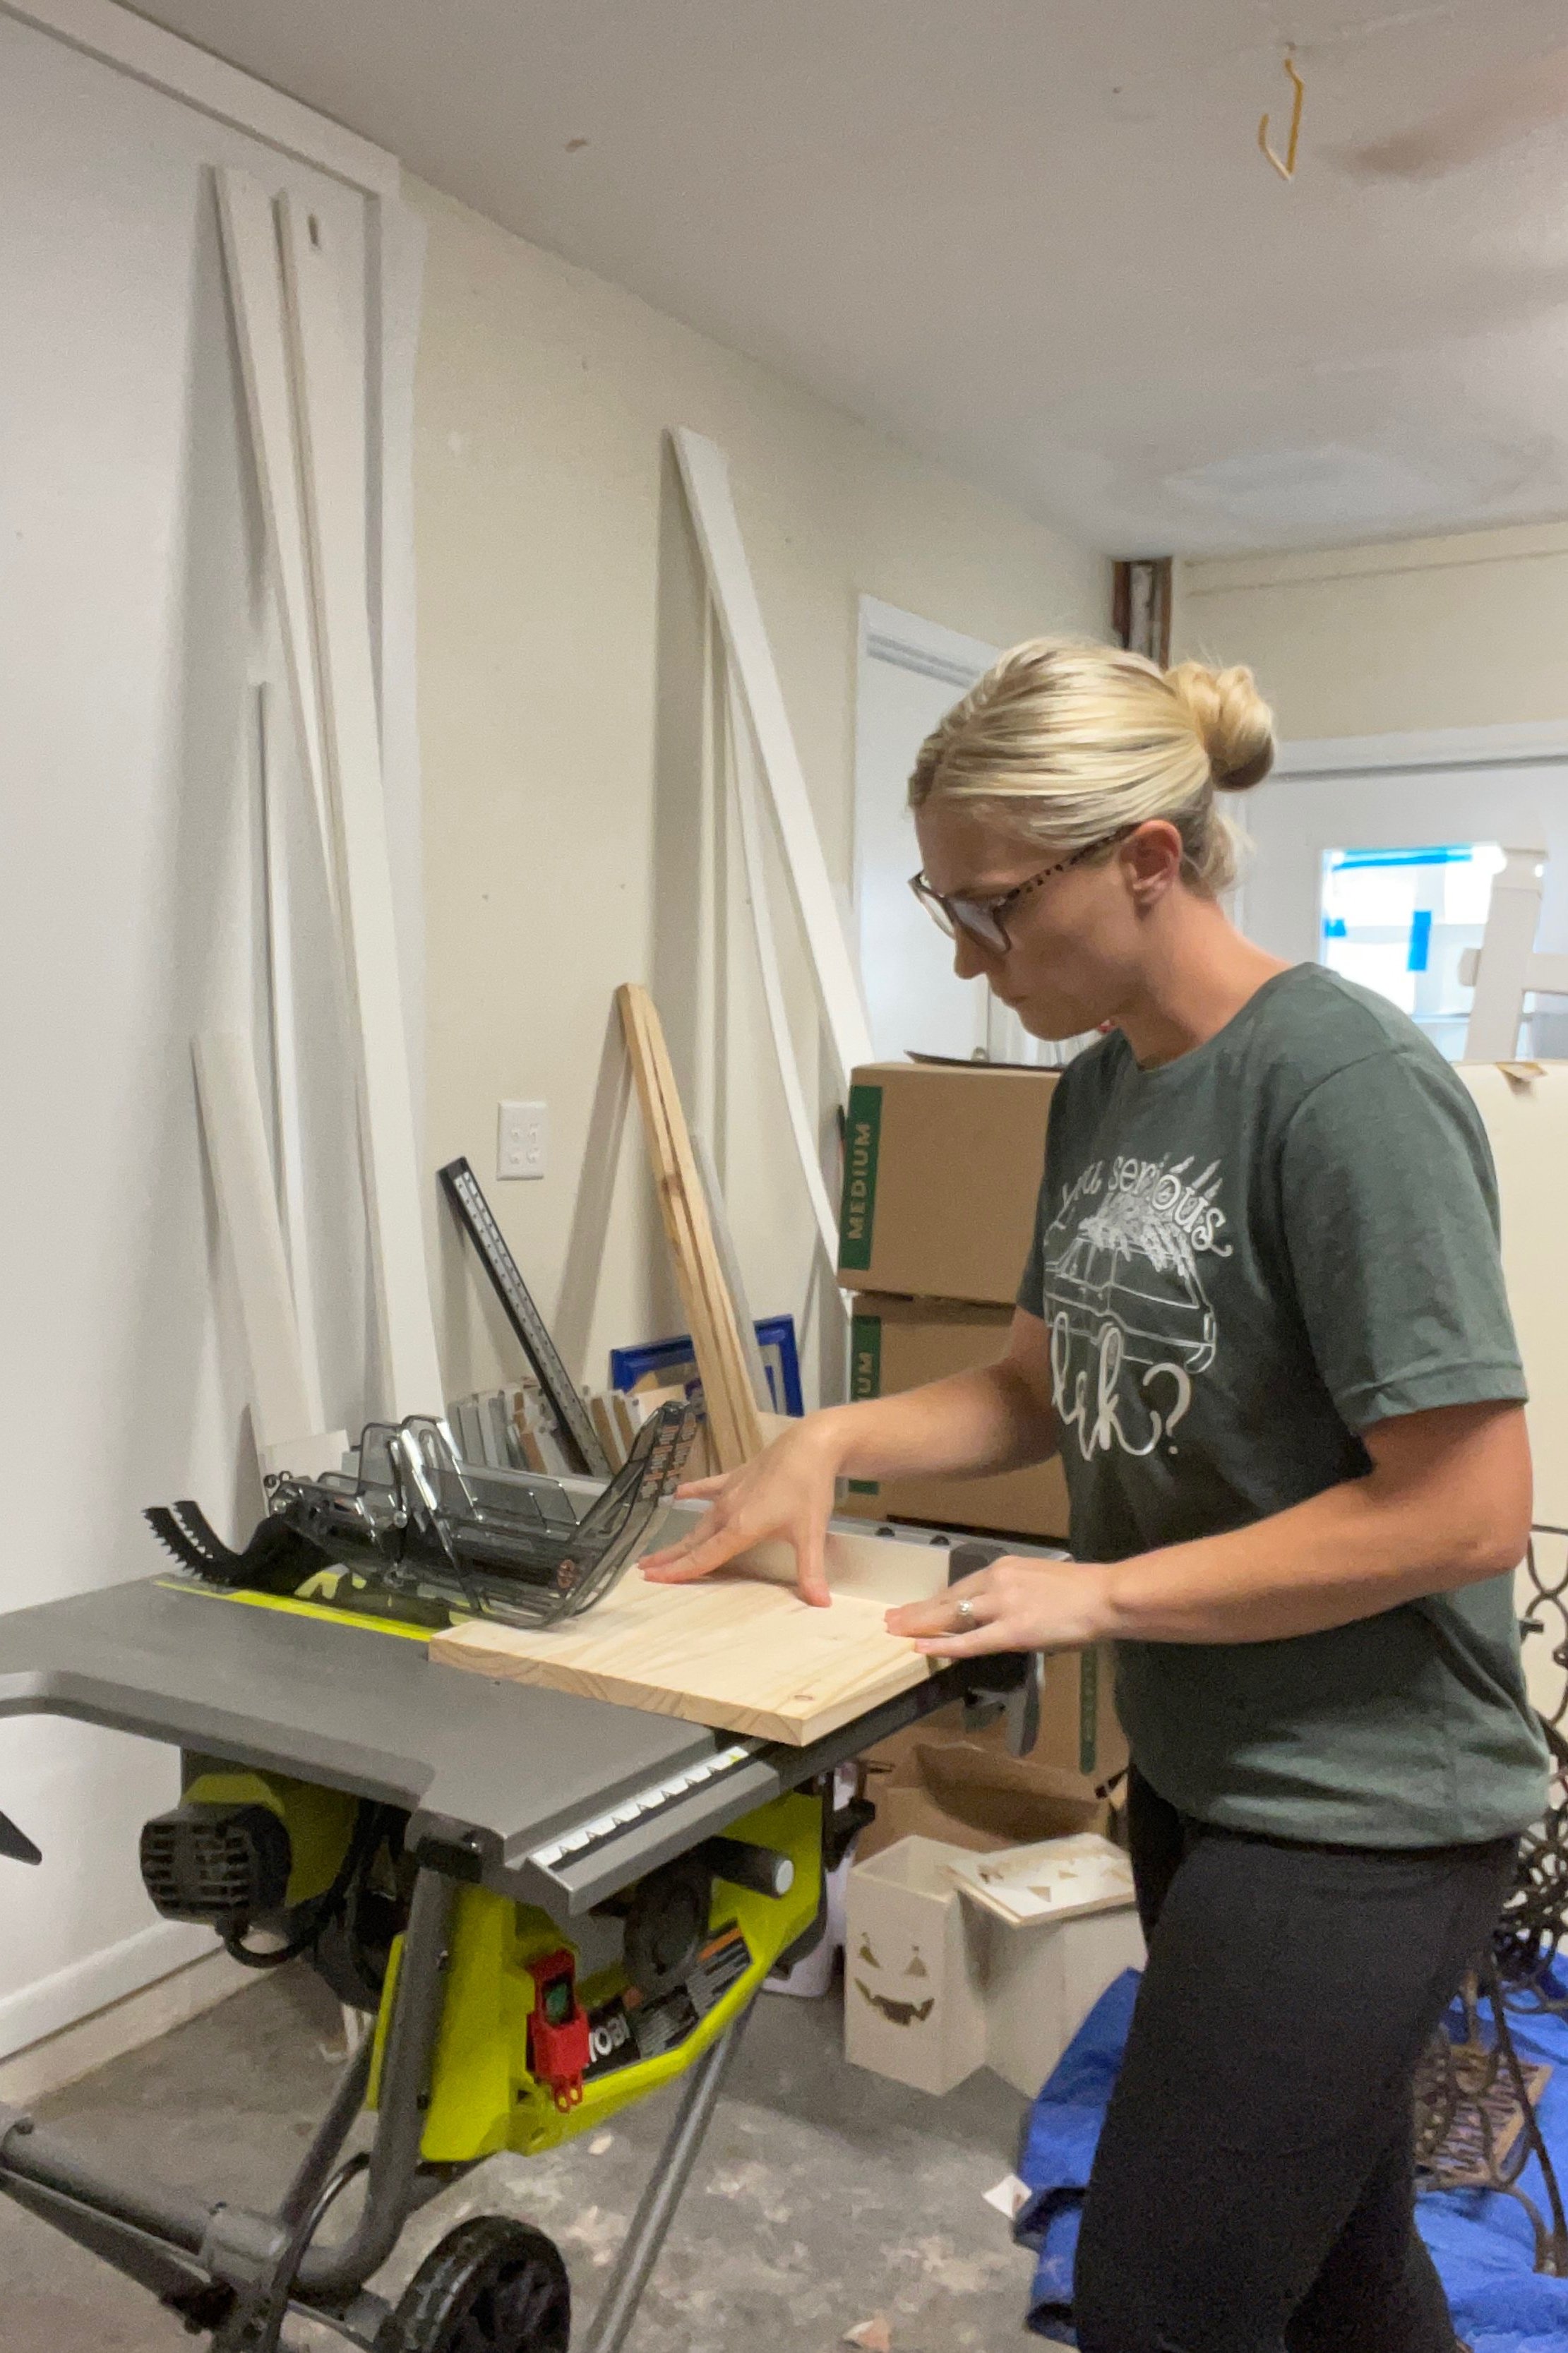
7. Table Saw - Similar to a circular saw, a table saw is usually used to cut long straight cuts (cutting wide sheets of wood or paneling down into more narrow pieces). The table saw is a stationary tool that either stays in place in your workspace or you setup each time before use. It is like a circular saw that is mounted to a table. The blade does not move and instead, you push the wood through the blade. A benefit of a table saw when compared to a circular saw is that the table saw has a set fence to make repeatable, accurate cuts. Like any saw, it can be dangerous if not used properly so I would recommend having someone help you for the first time or watching a few YouTube videos on how to properly use it. We use our table saw to cut down sheets of plywood, faux brick paneling, and sheets of beadboard. Watch this beginner video on how to use a table saw.
8. Multi-Tool - A multi tool, also called an oscillating tool, is a compact, battery operated tool that takes a wide range of interchangeable attachments, which can be used to sand, cut, scrape, grind and polish. The blade or attachment vibrates at a very high speed, making it much easier and safer to use than other saws. It can be used on a variety of materials including wood, metal, drywall, cement, plastic, and more. The largest benefit may be that it will work in places other power tools will not fit or reach, like narrow spaces, tight corners, and awkward angles. I have used my multi tool to cut out the bottom of door frames to make room for vinyl plank flooring, to cut out openings in paneling for outlets, on furniture transformations, and more. I would consider this tool very easy to use and perfectly beginner friendly. I included it in section two because I don’t think the beginner DIYer would have as many uses for it as a intermediate DIYer may.
