
Wallpaper Closet Makeover
Thanks to PhotoWall Sweden for sponsoring this post. I was gifted product but all opinions stated here are my own.
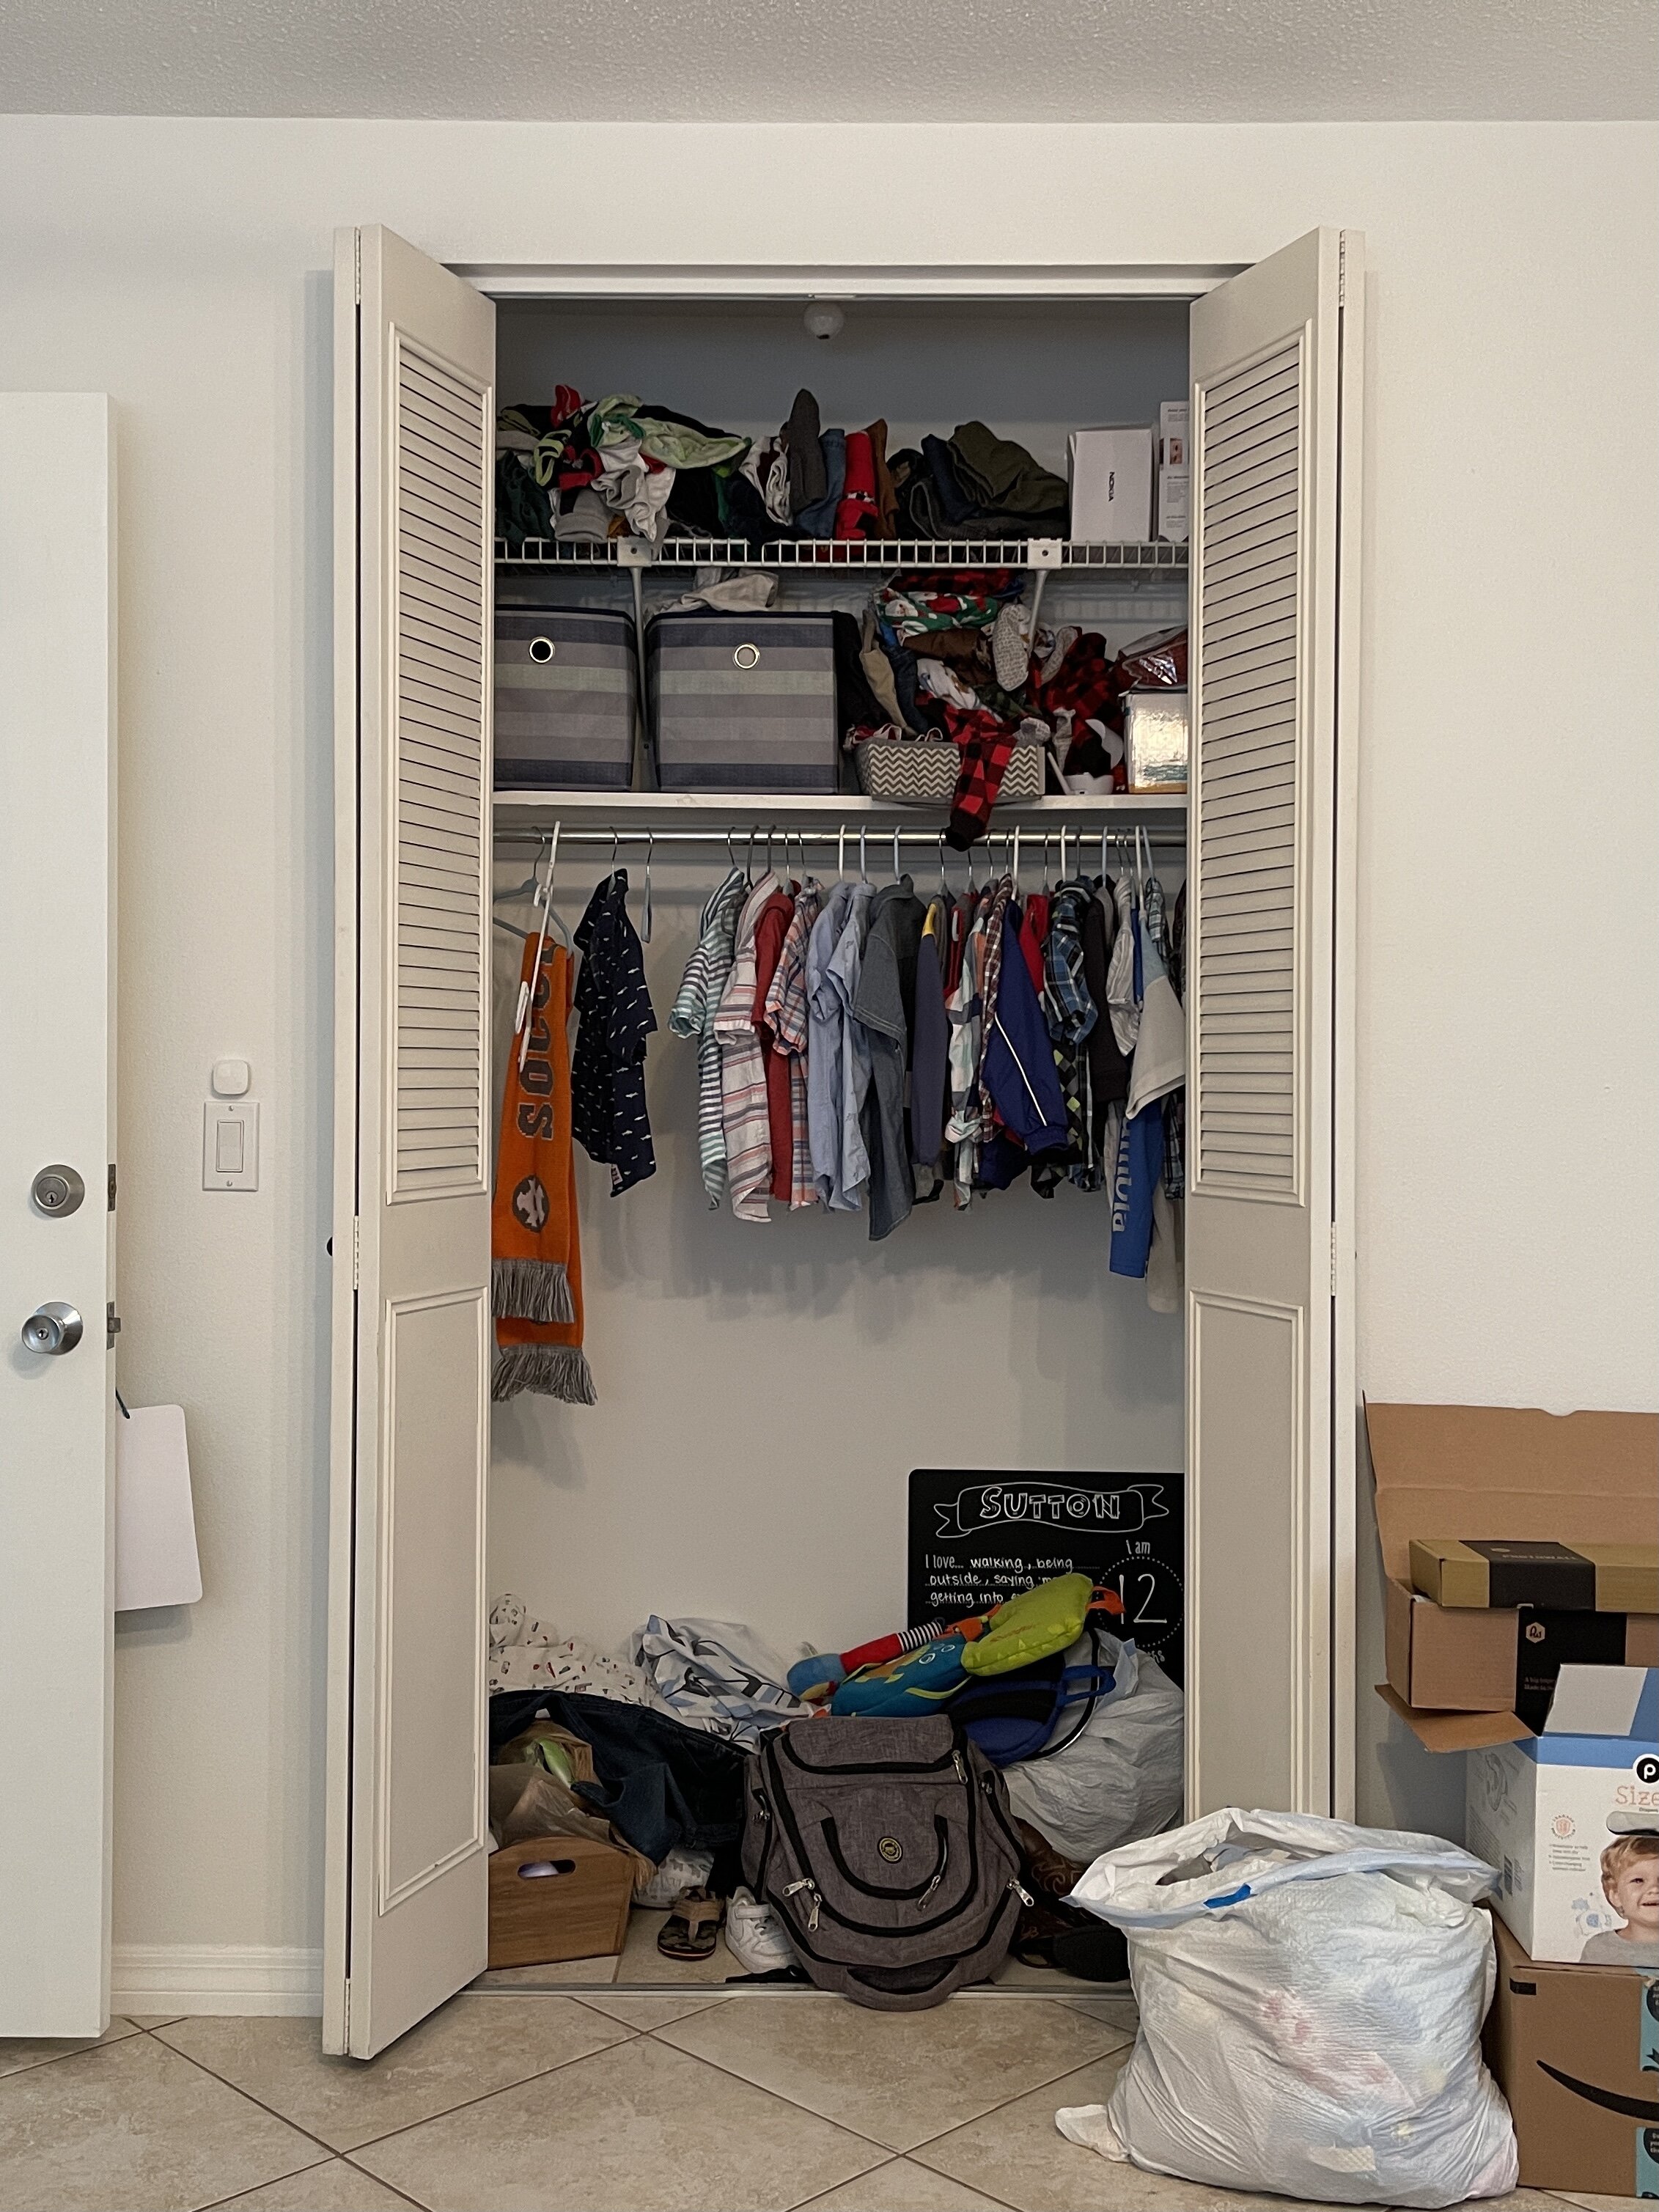
I just started my son’s bedroom makeover and the first project I wanted to tackle was his small closet. It needed some color, character, and a bit more storage. I knew I wanted to do something really fun and bold in there so I decided to add wallpaper!
PhotoWall Sweden literally has thousands of designer wallpapers to choose from. Their website allows you to search by color, style, popular categories, best sellers, and more so finding a unique design is easy. My son’s current obsession is anything vehicle related.
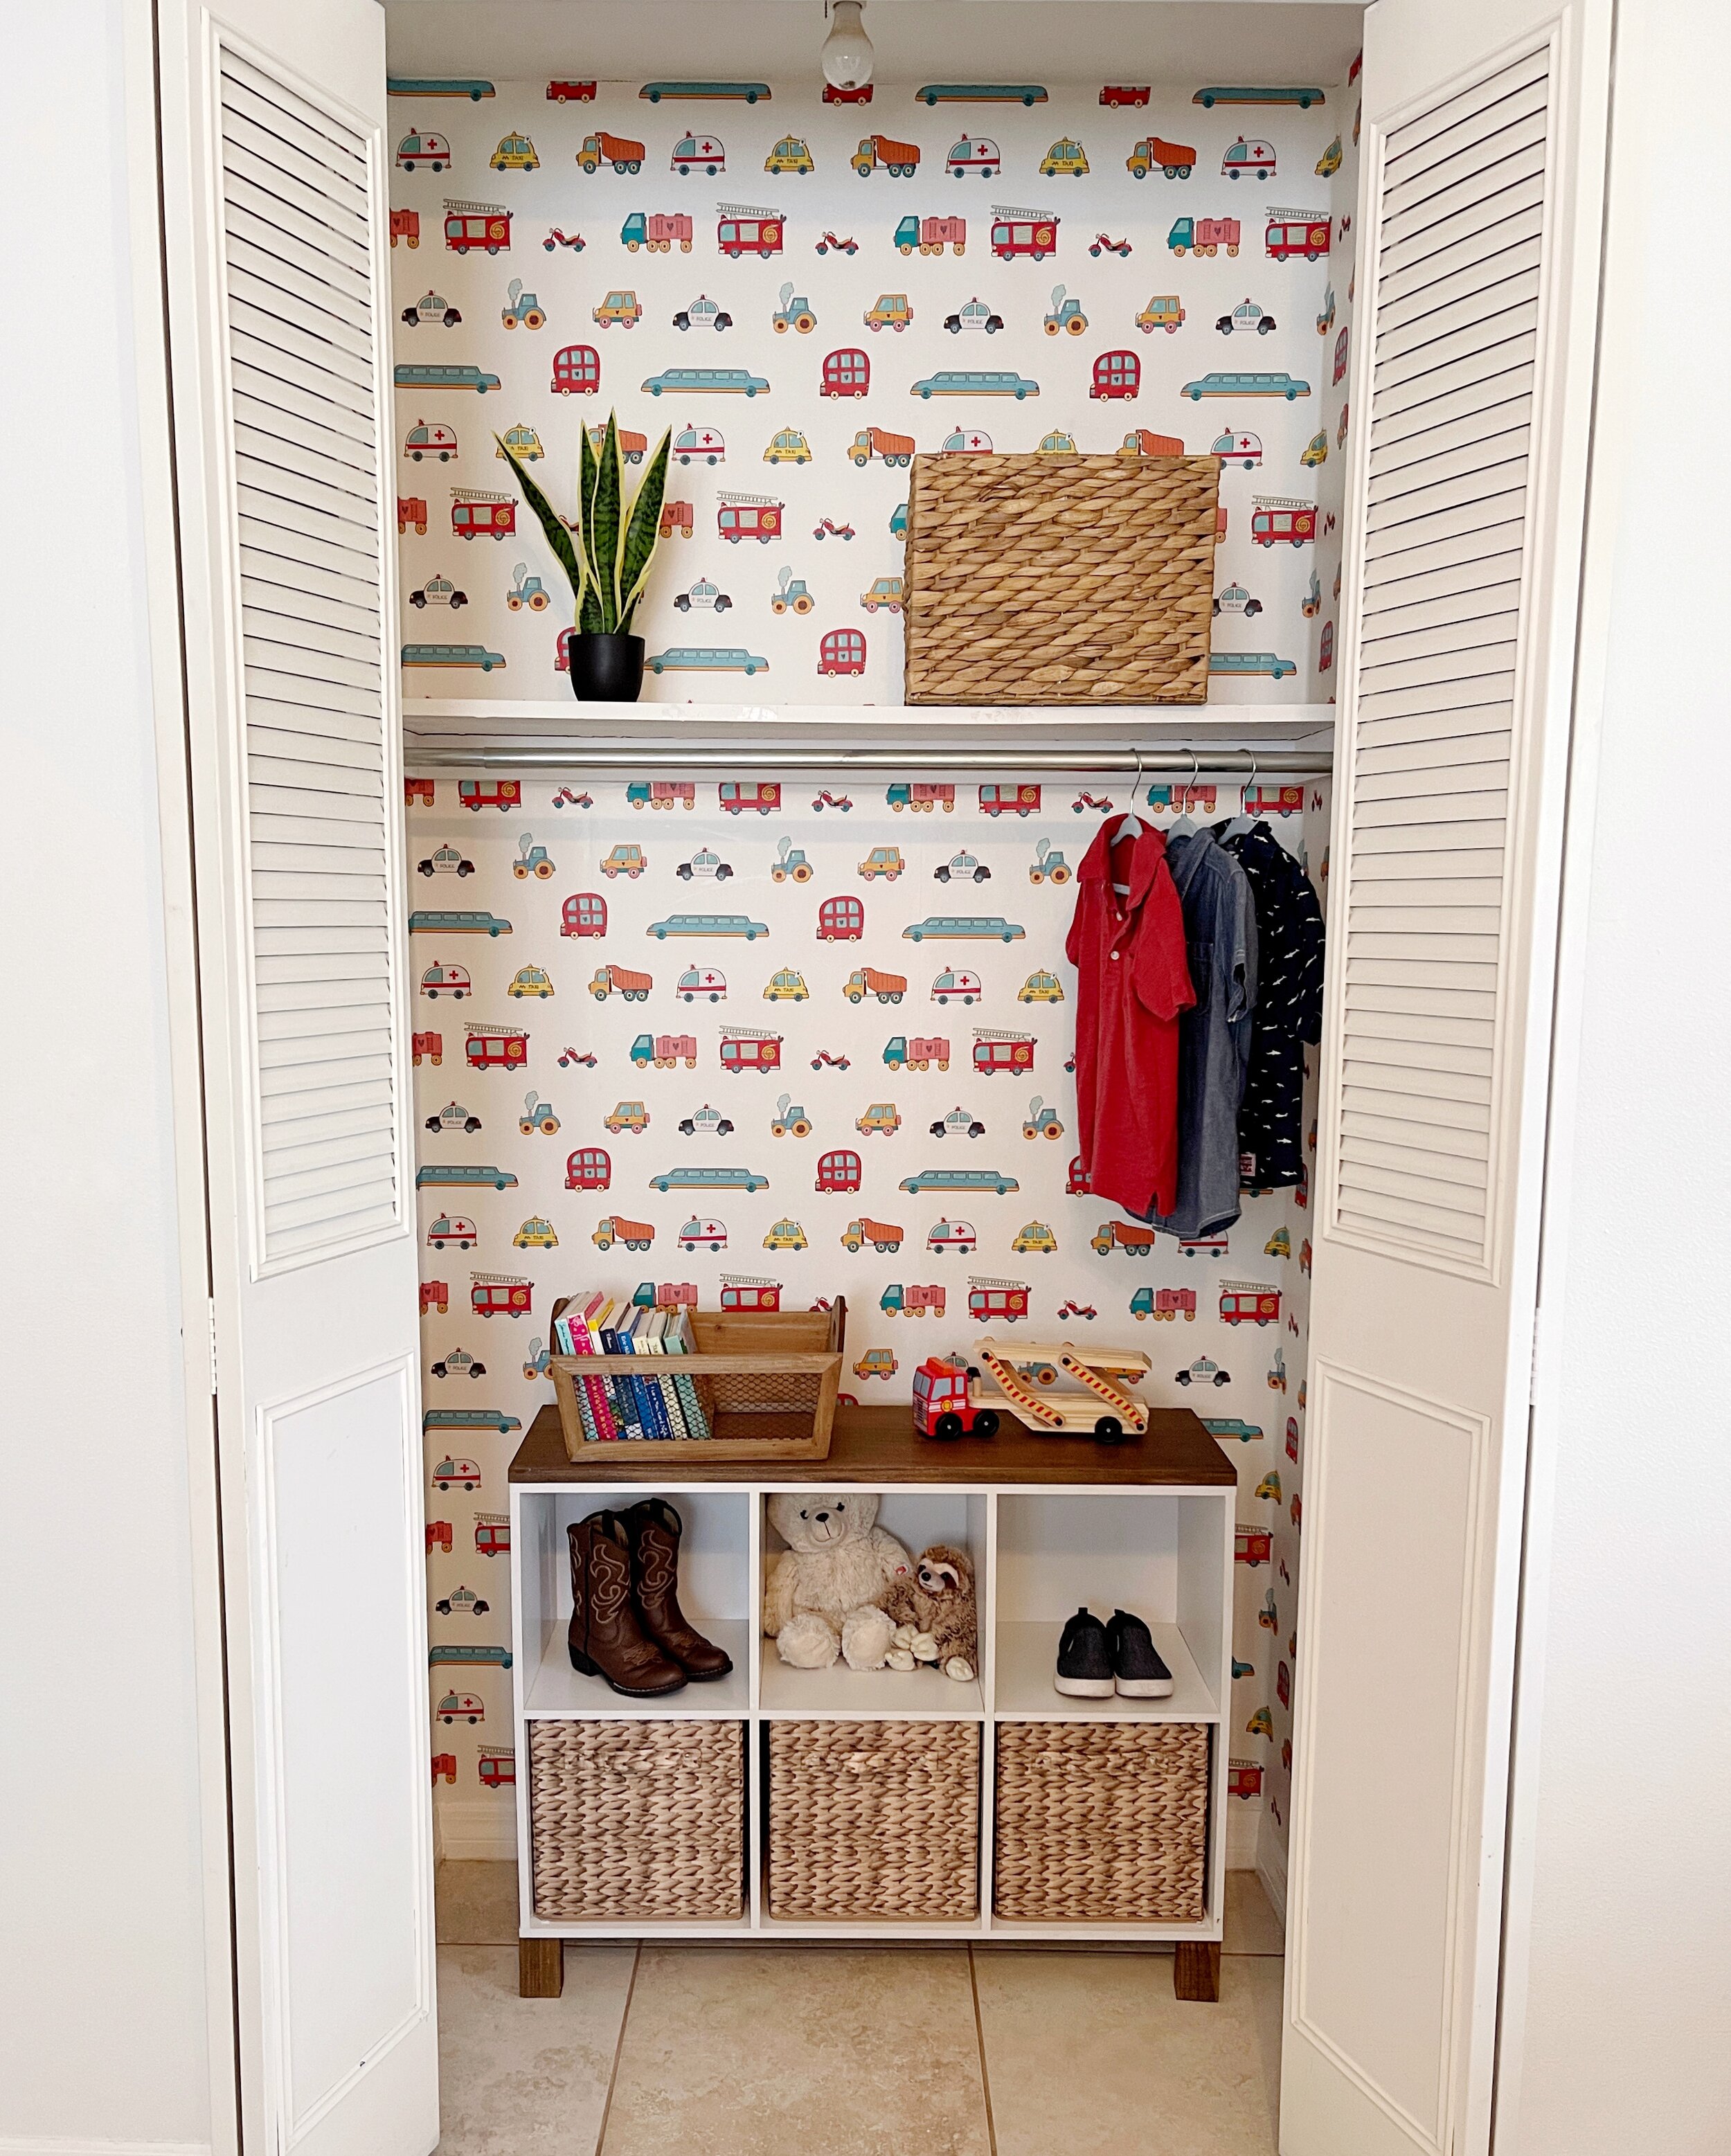
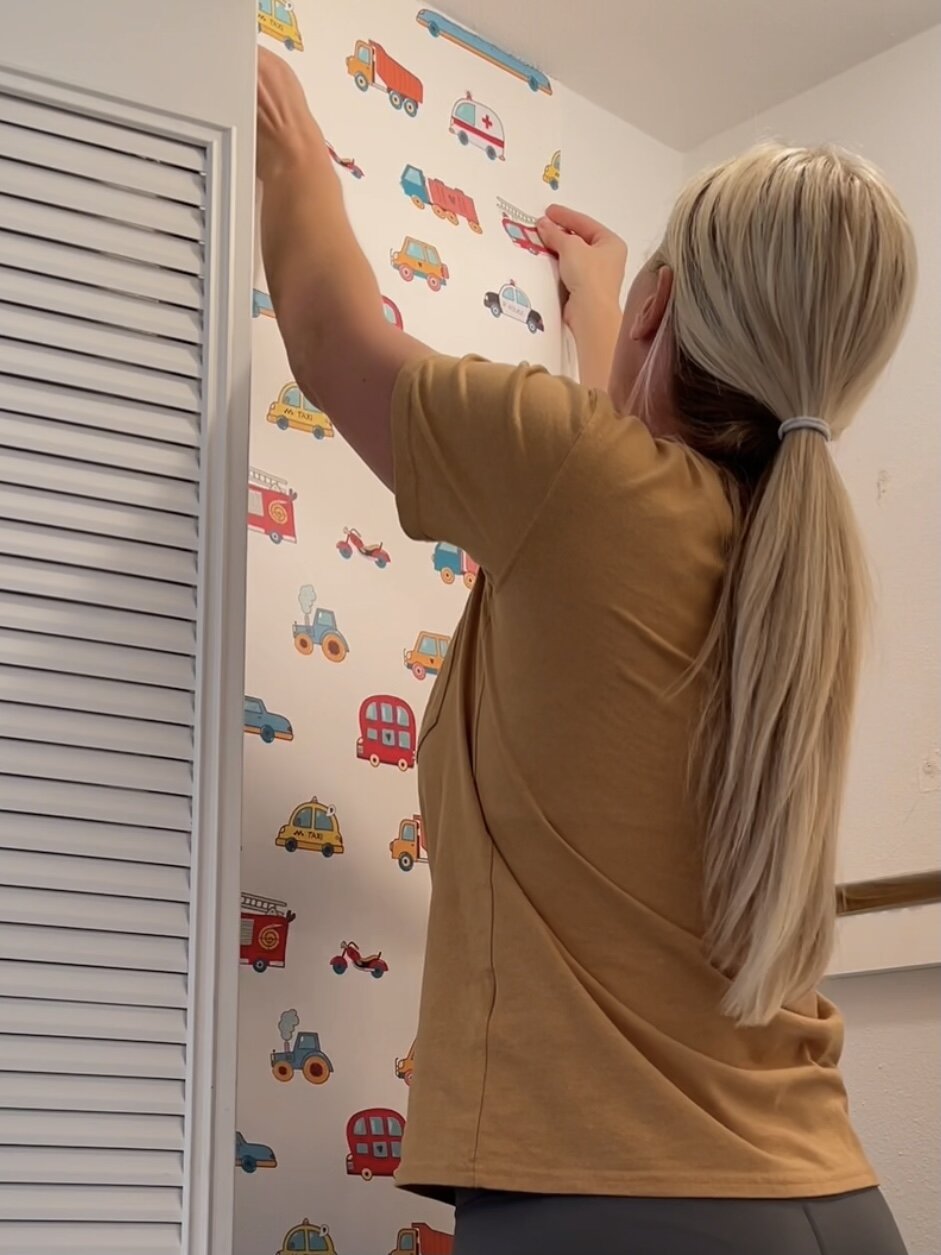
The wallpaper I chose looks like it was made for him! It is bright and colorful and has a variety of kid-friendly vehicles on it that range from firetrucks, to dump trucks, taxis, tractors, motorcycles and more.
Before ordering you will need to measure the walls in your home where you plan to apply the wallpaper. They recommend adding 3-4inches onto your measurements to account for your walls and ceilings not being perfectly straight. When placing my order, I noticed they also sold a wallpaper installation kit on their website and I decided to order it as well.
This installation kit made the job so easy and I would highly recommend ordering the kit with your wallpaper. I have learned from past DIY projects that having the correct tools for the job makes everything go so much smoother. I placed my order and everything arrived at my house within just a few days.

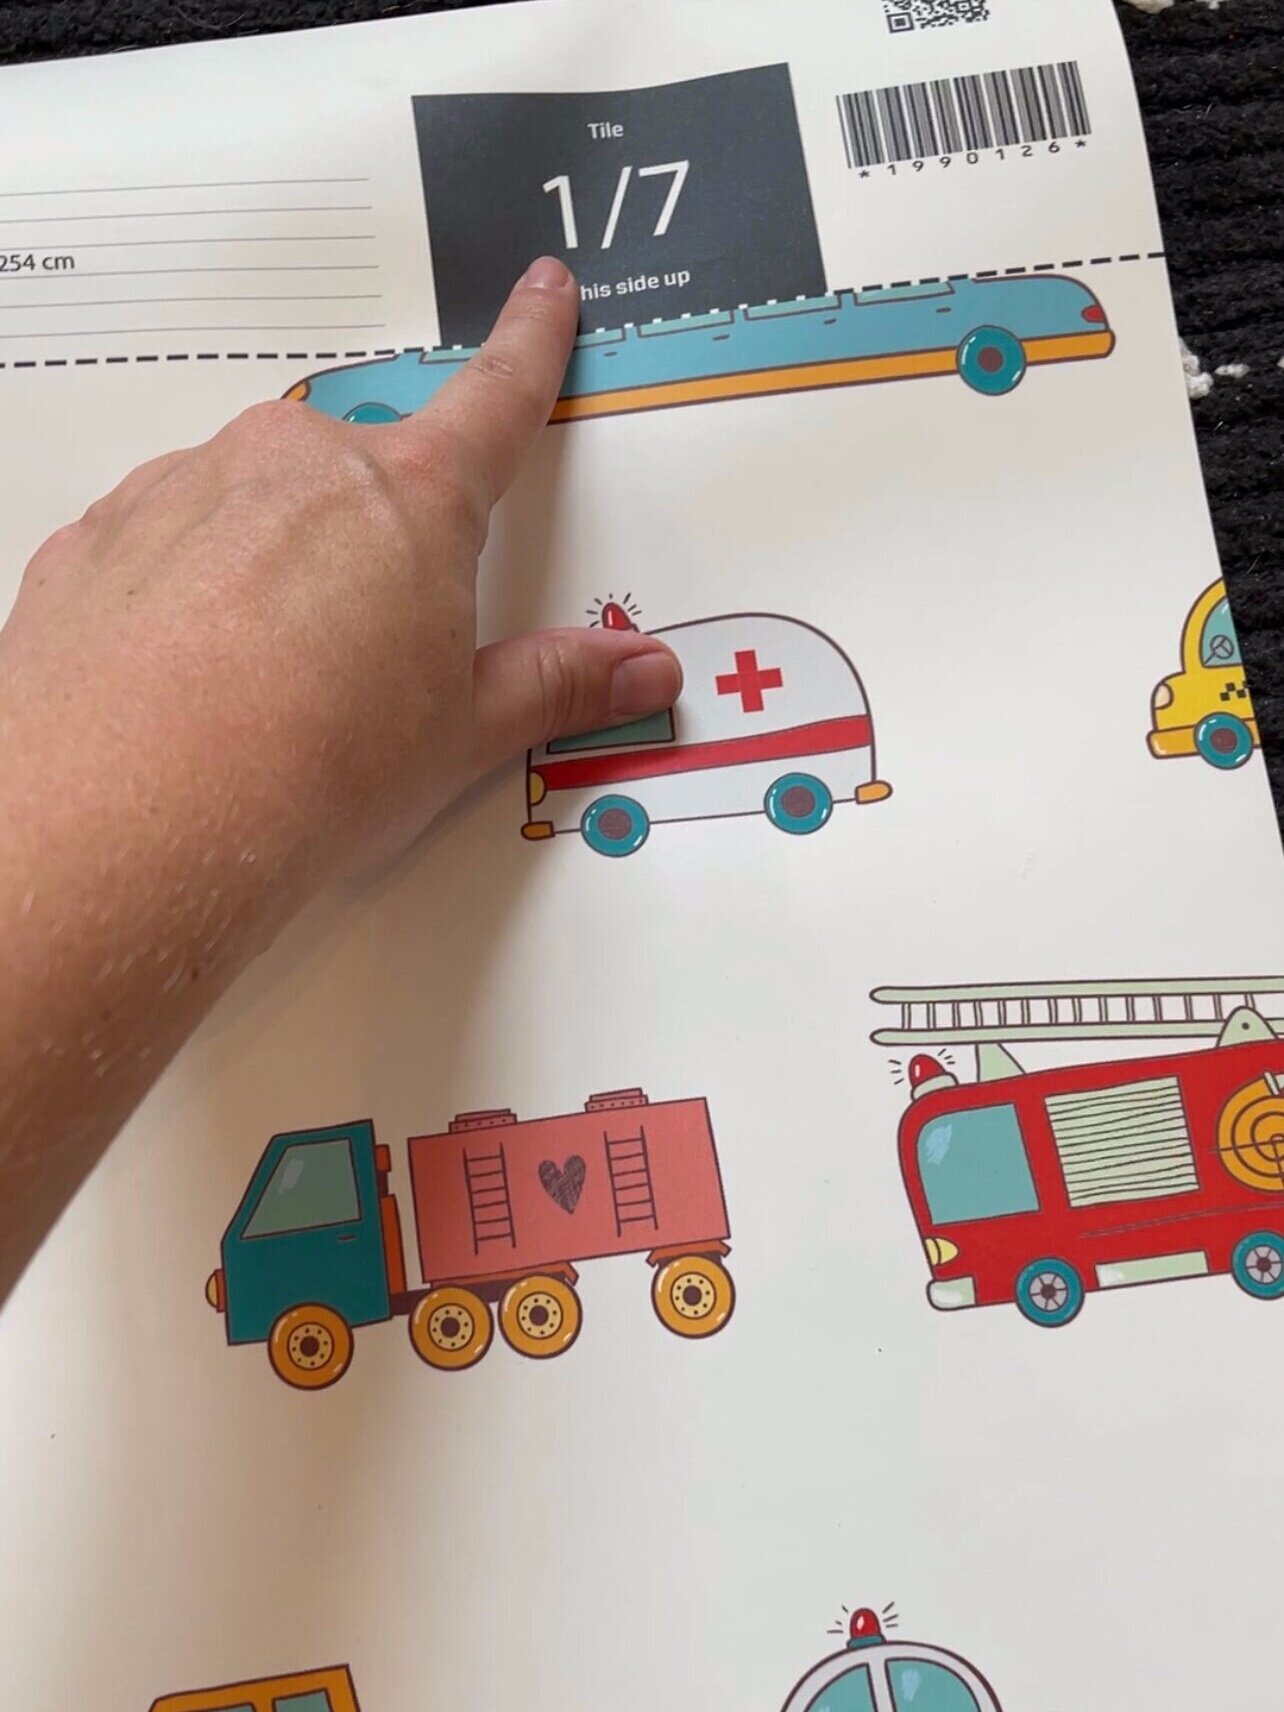
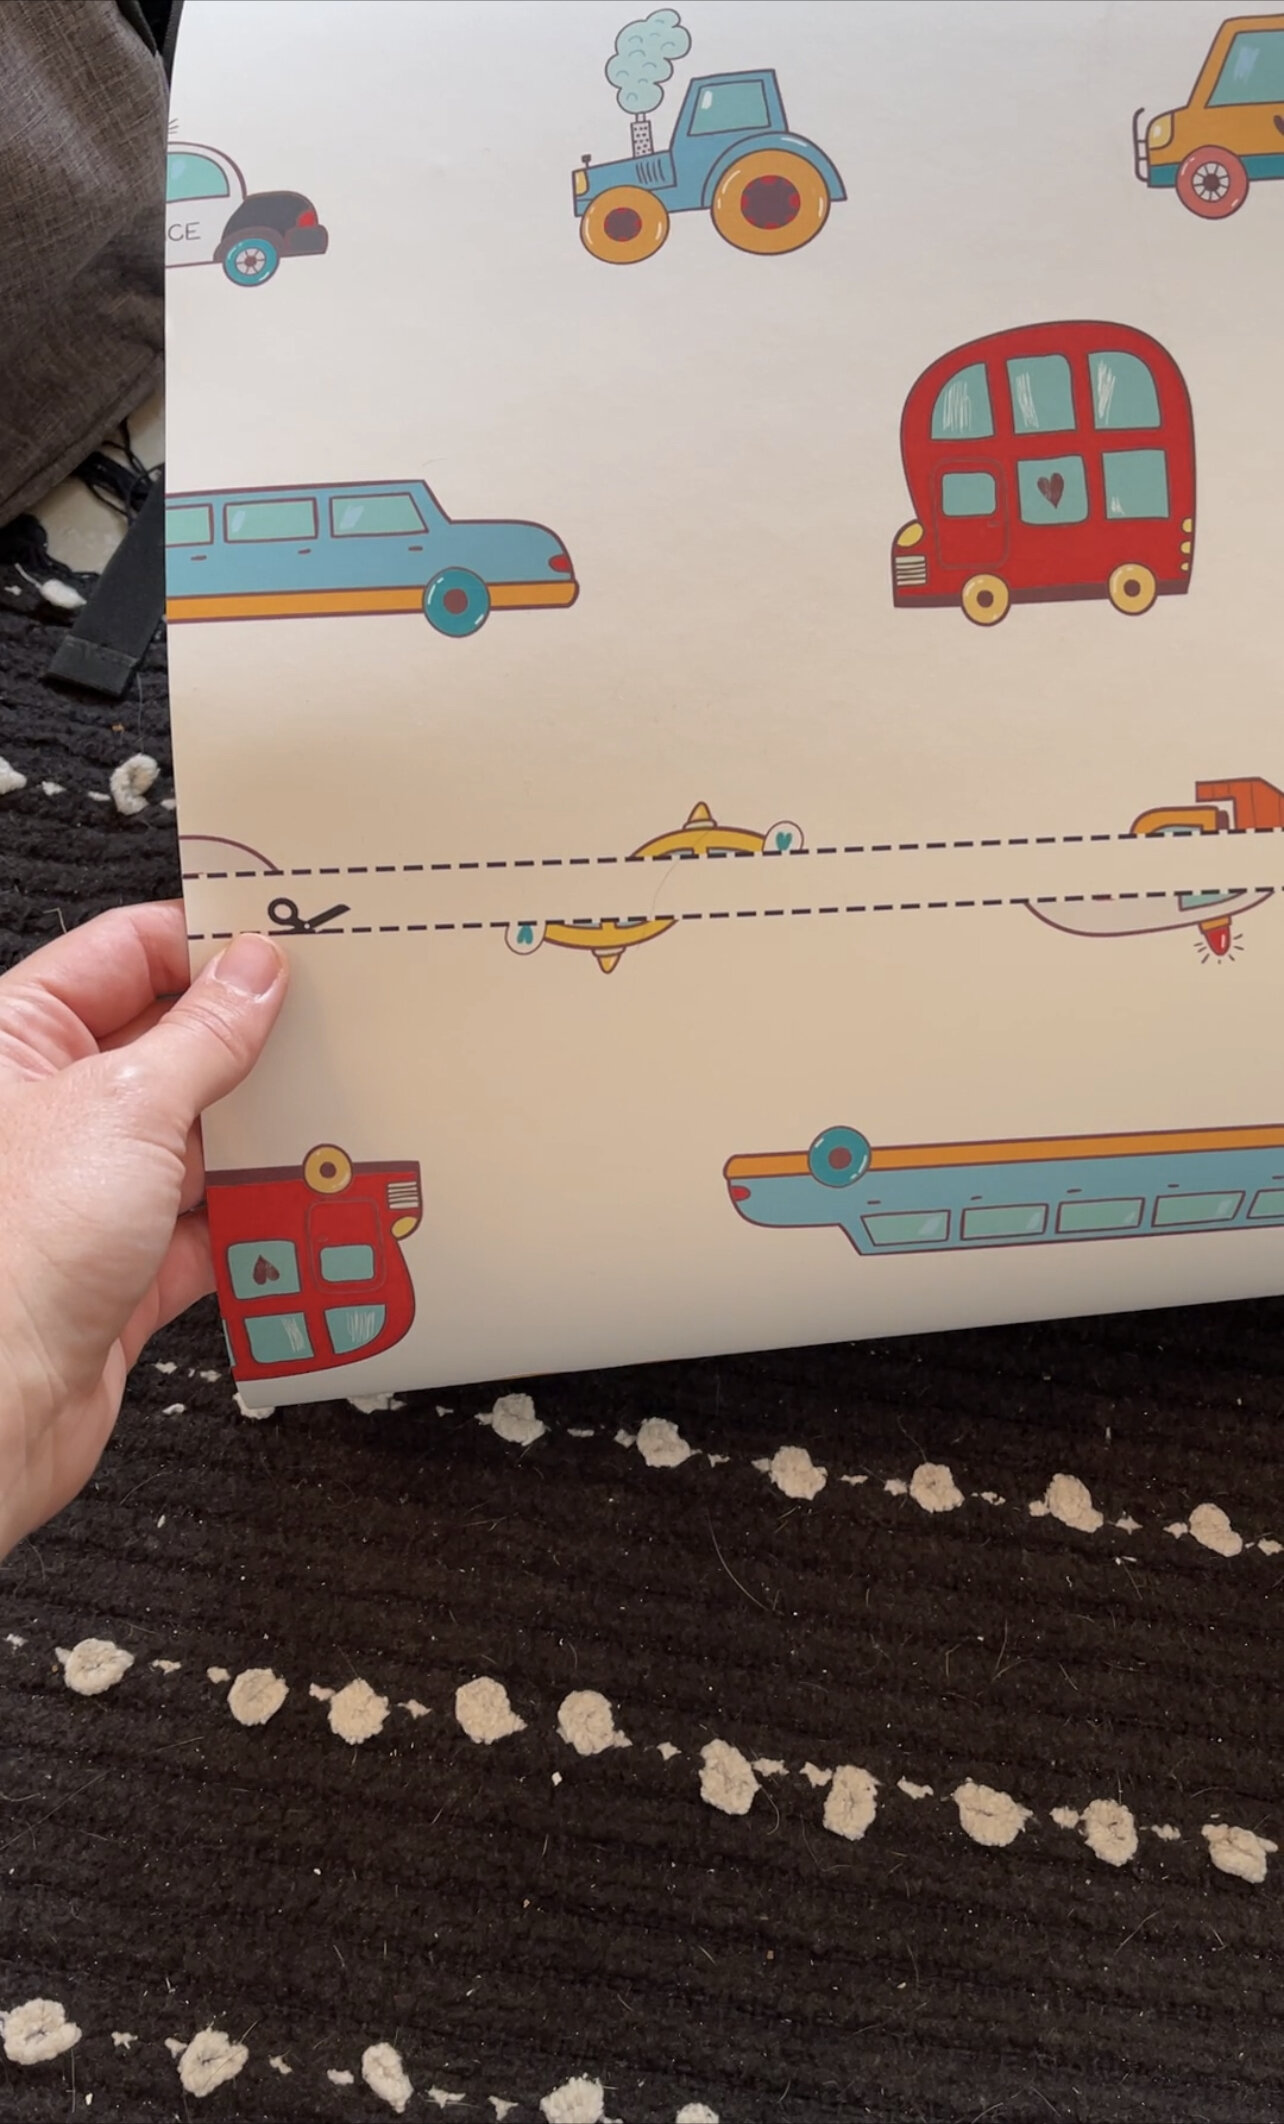
The wallpaper came in one large roll which needed to be cut into individual panels. PhotoWall has markings telling you exactly where to cut each panel and each panel is numbered which took all the guesswork out of it (which I loved!).
The coolest part about their wallpaper is that the pattern on the wallpaper lines up perfectly on each panel which made installing it SO easy! I want to say that I highly recommend watching their ‘How-To’ video which shows exactly how to install their wallpaper. It was extremely helpful to me.
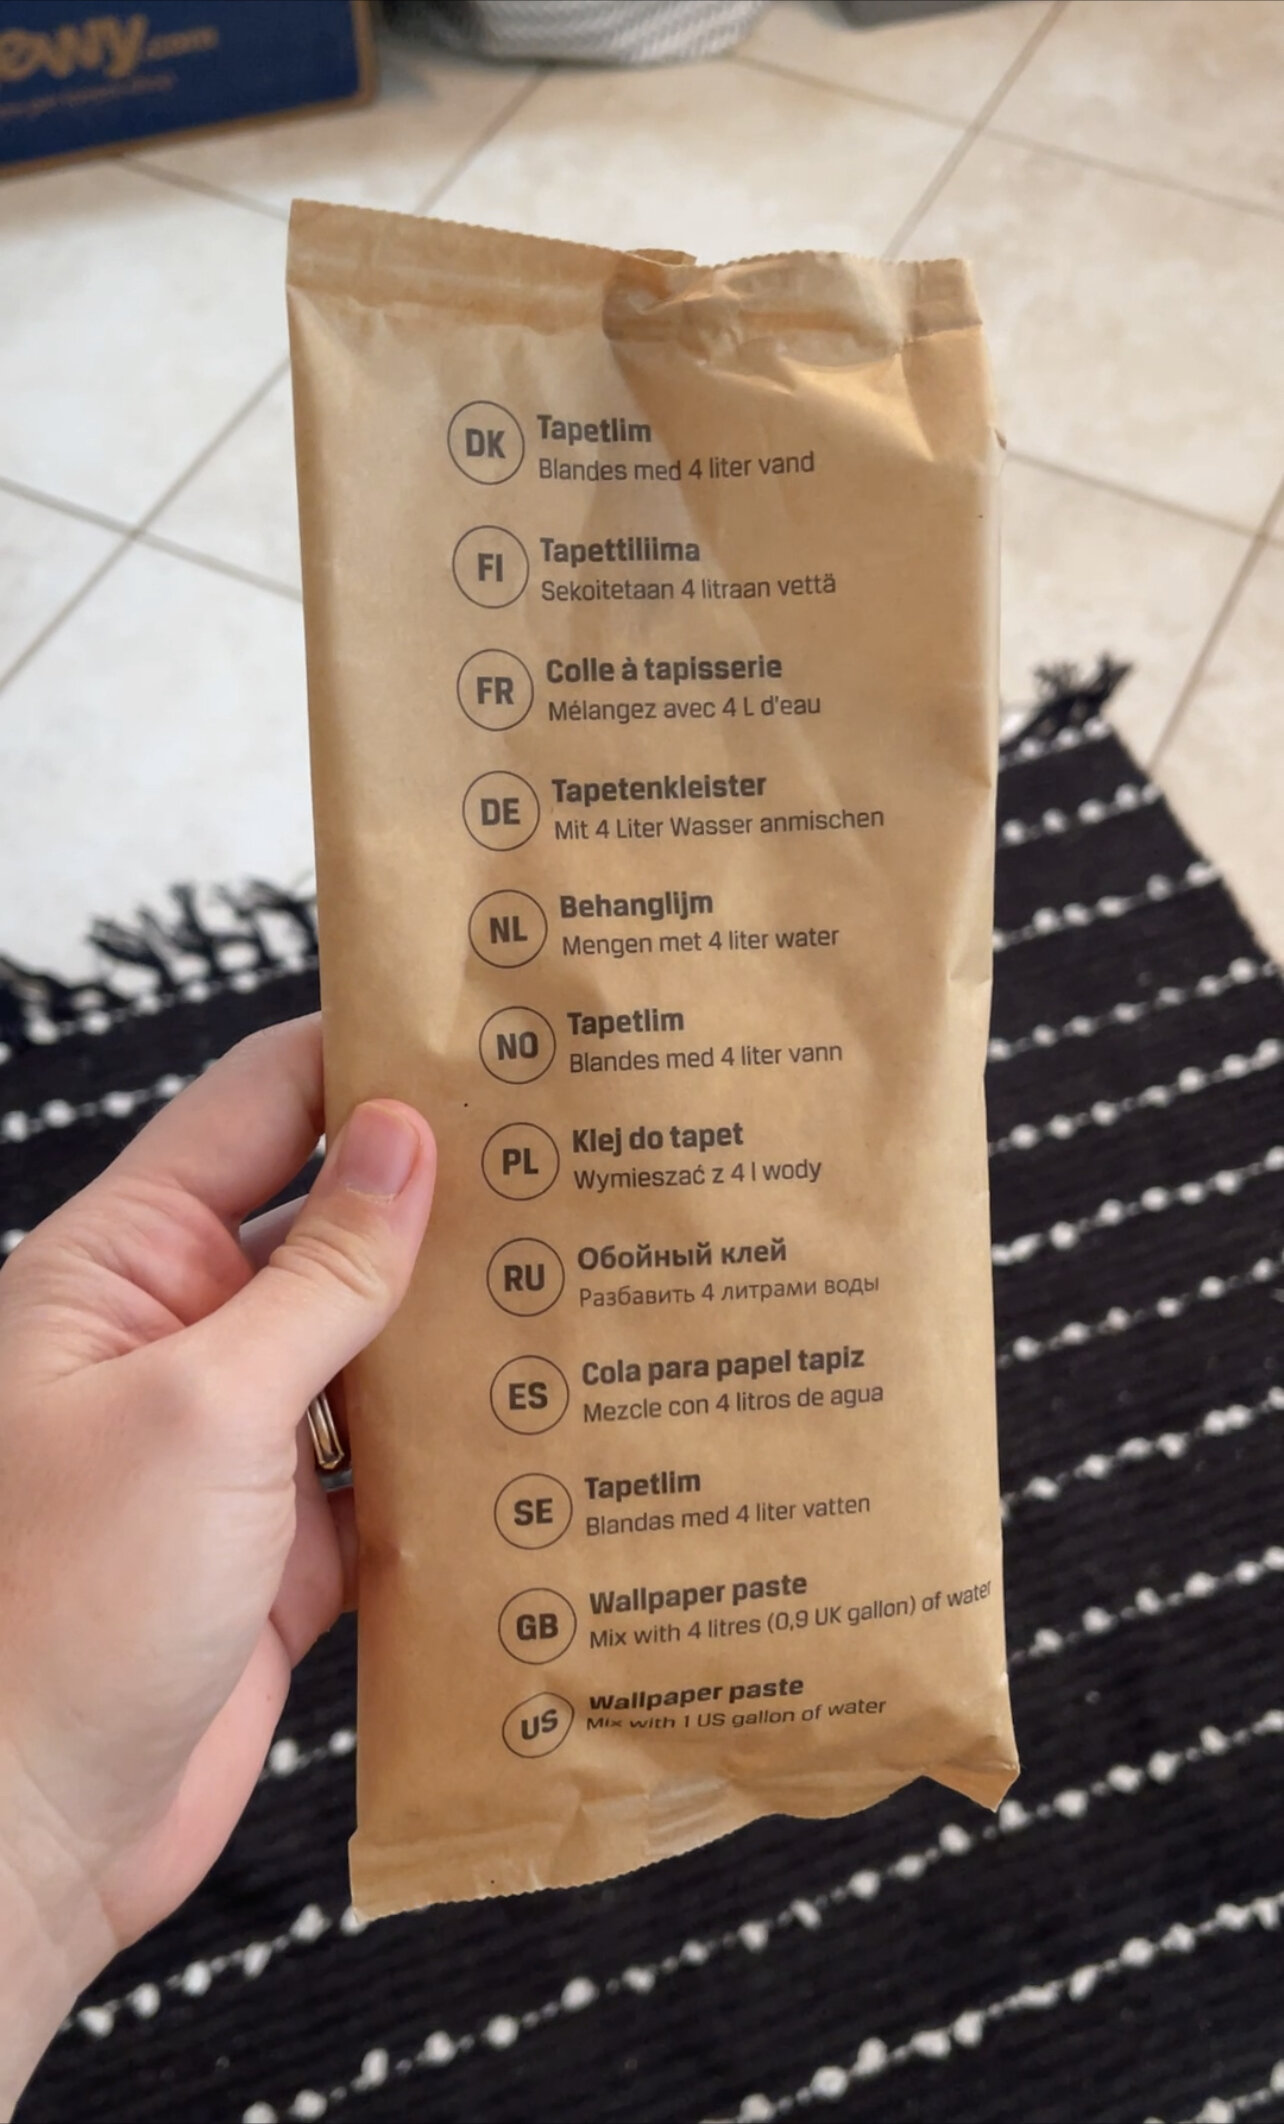
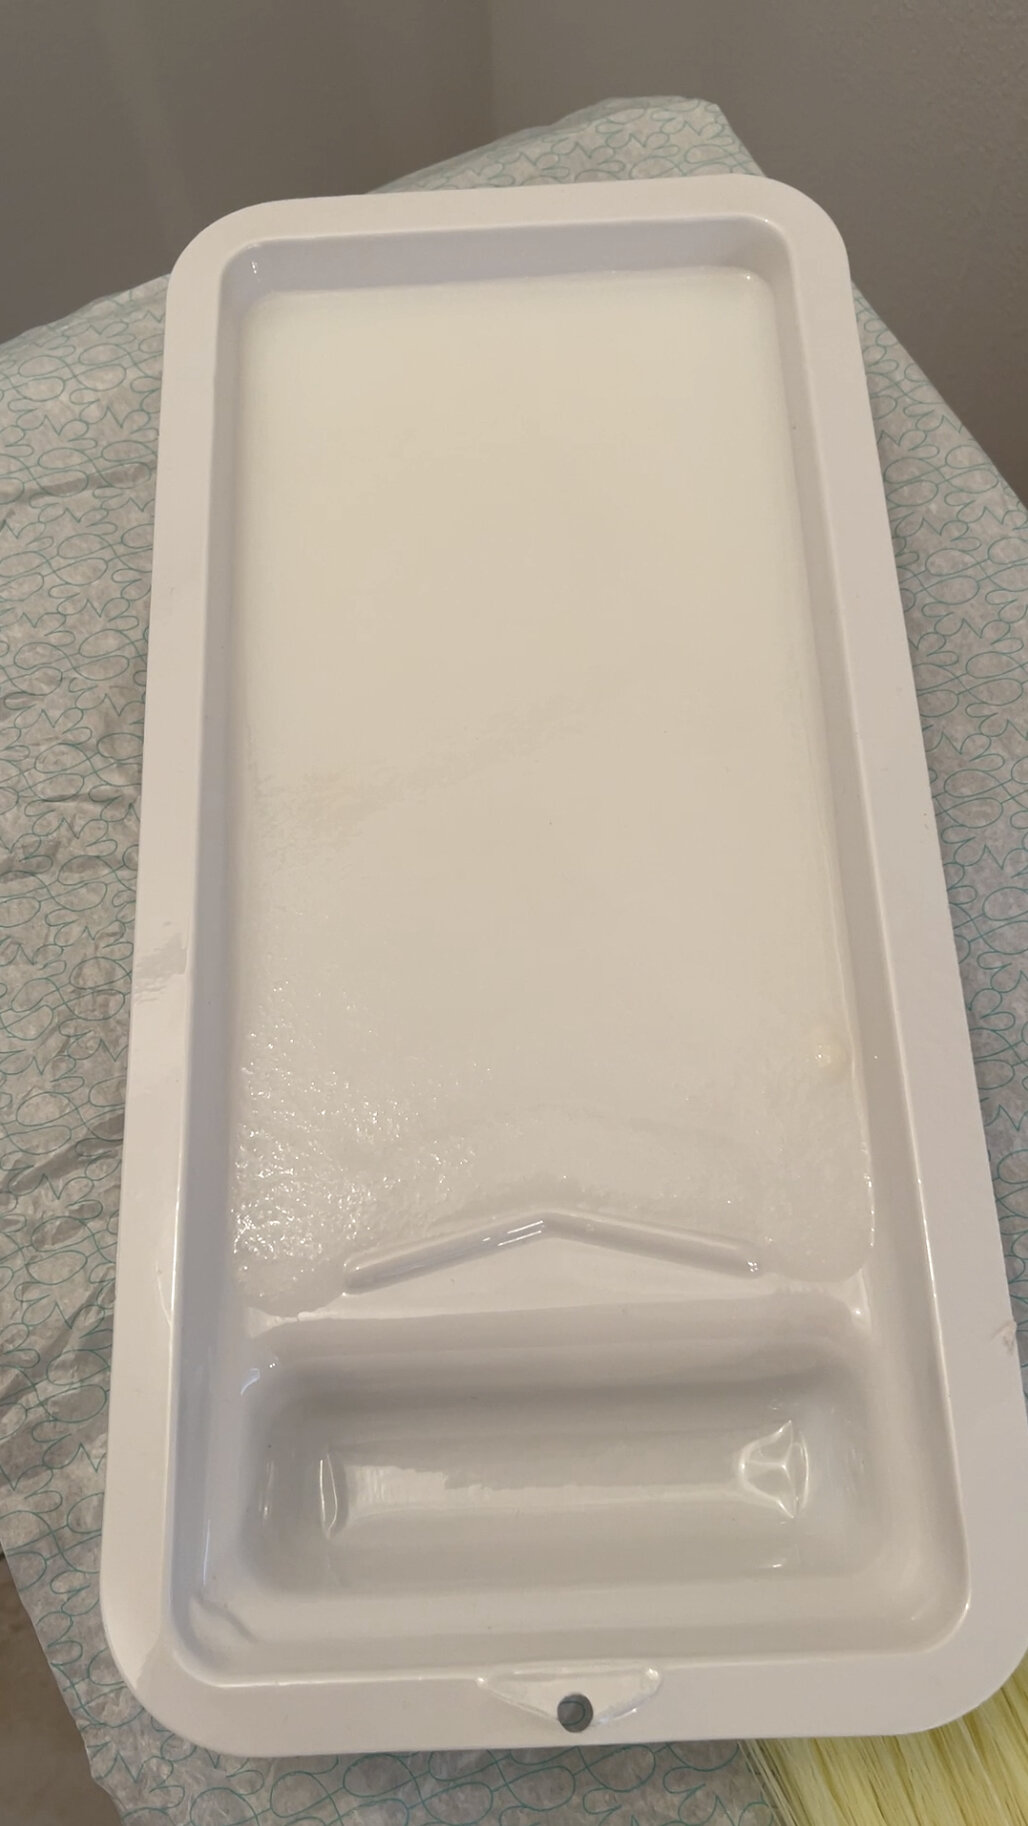
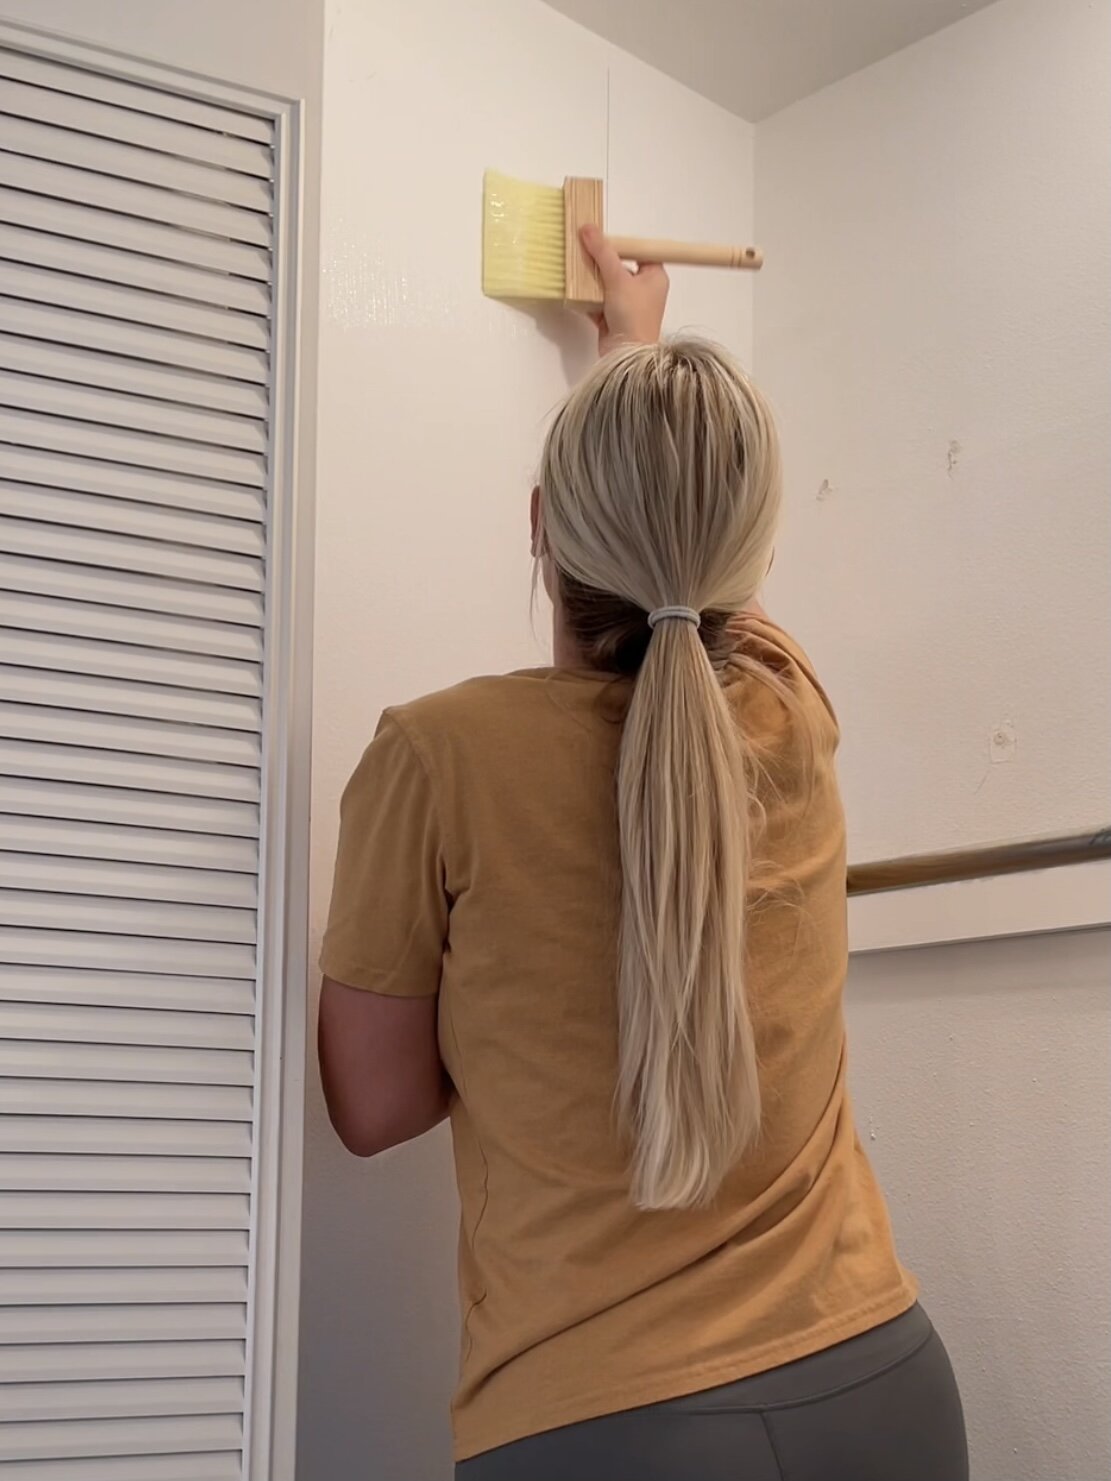
Their wallpaper paste comes as a powder that you just add water to and mix. I decided to divide the powder into 4 even measurements and I just mixed one up at a time since I wasn’t sure how much I would need. I then began to brush the paste directly onto the closet wall using the wall brush that came in their kit.
I started by applying the paste in a small area at a time, applying the wallpaper, and then continuing the process in small sections as I worked from the ceiling down to the floor on the first panel of wallpaper. After the first panel I realized that I could apply the paste onto the wall from the ceiling to the floor in one application for an entire section and then apply that panel of wallpaper, no need to do small sections at a time.
Because of the paste, it was easy to push and slide the wallpaper while on the wall getting it to line up perfectly with the previous panel’s pattern.
The whole closet took me just over 2 hours to install and complete. If I was applying this to a flat wall without any corners or odd angles, I think it would be even faster. I have used peel and stick wallpaper in the past and I have to say that pasted wallpaper is SO much easier to work with!
I was really impressed with the quality of the wallpaper itself and the final look is definitely magazine-worthy! If you are considering wallpaper or a mural for your home or business, I would definitely check-out PhotoWall Sweden!

For more details and videos of this project, checkout my Instagram and saved highlight of this project.