
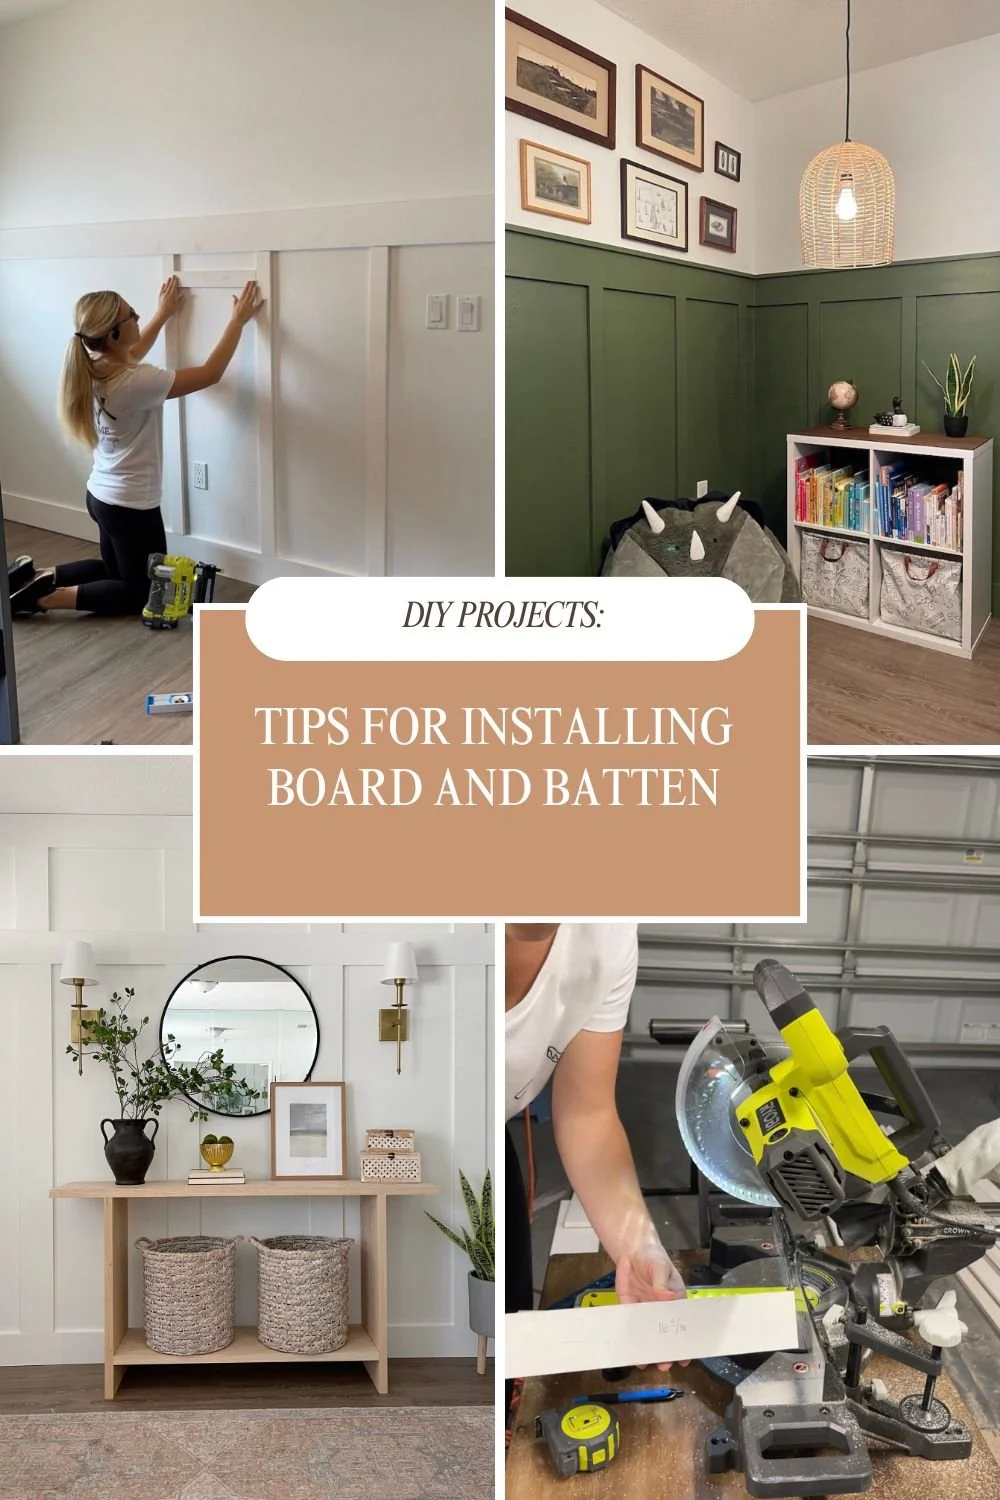
Tips for Installing Board and Batten
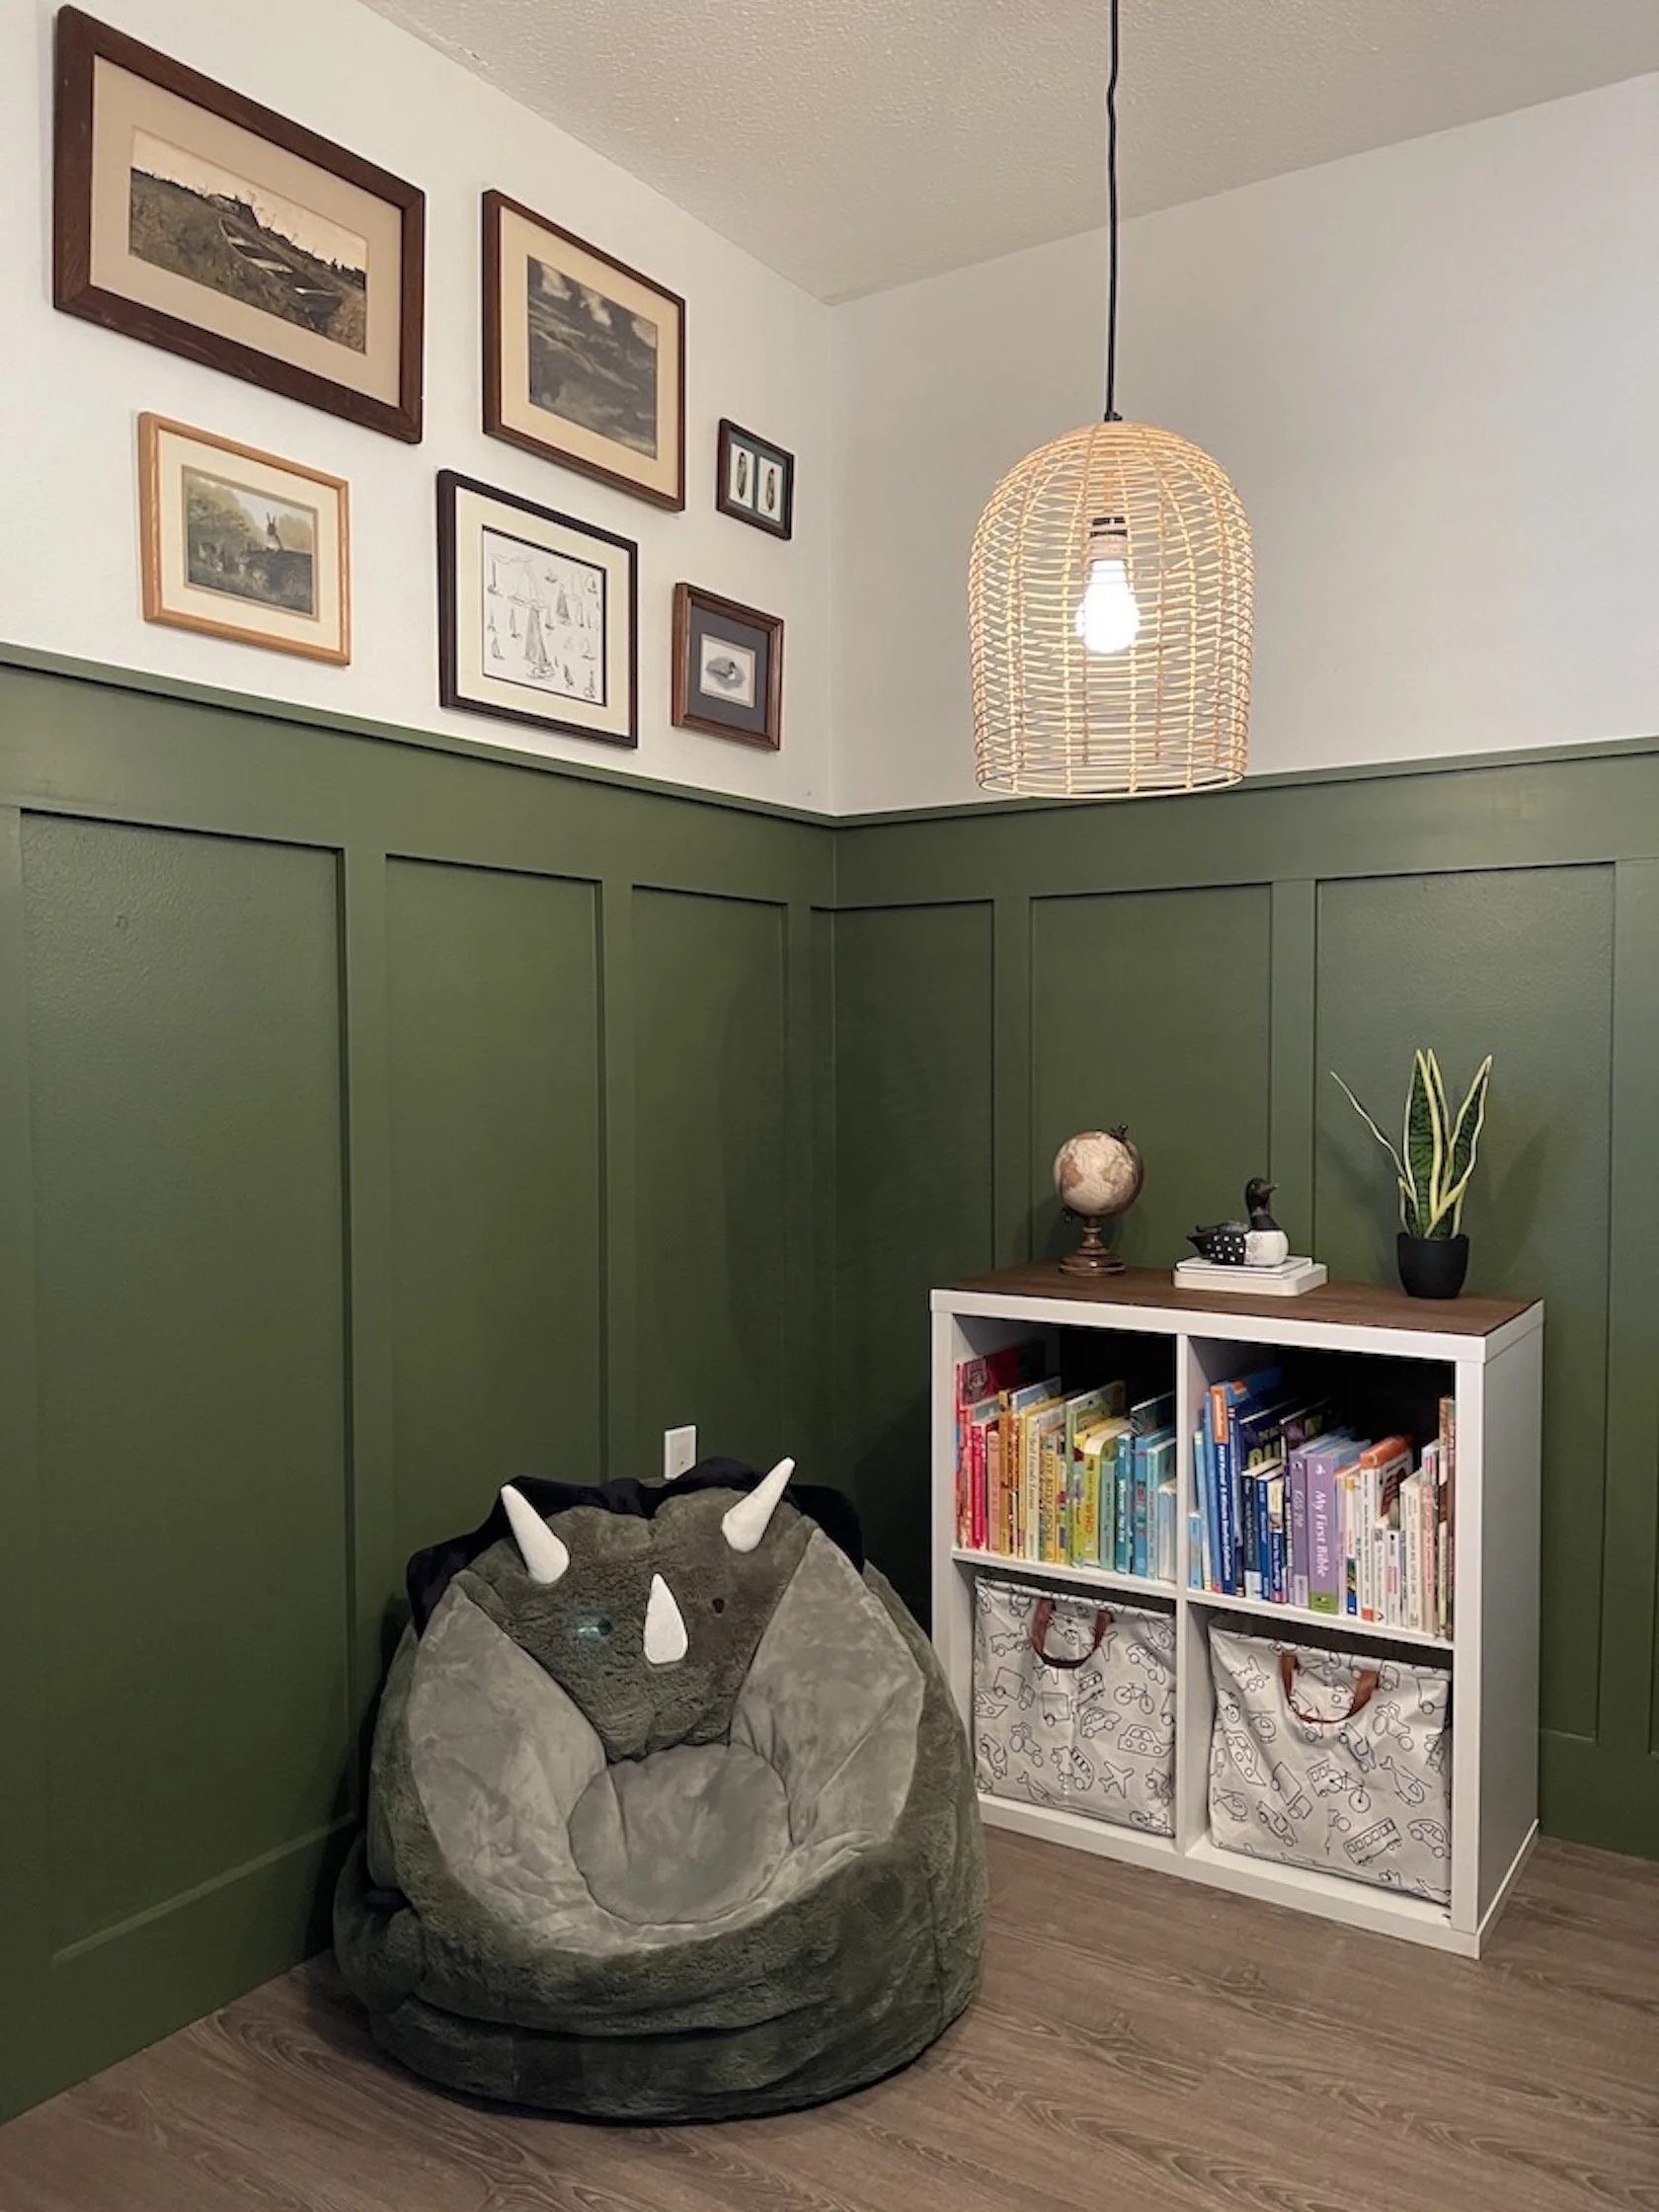
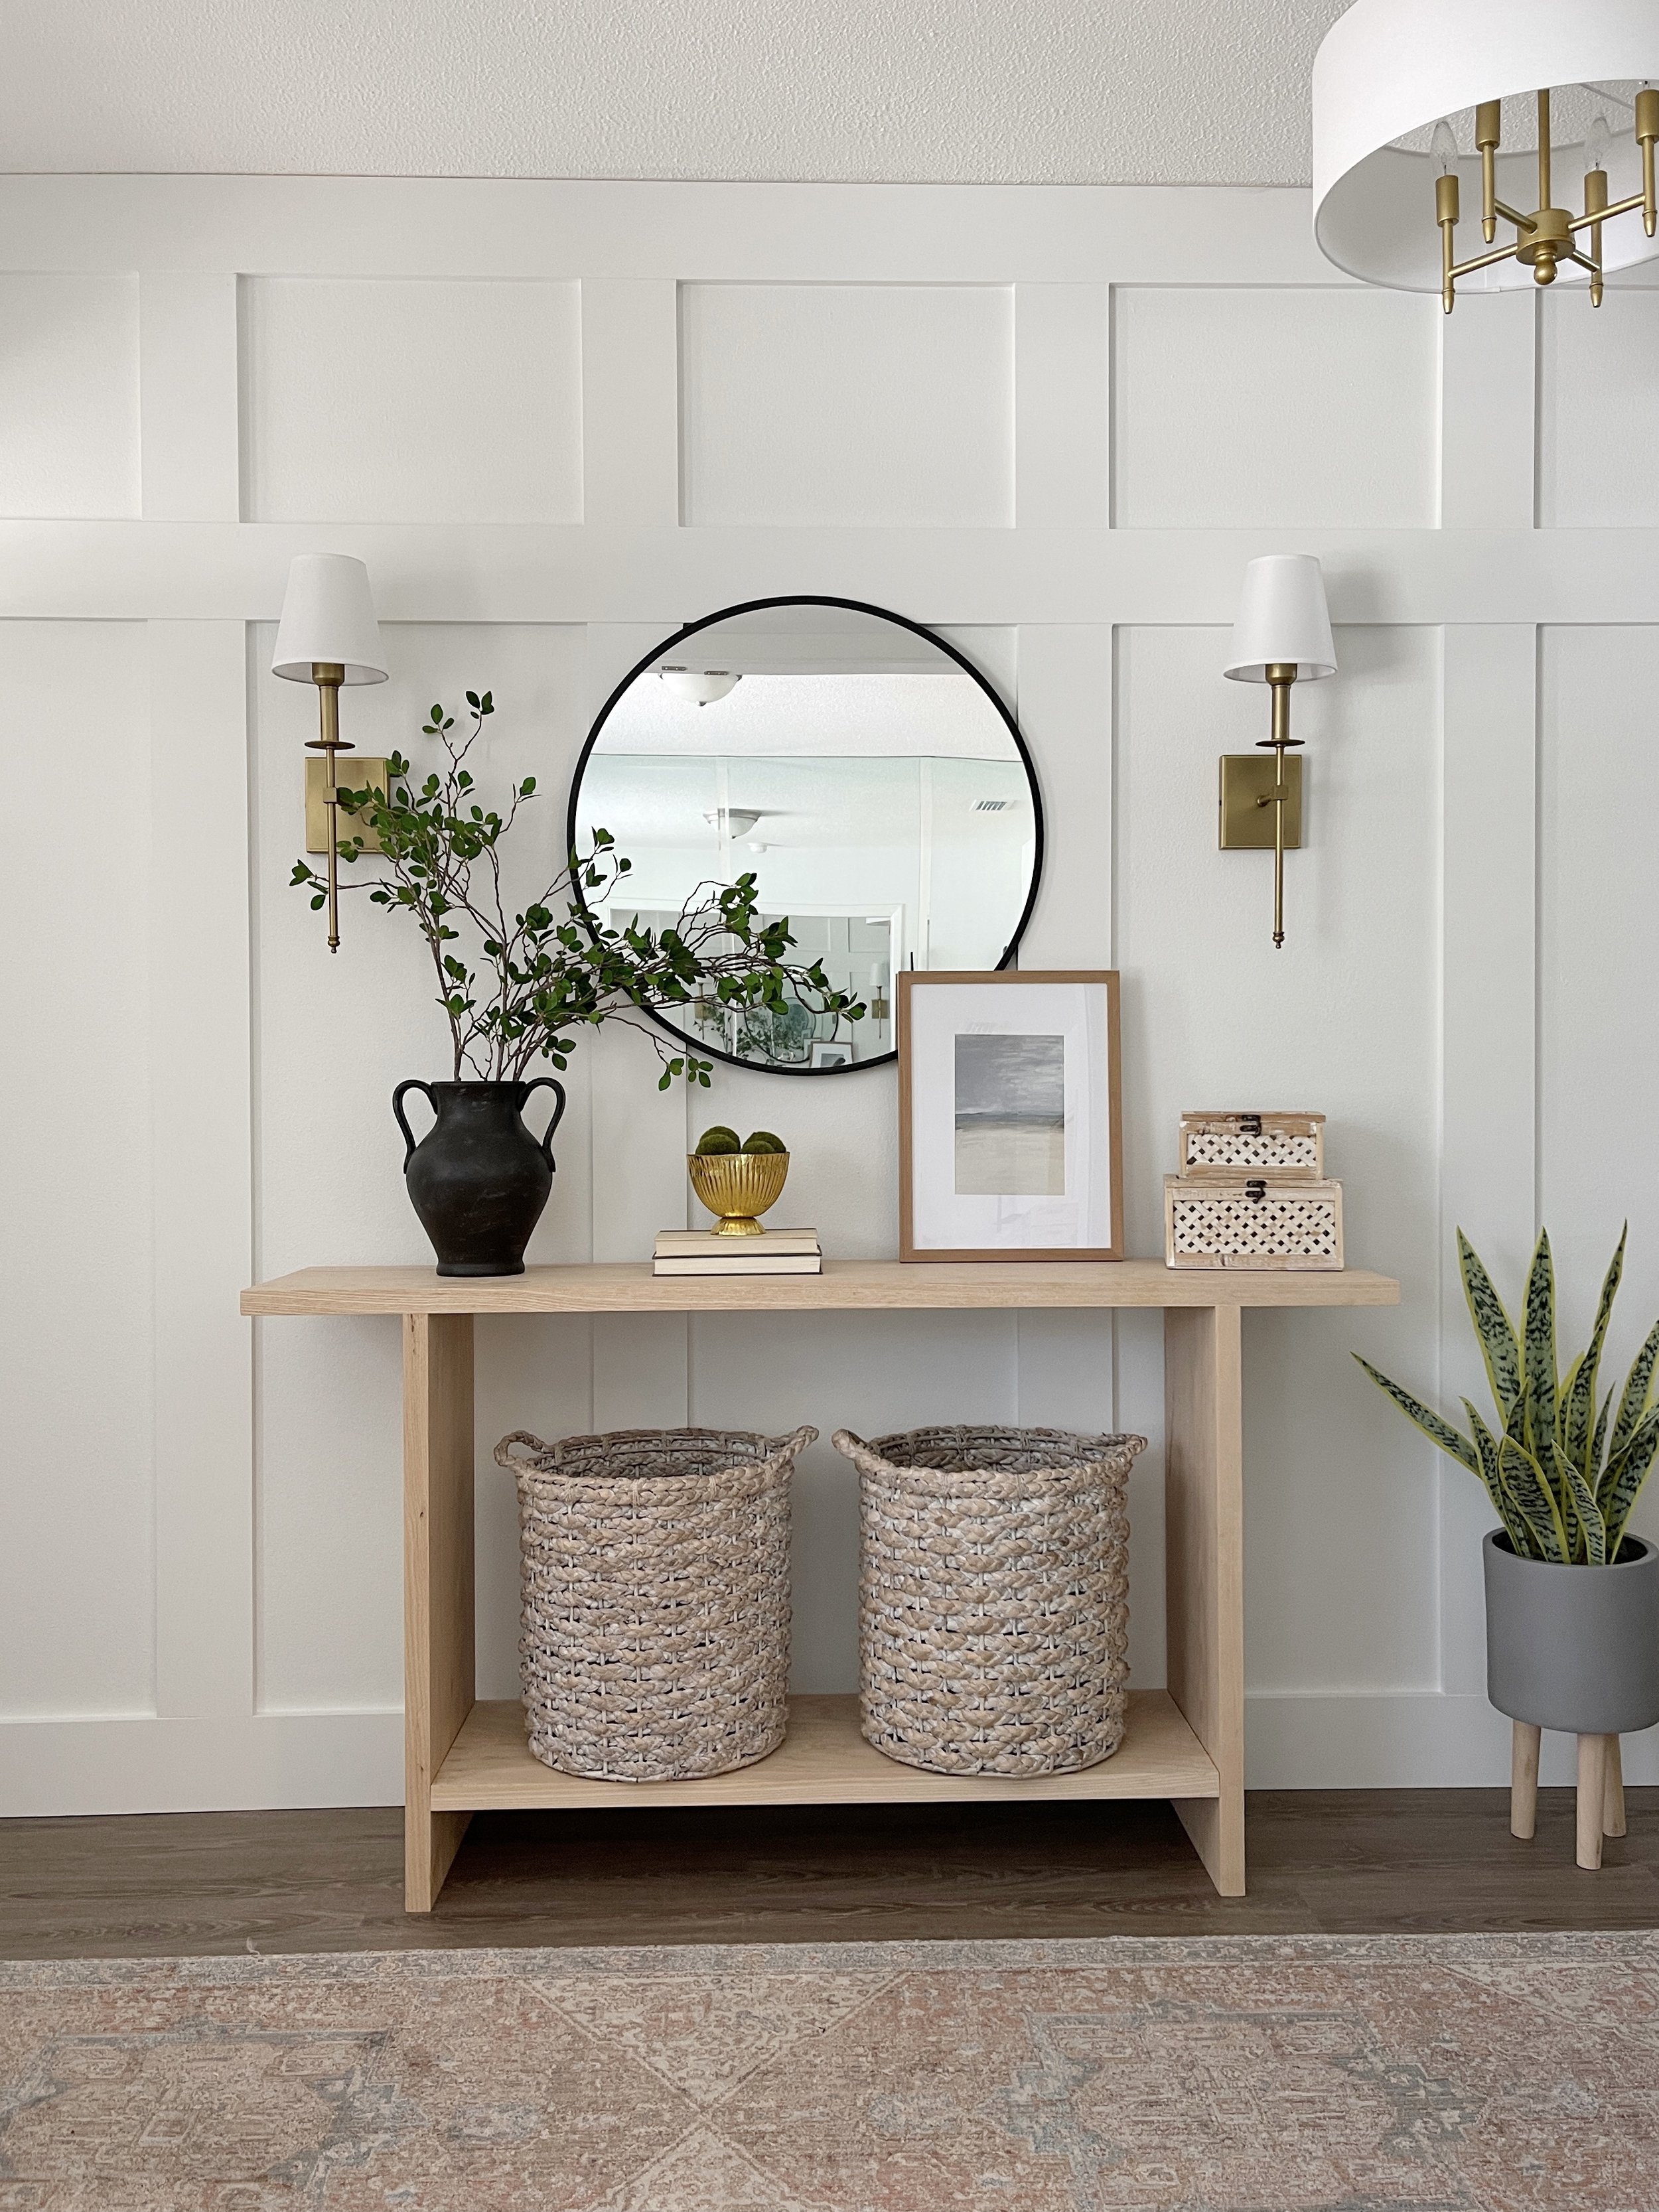
One of my favorite accent walls that I have installed is Board and Batten. It is an easy and beginner-friendly accent wall and I want to share with you my 5 tips for creating the perfect Board and Batten wainscoting wall!
1.Have the Right Tools
The tools I recommend having when doing a Board and Batten / wainscoting accent wall are:
Miter Saw - if you are a beginner and buying your first Miter Saw, I recommend starting with a 7.25” blade which is small, less-intimidating, and easier to learn with.
Nail Gun - I prefer a battery operated 18gauge Brad Nailer. The Ryobi brand nail gun I have is a great beginner nail gun because it isn’t as loud and heavy as some other brands I have tried.
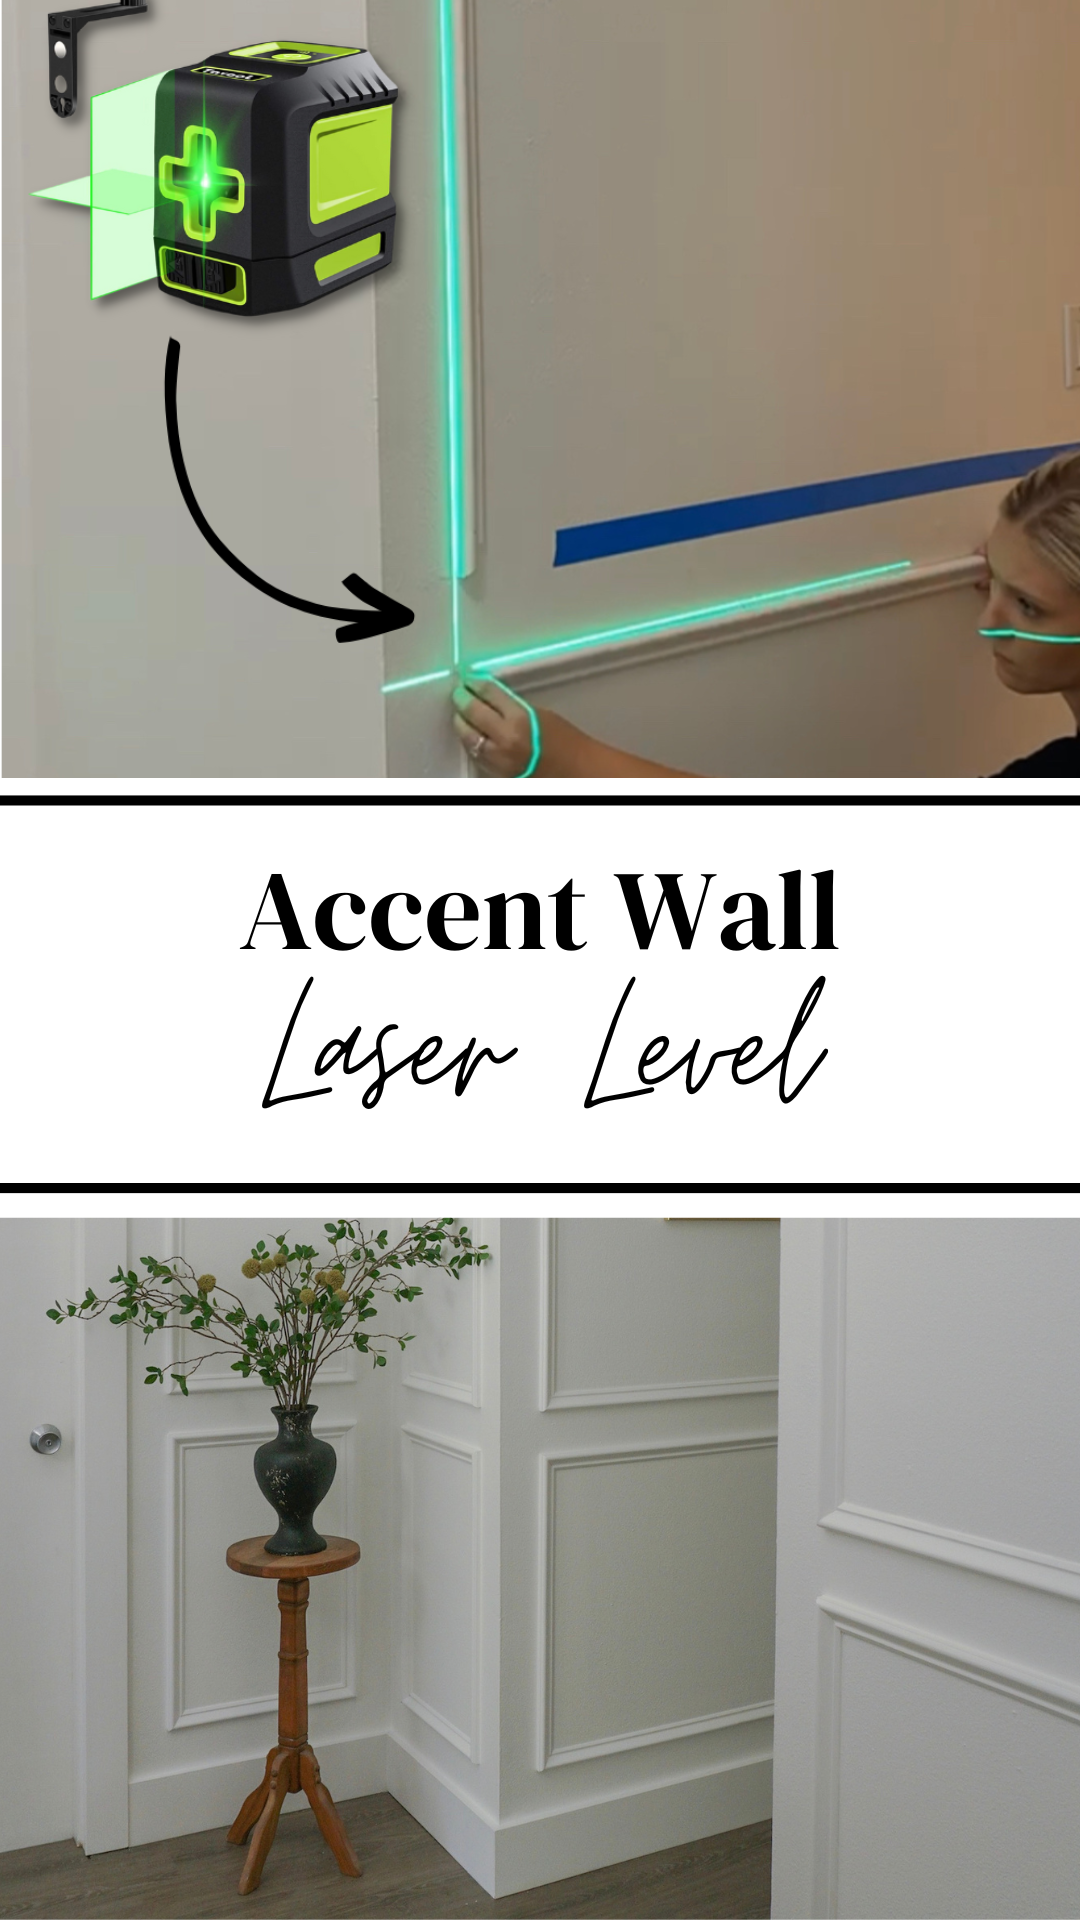
Level - a minimum of 24” is recommended
Measuring Tape - preferably one that lists the fractions in between each inch.
Caulk Gun - a standard caulk gun will work just fine. I have an electric one that does make the job even easier
If you are new to using power tools, checkout my YouTube videos where I teach the basics on using power tools.

2. Use a Board and Batten Calculator
One of my greatest discoveries in DIY has been this Board and Batten Calculator. I have used this calculator for so many accent wall projects. Go to this website: https://www.inchcalculator.com/ and follow these directions:
Click on ‘Construction & Garden Calculators’
Click on ‘Wainscoting Layout Calculator’
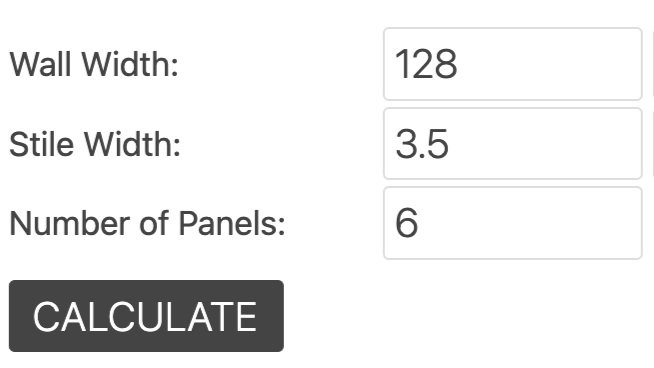
Enter the width of your wall in inches (you have to change the drop down to inches)
Enter the width of your stiles which are your vertical boards you plan to use. *You need to actually measure your boards you plan to use since actual measurements of lumber is smaller than what is listed.
Enter the number of panels you would like to have on your wall and click ‘Calculate’. You can play around with this number on the website, look at their rendering that pops up and adjust your number of panels until you get the look you are going for. I usually start with 8 panels and if the spacing is too skinny, I change it to less panels and if the panel spacing looks too wide, I change the panel number to something higher.
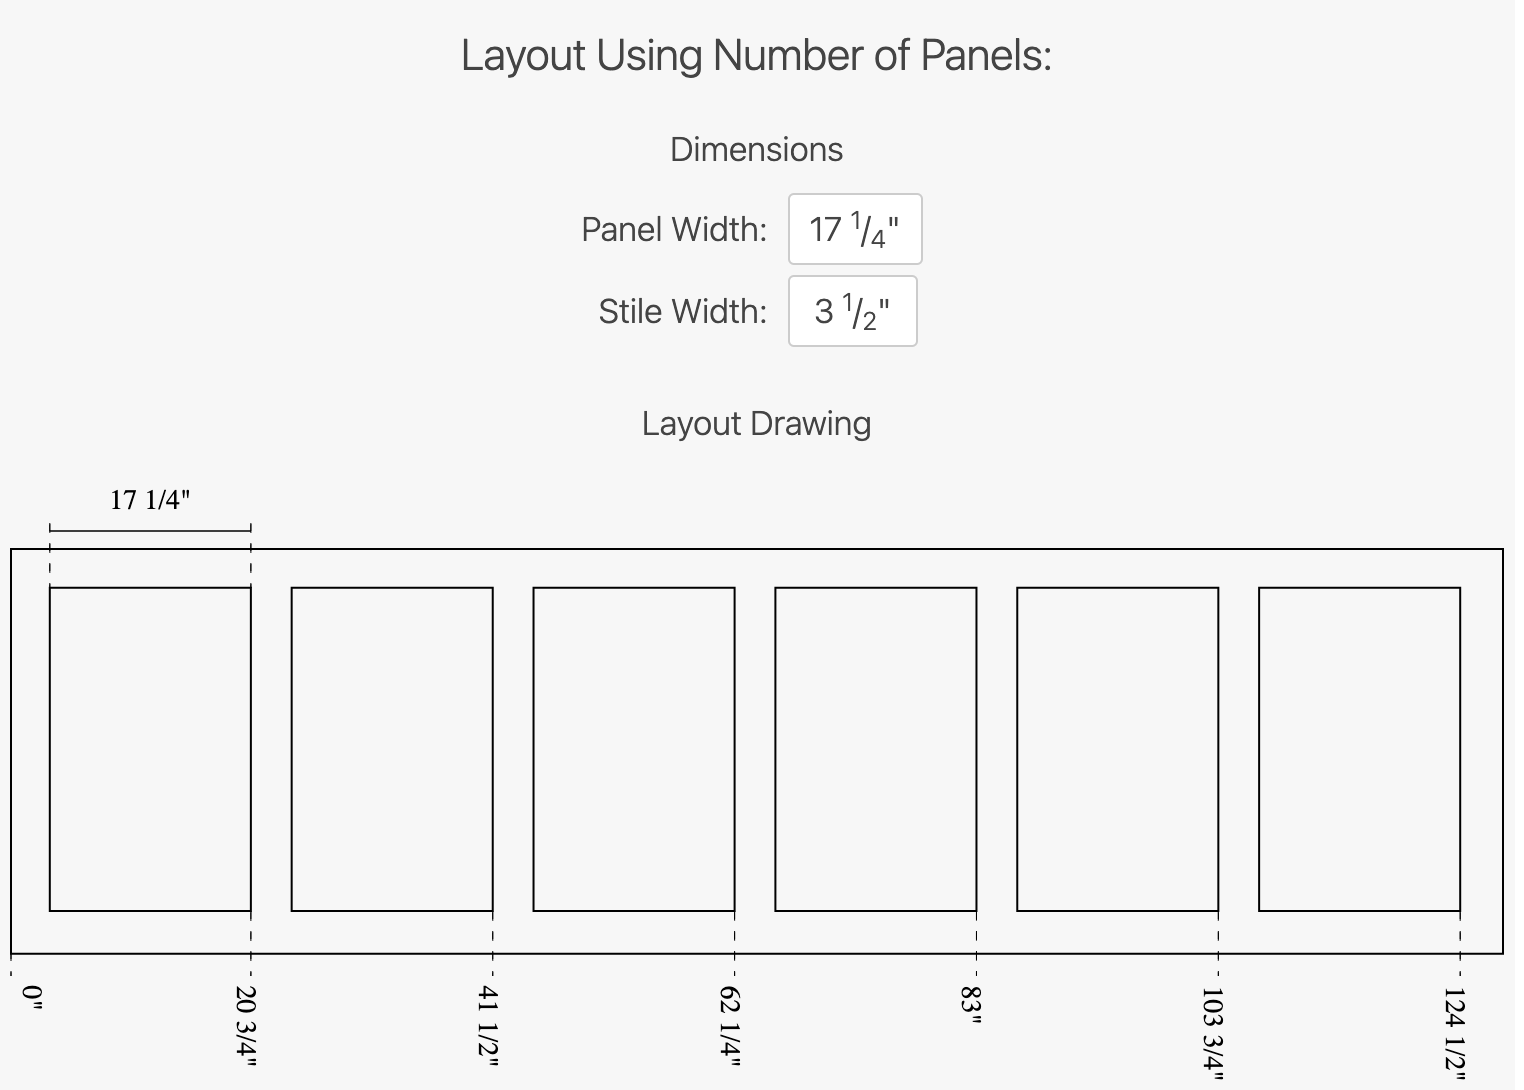
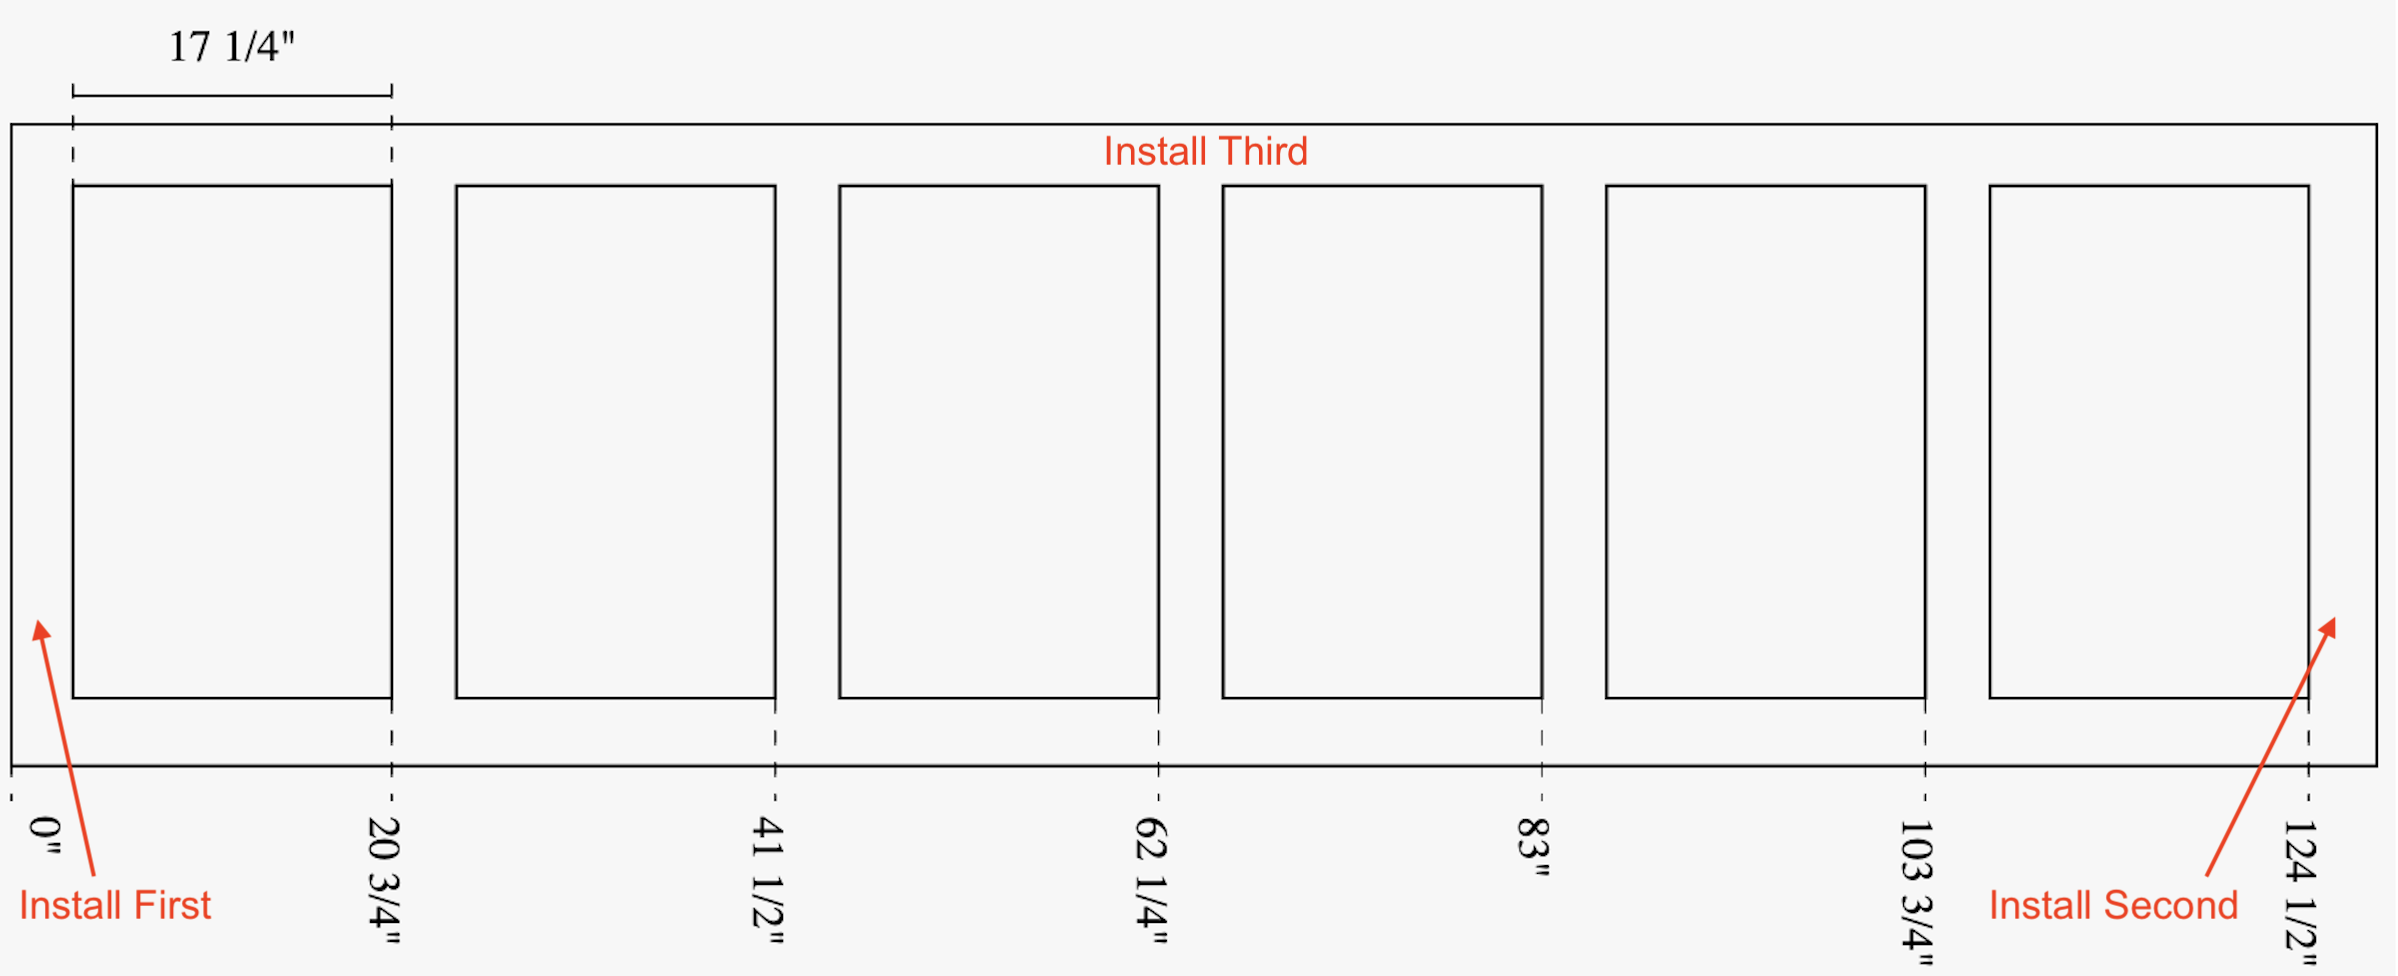
The best part of this calculator is that it generates a layout for you which shows you the exact spacing you need for your Board and Batten accent wall. More importantly, it gives you the exact spacing you should have between each board which you will need to create a spacer board (see below).
For a detailed tutorial on how to use the Board and Batten Calculator, check out my blog post here.
3. Use a Spacer Board
Once you have used the Board and Batten Calculator above, you can create a spacer board. Having a spacer board to use while installing your accent wall will ensure your spacing is the same from board to board and also saves you so much time not having to use a measuring tape between each vertical board.
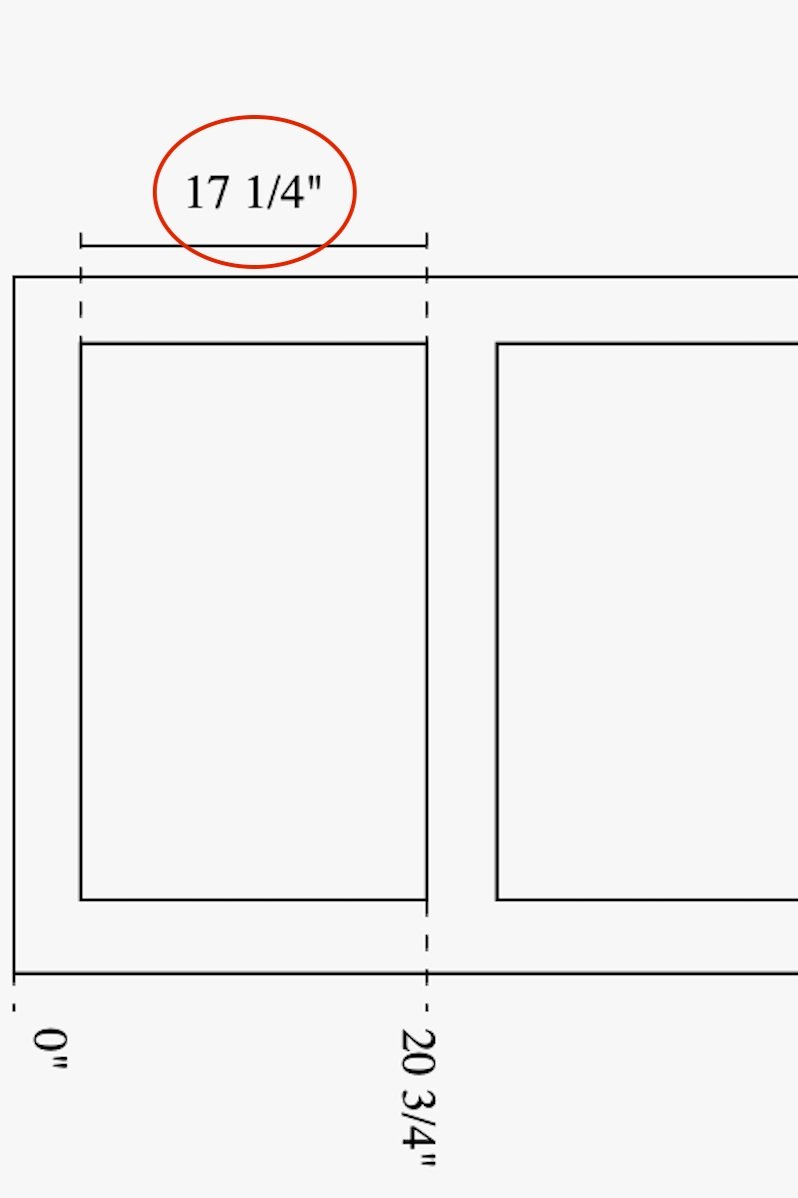
You can use any piece of scrap wood to create your spacer. Cut your spacer to match the spacing you determined in your calculator layout. In my example below, my spacer is 17.25”.
**It is really important that your spacer board is cut to the exact measurement determined in the calculator layout. If your spacer is even just 1/8” too short or too long, it will throw off your spacing as you work your way down the wall.
4. Cut Your Vertical Boards as You Go
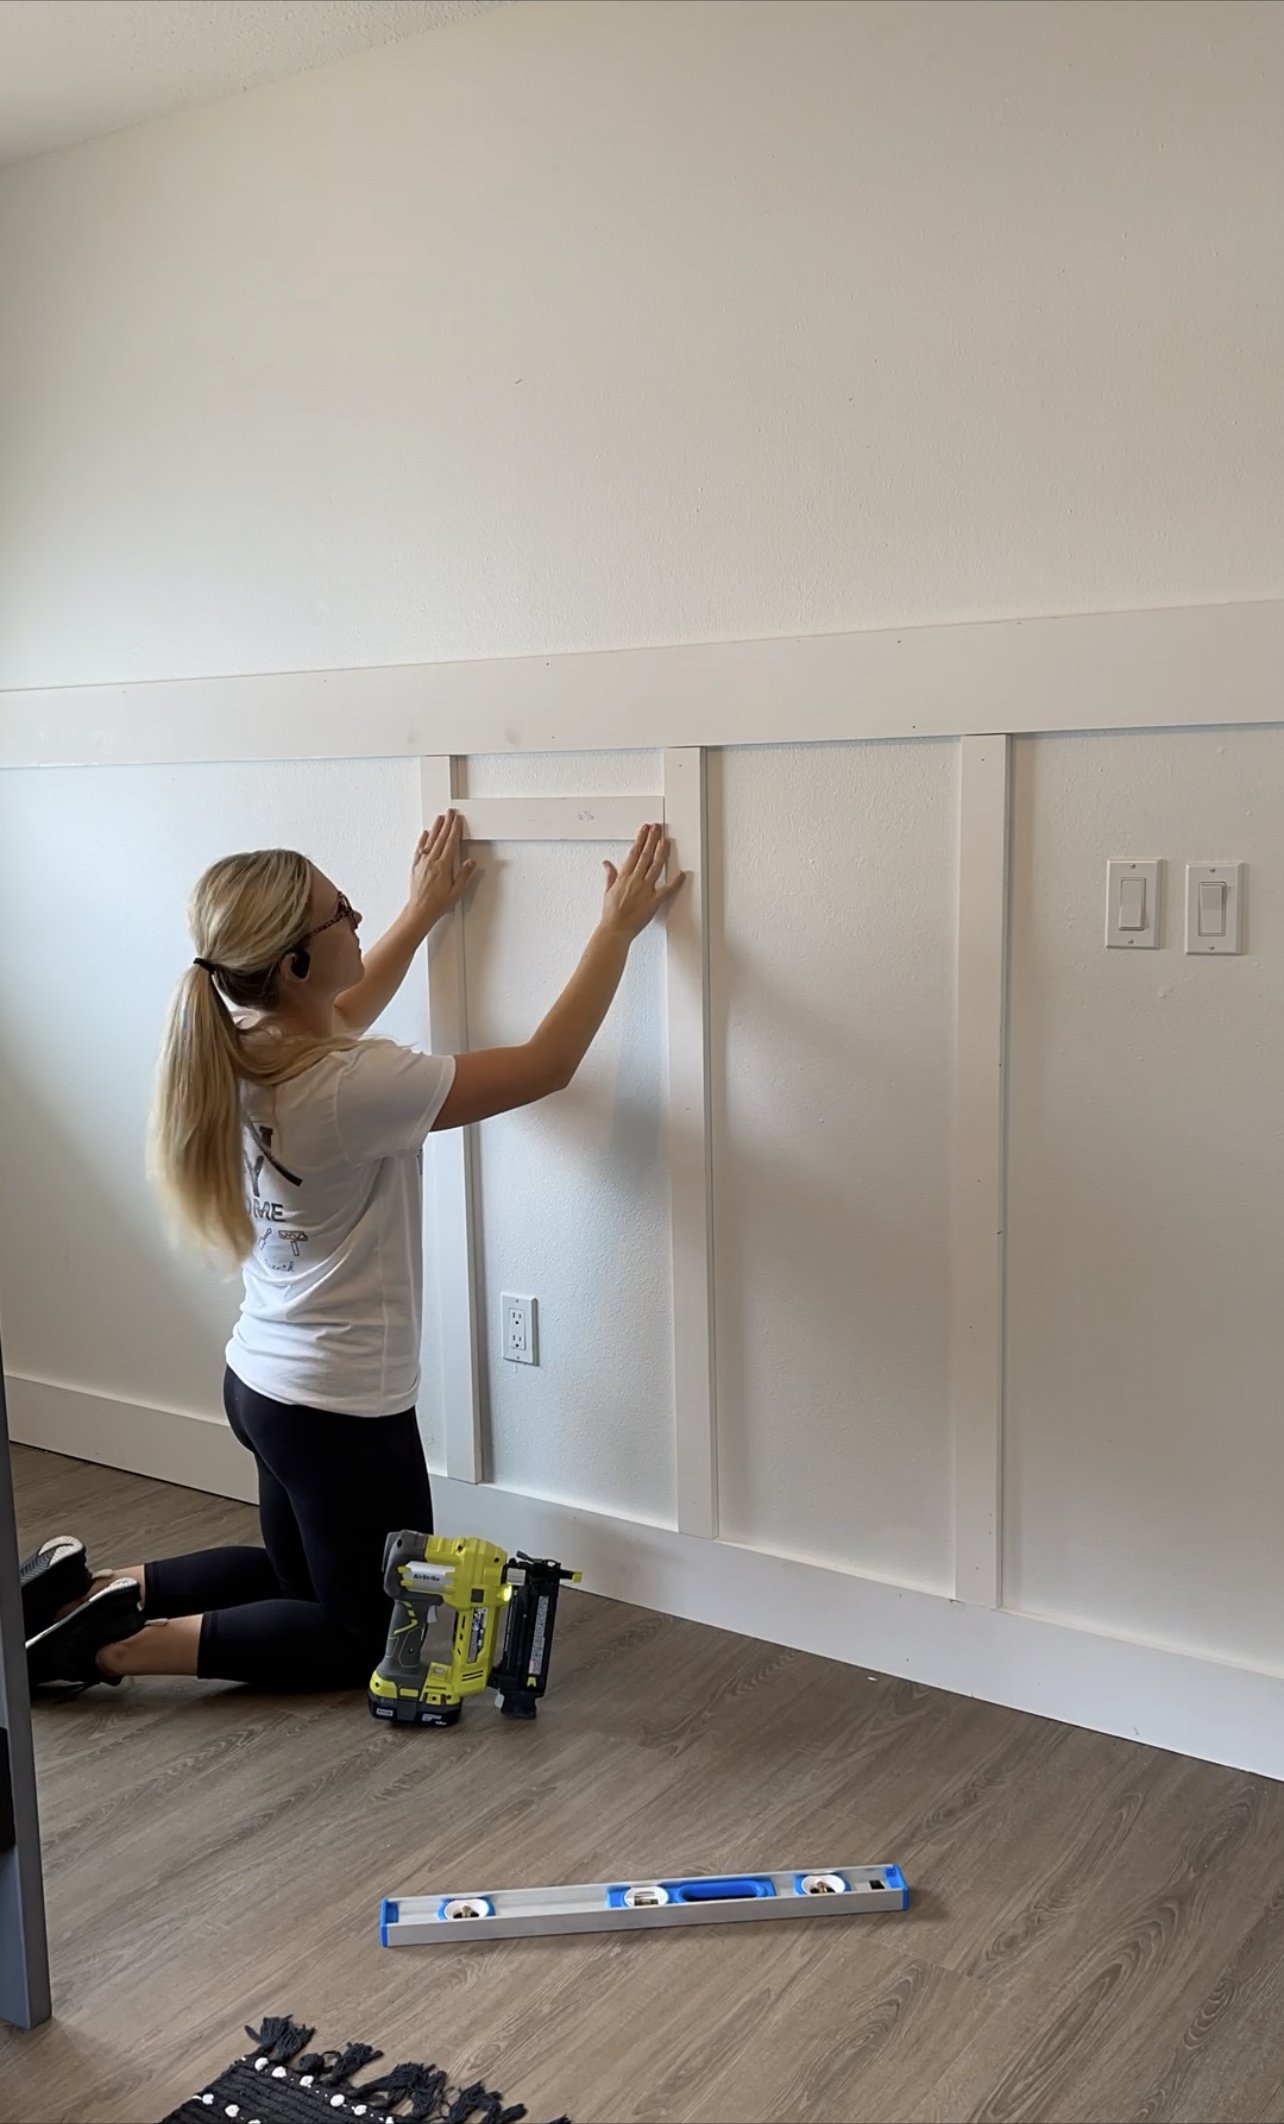
In my full-length, detailed YouTube video on Installing Board and Batten, I recommend installing your furthest left vertical board first, your farthest right vertical board second, and then your top horizontal board on top ensuring the horizontal board is level (see below).
Something I have learned after remodeling three homes is that no home has straight, level, or plumb walls and ceilings. In theory, all of your vertical boards should be the exact same length.
The reality is that in many homes the floors, walls, and ceilings are not perfectly straight and level which can throw off your measurements when you are trying to keep your horizontal boards level.
If you start installing your vertical boards on the left side of the wall and work toward the right, chances are your board length will slowly get shorter or longer as you go. I learned from experience not to cut all of your vertical boards to the same length all at once.
Instead, I recommend installing your first vertical board, then laying your spacer in place, measuring the height of your next vertical board and going to cut that board. Then continuing to measure and cut each board as you work your way down the wall.
5. Know When to Use Caulk and Nail Hole Filler
The trick to making your board and batten accent wall look seamless and professionally done is to properly fill the nail holes and seams. My favorite nail hole filler is DryDex Spackle and my favorite caulk for accent walls is Alex Flex Trim Caulk. I often get asked: When do you use nail hole filler and when do you use caulk? Here are the three things to know about filling nail holes and caulking:
Nail holes should be filled with nail hole filler and sanded smooth once dry.
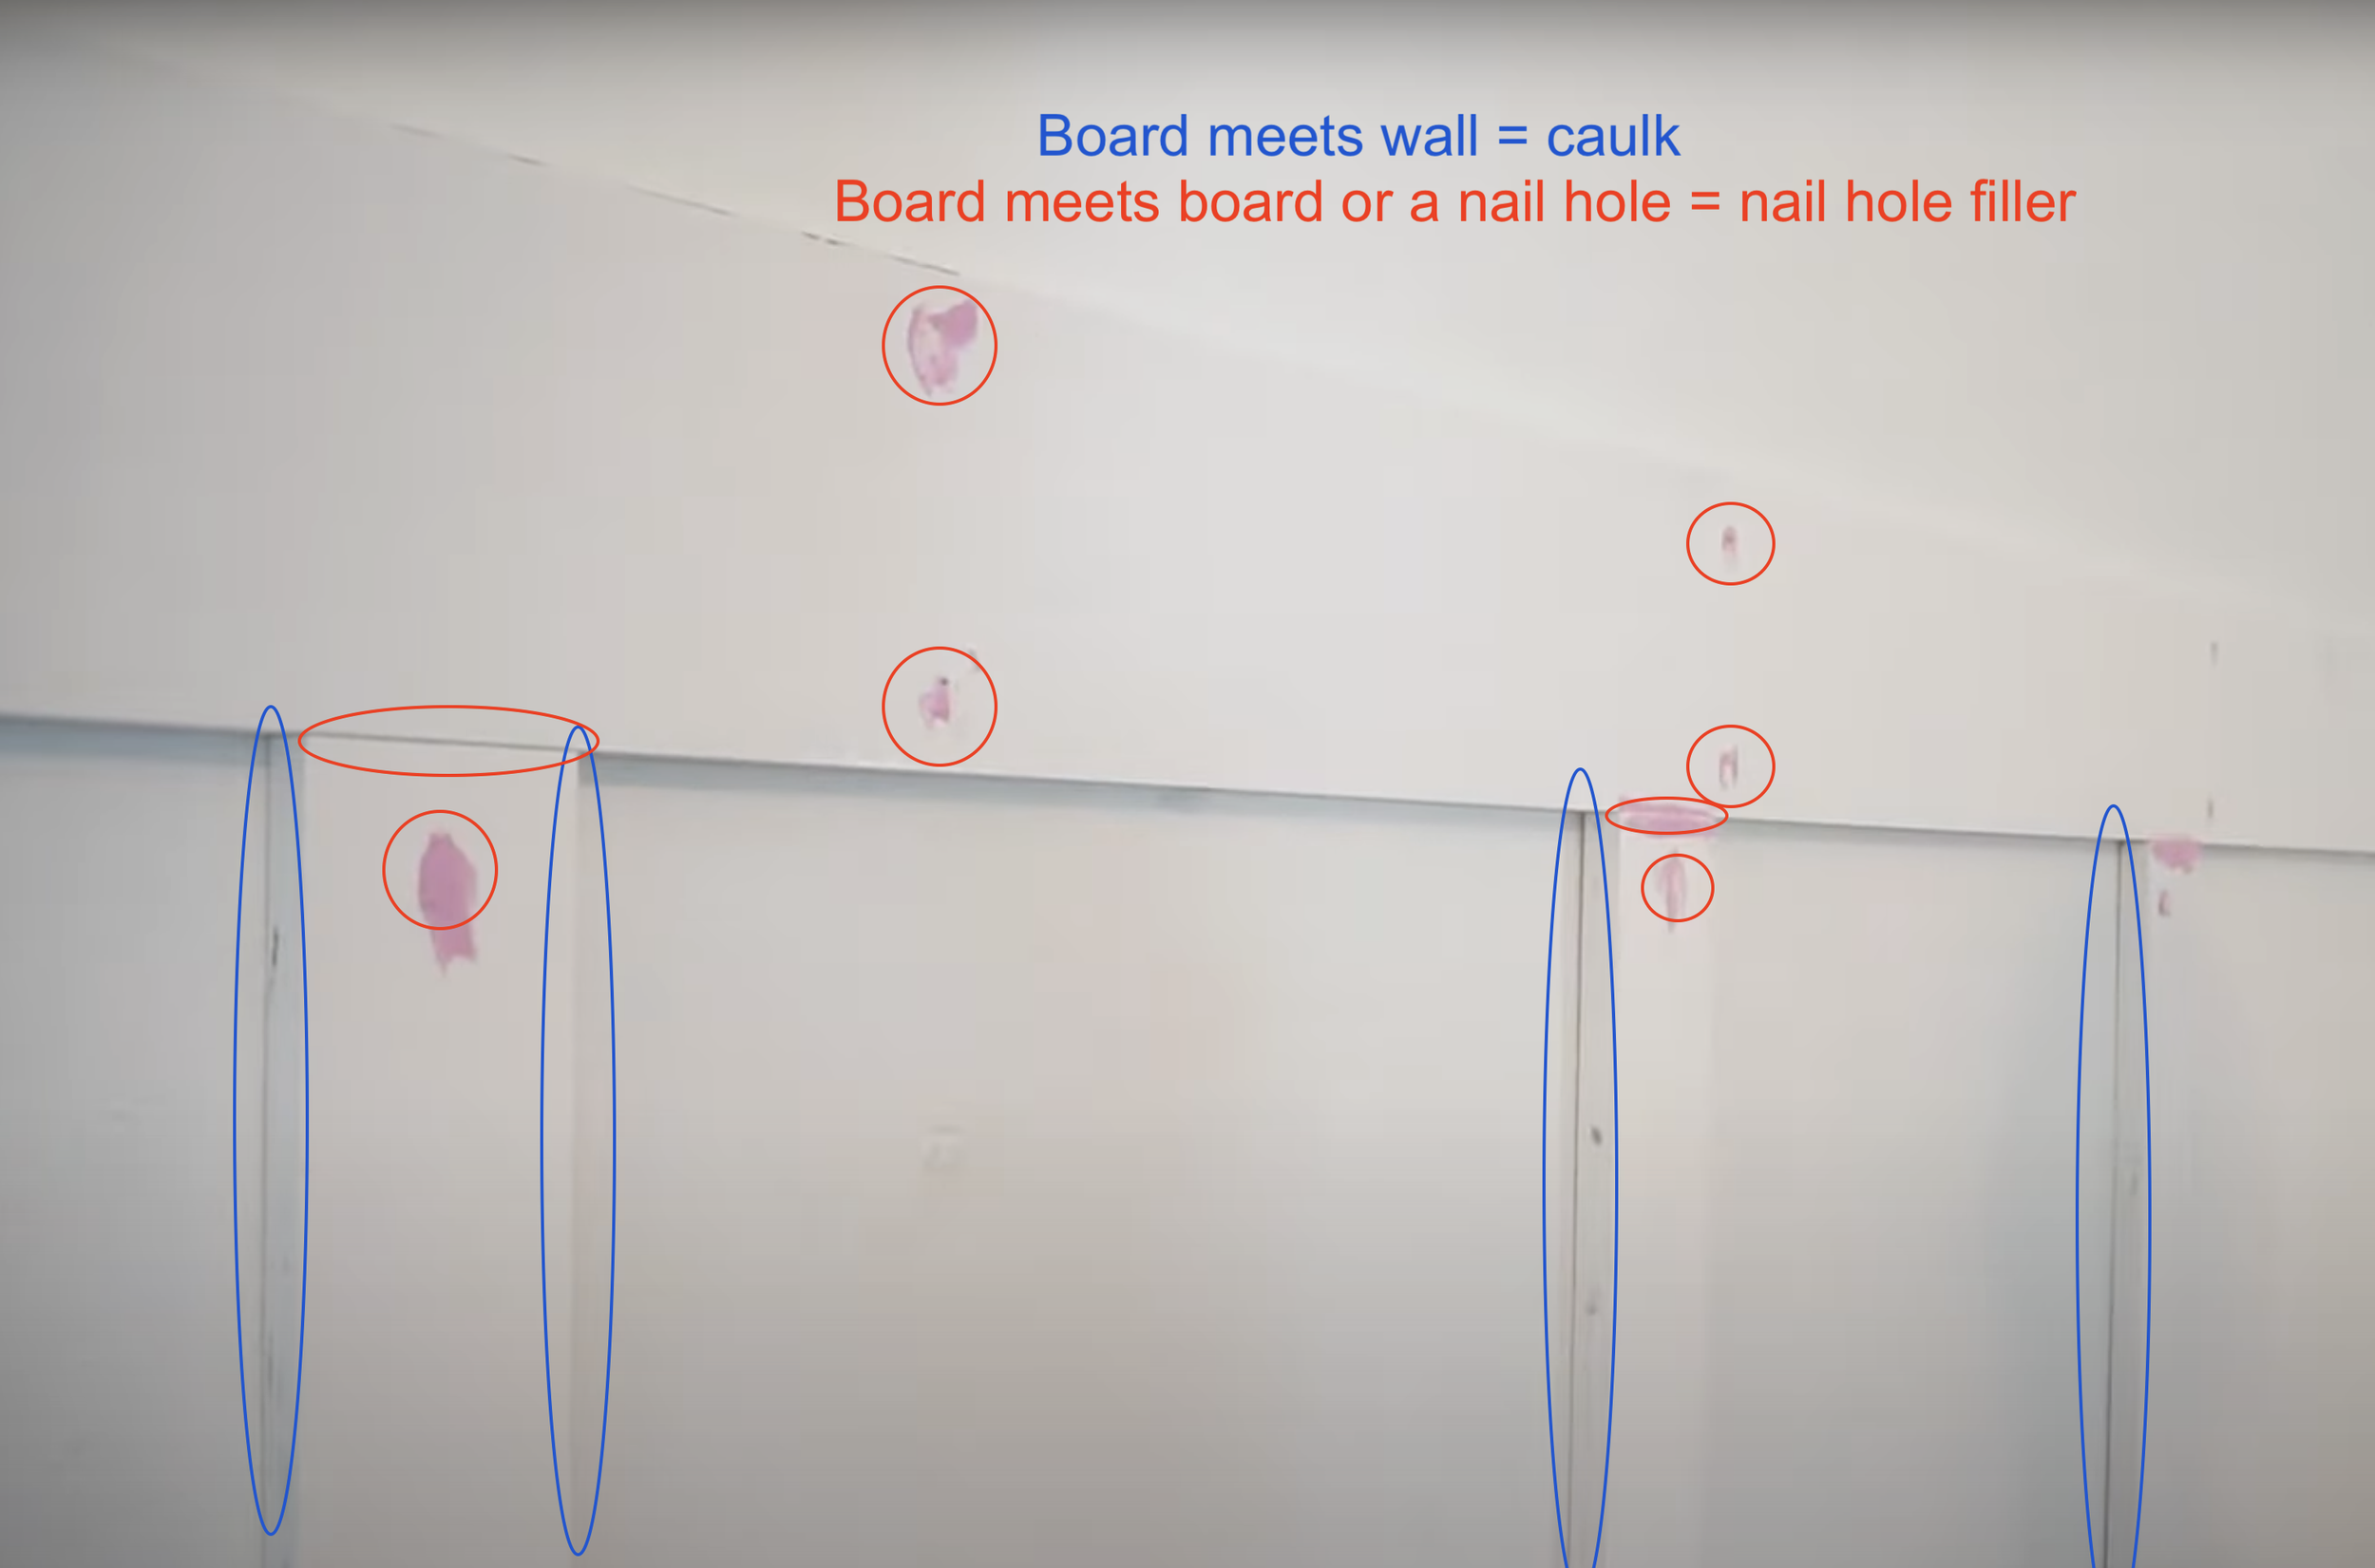
Seams where two boards meet should be filled with nail hole filler and sanded smooth when dry.
Seams where a board meets a wall should be filled with caulk and smoothed out with your finger or a damp rag.
With these tips you can install a Board and Batten accent wall that looks professionally done. If you are looking for a detailed, full length video showing you every step of installing Board and Batten wainscoting, be sure to checkout my Accent Wall YouTube Videos!


HEY THERE, I’M ASHLEY!
Here to inspire beginner DIYers!