
Modern Wood Address Sign
I recently built this modern wood address sign to go outside the front of our home in the flower bed.
It was an easy, beginner-friendly DIY project and in this blog post I will share how to build a wood address sign, how to install house address numbers, and how to stain and seal an outdoor wood project!
I also have my full-length video tutorial of this DIY project available on my YouTube page (linked at end of post)!

How to build a modern wood address sign:
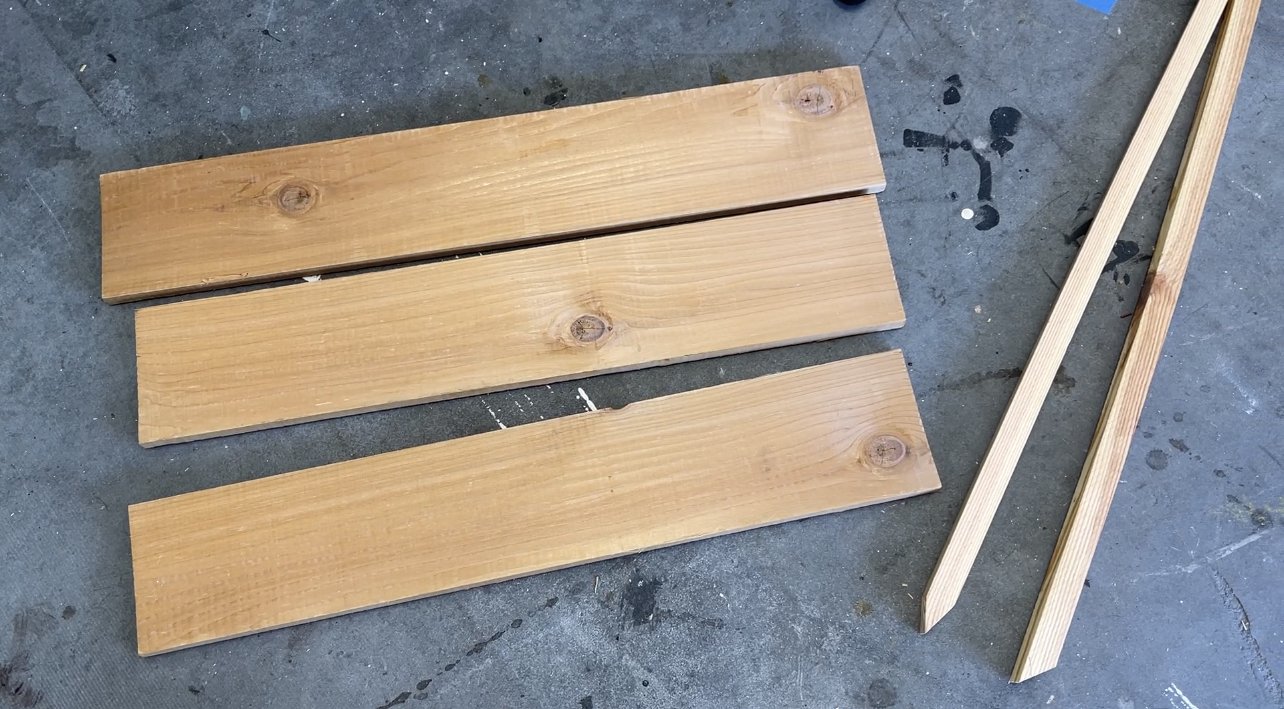
For this address sign I used 6” wide cedar boards and two yard stakes. You will want three boards that measure 20” long and two yard stakes that are roughly 30” long.
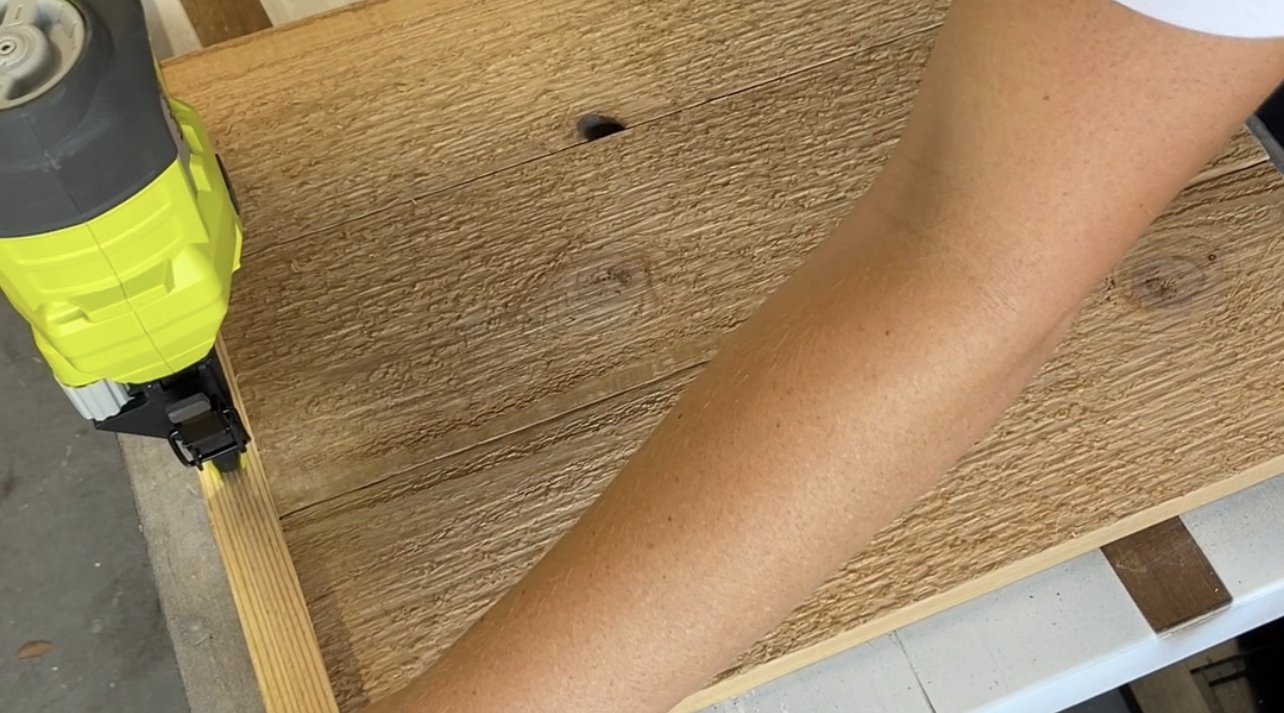
Once my boards were measured and cut, I laid the cedar boards with the smooth front side facing down, lined them up and nailed the yard stake to the back using my brad nailer. For added strength, I recommend also using wood glue between your yard stakes and cedar boards.
How to stain and seal an outdoor wood sign:
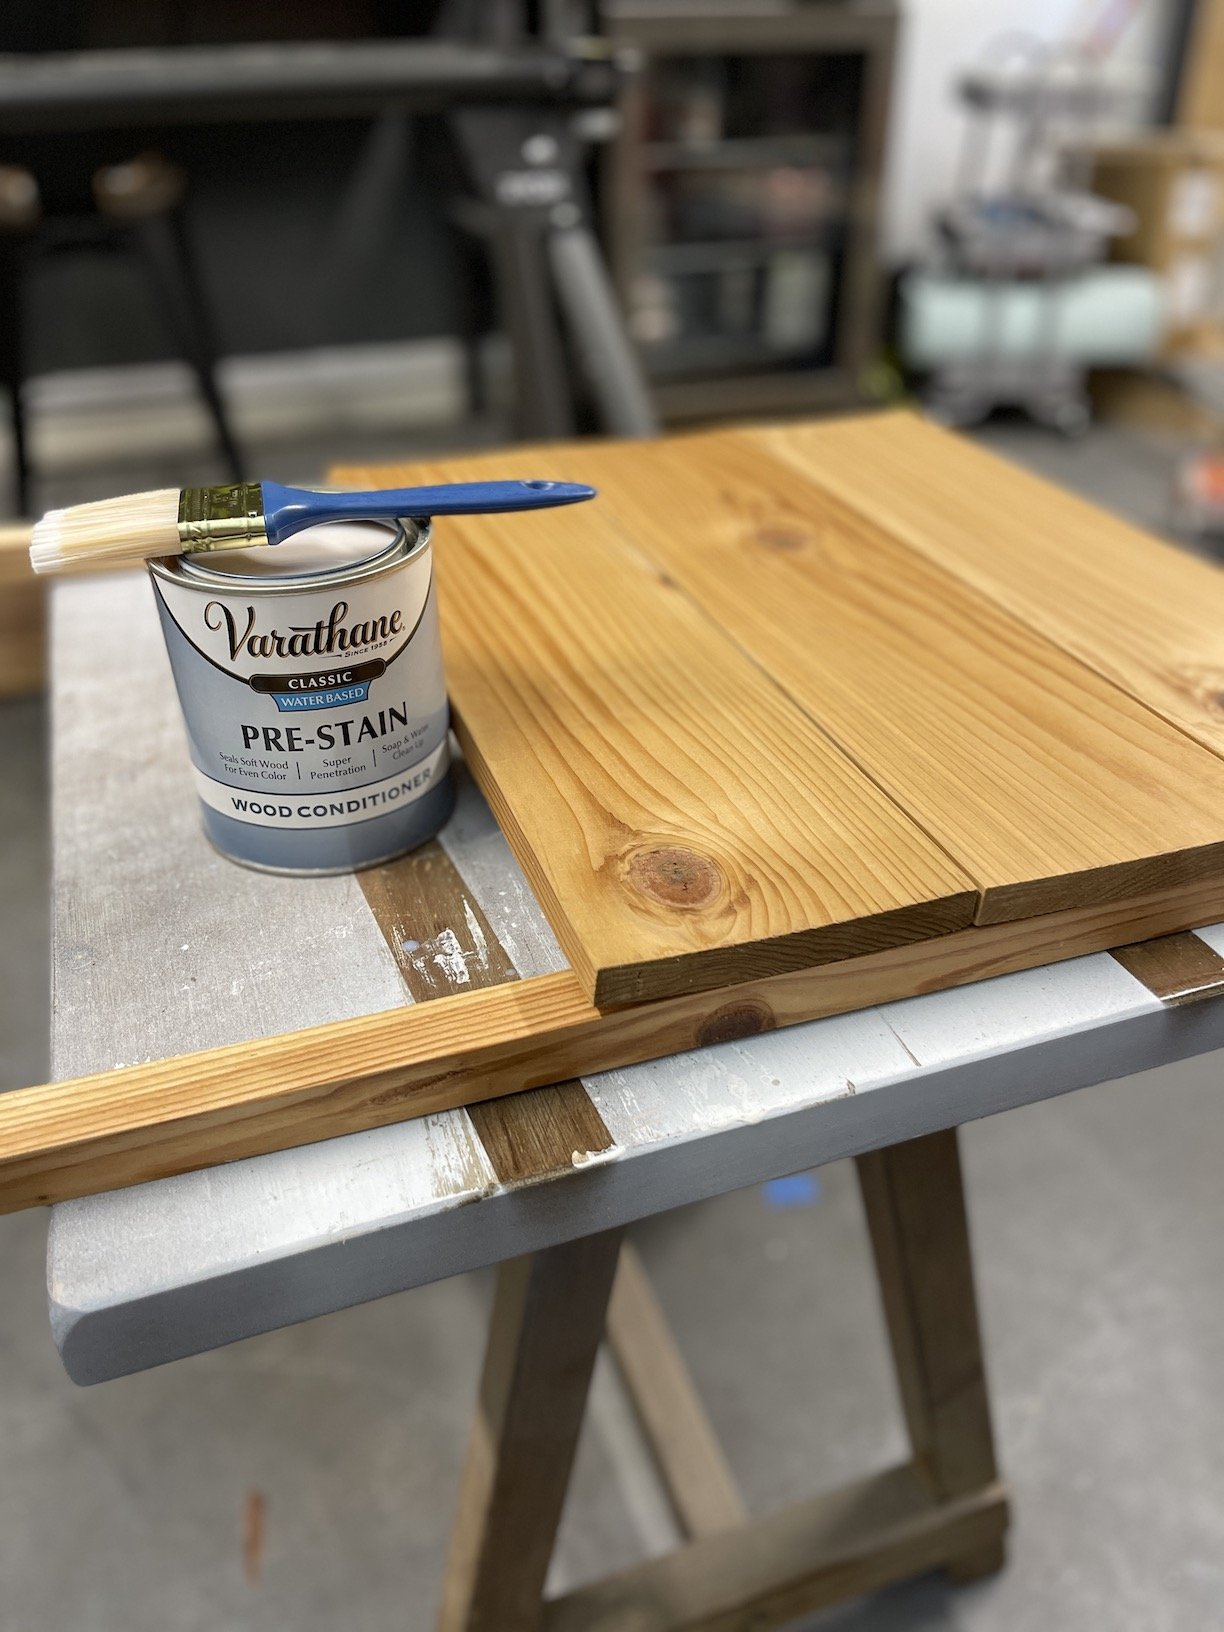
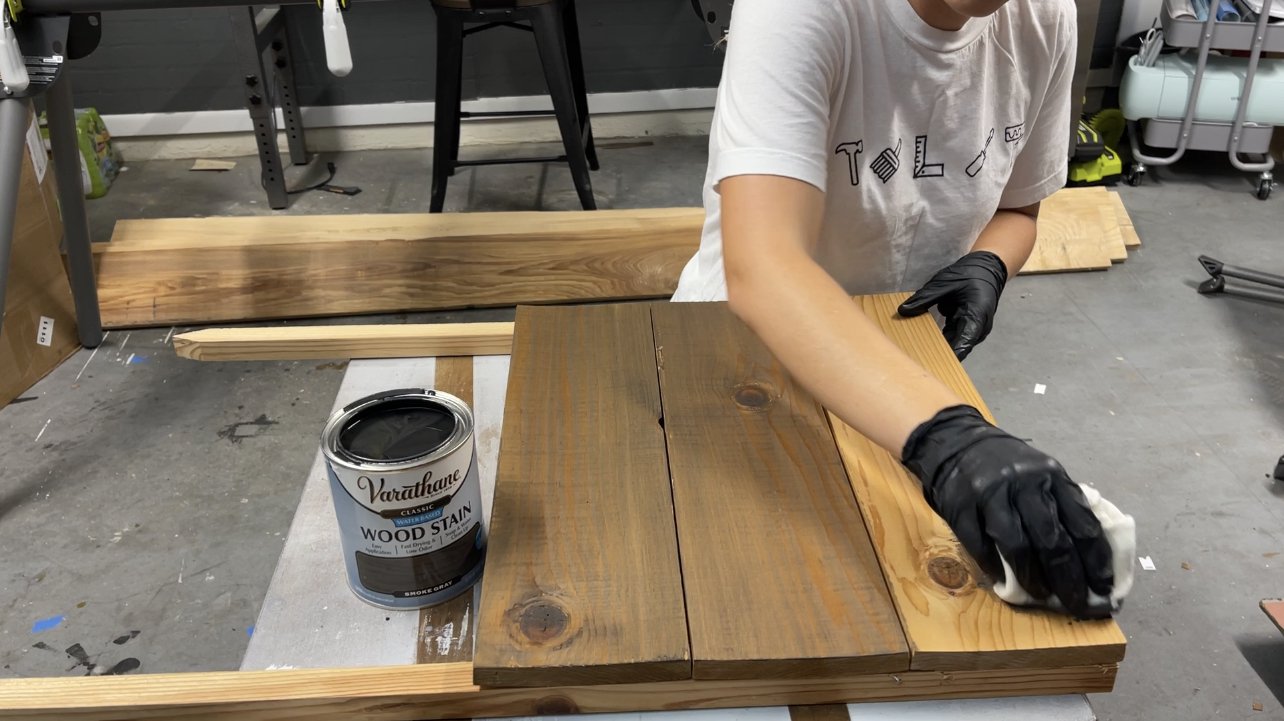
Once the wood sign was assembled I stained and sealed it. I applied Varathane’s water-based Pre-Stain using a paint brush to condition the wood first and ensure my stain would go on evenly without blotchiness. I gave that about an hour to dry and then used Varathane’s water based wood stain in the color ‘Smoke Gray’ which I applied using a clean rag.
I gave that a couple hours to dry and then for the top coat I used Varathane’s SparUrethane which is a clear water based top coat specifically made for outdoor wood items. It is UV protecting, seals out water, and resists mildew and mold so it’s perfect for any wood that will be outside in the elements. I applied it with a clean paint brush.
How to install address numbers:
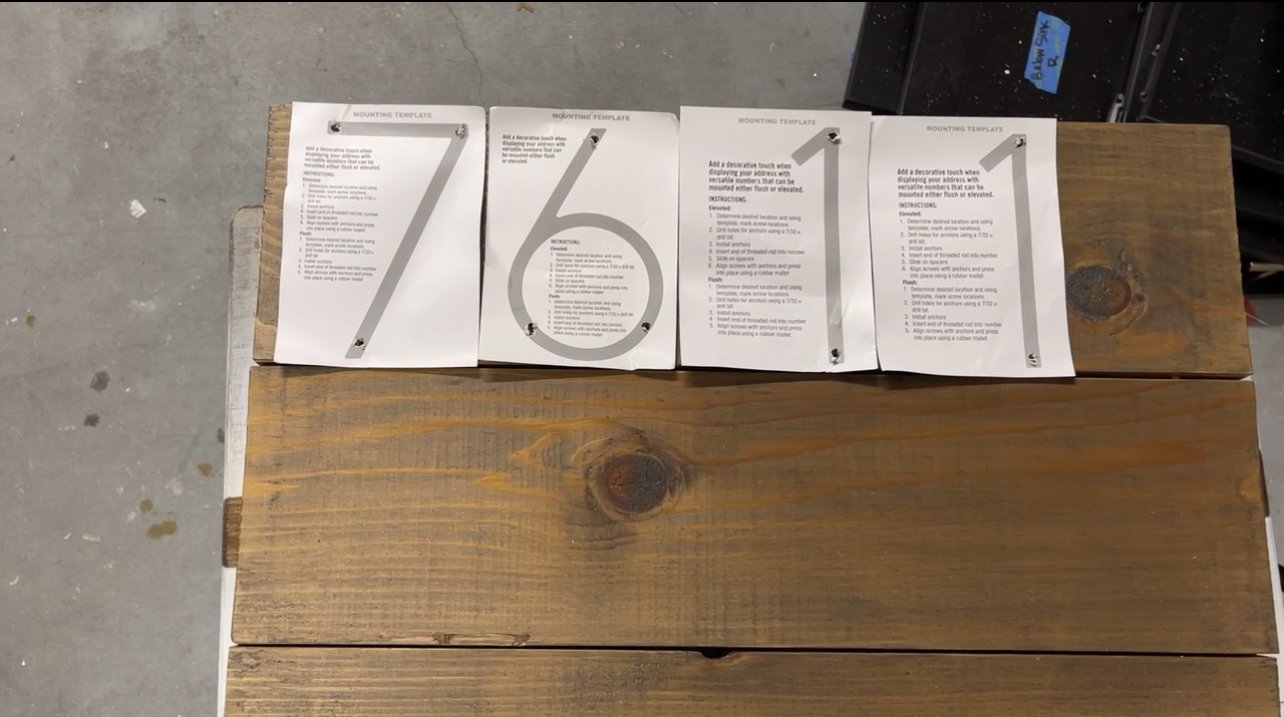
For the address numbers I used these modern numbers. The first thing I did which ended up being a mistake was lining up the paper number templates side by side and then drilling the holes in the designated places on the templates. My mistake was assuming that the numbers would be evenly spaced with the paper templates side by side but that wasn’t the case. I recommend overlapping the paper templates and eyeballing the correct spacing between your numbers.
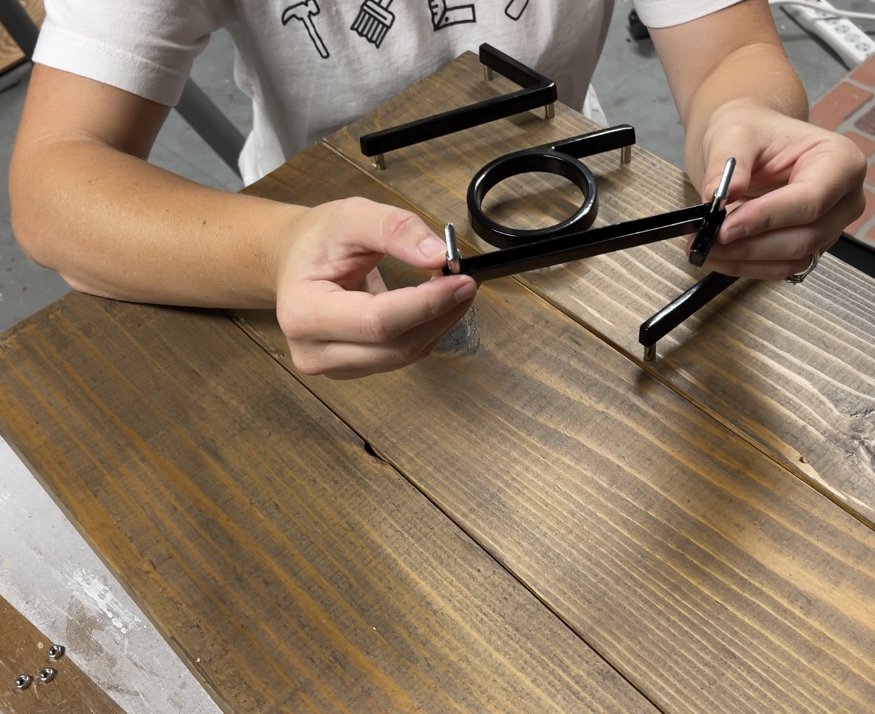
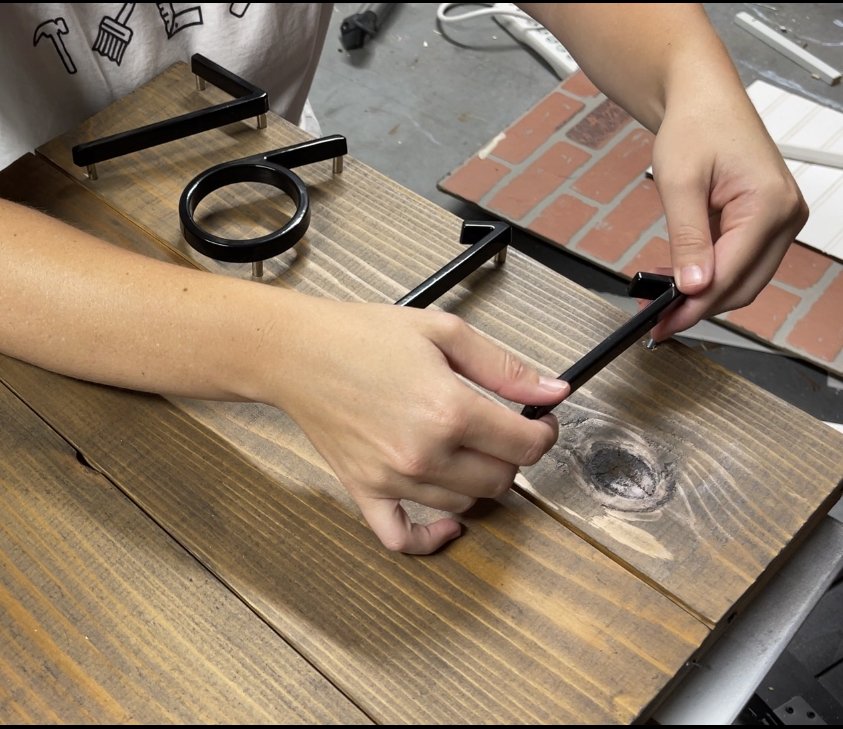
To attach the numbers to the sign, I screwed the long screws that came with the numbers into the back of them, slid on the spacer and pushed the long screws through the pre-drilled holes on the sign which does take just al little bit of force. Make sure the holes you drilled in the wood sign are large enough for the number screws to slide through.
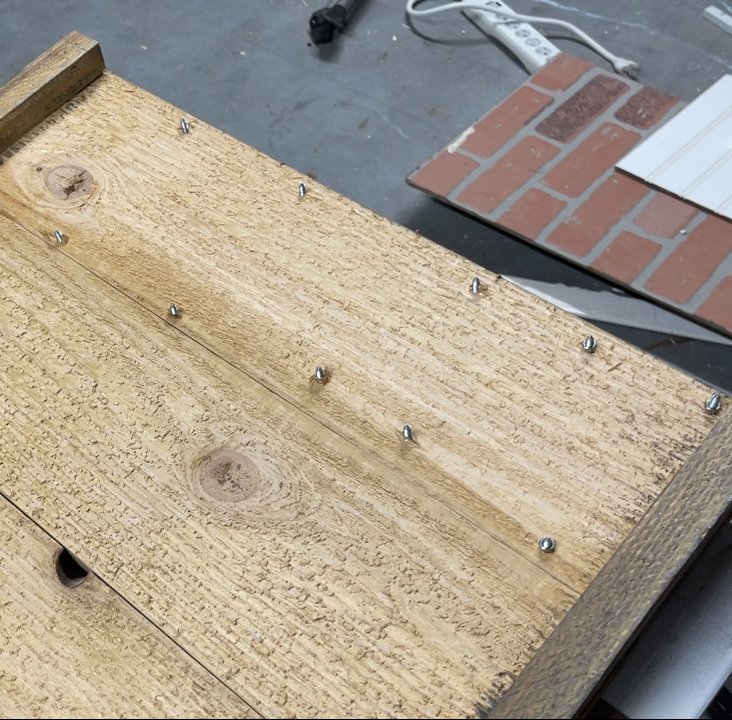
With the numbers attached, I flipped the sign over and screwed on nuts to the back of screws which held the numbers in place on the sign.
Be sure to checkout my full-length YouTube video tutorial for this
DIY Wood Modern House Address Sign!
How to build a DIY Modern Wood Address Sign!


HEY THERE, I’M ASHLEY!
Here to inspire beginner DIYers!