
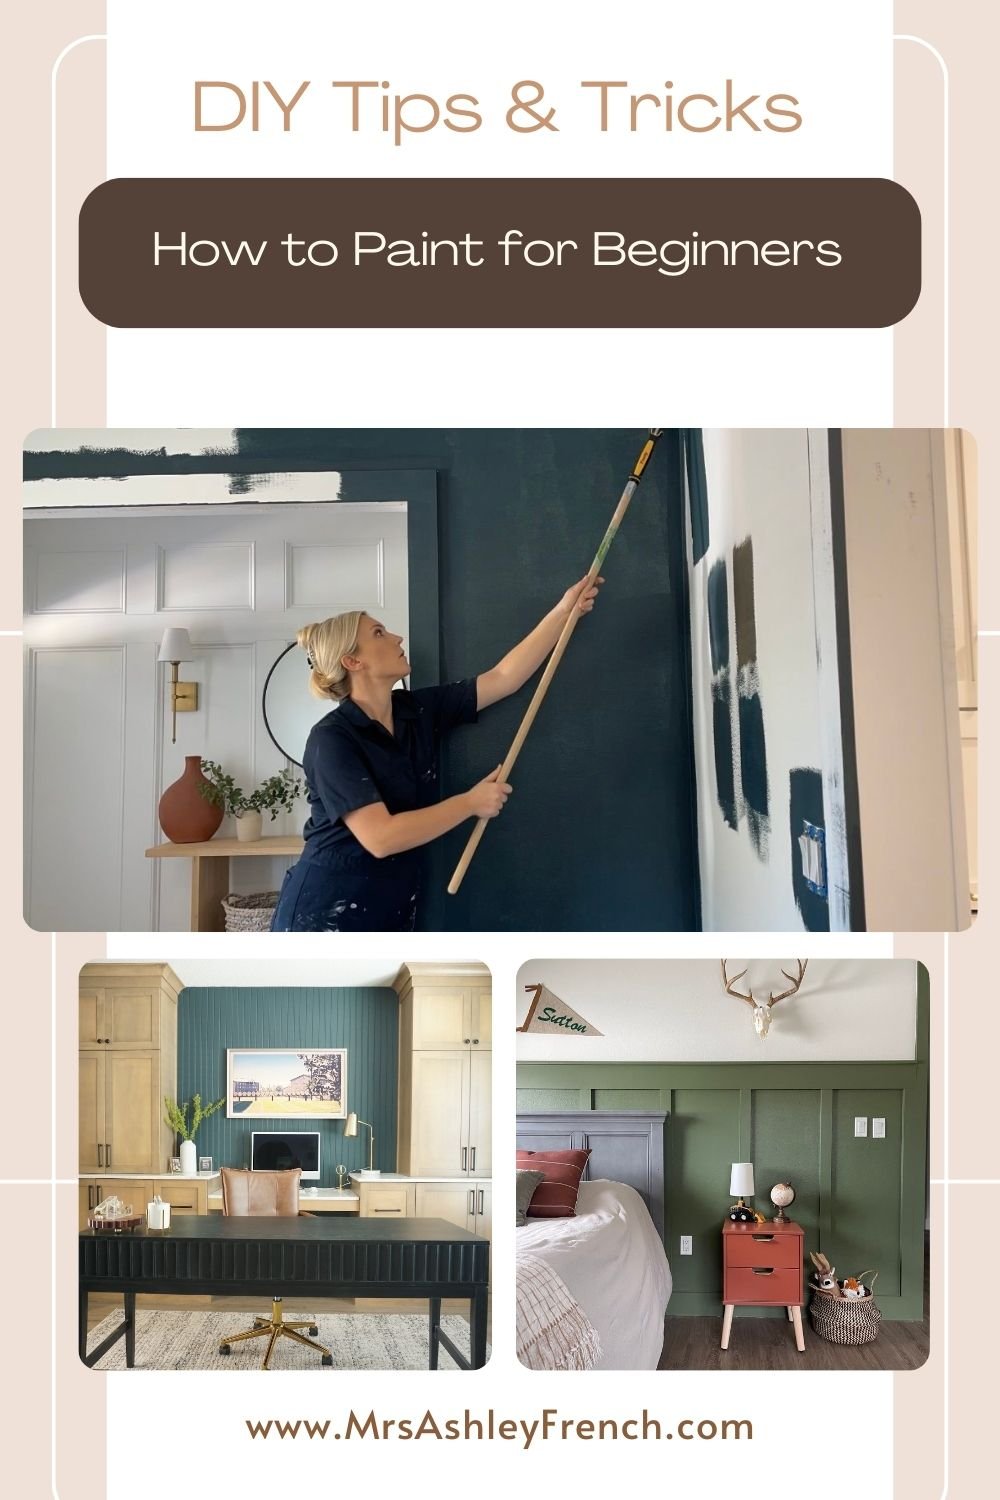
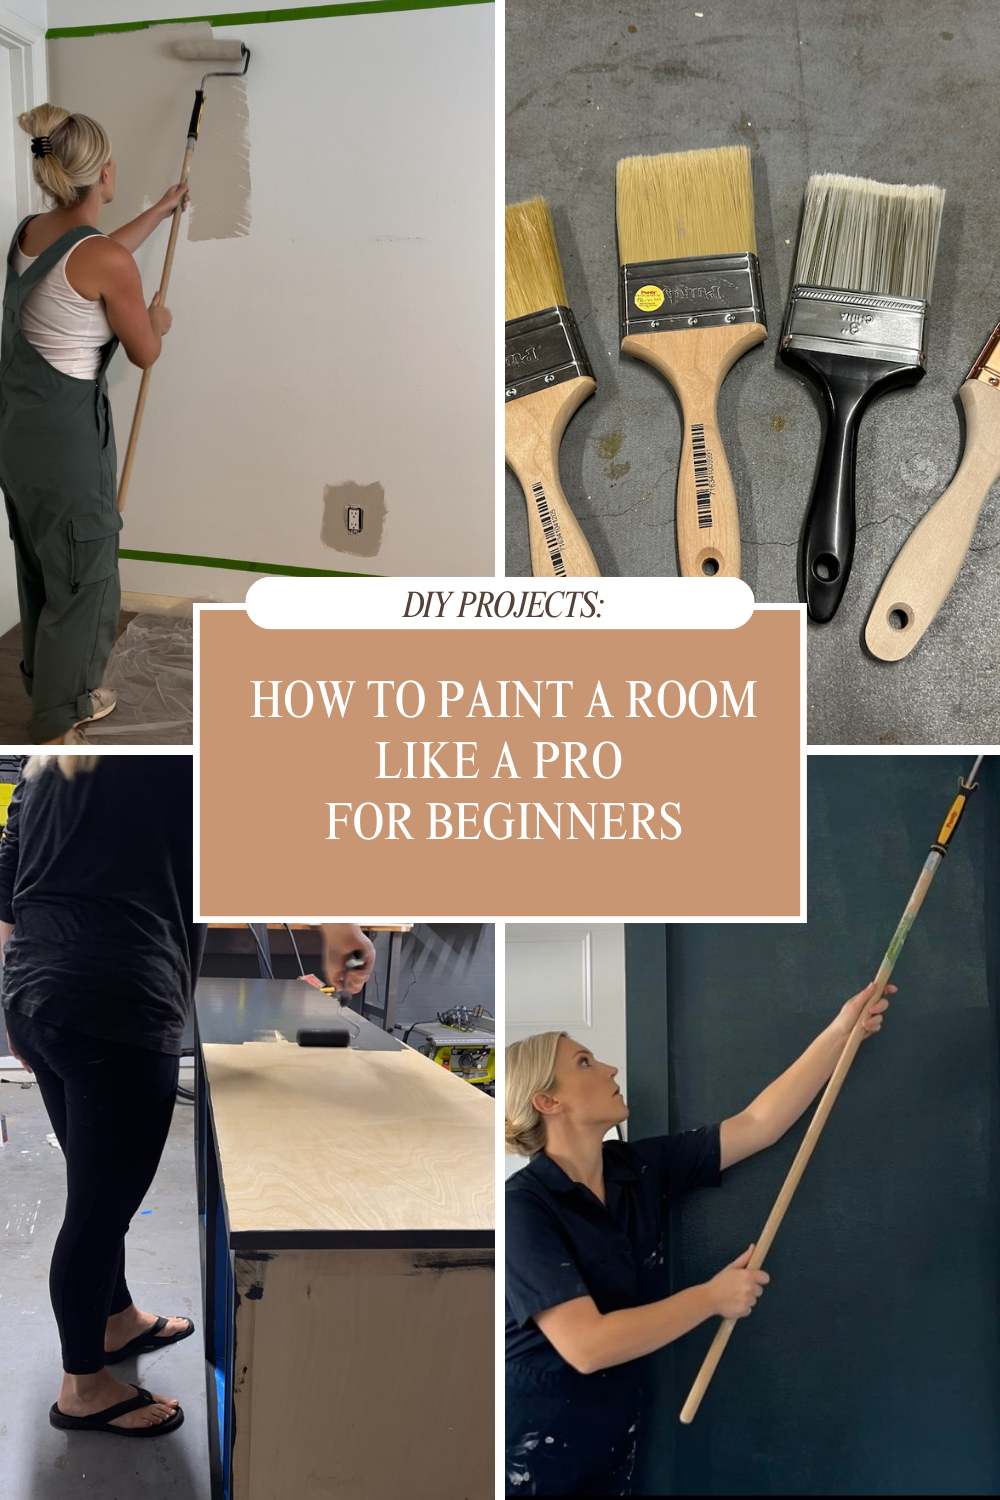
How to Paint a Room - Your Ultimate Beginner's Guide
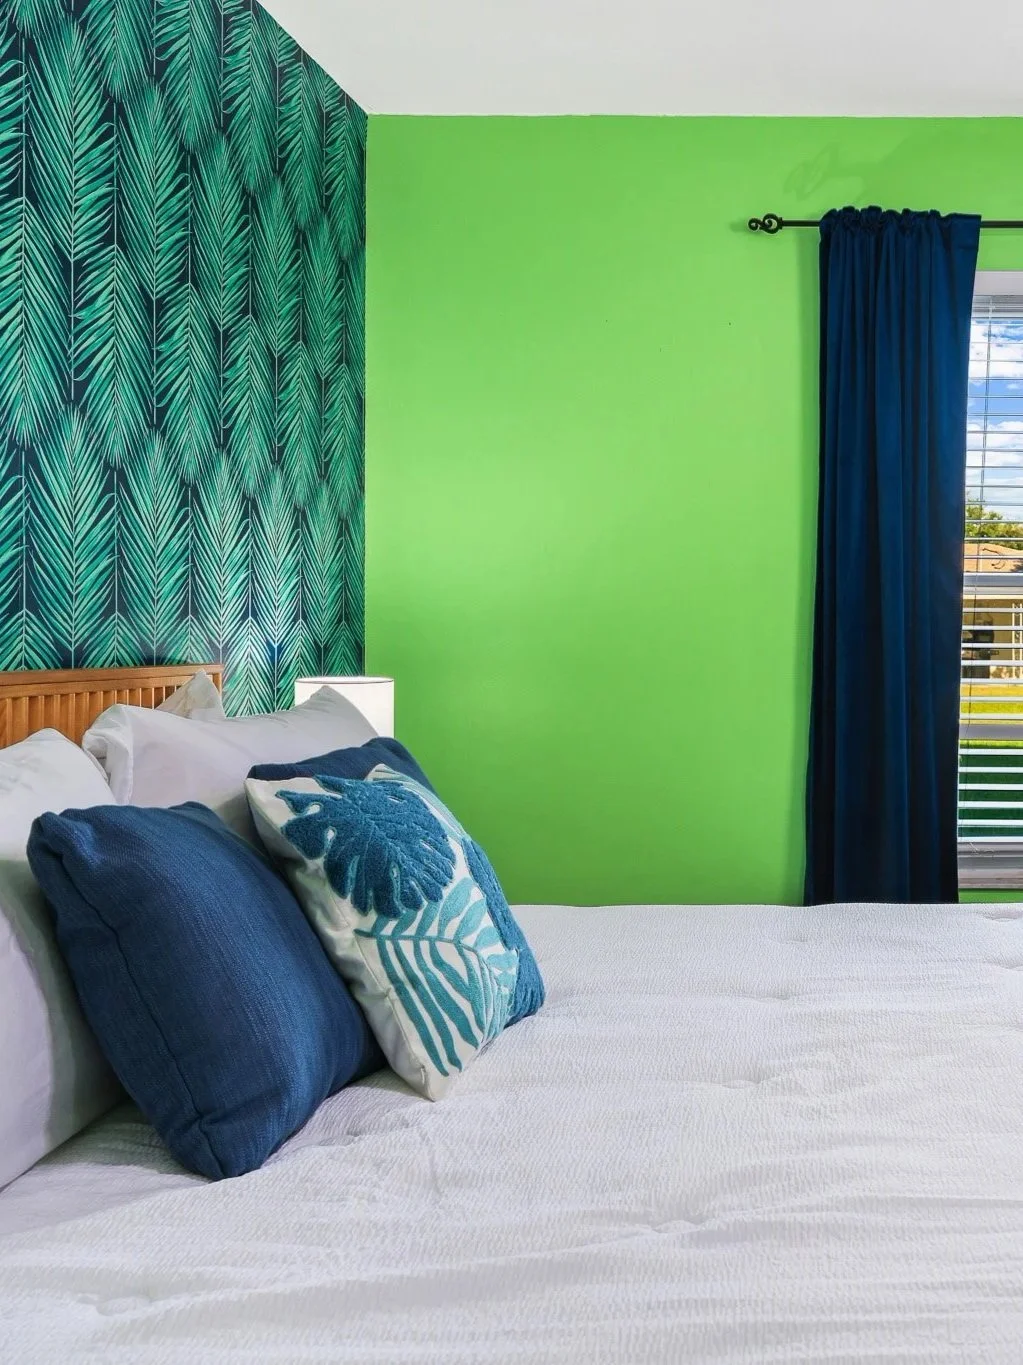
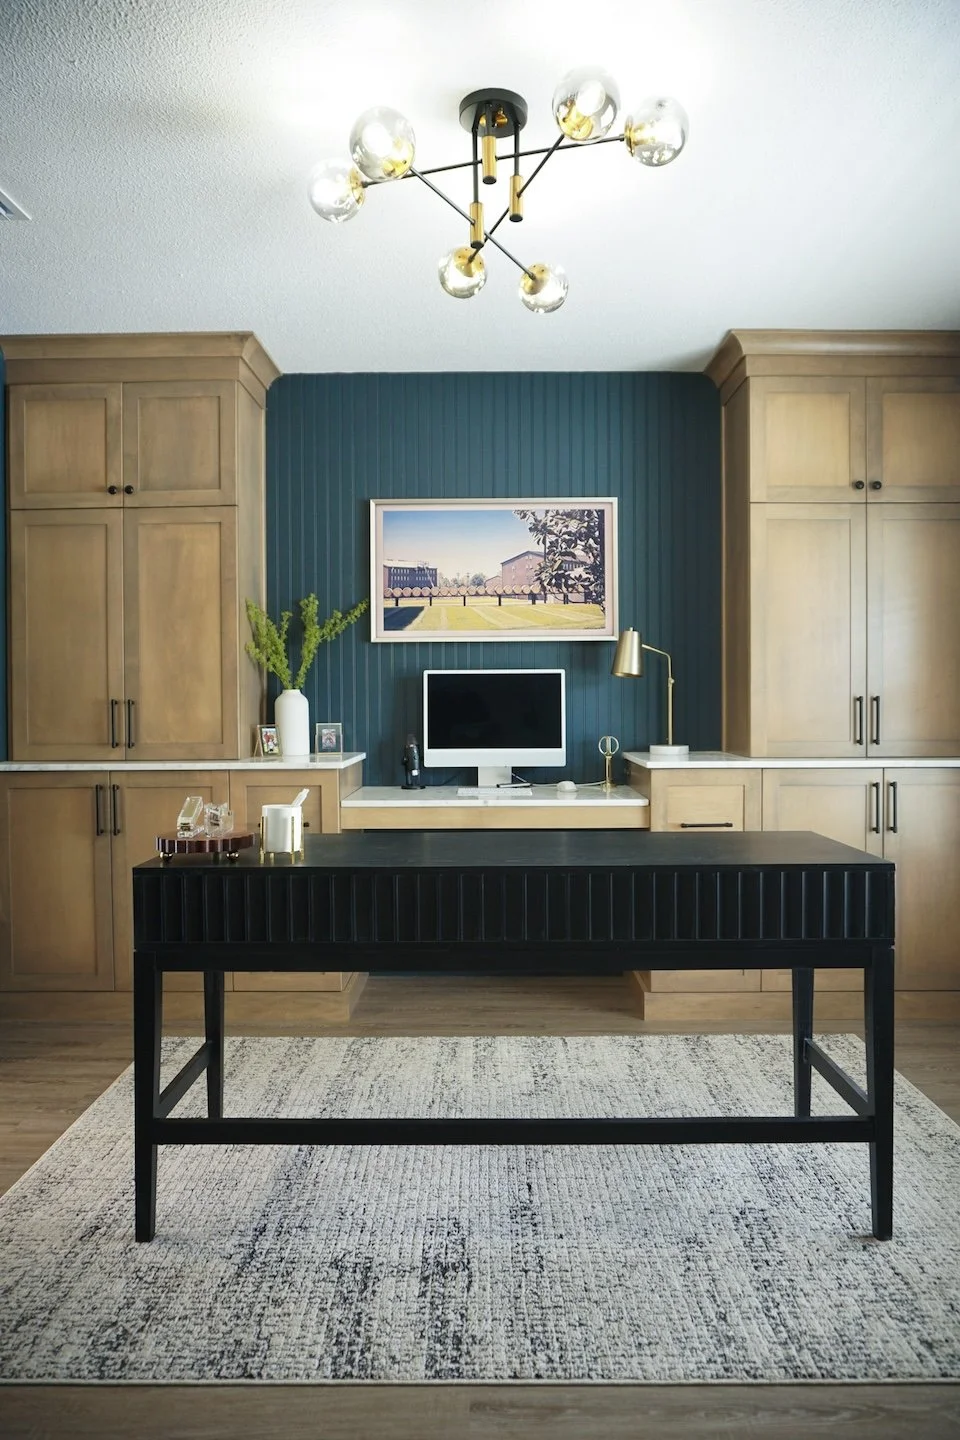
Interior painting is one of the easiest home DIY projects you can master. Whether you are painting an entire room or just painting an accent wall, new paint can totally transform the look or feel of your home. In this blog post I am sharing everything you need to know about picking the right paint and the easiest way to achieve a professional finish.
Paint Tools & Supplies:
Clean Rags
Paint
Stir Stick
Screwdriver
Picking Your Paint:
Picking a paint color can be both exciting and daunting. My number one advice I can give when choosing a paint color is to test your color on your walls before purchasing your paint. I like to start by visiting my paint store and choosing some paint swatches to bring home and consider. Once I have narrowed down the paint swatches to a couple choices, I then revisit the paint store and have them make me small paint samples of each color.
At home I apply these paint sample colors onto the wall in at least a 12 inch by 12 inch square. Make sure you apply the paint samples to several different walls in the room if you plan to paint the whole room. Then I like to take a full day walking through the room at different times of the day and seeing how the paint samples look with different lighting and at night.
Once I've decided on my color, then I revisit the paint store and have them make my color. I know this sounds like a lot of work but I promise you this is worth it and better than you buying a gallon of paint based only off a paint swatch and getting home and realizing you don't like the color on your walls. I have unfortunately done this several times in the past.
Now, picking the kind of paint you will use is easier than you think. Most all paint cans should say whether they are for interior or exterior use and if they are a paint and primer in one. The most common type of interior paint and the one I always use is an interior acrylic latex that is water based. I always pick a paint that says "paint and primer in one" so that I can avoid having to paint a coat of primer on the walls first. Next, you will have to decided on a paint sheen.
The paint sheen is how shiny the paint will be once its dry. I have included a description below of the different paint sheens and their common uses.
Paint Sheens:
Flat - has no sheen at all and does not reflect light. It is nearly impossible to wipe off any dirt or scuffs from flat paint and therefore should not be used on walls that may get touched. It is most commonly used on ceilings.
Matte - is a very low sheen paint but typically has more durability than flat paint. It is easier to clean than flat paint and touches up well. A lot of designers prefer a matte paint and it is a great choice when painting a really dark color. I would not recommend using matte in a high traffic area like a kitchen, entryway or child's room.
Eggshell - this is a low-luster/no-shine finish like a chicken's egg. It is moderately durable and a great option for gathering spaces like living rooms and dining rooms that don't get a lot of scuffs.
Satin - is a low-sheen paint with the perfect amount of luster. It is the most used paint sheen for interior walls because of how durable it is and easy to clean. It's a great choice for high-traffic areas like kitchens, hallways and kid's bedrooms. Because it does have some light shine to it, it is easier to see imperfections on the wall dry past drywall patches or nail holes that have been filled.
Semi-Gloss - has even more shine than Satin and is extremely durable and can stan dup to being wiped and scrubbed down over and over. It's ideal for rooms that have moisture, like a bathroom, or where the walls may get grease or water drips on them like a kitchen. Semi-gloss paint is also ideal for painting baseboards and door trim since it is so durable and easy to clean. You want to make sure your surfaces are smooth before painting as this paint does show imperfections.
High Gloss - is the shiniest of all paints, most durable and easiest to clean. However, it is typically not used on interior walls because it shows every bump and imperfection. It is most commonly used on trim, doors, and cabinets that need to withstand a lot of wear and tear.
Painting Interior Walls - Step by Step:
1. First remove everything that is hanging from the wall including nails or screws. Move furniture and rugs into another room in the house or to the center of the room you are painting and cover them with plastic or old blankets to protect them.
2. It's time to gather your paint supplies and tools. Having the right tools will make the paint job much easier. Use the list of paint tools and supplies above to make sure you have everything you need before starting your job. Also, checkout my recent blog post on How to Choose the Right Paint Tools.
3. Use a screwdriver to remove the outlet covers and light switch plates. I like putting them into a plastic baggie to ensure I don't lose any of the small screws.
4. Lay a drop cloth on the ground in the area you plan to start painting first. There are several kinds and I usually prefer using a plastic or paper drop cloth because they are the most affordable. I use just one drop cloth and move it around the room as I go.
5. Check the walls for holes and imperfections and use spackle to fill any nail or screw holes. Once the spackle is dry, lightly sand those areas smooth using a 220 grit sandpaper and then wipe away any dust left on the wall using a damp cloth.
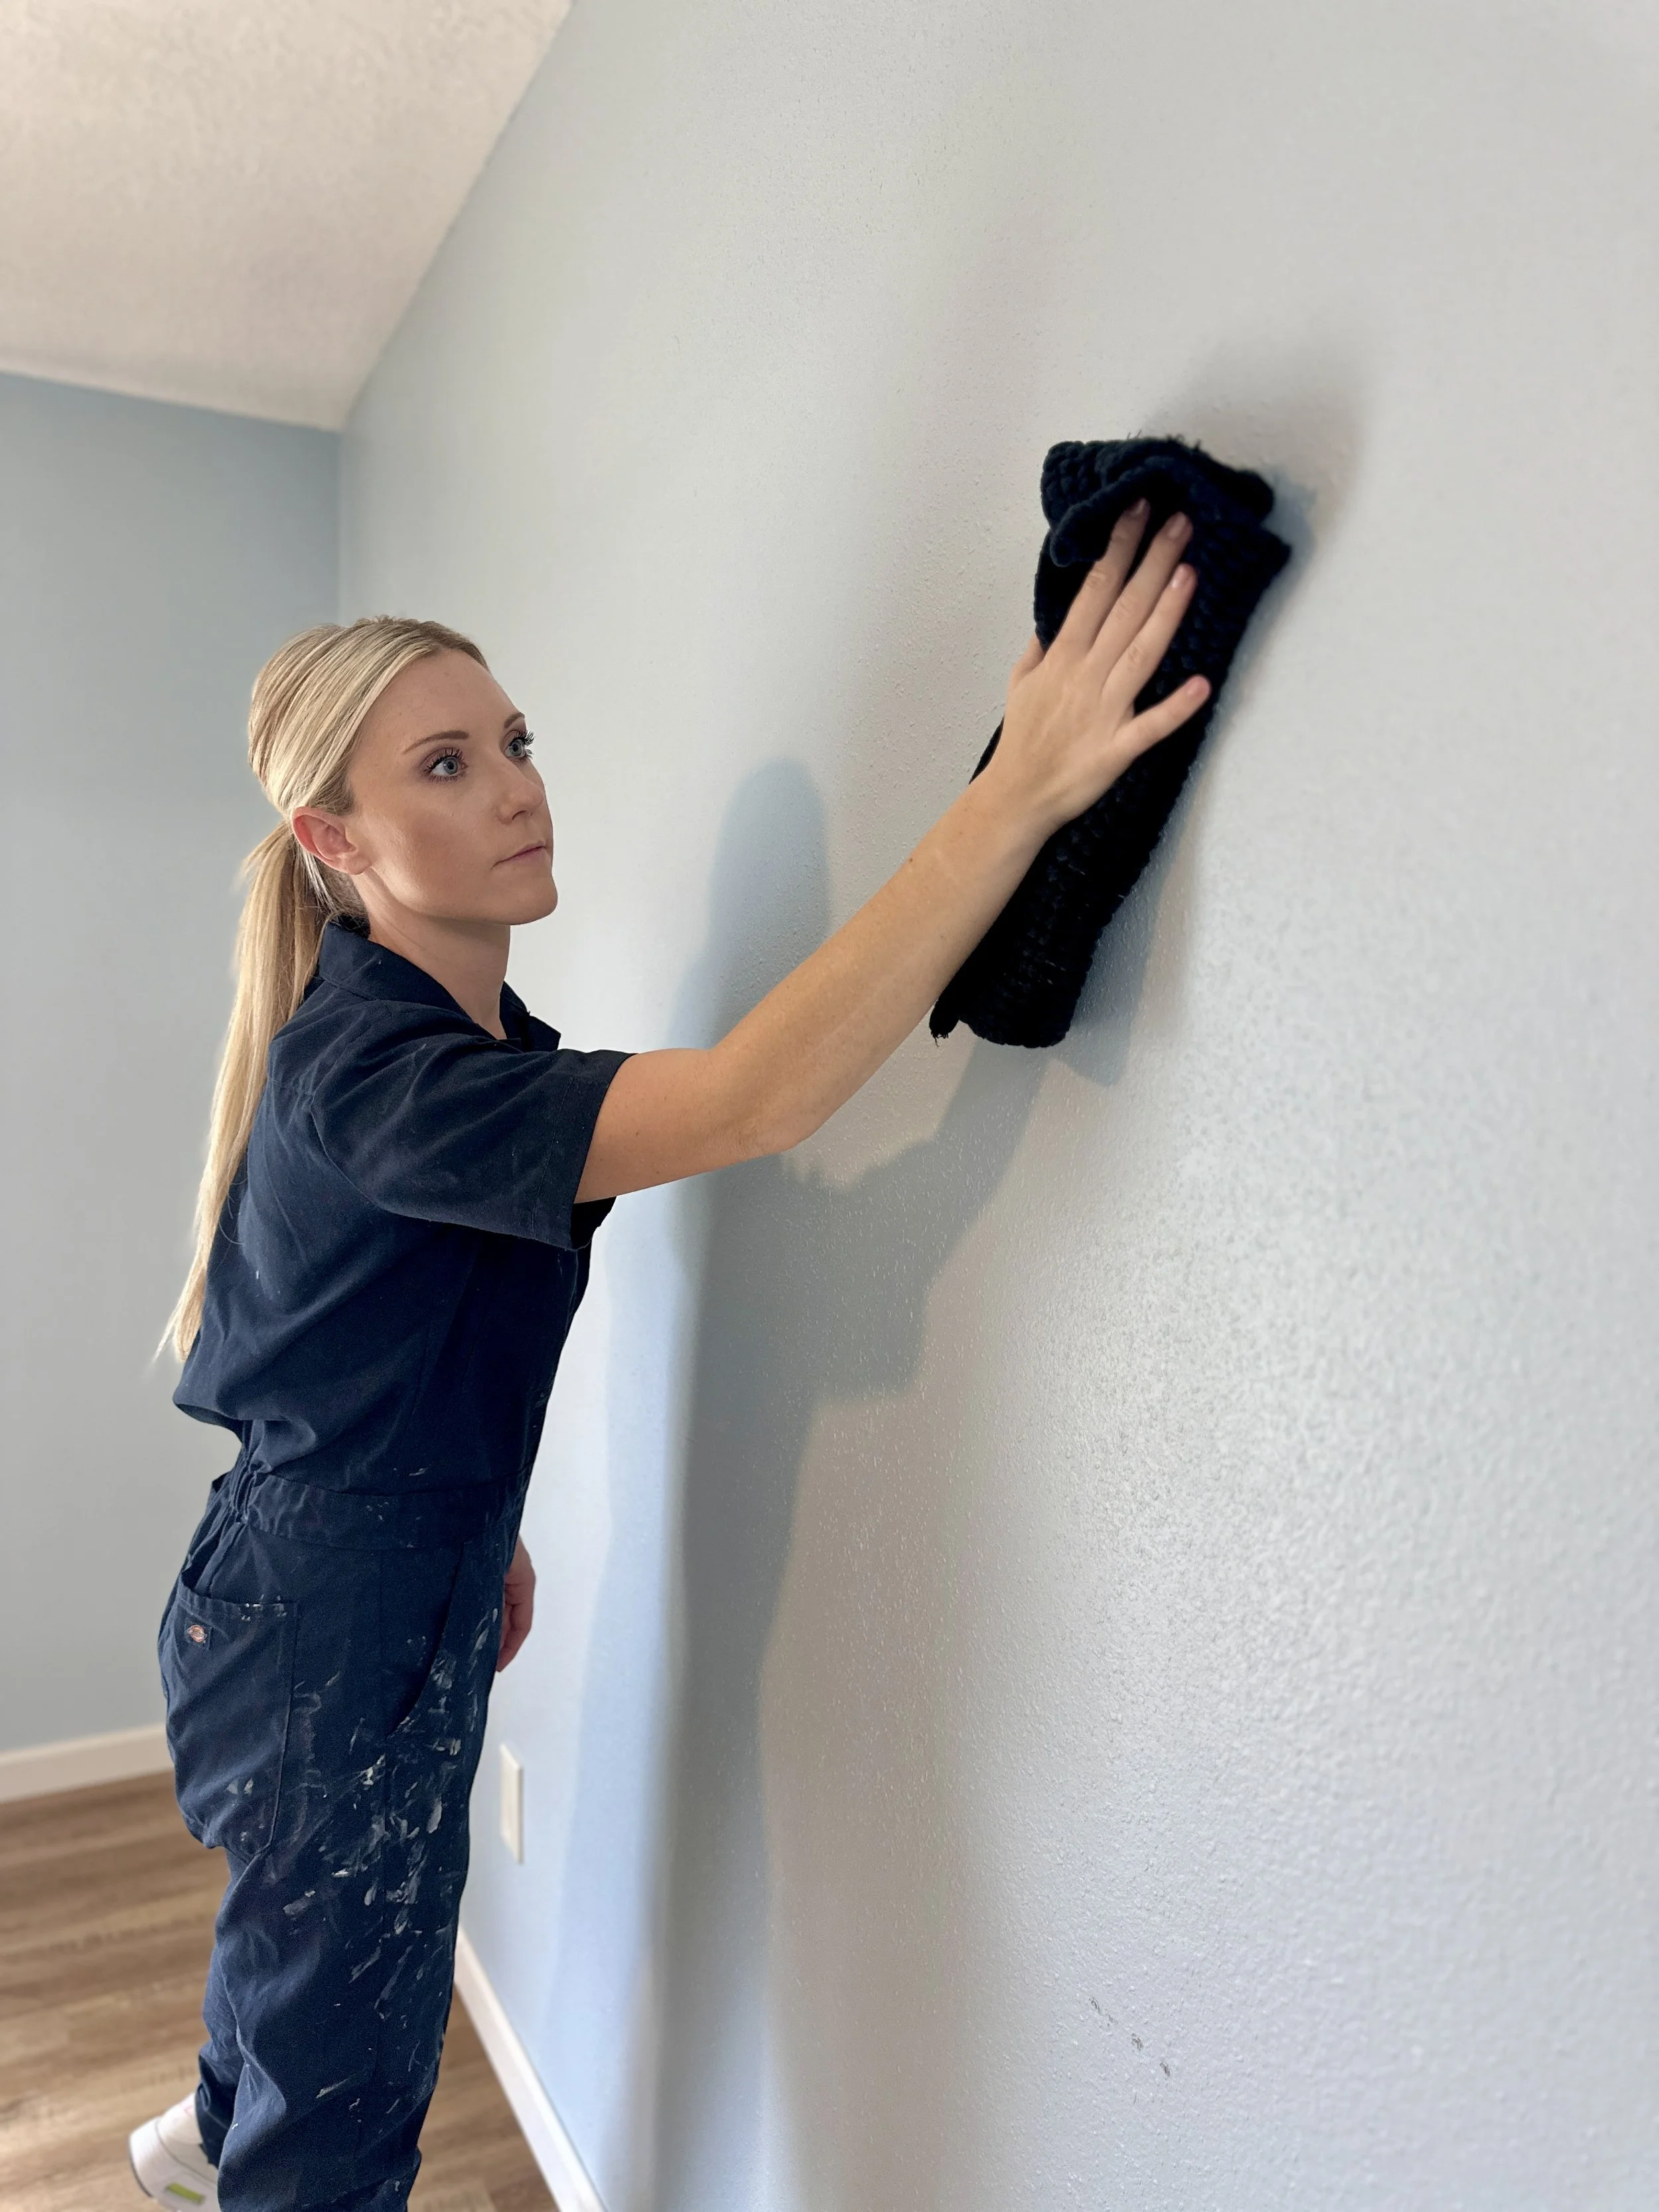
6. At this point I like to give all the walls in the room a light wipe down using a clean damp rag to remove any dust that may be on them. This Turbo Mop is what I use to quickly and easily wipe down my walls. If I see any obvious build-up of dirt on the walls, I will make sure to wipe those areas clean. Paint will adhere better to clean walls.
7. Next, it's time to use painter's tape to protect and cover any edges or surfaces you don't want your paint to touch. You can apply the painters tape in 4ft pieces to the baseboards, door and window trim, ceiling, or adjoining walls. Be sure to press down very firmly to ensure the tape is sealed to the surface and no paint can seep through.
8. Now you are ready to begin painting the edges of your room. Open your can of paint and stir for at least 60 seconds using a stir stick. I recommend pouring some paint into a handheld paint pail that you can hold and carry in your hand for this step. You will start 'cutting in' or painting the edges of the walls using your angled brush and paint along the tape and down about 6 inches. Continue this until you have painted all the edges of the room - around the windows, doorways, ceilings, baseboards, corners of the walls, etc.
I like to do a nice thick coat of paint on the edges so that a second coat is not needed. I do one section at a time and then immediately pull off the tape while the paint is still wet. For example, I will paint around some window trim and then pull off that tape, then paint around a doorway and pull off that tape, and then paint along the baseboard on one wall and pull off the tape, etc.
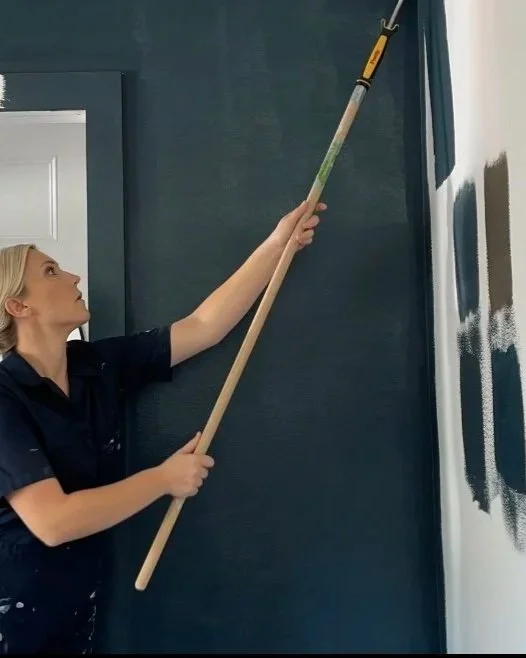
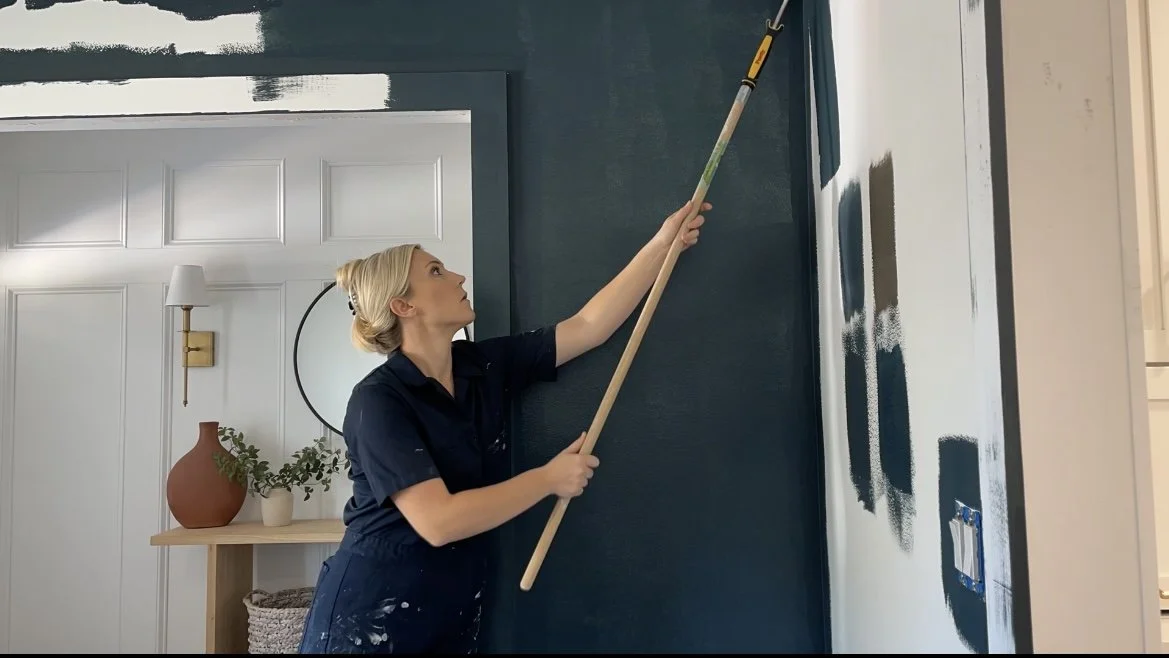
9. After you finish the cutting in, it's time to switch to a paint roller to finish the walls. Pour your paint into a lined paint tray trying to fill only the reservoir section at the bottom. Start to roll and dip your roller into the paint and then roll it up and down on the grooves of the paint tray to remove any excess paint on the roller. Then roll your paint onto the wall working in 2-3 feet sections and rolling in a W pattern, going back and forth filling in the empty spaces.
When your roller first touches the wall, do not press the roller against the wall too hard or you will leave streaks and may get drips. Instead, lightly roll your paint on to begin with and then you can start to gently apply more and more pressure as you notice less paint coming off your roller onto the wall.
When you start to see the wall through the paint, then it’s time to add more paint to your roller. Continue this method until you have painted the entire wall. Then move onto the next wall until your room is completing painted.
10. Allow the paint to fully dry (2-4hrs) and then determine if a second coat of paint is needed. Depending on the color and quality of your paint, a second coat may not be needed but typically I always recommend a second coat for the best results and a professional looking finish. Follow steps 8 and 9 again to complete the second coat.
11. Remove any last bit of tape. Again, it’s important to remove the tape while the paint is still wet. If the paint is fully dry when you remove the tape, there is a good chance the tape will pull off some of your paint leaving you with a rippled or jagged edge instead of a nice crisp paint line.
12. When you have completed painting your room, you need to clean your paint tools. I like to spray as much paint off my roller and paint brush as I can using a garden hose and then dip them in a bucket of warm soapy water a couple times using my hands to work the paint out of the roller and brush. Then I hose them off to remove the soap and leave them in an open space outside or in my garage to air dry. Pro Tip: I use this paint brush cleaning tool and it has made such a difference in getting my brushes extra clean and allowing me to use them over and over again.
Painting Tips:
- If your paint has been sitting for more than a month, it's a good idea to take your can of paint to your local hardware store and ask if they can re-shake it for you.
- If you have paint that is peeling off the wall, you will need to remove all the peeling paint before getting started. If the paint that is peeling off is leaving a pretty noticeable patch on the wall that will show through the new paint, I'd suggest lightly sanding that area and then using spackle to fill that section in, sanding once dry and cleaning all the dust off the wall before painting.
- Keep old rags on hand to wipe off any paint you get on your hands while painting, excess paint that gets on the handle of your paint brush, or any drips or spills on the floor.
- Use a paint brush cleaning tool on your paint brush while hosing it out. This helps get between the paint bristles and will leave you with a cleaner brush.
- If you have really bad stains on your walls, are trying to cover harsh odors, or are painting over a really dark or bright color with a lighter color, I would recommend you paint a coat of primer on your walls first. I like using a stain-blocking shellac based primer for the best coverage.
- If you are unable to finish painting the room at one time and must store your paint brush and roller for an extended period of time or overnight, wrap them tightly in Saran wrap and store them in a cool dry place until you are ready to paint again. I do not recommend letting them sit for more than 24 hours.
With these paint tools and tips, you should be able to tackle any room of your house! If you are looking for more painting tips and inspiration, be sure to check out my Instagram profile for more.


HEY THERE, I’M ASHLEY!
Here to inspire beginner DIYers!