
8 Easy DIY Cricut Machine Projects for Beginners
The Cricut machine has revolutionized the world of DIY crafting, offering endless possibilities for creating personalized and unique projects. Whether you're a seasoned crafter or a beginner, the Cricut machine can be your best friend in turning ordinary items into extraordinary creations. The first step is deciding what you’ll make! The options are endless. In this blog, we'll explore eight easy beginner Cricut projects that you can tackle with your Cricut machine, unleashing your creativity and adding a personal touch to your surroundings.

1. Customized T-Shirts
Are you tired of the same old plain t-shirts? Or heading to a fun event or concert? Elevate your look with a touch of personal flair using your Cricut machine to make your own t-shirt designs. This project is so simple and could also make an awesome personalized gift for a friend. With a variety of heat transfer vinyl colors at your disposal, you'll be turning heads with your personalized fashion statement in no time.
Materials:
Instructions:
Choose a design or create your own using Cricut Design Space.
Load the HTV onto your Cricut mat, and let the machine do its magic.
Weed the excess vinyl, leaving only your design.
Use an EasyPress or iron to transfer the design onto the t-shirt.
Peel off the transfer sheet, revealing your personalized t-shirt.

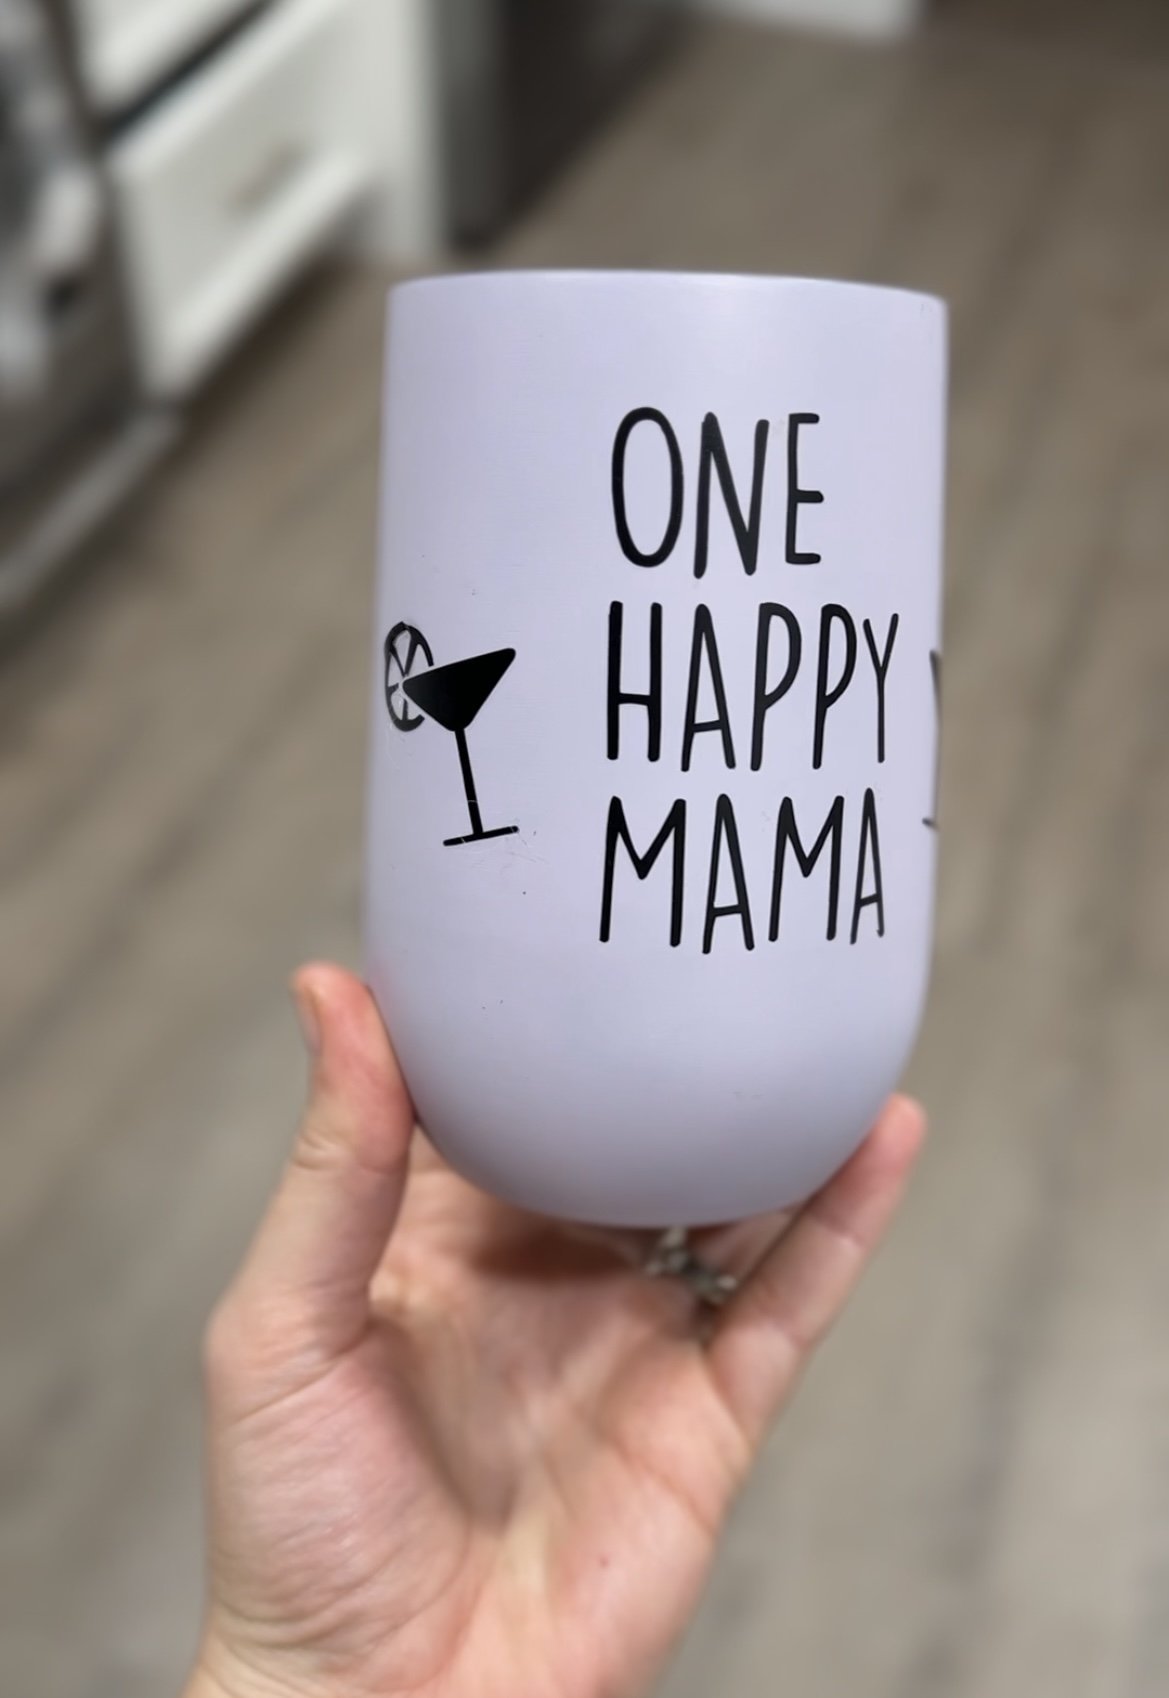
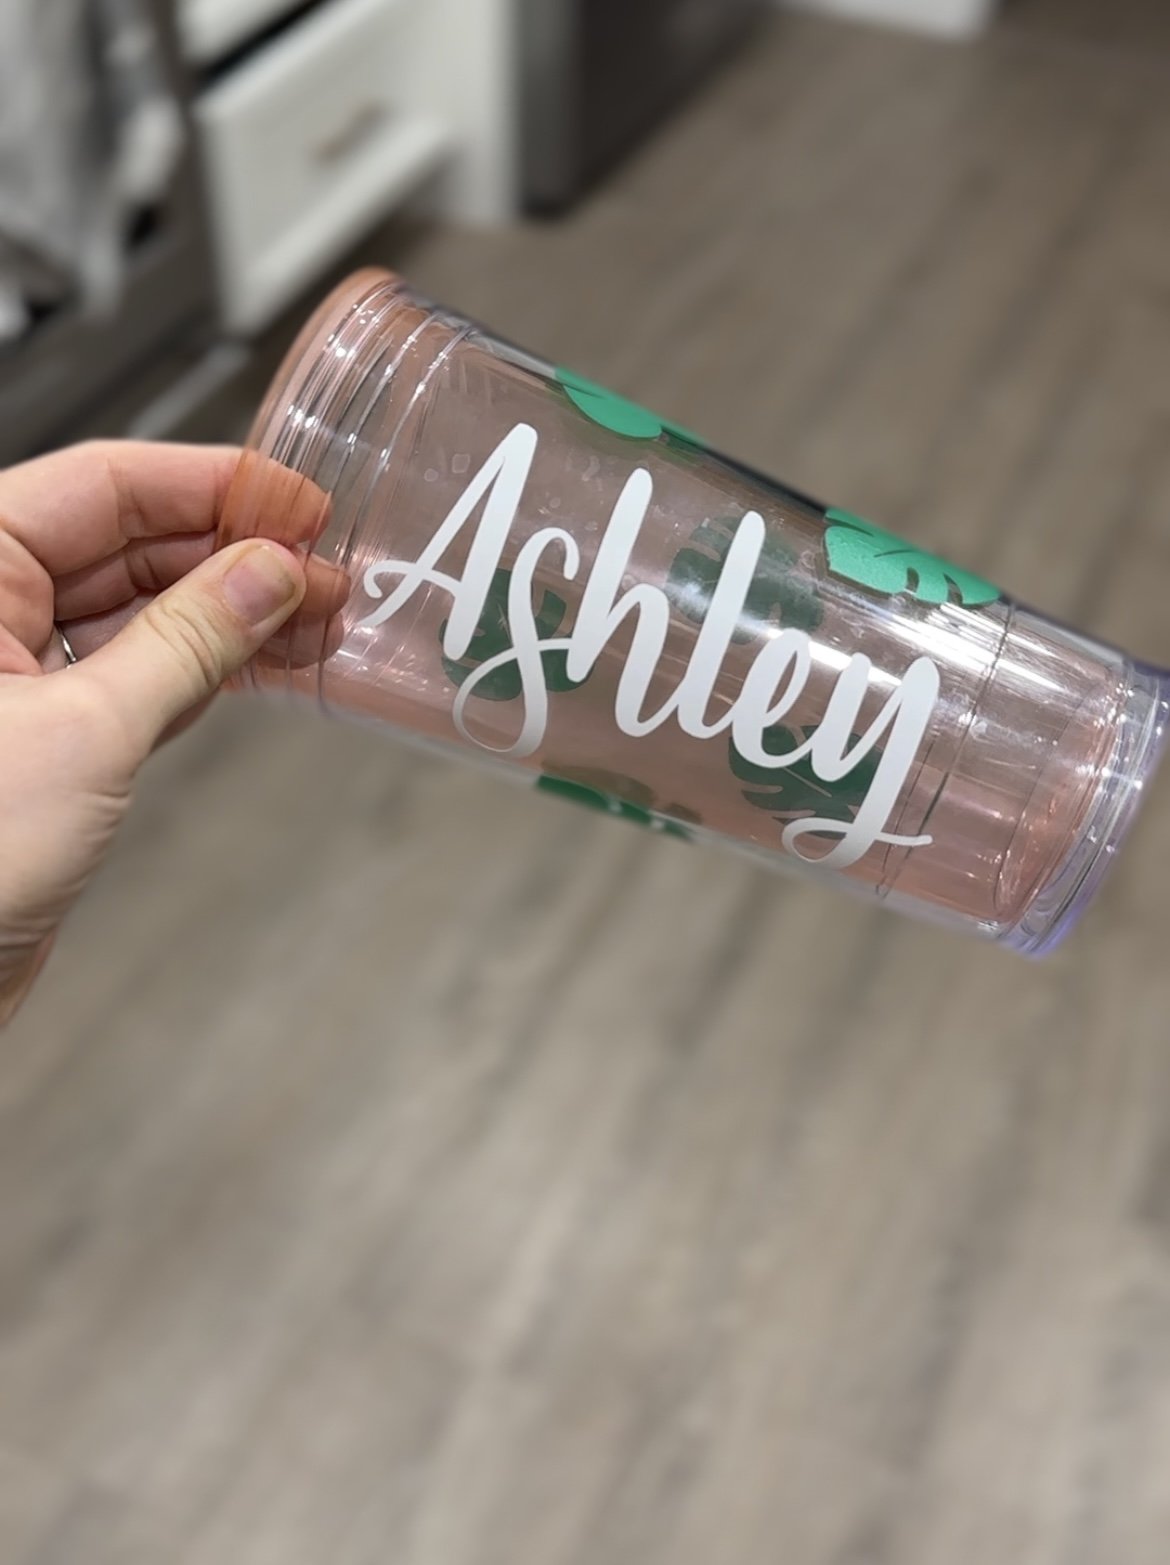
2. Vinyl Decals for Water Bottles:
Quench your thirst for creativity by adding a splash of personality to your water bottles and insulated cups. With your trusty Cricut machine, you can craft custom vinyl decals that transform ordinary hydration into a statement. This is one of my favorite Cricut vinyl projects and these make a great DIY gift.The process of creating and applying these eye-catching decals is so simple. Use this same technique to make custom pantry labels for storage containers and jars.
Materials:
Vinyl sheets - Adhesive Vinyl, Permanent Vinyl, or Removable Vinyl
Water bottles
Instructions:
Find or create a design in Cricut Design Space.
Cut the design using your Cricut machine.
Weed the excess vinyl carefully.
Apply transfer tape to lift the design from the backing.
Stick the vinyl decal onto your clean water bottle for an instant, customized look.
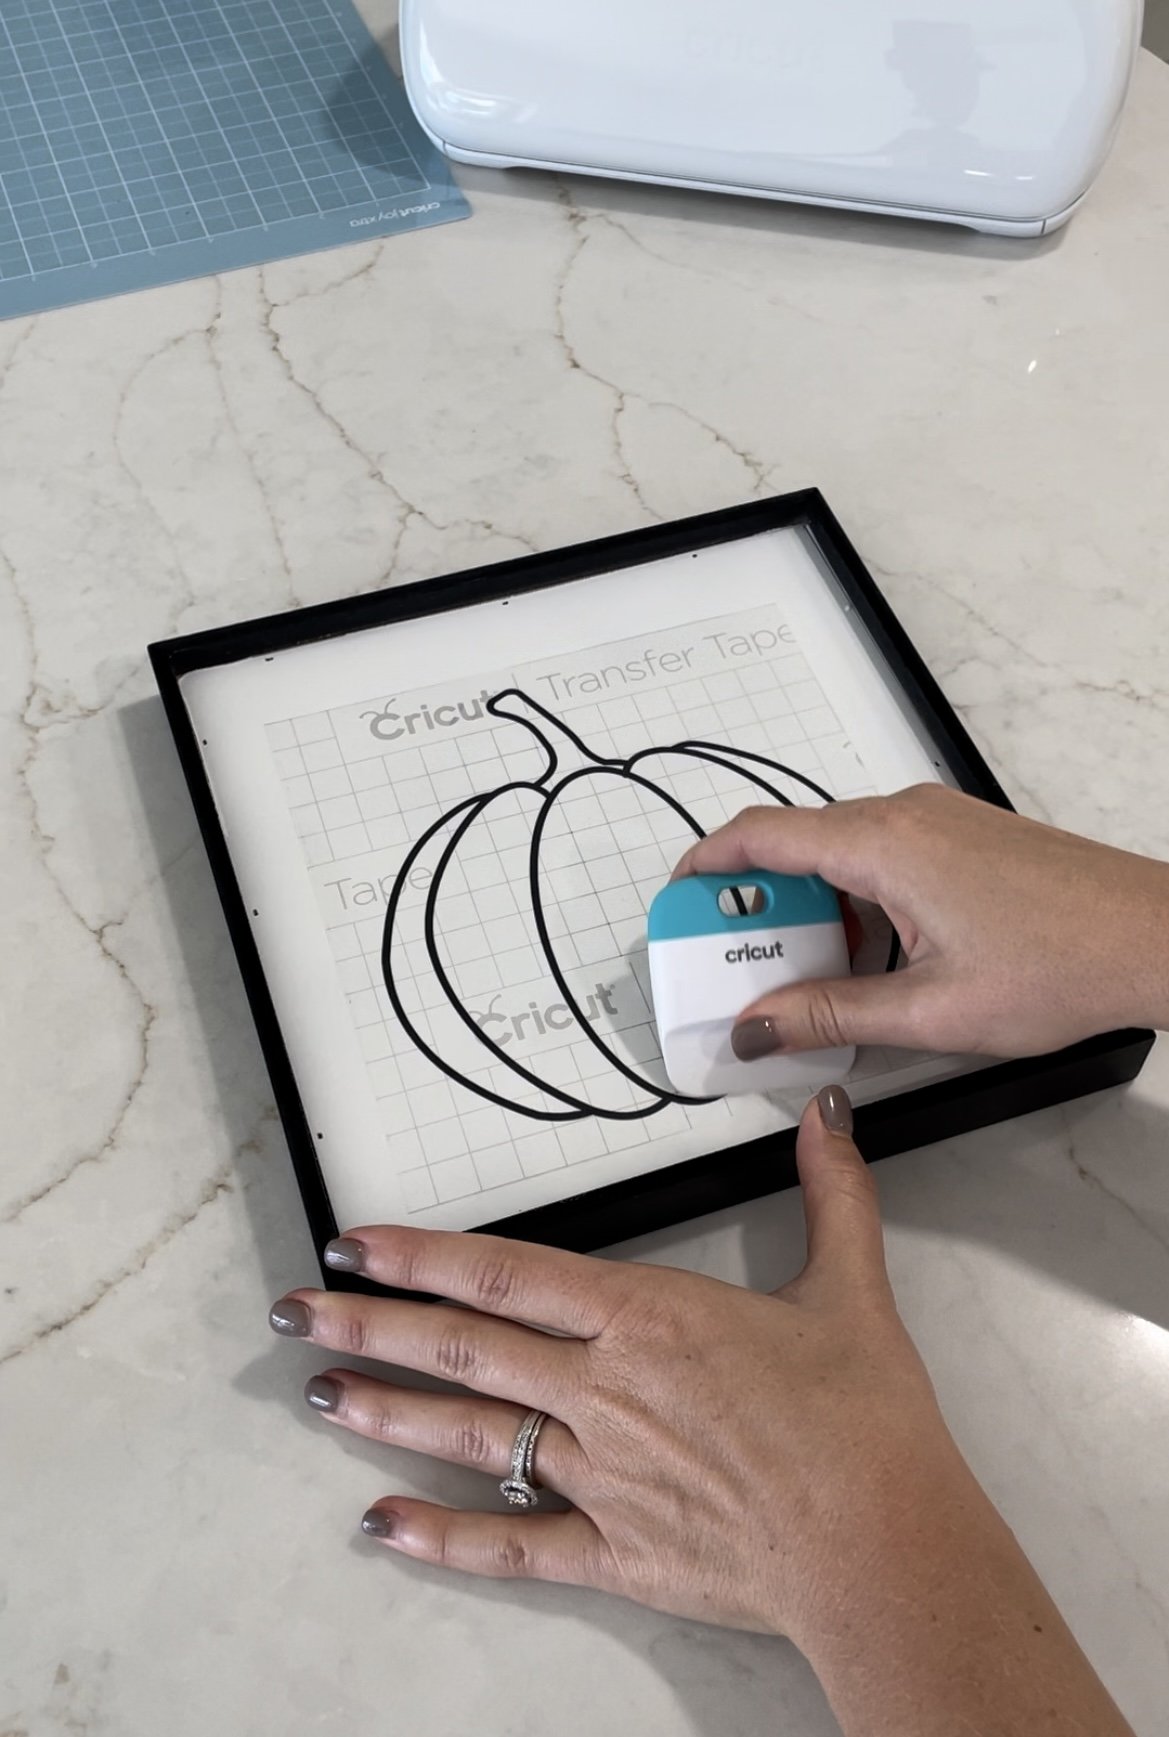
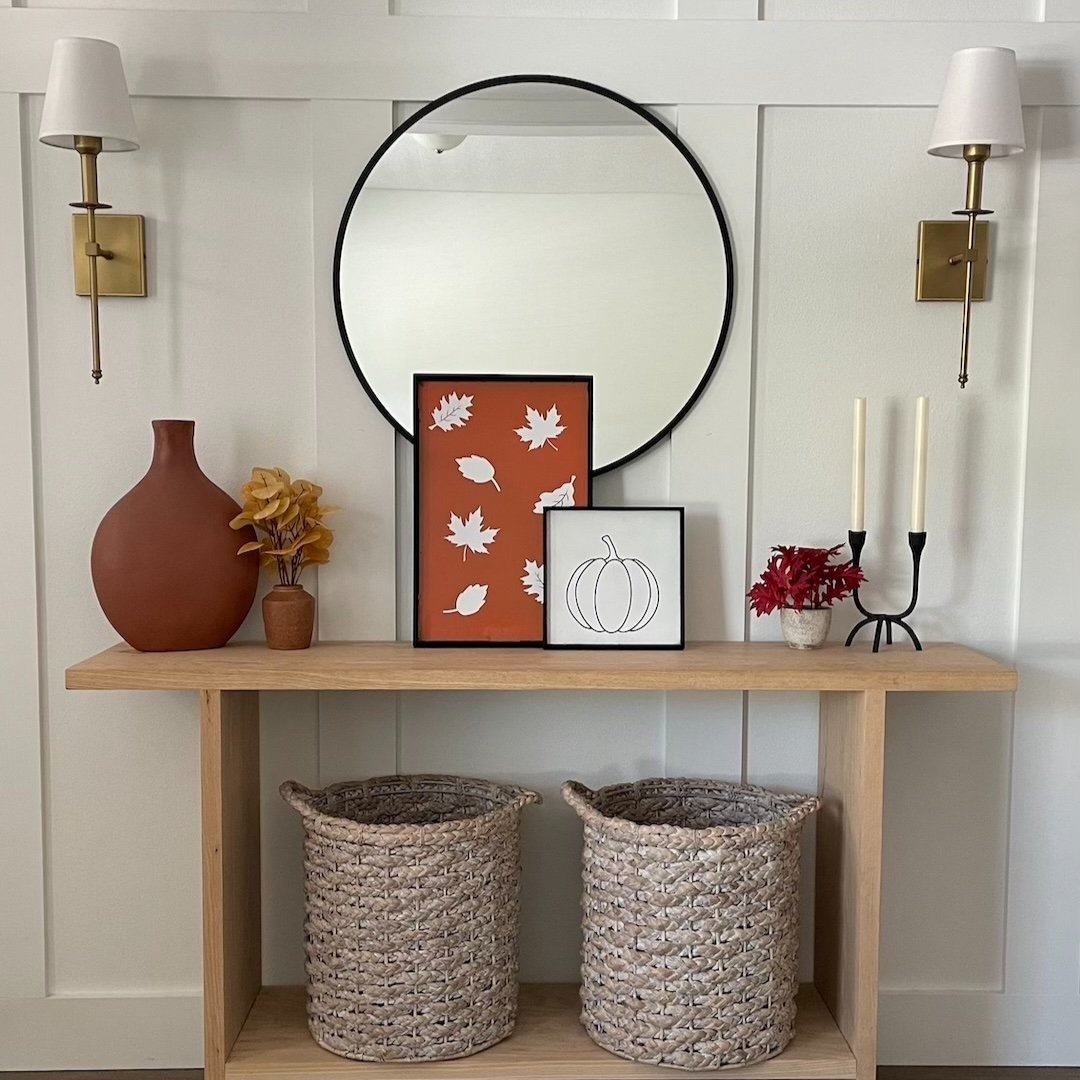
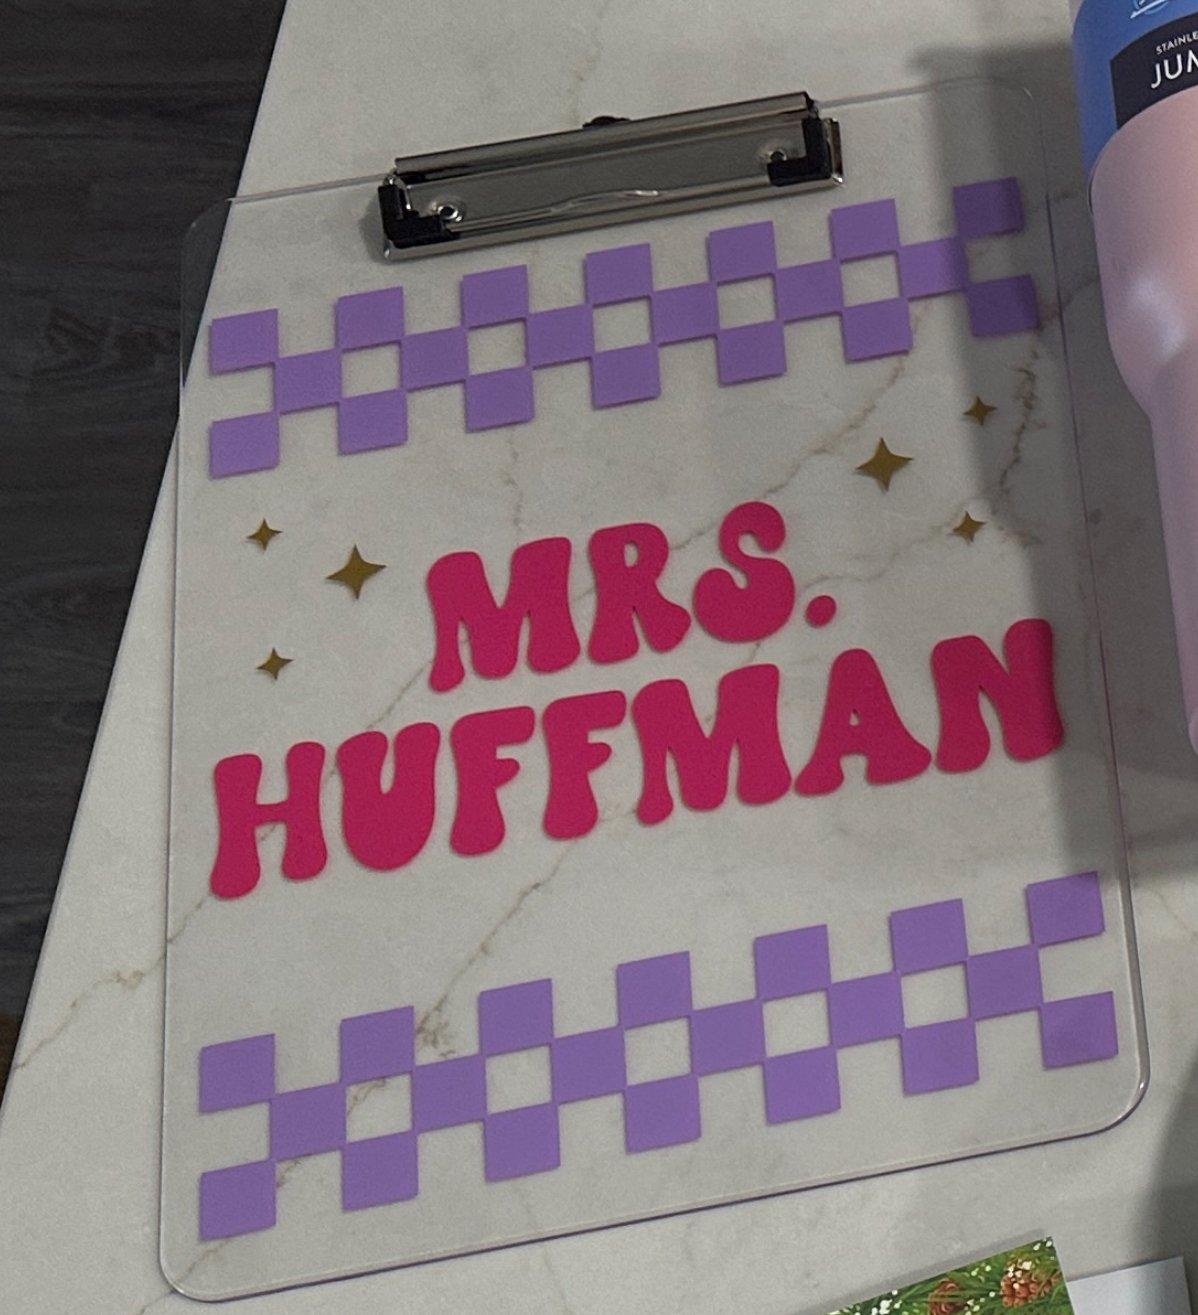
3. Personalized Home Decor:
This is my personal favorite project — making home decor. Make your wildest design dreams come true with your Cricut machine. From wooden signs to canvas prints and doormats, these DIY home projects will turn basic materials into bespoke pieces that add warmth and character to any room.
Materials:
Vinyl sheets - Adhesive Vinyl, Permanent Vinyl, or Removable Vinyl
Acrylic paint and paint brushes (for certain projects)
Instructions:
Paint the wooden sign in your desired color or leave the wood natural.
Create a stencil or vinyl decal using the Cricut machine.
Apply the stencil or decal to the wood or dried paint.
Paint over the stencil with a contrasting color.
Peel off the stencil or decal, revealing your personalized home decor piece.
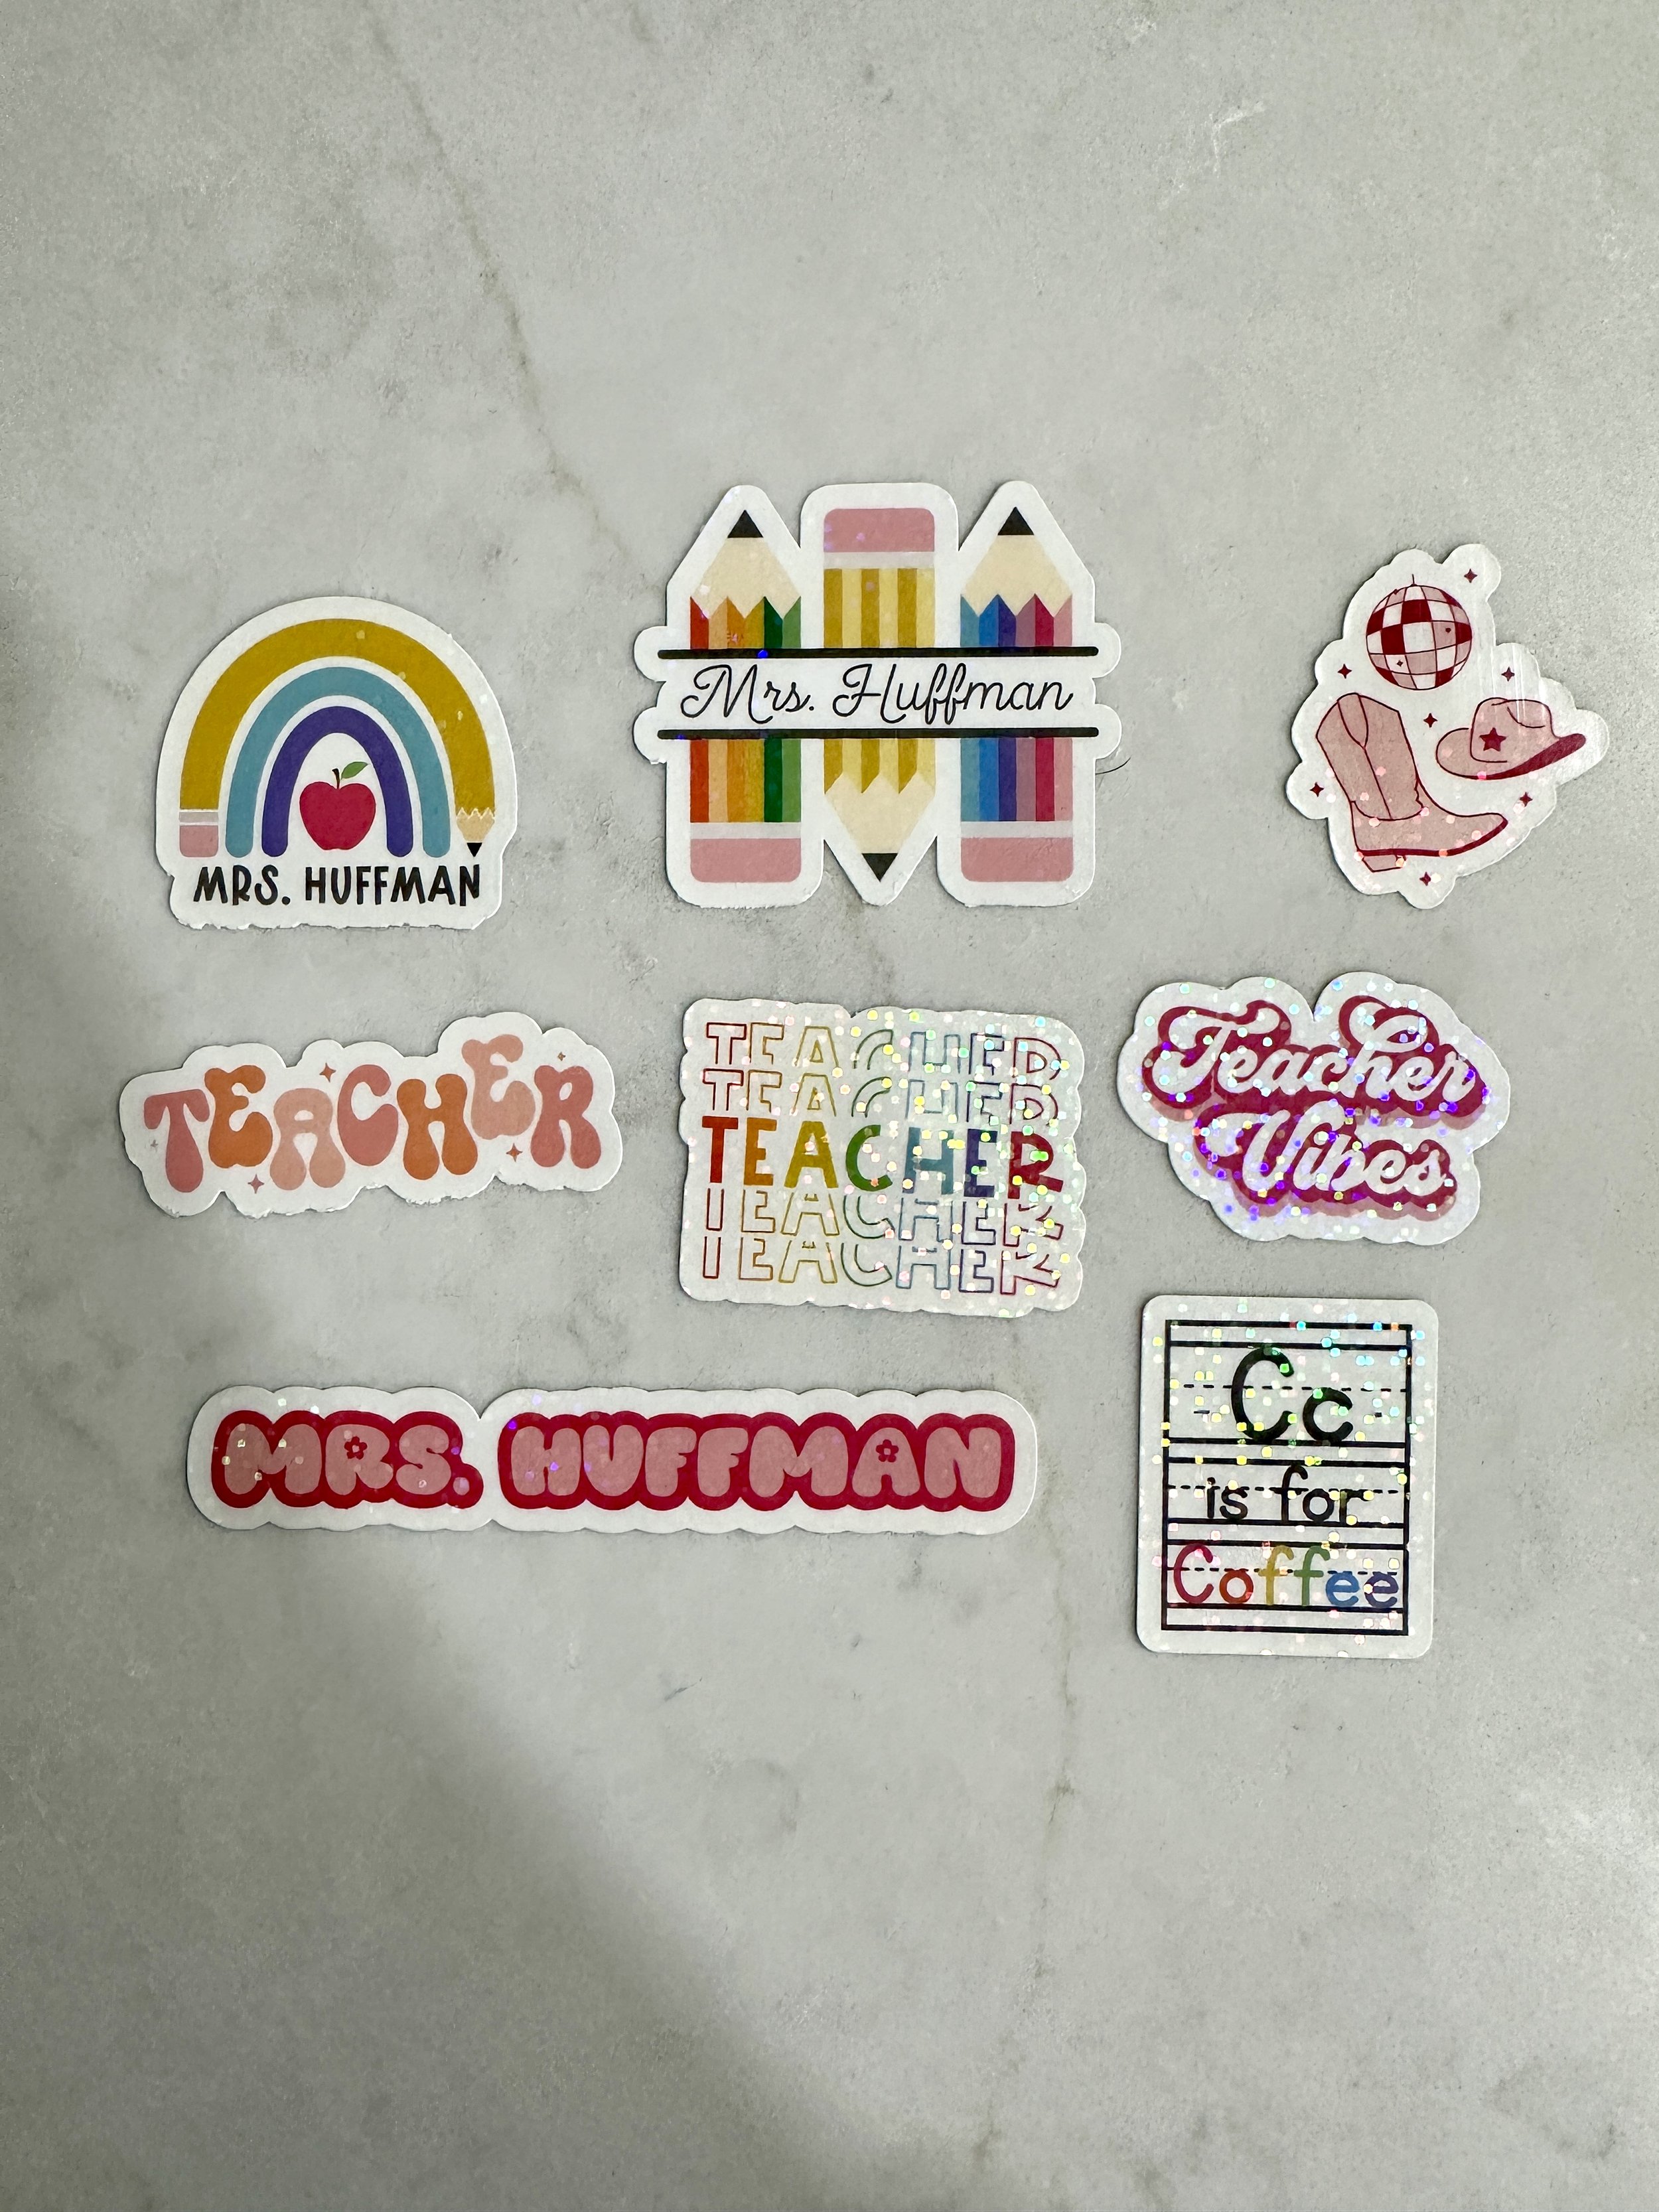
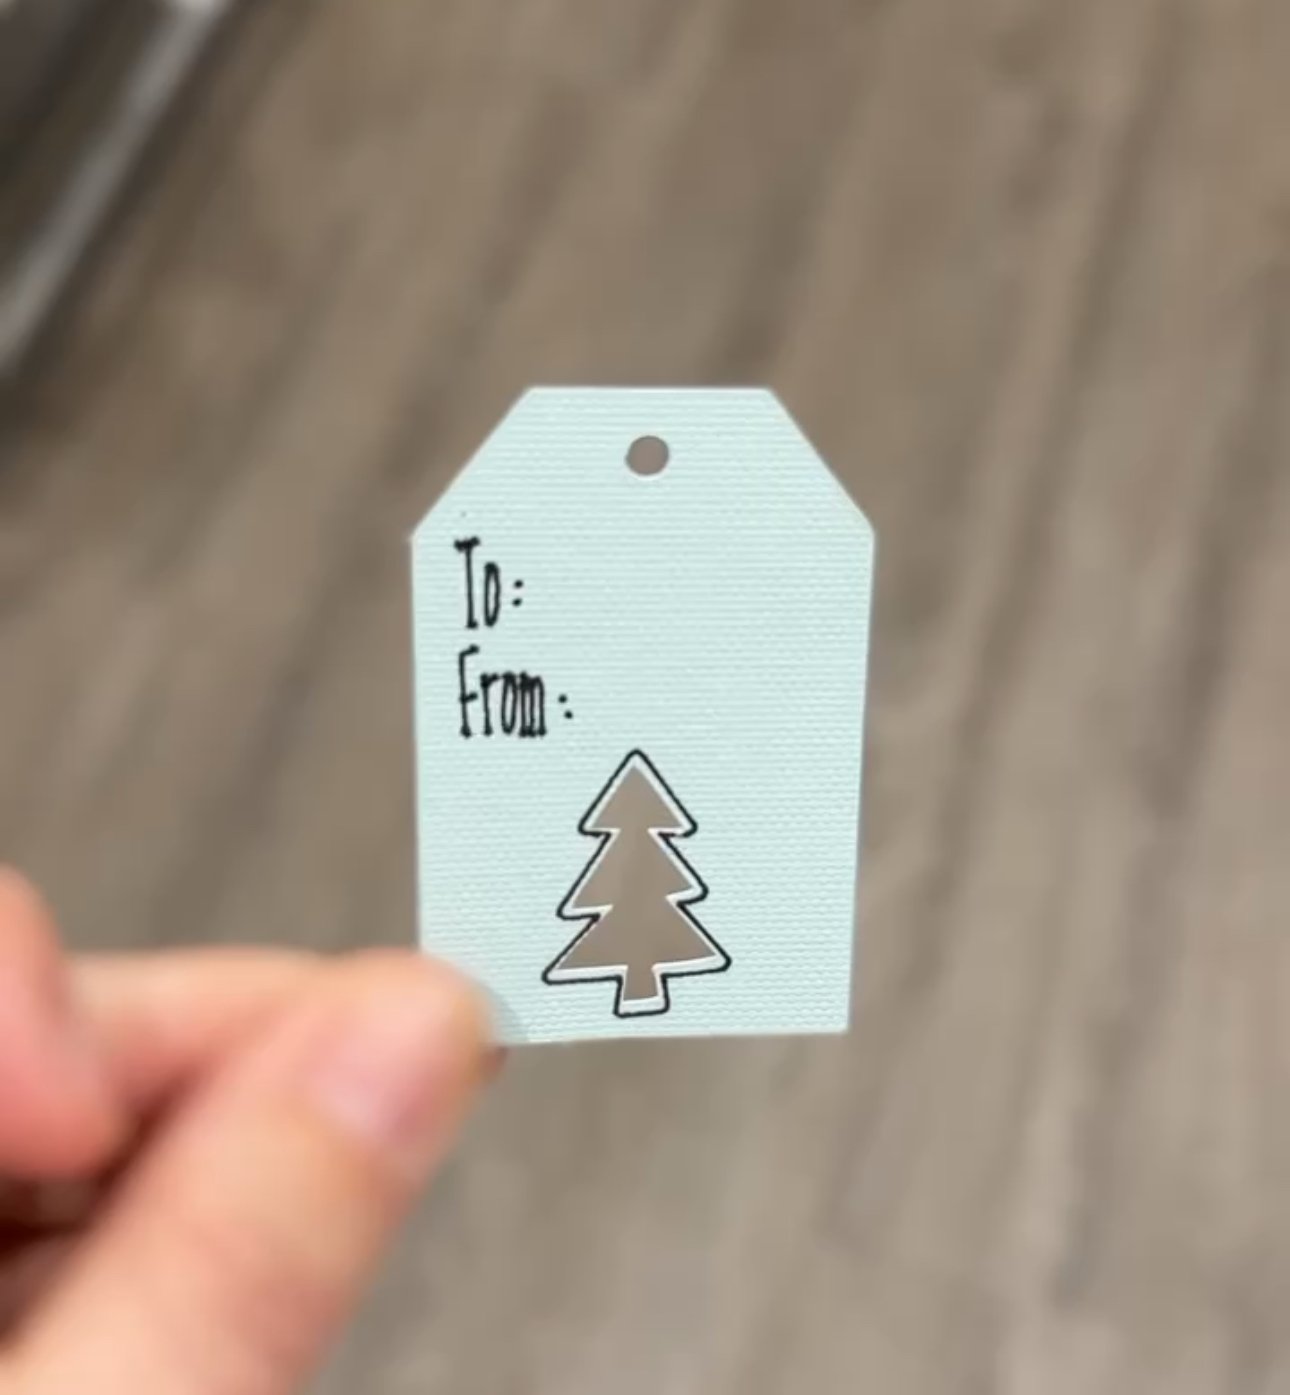
4. Greeting Cards for All Occasions:
Why settle for store-bought greeting cards when you can create heartfelt and personalized ones with your Cricut machine? Whether it's a birthday, anniversary, or just a note to say "hello," this easy project will show you how to design and craft unique greeting cards that leave a lasting impression. Get ready to express your creativity and sentiments with handmade cards that stand out from the ordinary. You can even get a little fancier and use this method to create a custom gift tag as well.
Materials:
Adhesive or Glue
Instructions:
Choose a design or create your own in Cricut Design Space.
Load the cardstock onto the Cricut mat.
Cut and fold the cardstock according to your preferred card size.
Attach the Cricut-cut design to the front of the card using adhesive.
Write a heartfelt message inside and share your personalized card for any occasion.

5. Customized Canvas Tote Bags:
Why settle for mass-produced accessories when you can create your own? Use your Cricut to create eye-catching canvas totes. Whether you're a seasoned crafter or a beginner, this DIY project offers a perfect blend of simplicity and creativity, allowing you to express your personality on a blank canvas literally.
Materials:
Instructions:
Select a design or create your own in Cricut Design Space.
Cut the design from HTV using your Cricut machine.
Weed the excess vinyl, leaving your chosen design.
Use an EasyPress or iron to transfer the design onto the canvas tote.
Voila! You now have a personalized tote bag for your everyday adventures.
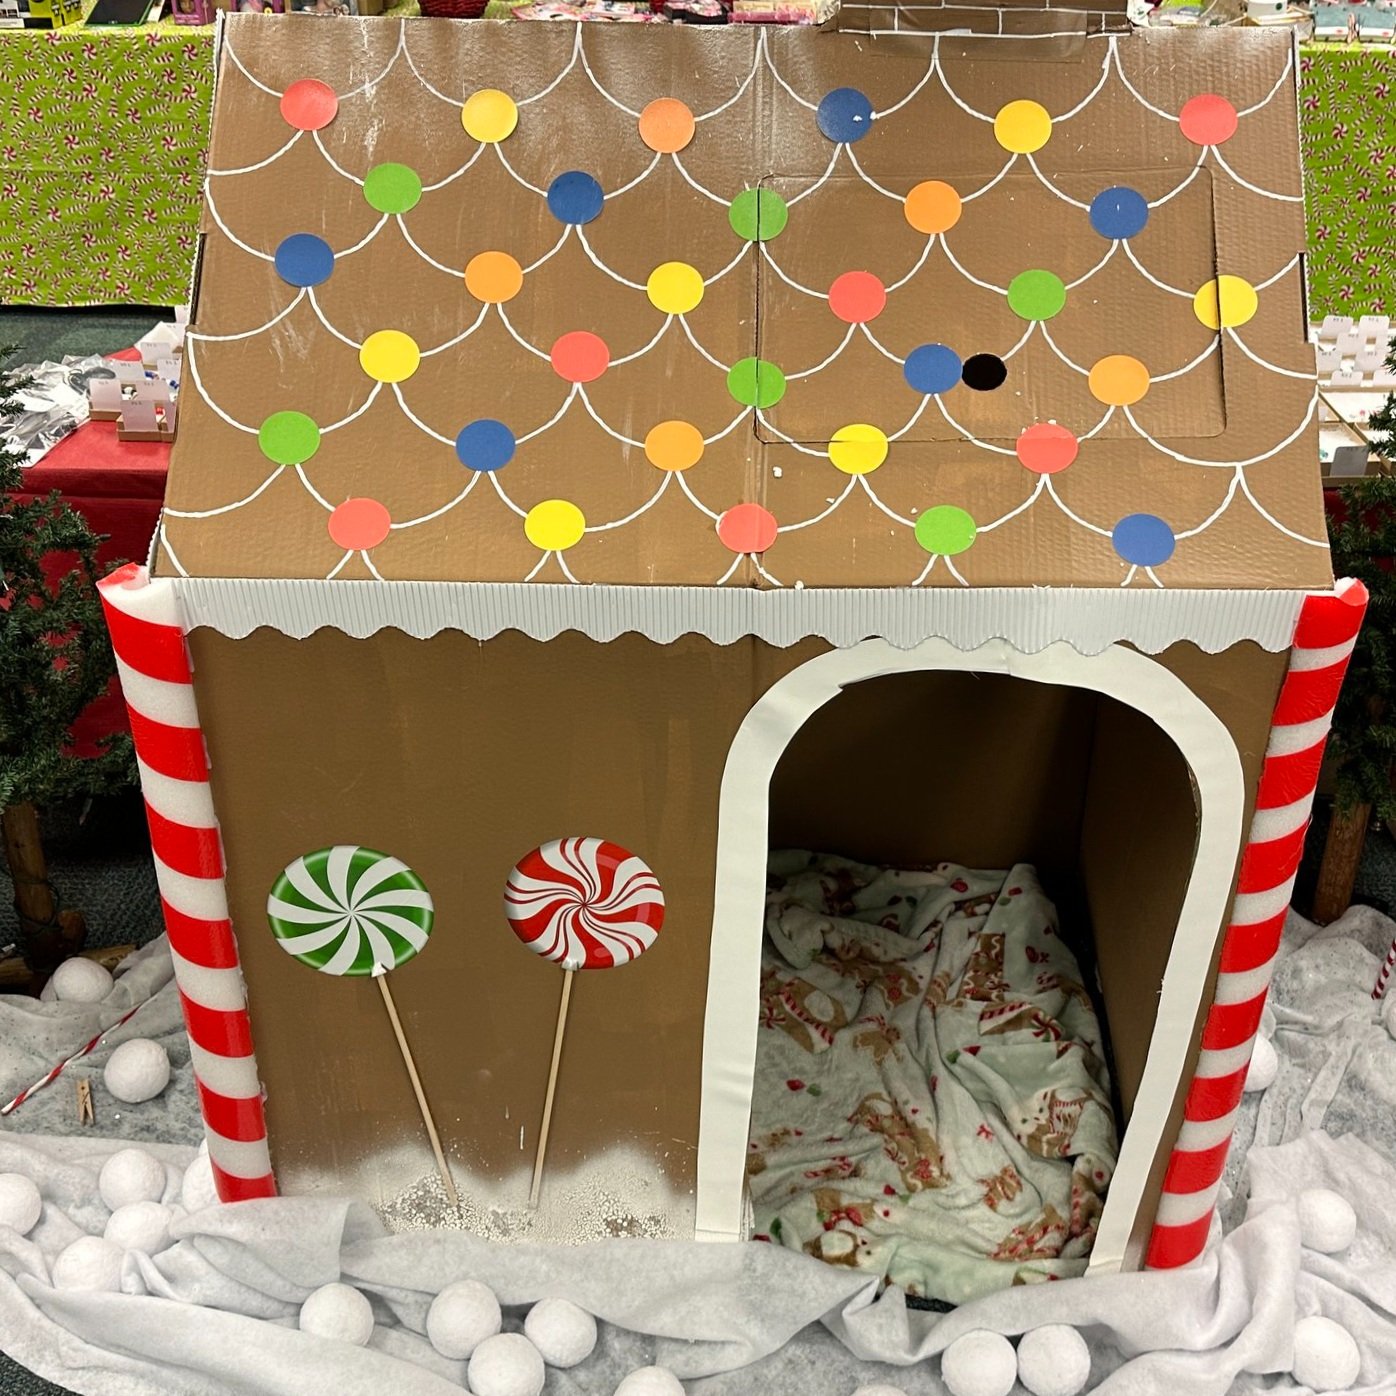
6. Festive Window Clings:
Step into the enchanting world of seasonal magic as we dive into the art of creating festive window clings using your Cricut machine. Imagine transforming your living space into a whimsical wonderland that changes with the seasons, effortlessly. Whether it's the warmth of autumn leaves, the sparkle of winter snowflakes, or the vibrancy of spring blooms, these window clings allow you to easily enhance your home's decor with a dash of festive charm.
Materials:
Window cling sheets/Removable Vinyl
Instructions:
Choose festive or seasonal designs in Cricut Design Space.
Cut the designs from window cling sheets using your Cricut machine.
Carefully peel the window clings from the backing.
Place them on your windows for an instant holiday or seasonal decoration.
Easily remove and store for future use.

7. Engraved Wooden Coasters:
Looking a project that’s both cute and functionality? How about these engraved wooden coasters. With the precision of your Cricut machine and a touch of artistic ingenuity, you can transform plain wooden coasters into personalized masterpieces. Elevate your entertaining game and leave a lasting impression on your guests with these one-of-a-kind coasters that showcase both craftsmanship and creativity. These also make great gifts.
Materials:
Acrylic paint
Instructions:
Choose or design intricate patterns or monograms in Cricut Design Space.
Use the Cricut machine equipped with a fine-point blade to engrave the designs onto the wooden coasters.
Once engraved, add a splash of color by painting the engraved areas with acrylic paint.
Allow the paint to dry completely before applying a sealant to protect the design.
Admire your personalized and functional coasters, ready to impress guests during your next gathering.
8. DIY Papercut Wall Art:
Transcend the two-dimensional with this wall art project. Harness the full potential of your Cricut machine by transforming ordinary colored cardstock into a captivating 3D masterpiece. From intricately layered designs like large paper flowers or lanterns to stunning visual effects from the amazing array of different cutting materials, this project allows you to create personalized wall art that adds a touch of sophistication to any space.
Materials:
Instructions:
Select an intricate papercut design from Cricut Design Space or create your own.
Load the colored cardstock onto the Cricut mat and cut the design using the deep-point blade for precision.
Carefully remove the cut pieces from the mat and assemble them layer by layer, creating a stunning 3D effect.
Use adhesive to secure each layer in place.
Hang your DIY papercut wall art, adding a touch of elegance and sophistication to your living space.
With a Cricut machine at your disposal, the possibilities for DIY projects are virtually limitless. These easy and fun projects are just the tip of the iceberg. After mastering these easy Cricut projects, you can move on to more intricate craft projects with this amazing machine. Be sure to checkout the Cricut website too for more step-by-step instructions, video tutorials, and Cricut machine comparisons. So, grab your Cricut machine, free your creativity, and start transforming ordinary items into personalized masterpieces that reflect your unique style. Happy crafting!


HEY THERE, I’M ASHLEY!
Here to inspire beginner DIYers!