
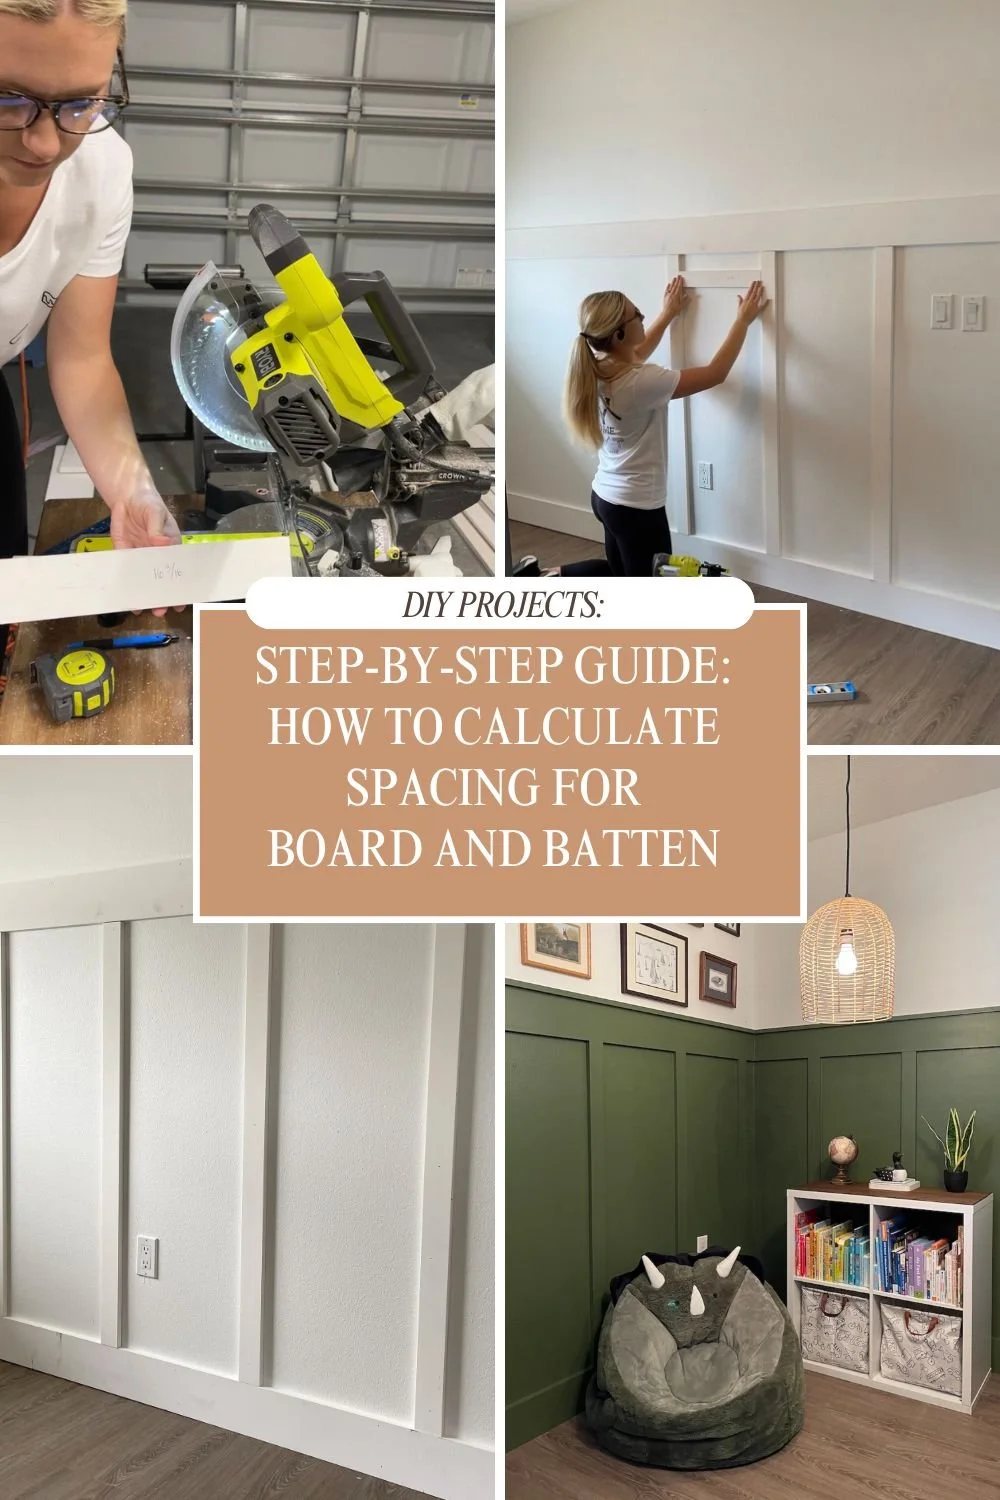
How to Calculate Board &Batten
I am going to share the easy tool I use to calculate the perfect spacing between boards when installing board and batten or wainscoting.
If you’ve ever wondered how to calculate exact spacing for a board and batten wall, you are not alone. One of the most common questions I get on Instagram and TikTok is how I determine batten spacing, the number of battens, and how to make everything look evenly spaced across a wall.
Whether you’re installing traditional board and batten or vertical wainscoting, getting consistent spacing is what makes the project look professional. Instead of guessing or doing complicated math, I use a simple batten layout calculator that does all the hard work for me.
Below, I’ll walk you through exactly how I calculate the number of boards, spacing between vertical battens, and create a clean, balanced layout every time.
If you would like to see detailed video on how to install board and batten, click here.
Step 1: Measure Your Wall Width
Start by measuring the wall width where you plan to install your board and batten. Use a tape measure and record the total width in inches.
If you are doing a full room with multiple walls, I recommend starting on the main focal wall first. This helps you establish a layout that looks intentional and evenly spaced, especially when wrapping board and batten around corners.
Pro tip: Always measure the wall in inches for the most accurate results when using a calculator.
Step 2: Use a Batten Layout Calculator
Go to www.inchcalculator.com and click on “Construction Calculator” at the top of the page. From the list, select “Wainscoting Layout Calculator.”
This calculator works perfectly for board and batten projects and removes the guesswork from determining batten spacing and panel widths.
Step 3: Enter Your Measurements
Now it’s time to plug in your numbers:
Wall Width: Enter the total width of your wall in inches.
Stile Width: This is the width of your vertical battens.
Important: Measure your boards with a tape measure instead of relying on the labeled size. For example, a 1” x 3” board actually measures about 2.5 inches wide, not 3 inches. Using the true measurement ensures exact spacing and a more accurate layout.
Number of Panels: Panels are the spaces between the vertical boards.
There is no right or wrong number here. This is where you can experiment to find what looks best visually.
For example, in my son’s bedroom, I tried entering:
8 panels (too narrow)
7 panels (better)
6 panels (perfect)
The calculator instantly shows you how changing the number of panels affects the spacing.

Step 4: Find Your Exact Batten Spacing
Once you click “Calculate,” the tool generates a visual layout of your board and batten wall.
The most important number here is the Panel Width. This measurement tells you the exact spacing between each set of vertical battens.
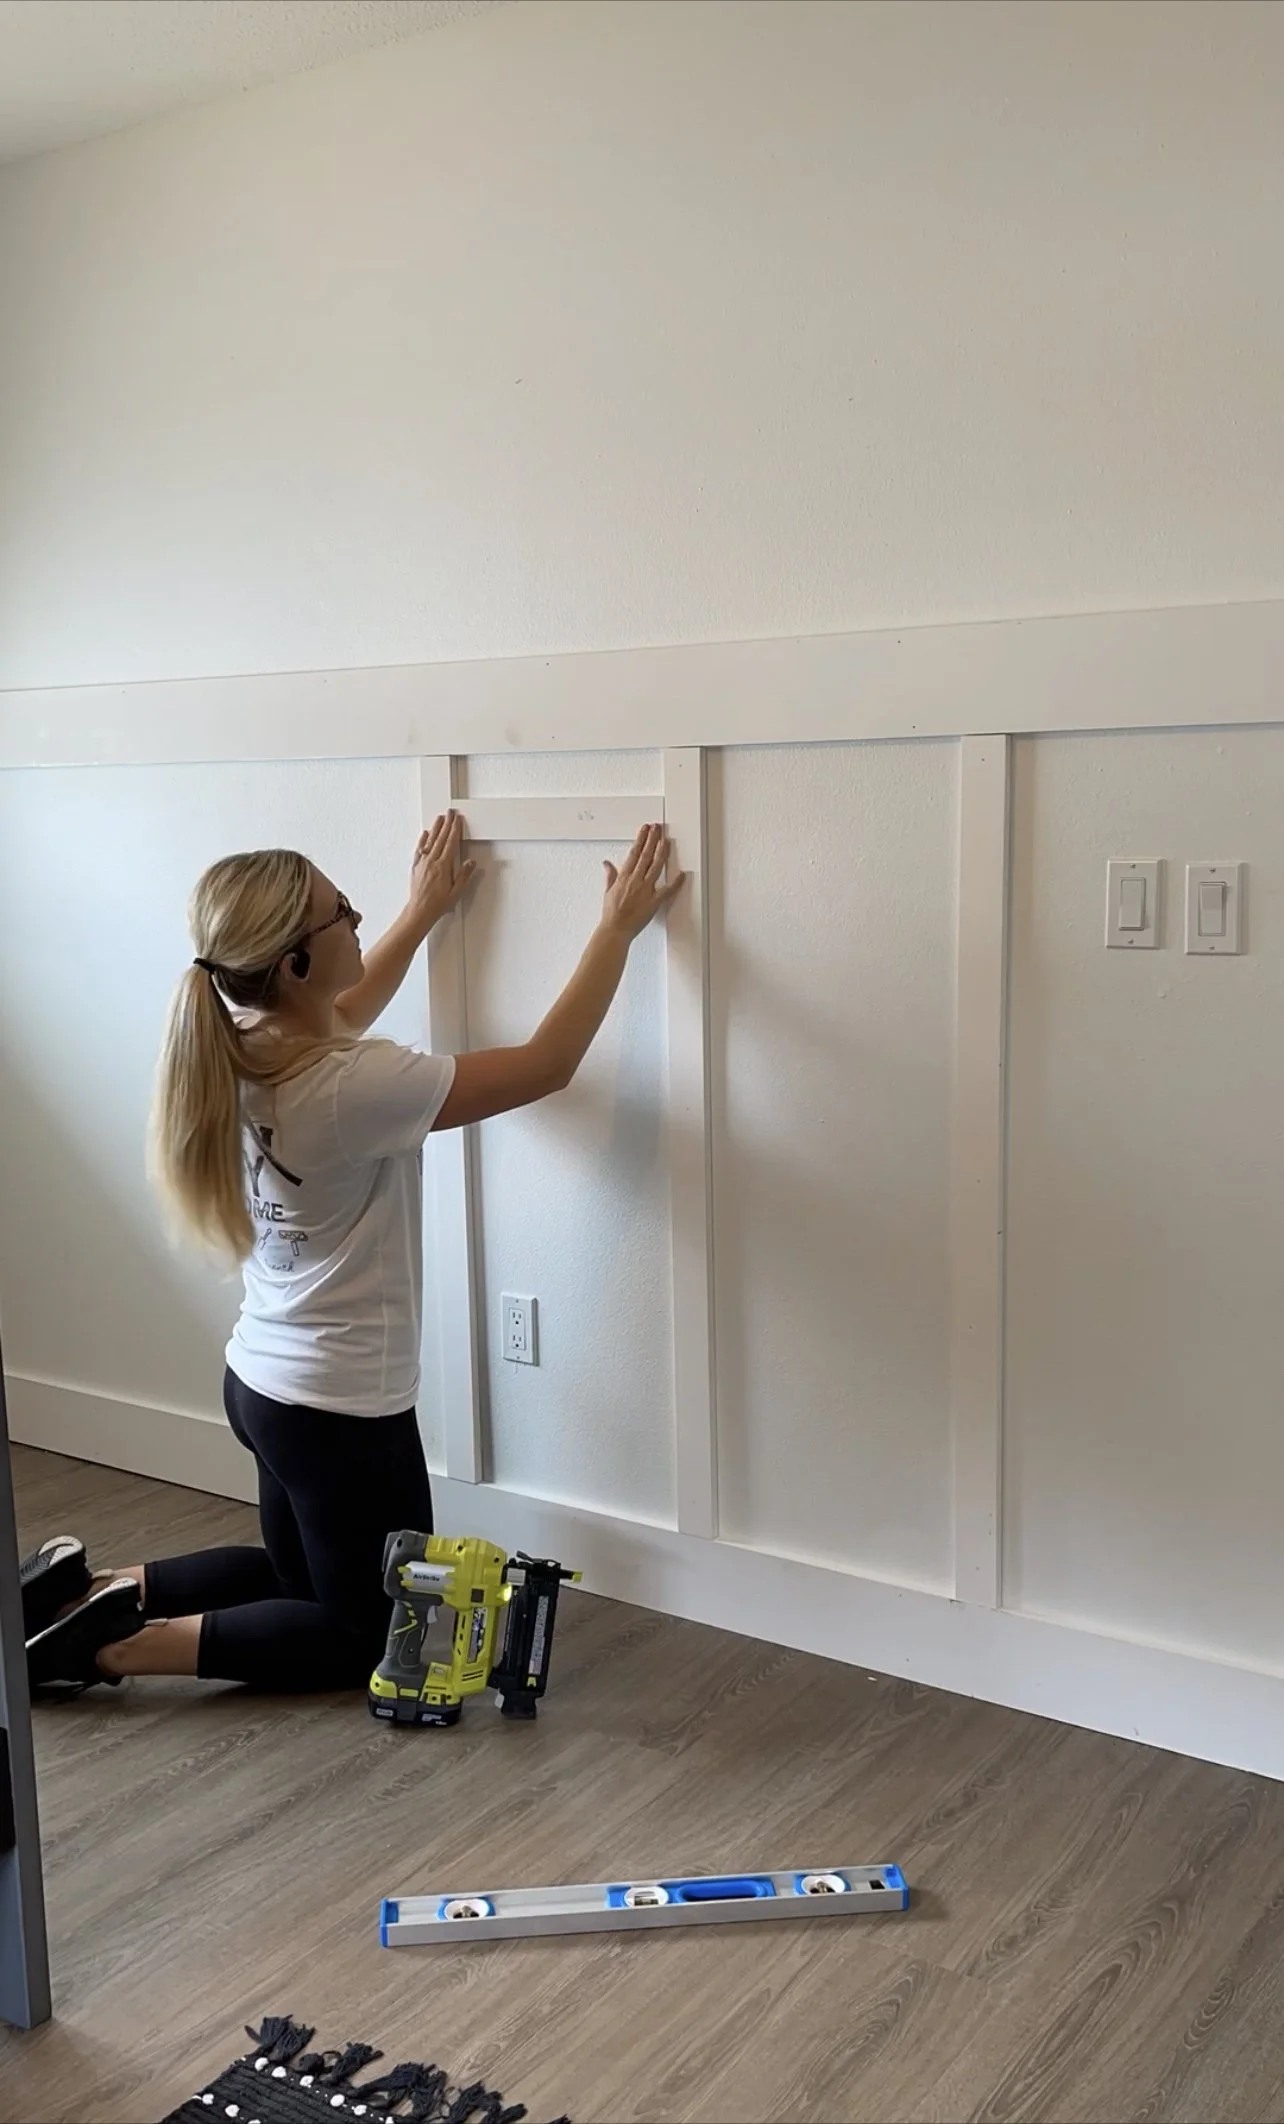
Instead of measuring this distance repeatedly on the wall, I make things easier by cutting a scrap piece of wood to the panel width measurement.

As you will see in the photos below, I cut my scrap piece to 16 3/6” and used it as my spacer between each board to get the perfect layout for my board and batten wall.


Step 5: Install Using a Spacer for Consistent Spacing
Using a spacer ensures perfectly consistent spacing across the entire wall. I simply place the spacer between each board as I install them.
This method:
Saves time
Prevents measuring mistakes
Keeps everything evenly spaced from start to finish
Once everything is lined up, I secure the boards using a nail gun, making the installation quick and secure.

Why This Method Works So Well
Using a batten layout calculator eliminates guesswork and helps you:
Determine the correct number of boards
Achieve precise batten spacing
Maintain consistent spacing across the wall
Adjust layouts easily before installing anything
This is especially helpful for beginners who want professional-looking results without complicated math.
Working With Existing Baseboards (or No Baseboards at All)
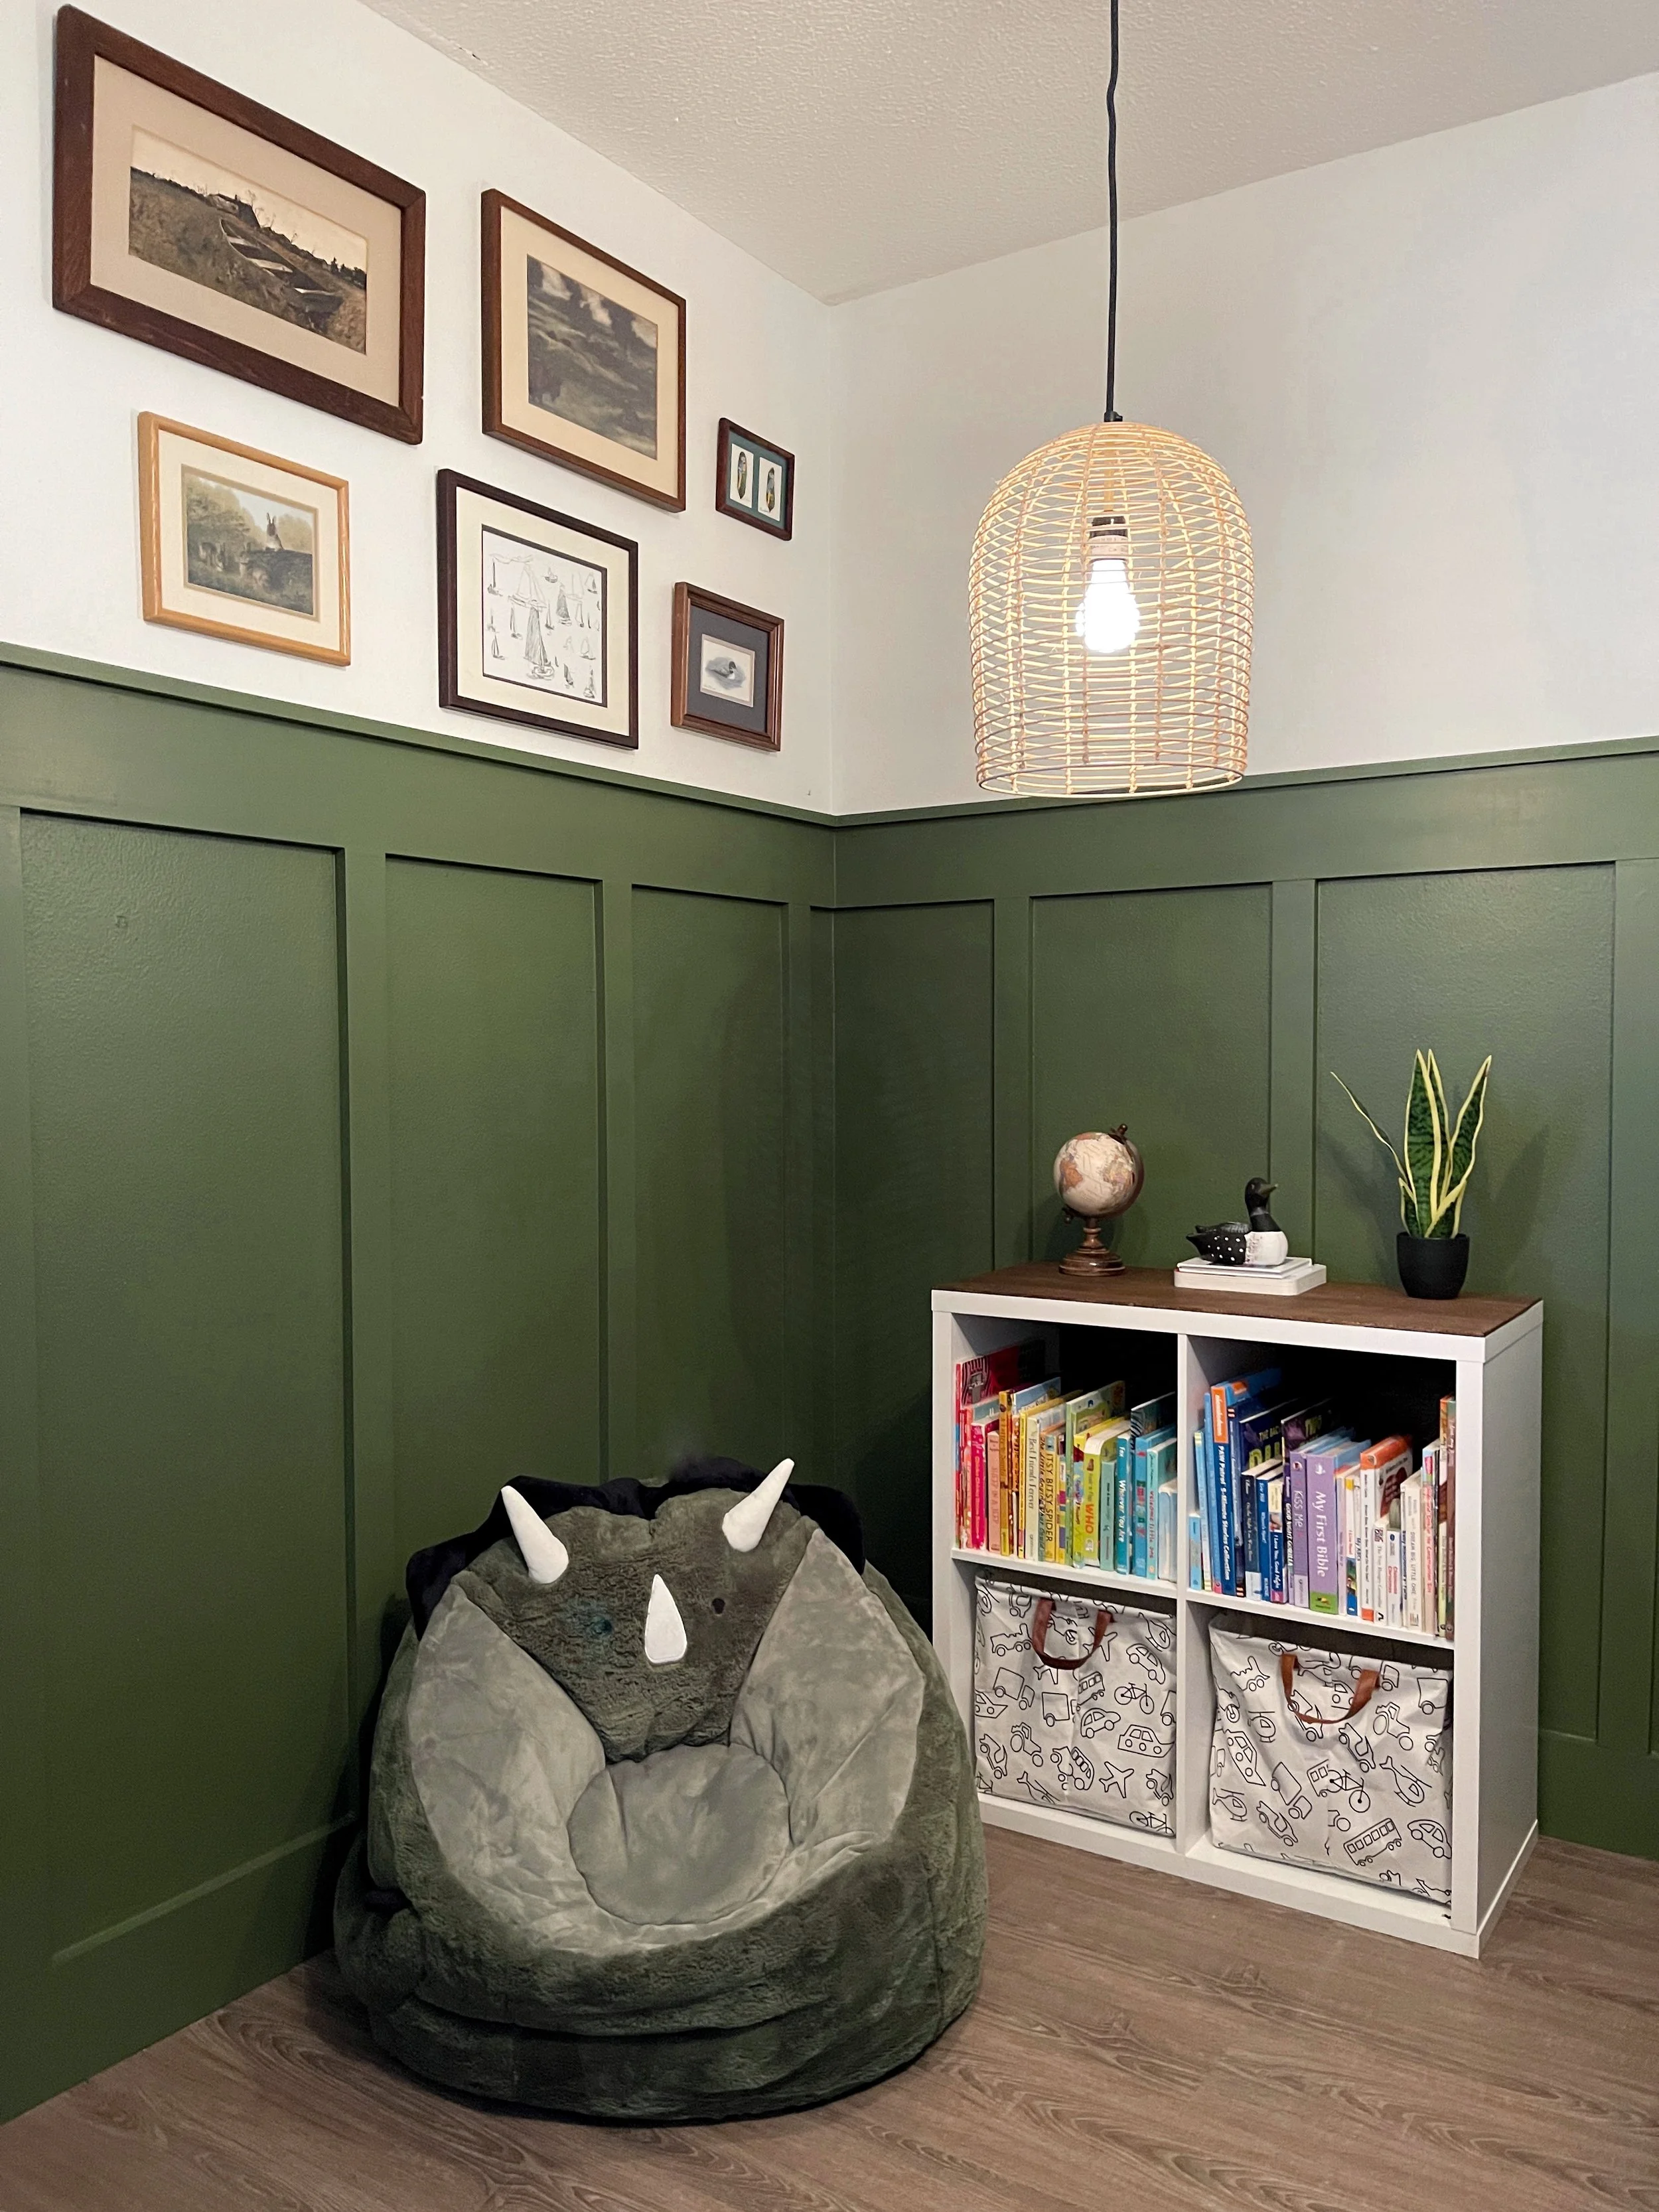
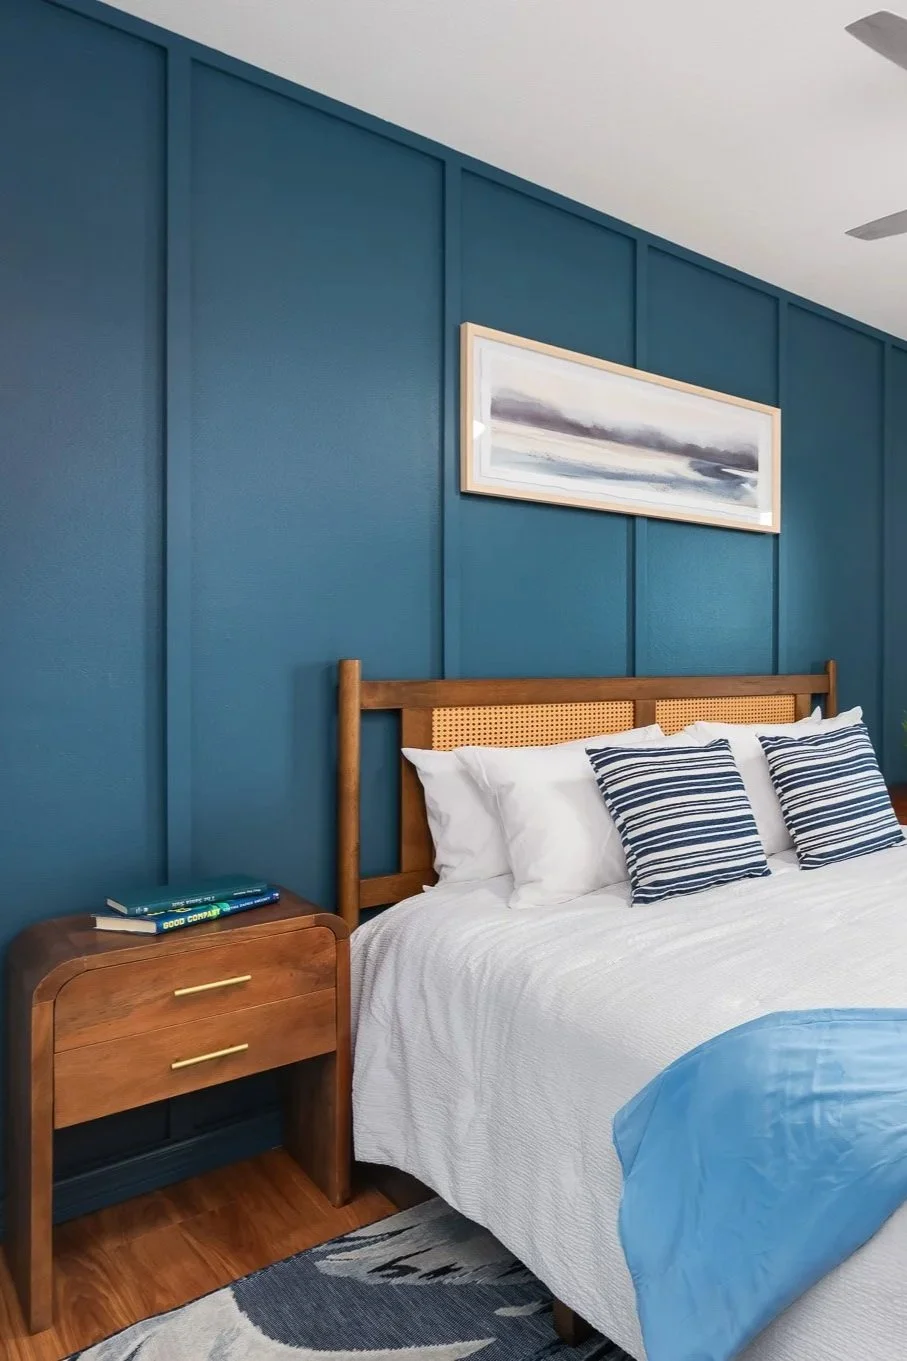
Baseboards are something you’ll want to think through before installing your board and batten, because they directly affect how clean and professional the finished accent wall looks. If the room has no baseboards at all, this is actually the ideal situation. It allows you to choose baseboards that work perfectly with the boards you’re using for your vertical battens. The key is selecting a baseboard that is the same width as your vertical boards. When the widths match, the battens sit flush on top of the baseboard instead of hanging over, which creates a polished, high-end look.
This does mean that some decorative baseboards may not work well—especially styles that are curved at the top or very thin along the upper edge. In those cases, the vertical battens would extend past the baseboard and look awkward. For my project, I used 6-inch primed pine boards as baseboards because they were the exact same width as my vertical battens, allowing everything to line up seamlessly.
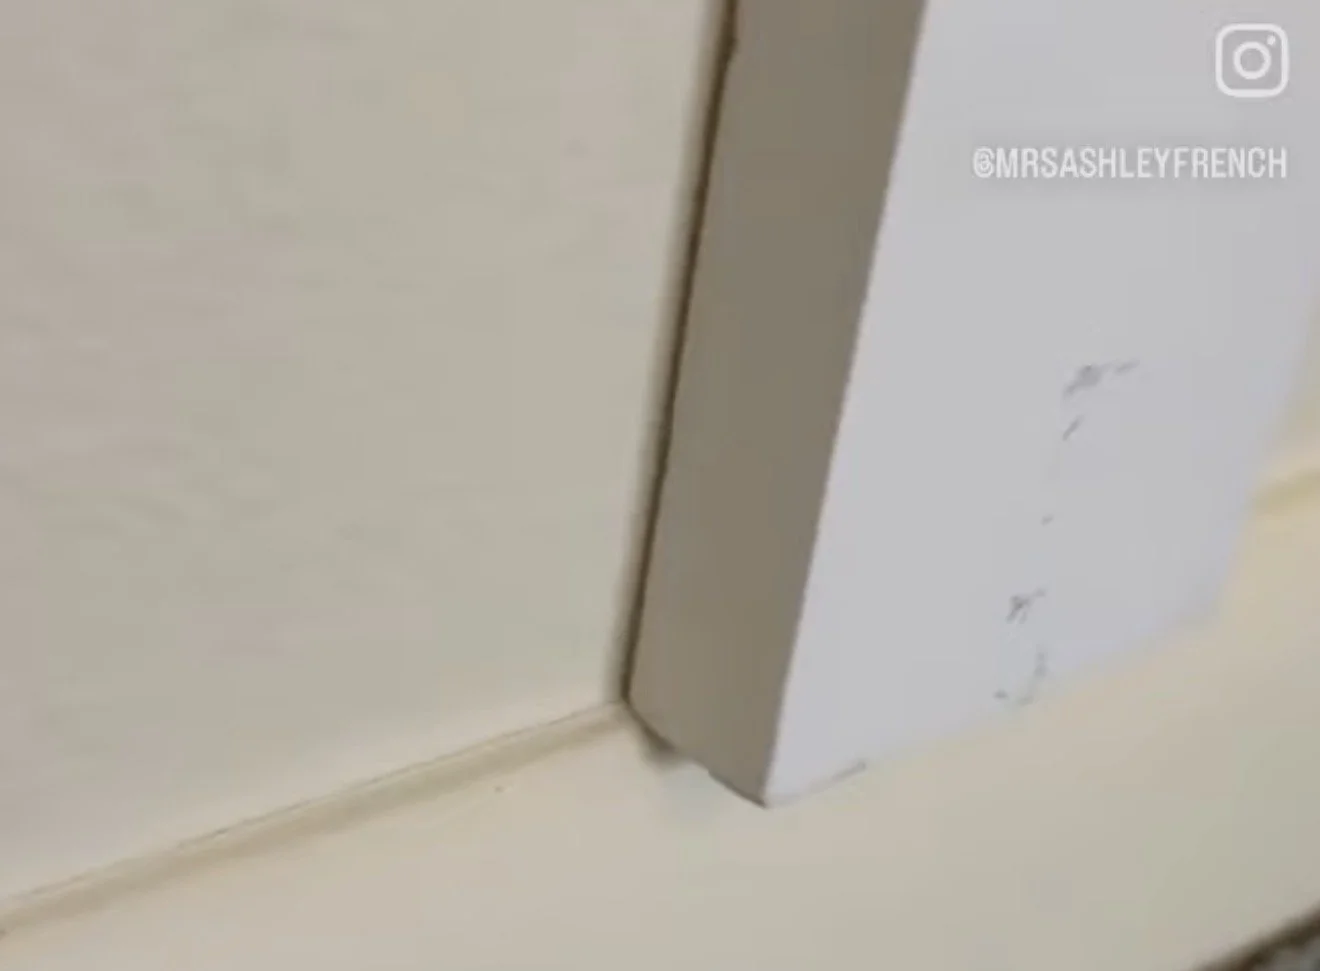
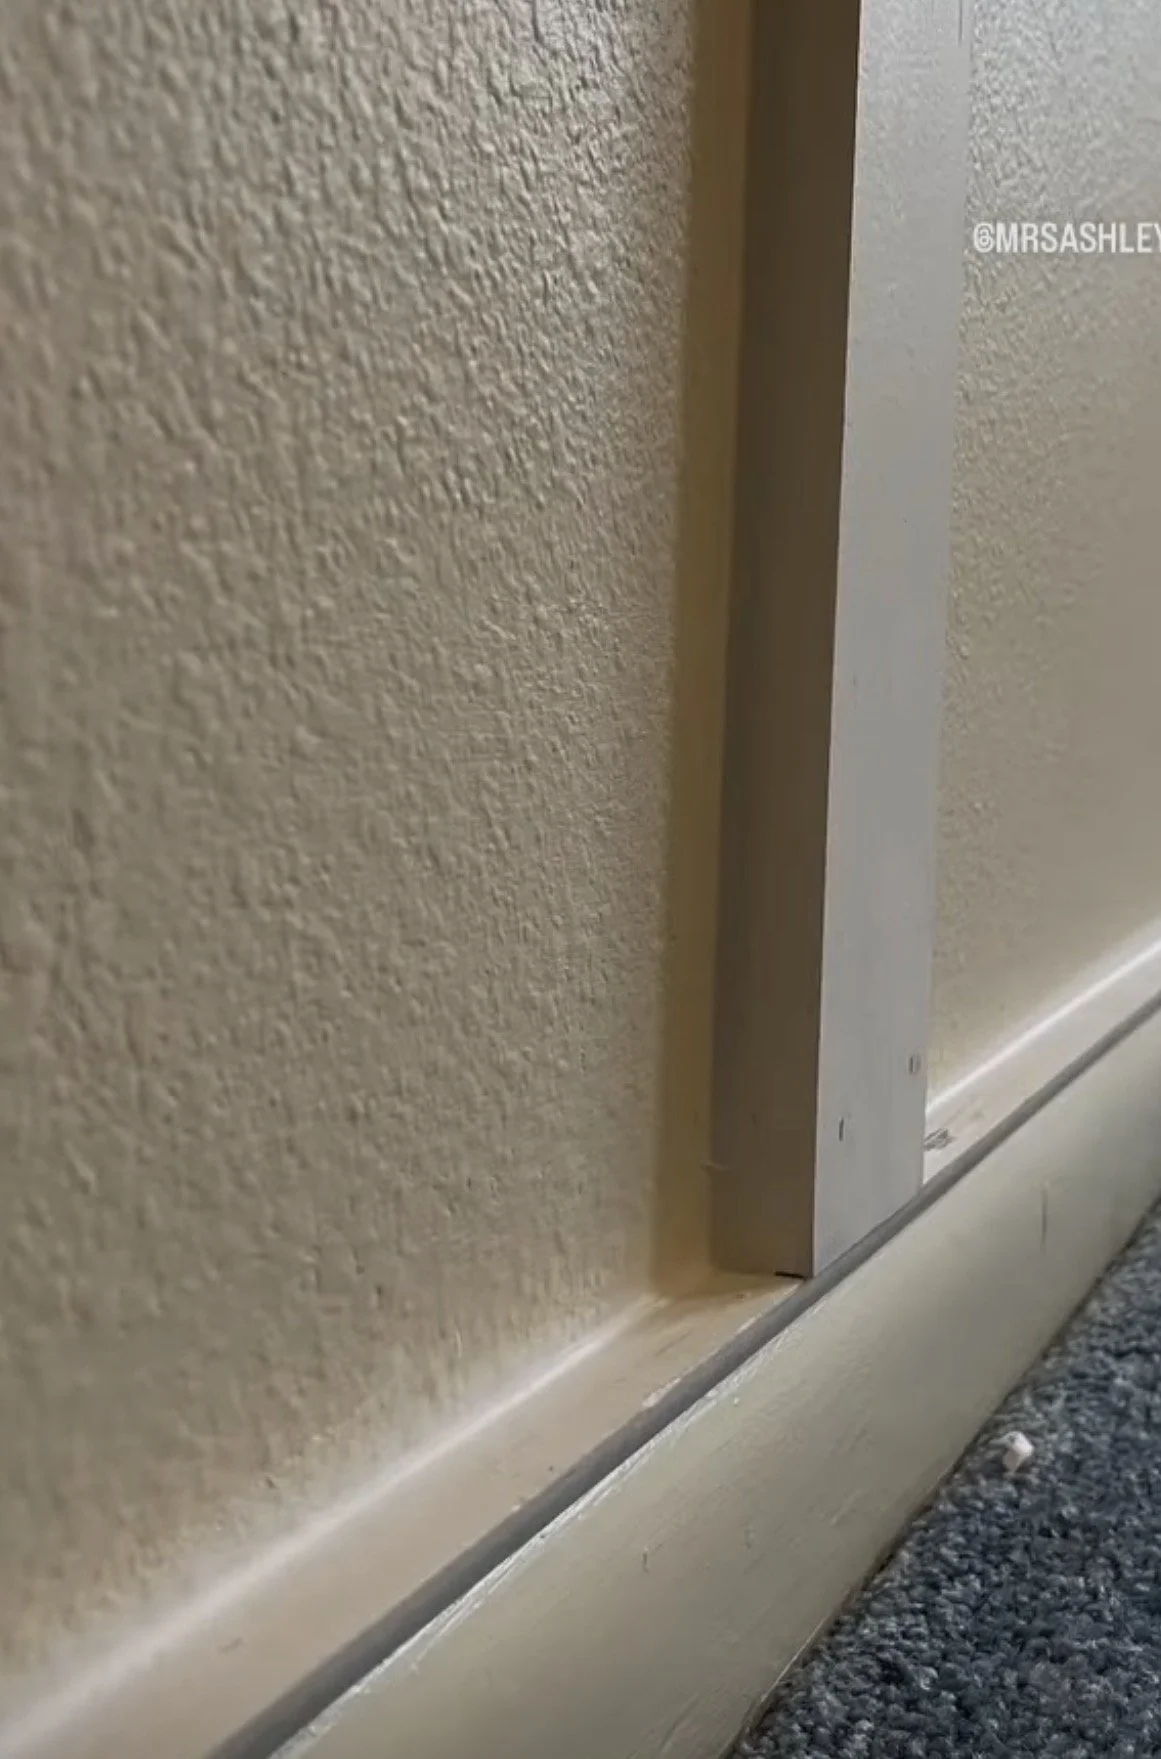
If your room already has existing baseboards and you don’t want to remove them, you can absolutely leave them in place and install your board and batten on top. However, if your existing baseboards are narrower than your vertical battens and you notice the boards hanging over the edge, there’s an easy fix. I use quarter round shoe molding that matches the width of my vertical boards and install it directly above the baseboard.
This creates a flat ledge for the battens to sit on and visually extends the baseboard to the correct width. Once everything is caulked and painted, the shoe molding looks like a decorative detail of the baseboard and blends in seamlessly with the board and batten accent wall.

Video Tutorials for Board and Batten Accent Walls
I have two full length video tutorials showing how to install traditional board and batten and tall board and batten on my YouTube channel. Click here to visit my YouTube.


HEY THERE, I’M ASHLEY!
Here to inspire beginner DIYers!