DIY Pennant Flag
I was planning to do a gallery wall in my son’s room as part of his room makeover and I wanted to use some vintage looking (kid-friendly) art. I stumbled across some vintage flag pennants and thought it would be a fun DIY project and a way to incorporate his name into the gallery wall.
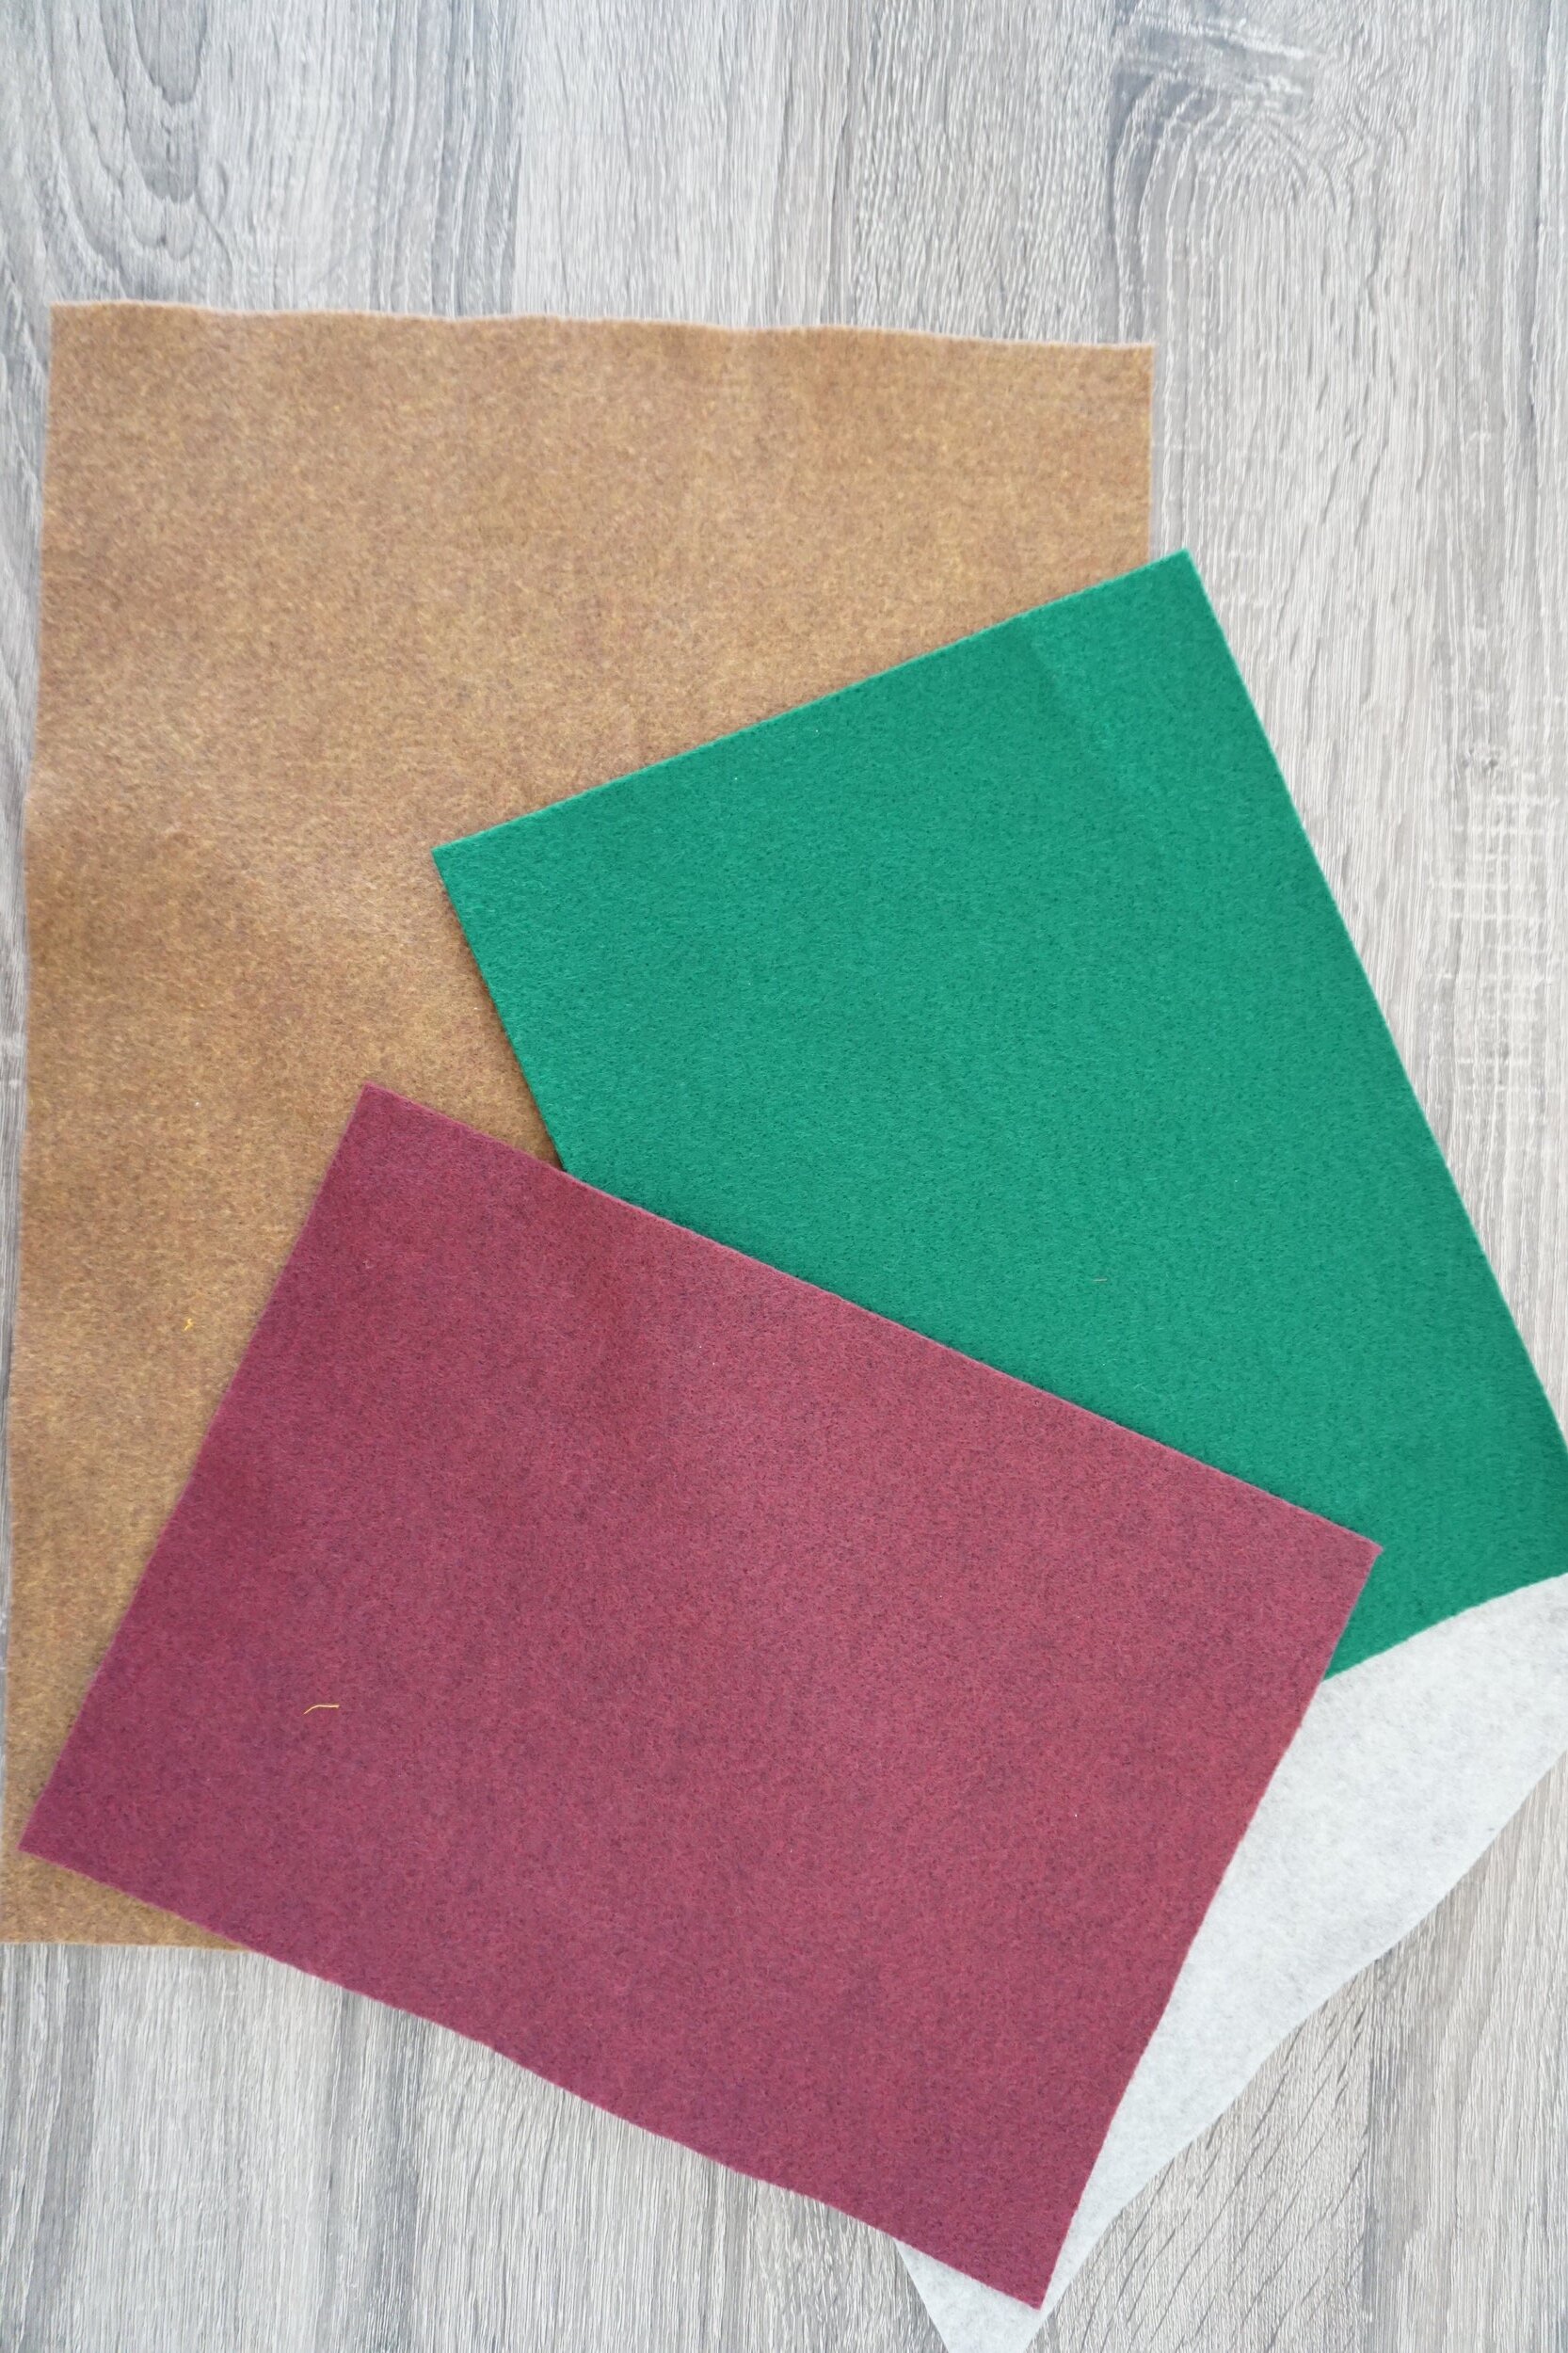
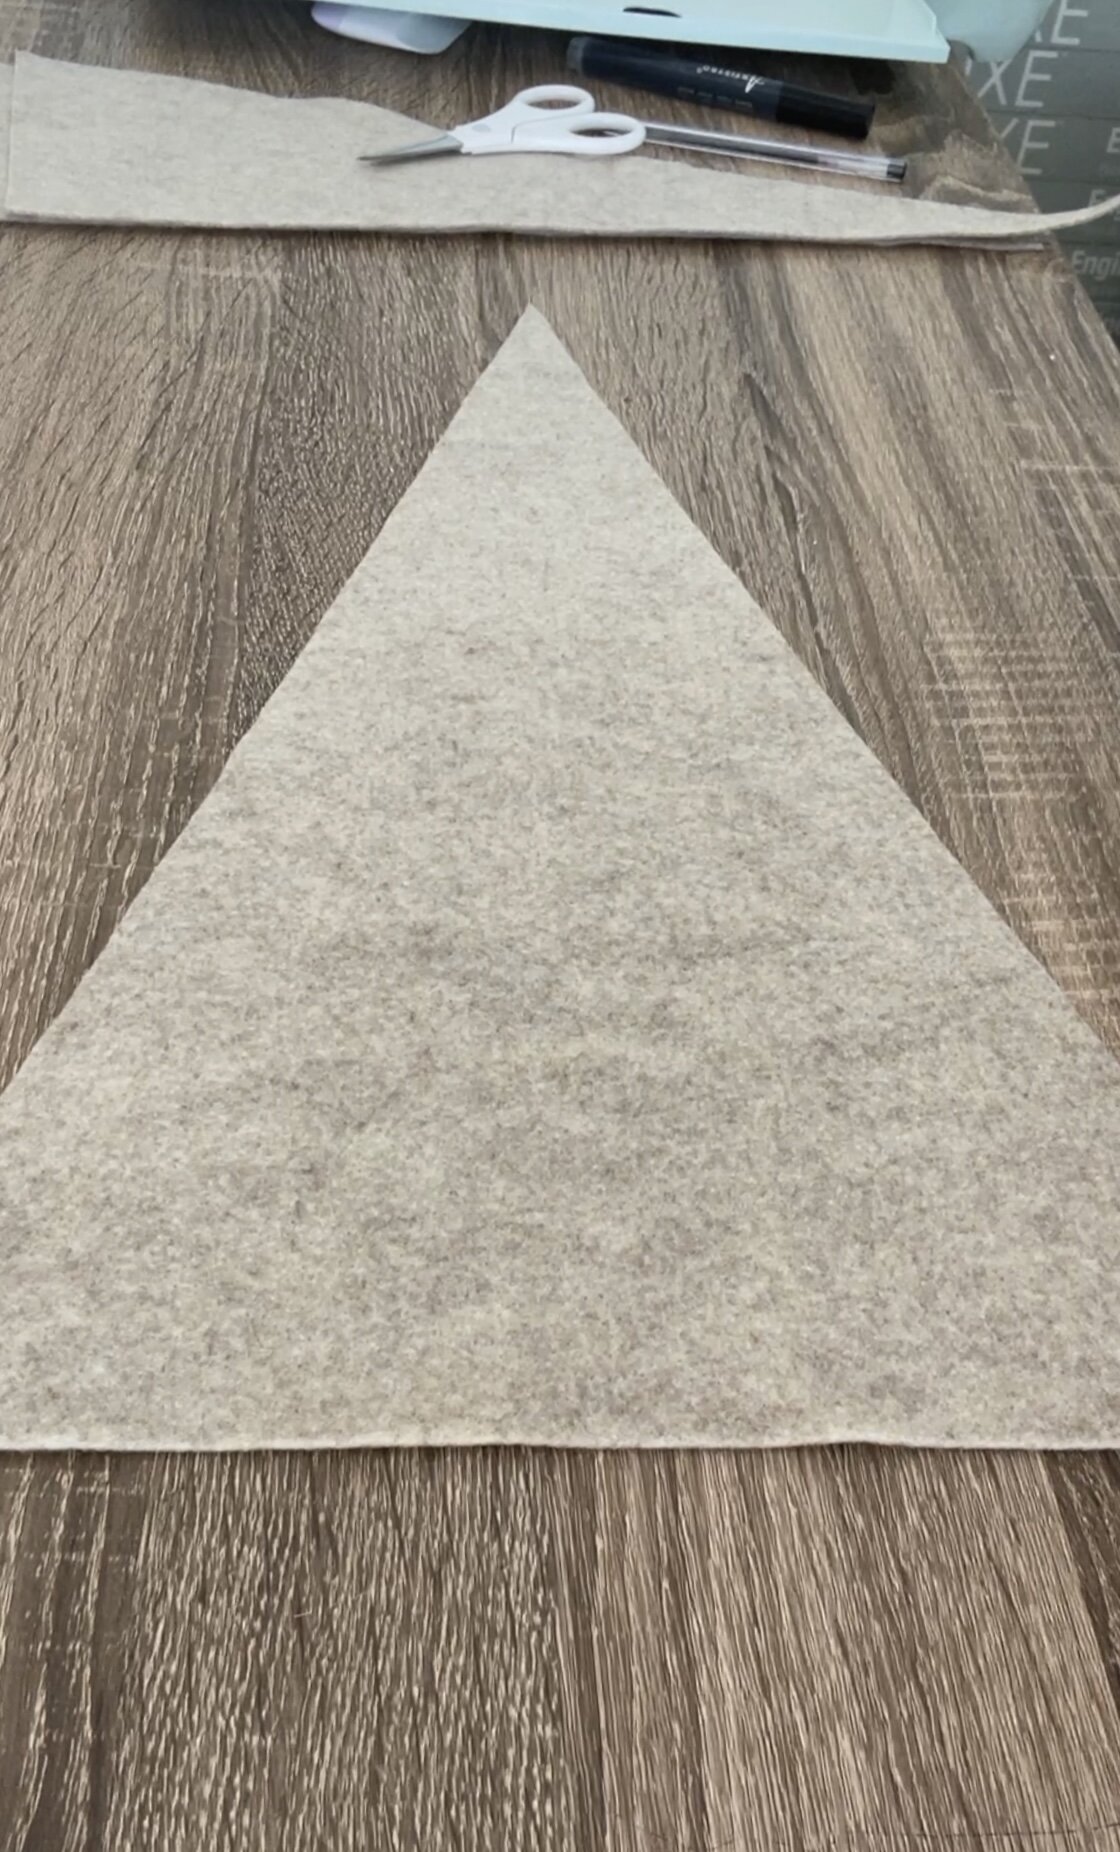
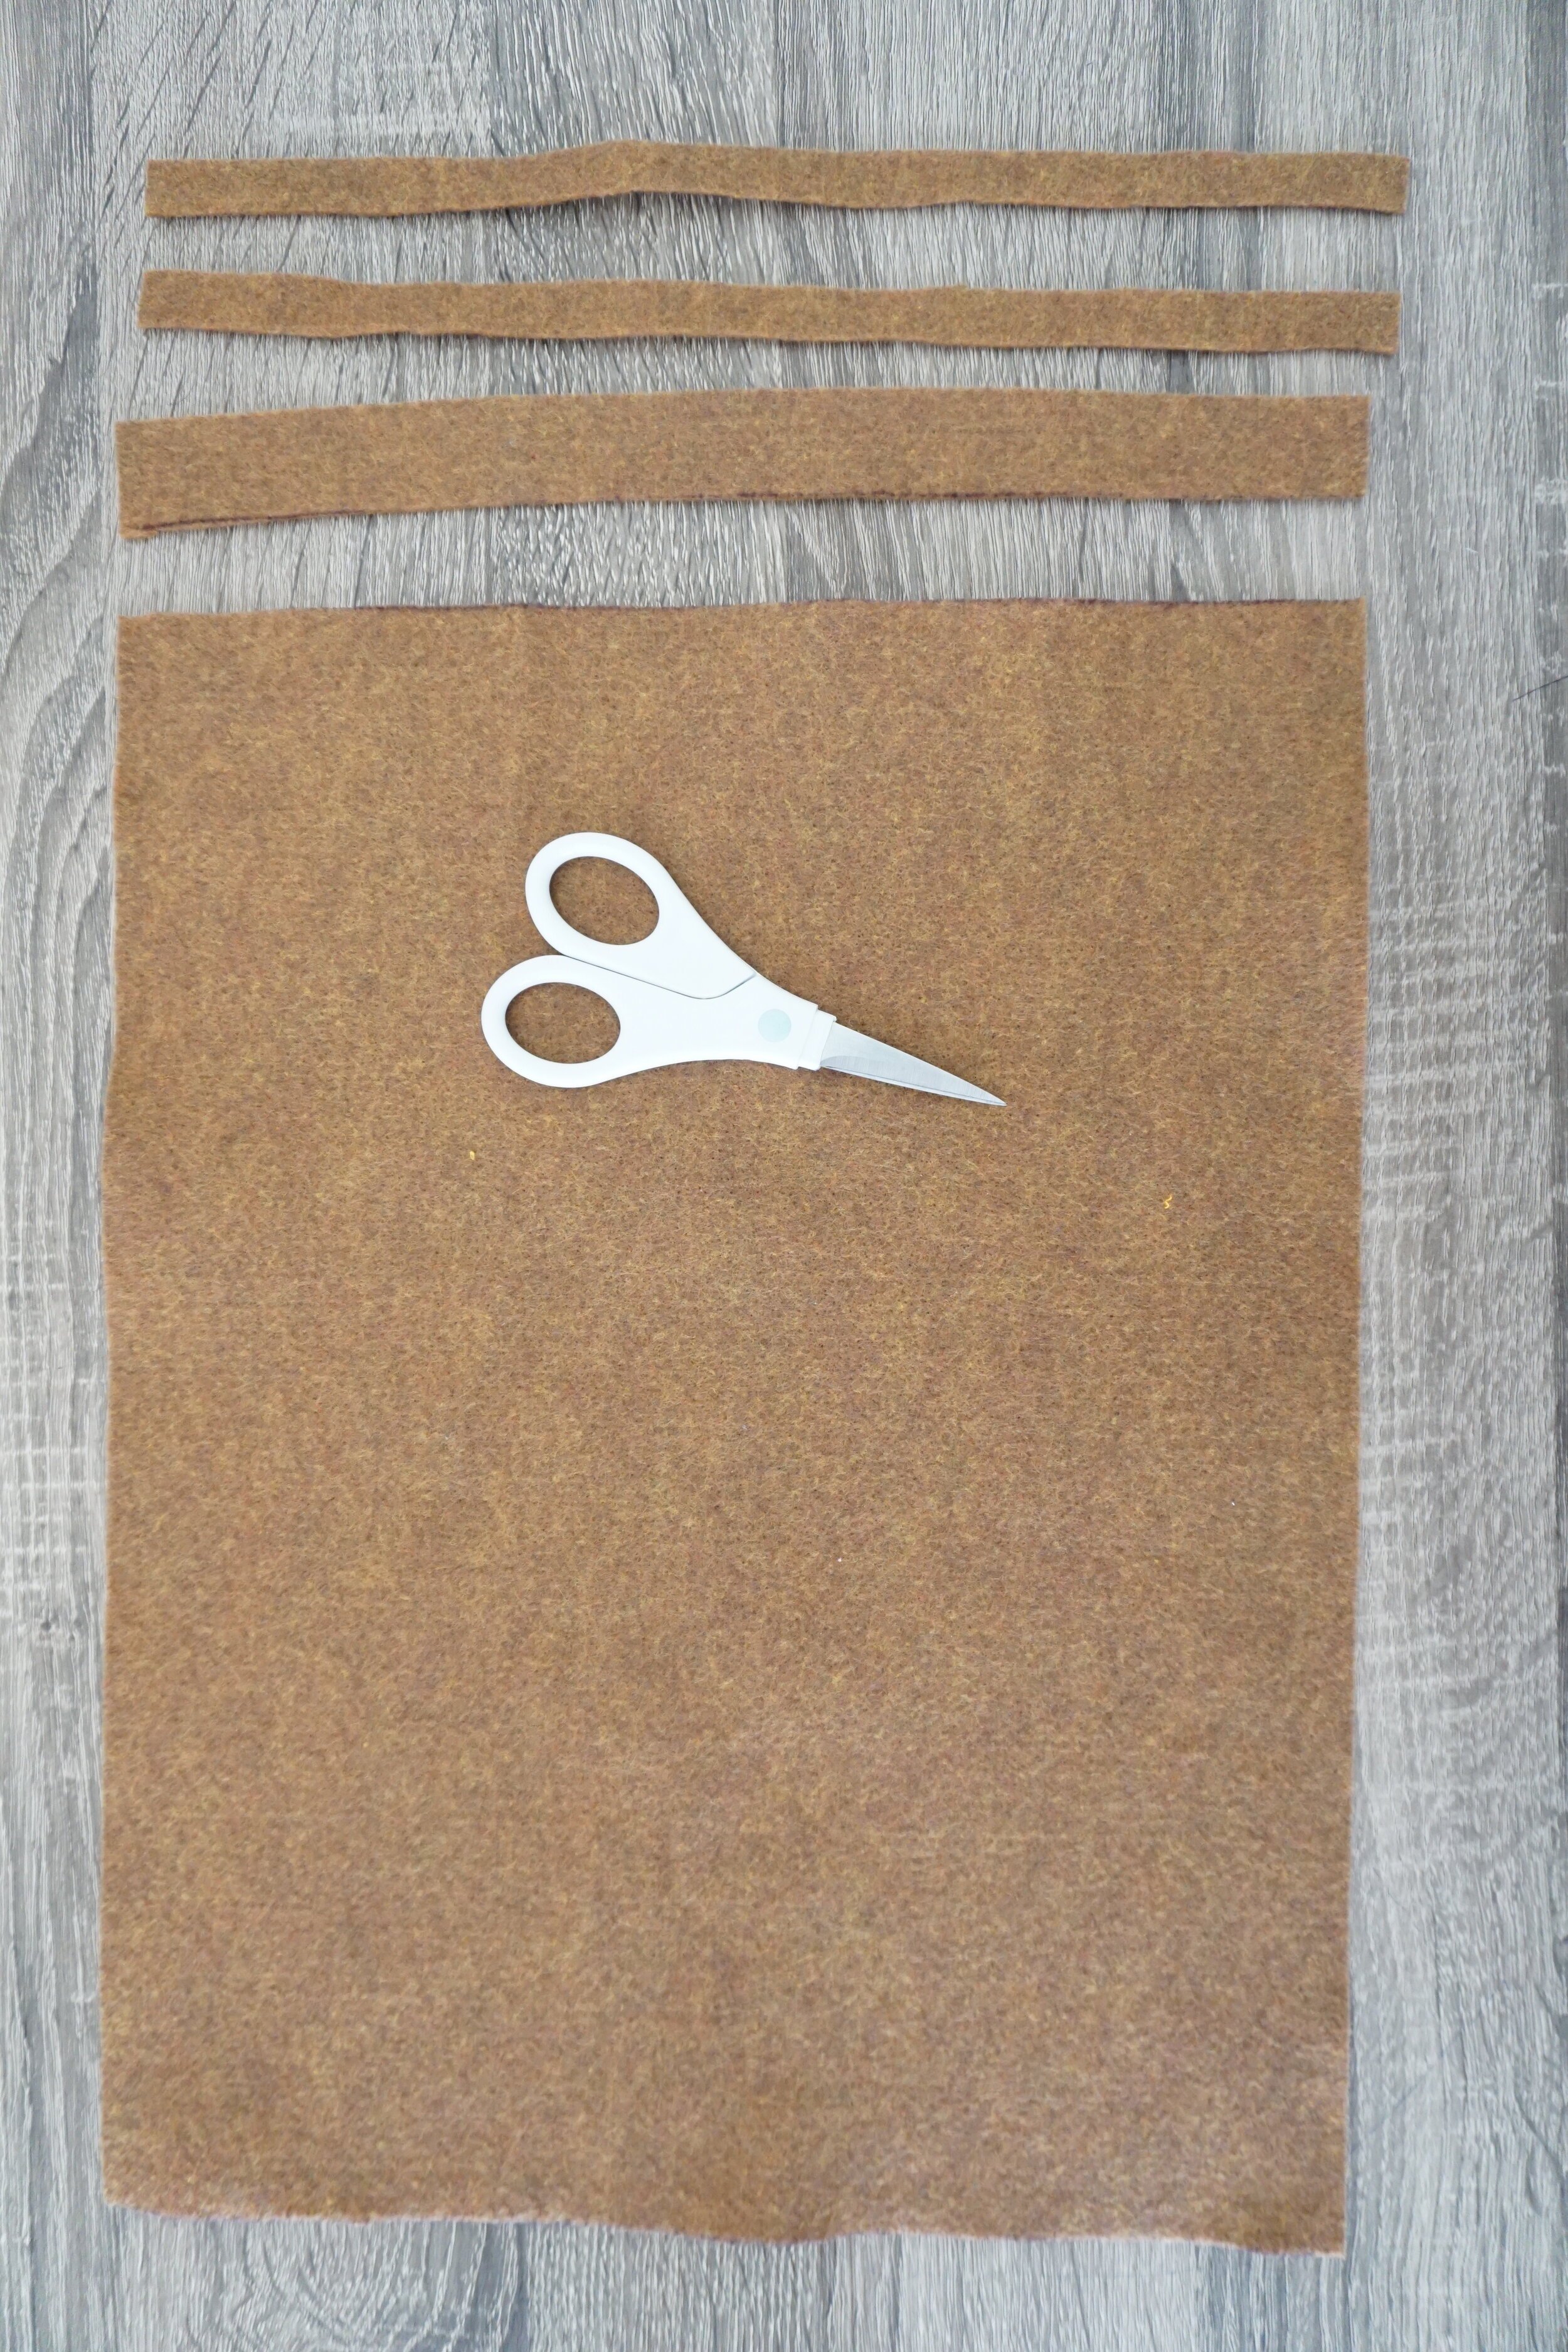
I picked up a few sheets of colored felt from Michael’s. I stuck with masculine colors that would go with some of the other elements in his room - beige, brown, burgundy, and green. The first thing I did was cut the larger sheet of felt into a flag shape. Then I cut a 1 inch strip and two 1/2 inch strips out of the brown felt.
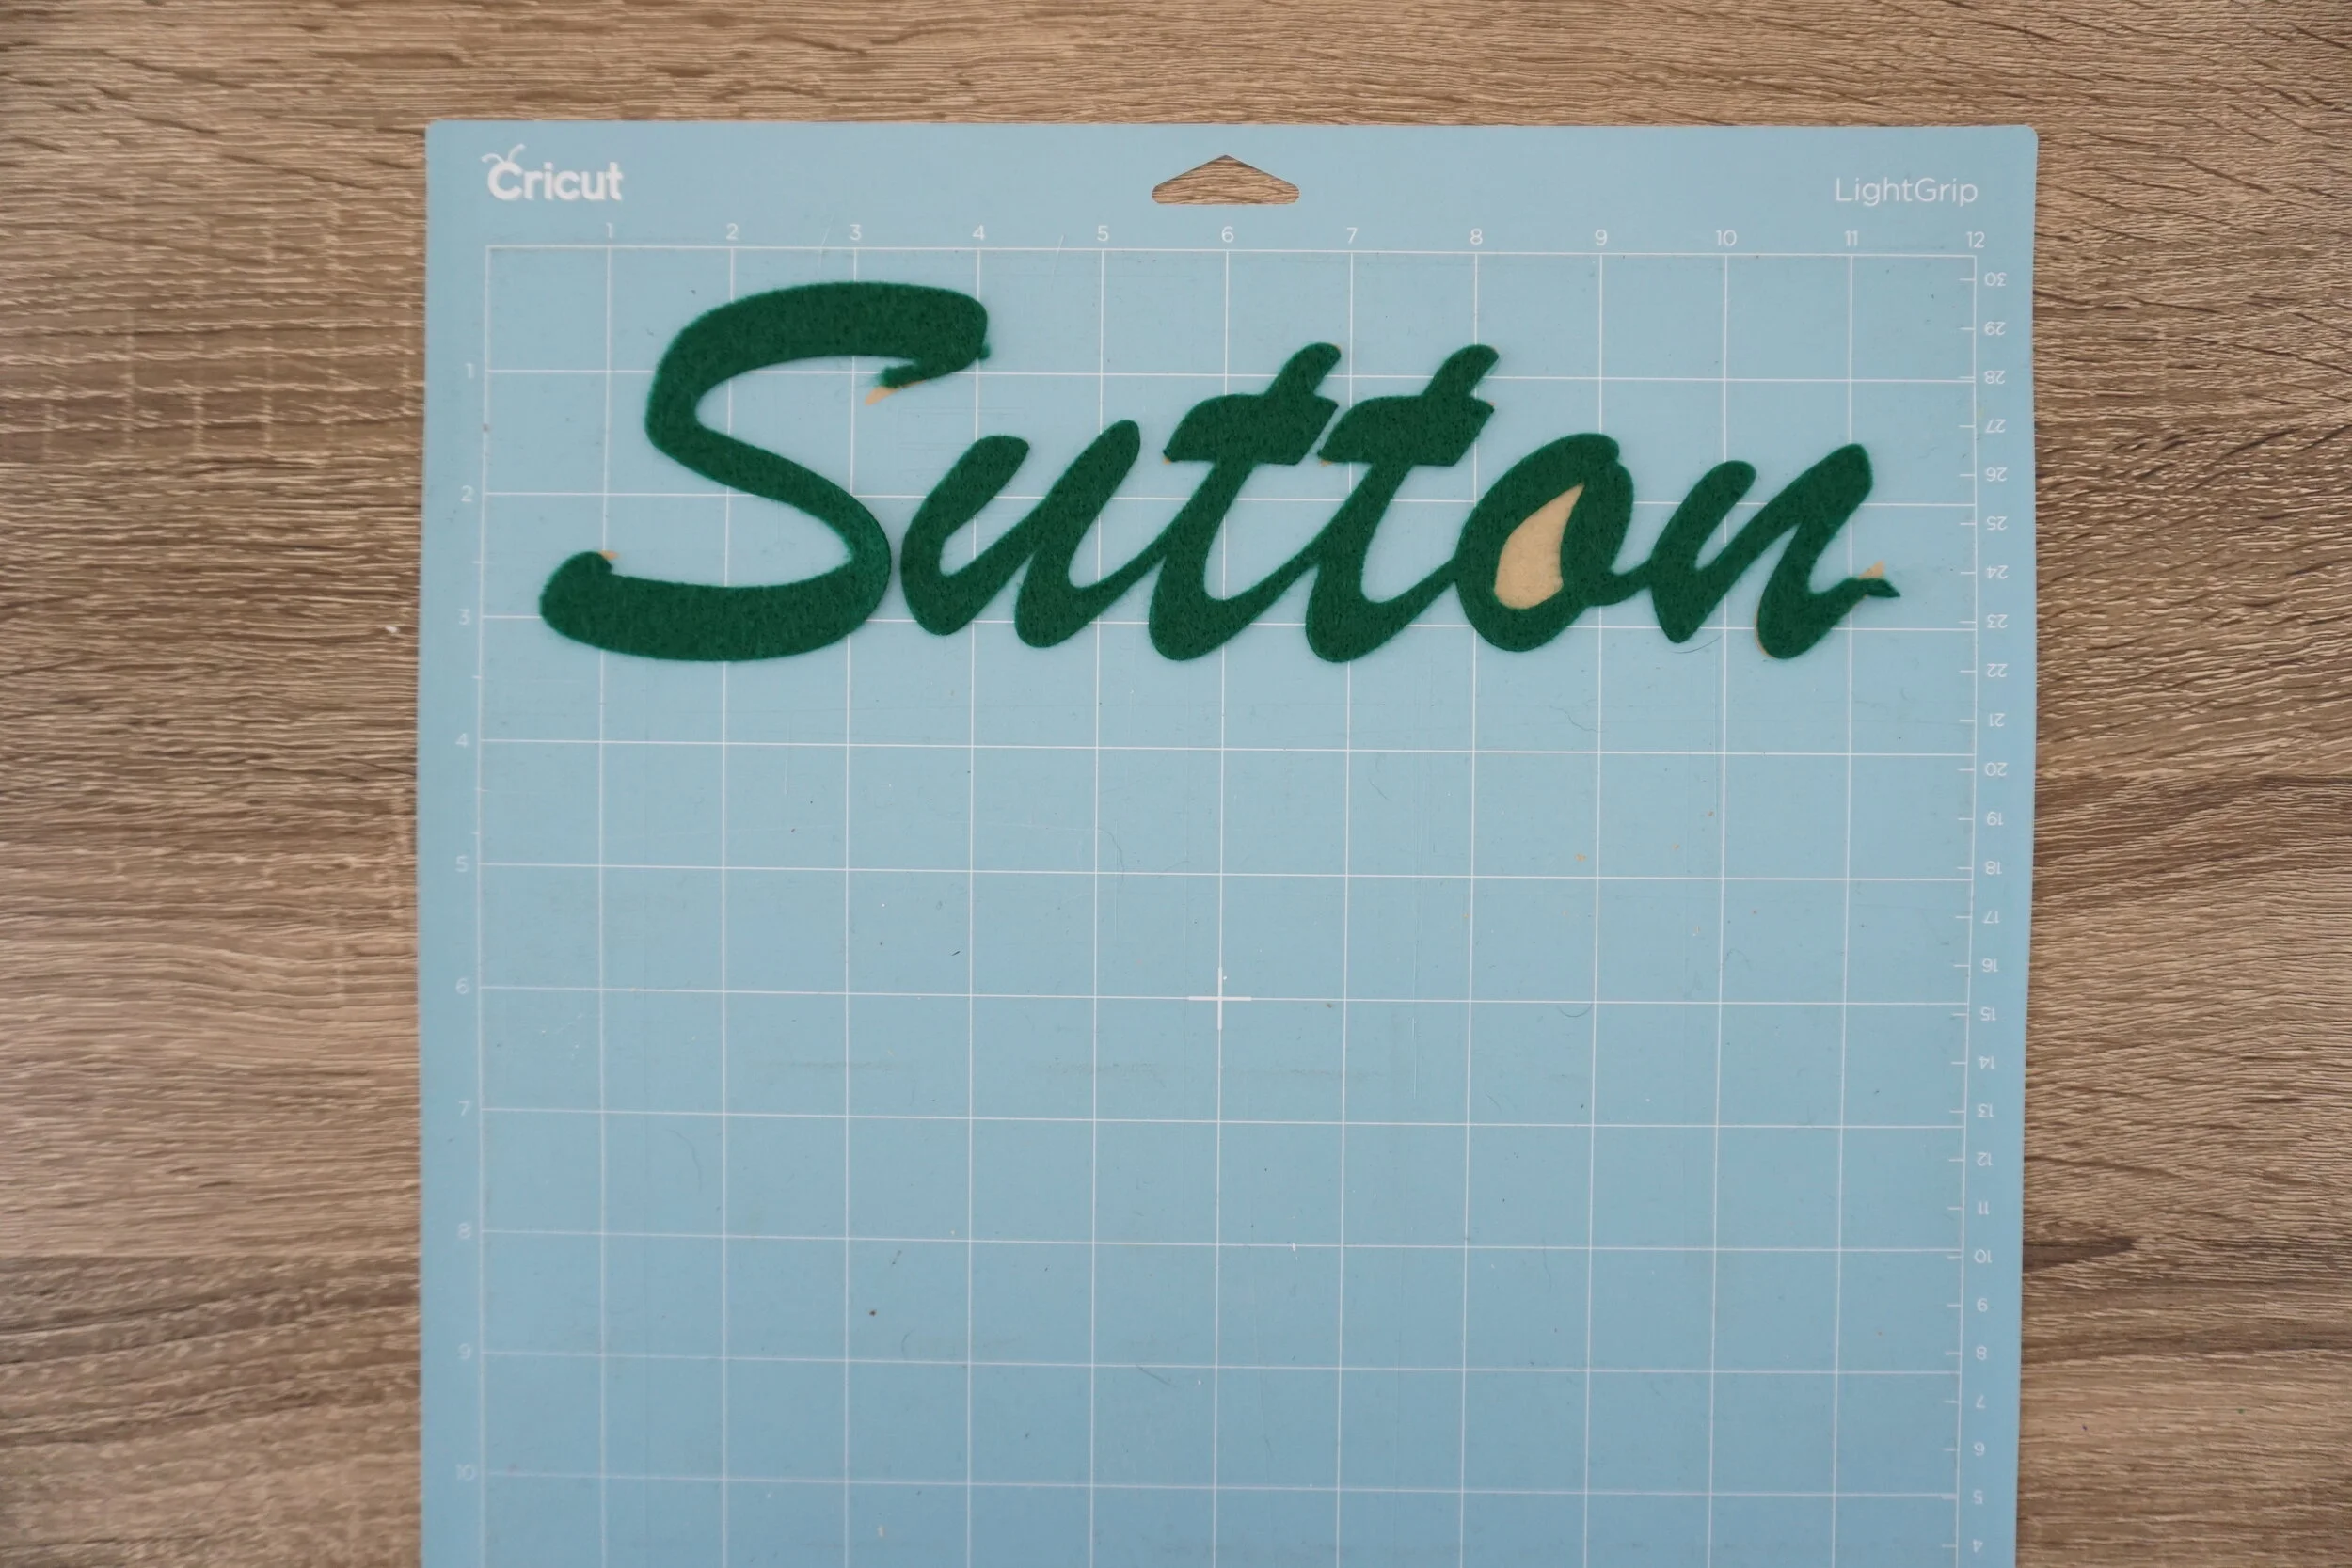
For my son’s name, I decided to try my Cricut Explore 3 to cut his name into the felt. I used an adhesive backed felt sheet from Michael’s and laid it on my Cricut mat. There were a couple places in my son’s name where the felt snagged a little but overall the Cricut did a great job of cutting out his name.
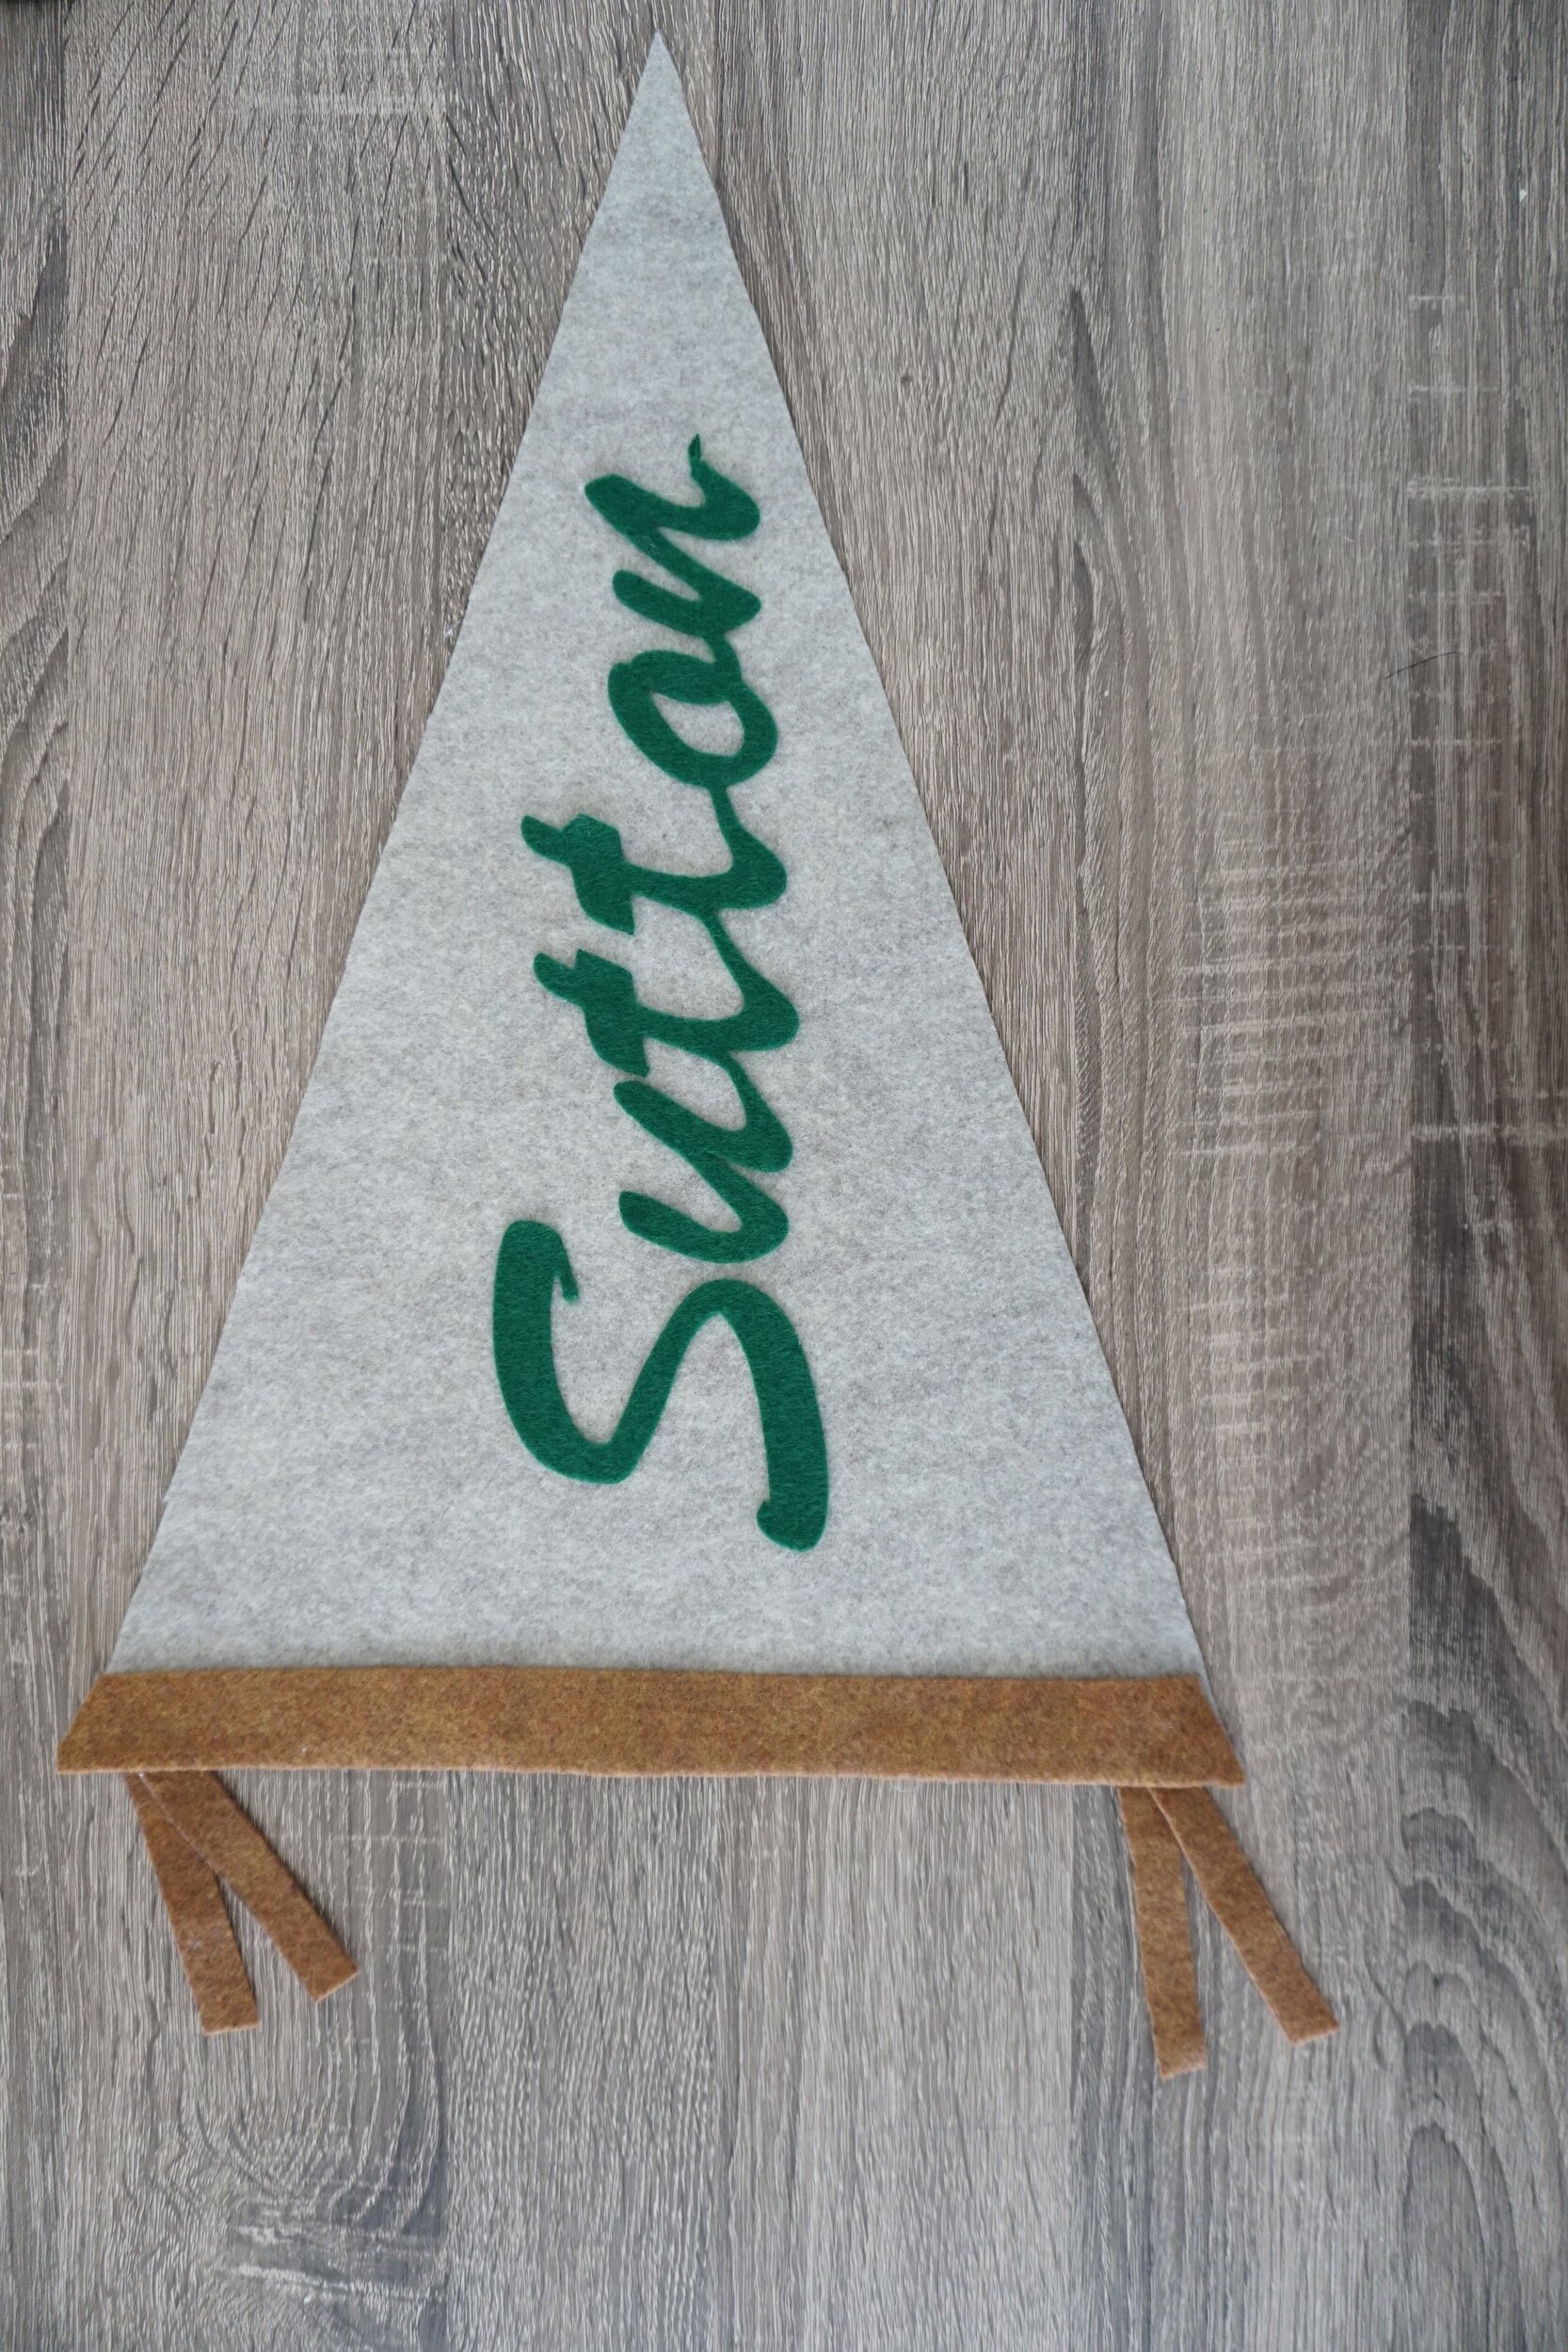
The next step was to attach all the pieces to the flag cutout. I decided to use my hot glue gun and it worked perfectly. I first attached the 1 inch brown strip to the straight end of the flag trimming the bit that hung off the top and bottom. Then I laid my son’s name on the flag and got the positioning just right. I lifted each letter a bit, put a dot of hot glue and pressed it back down on the flag.
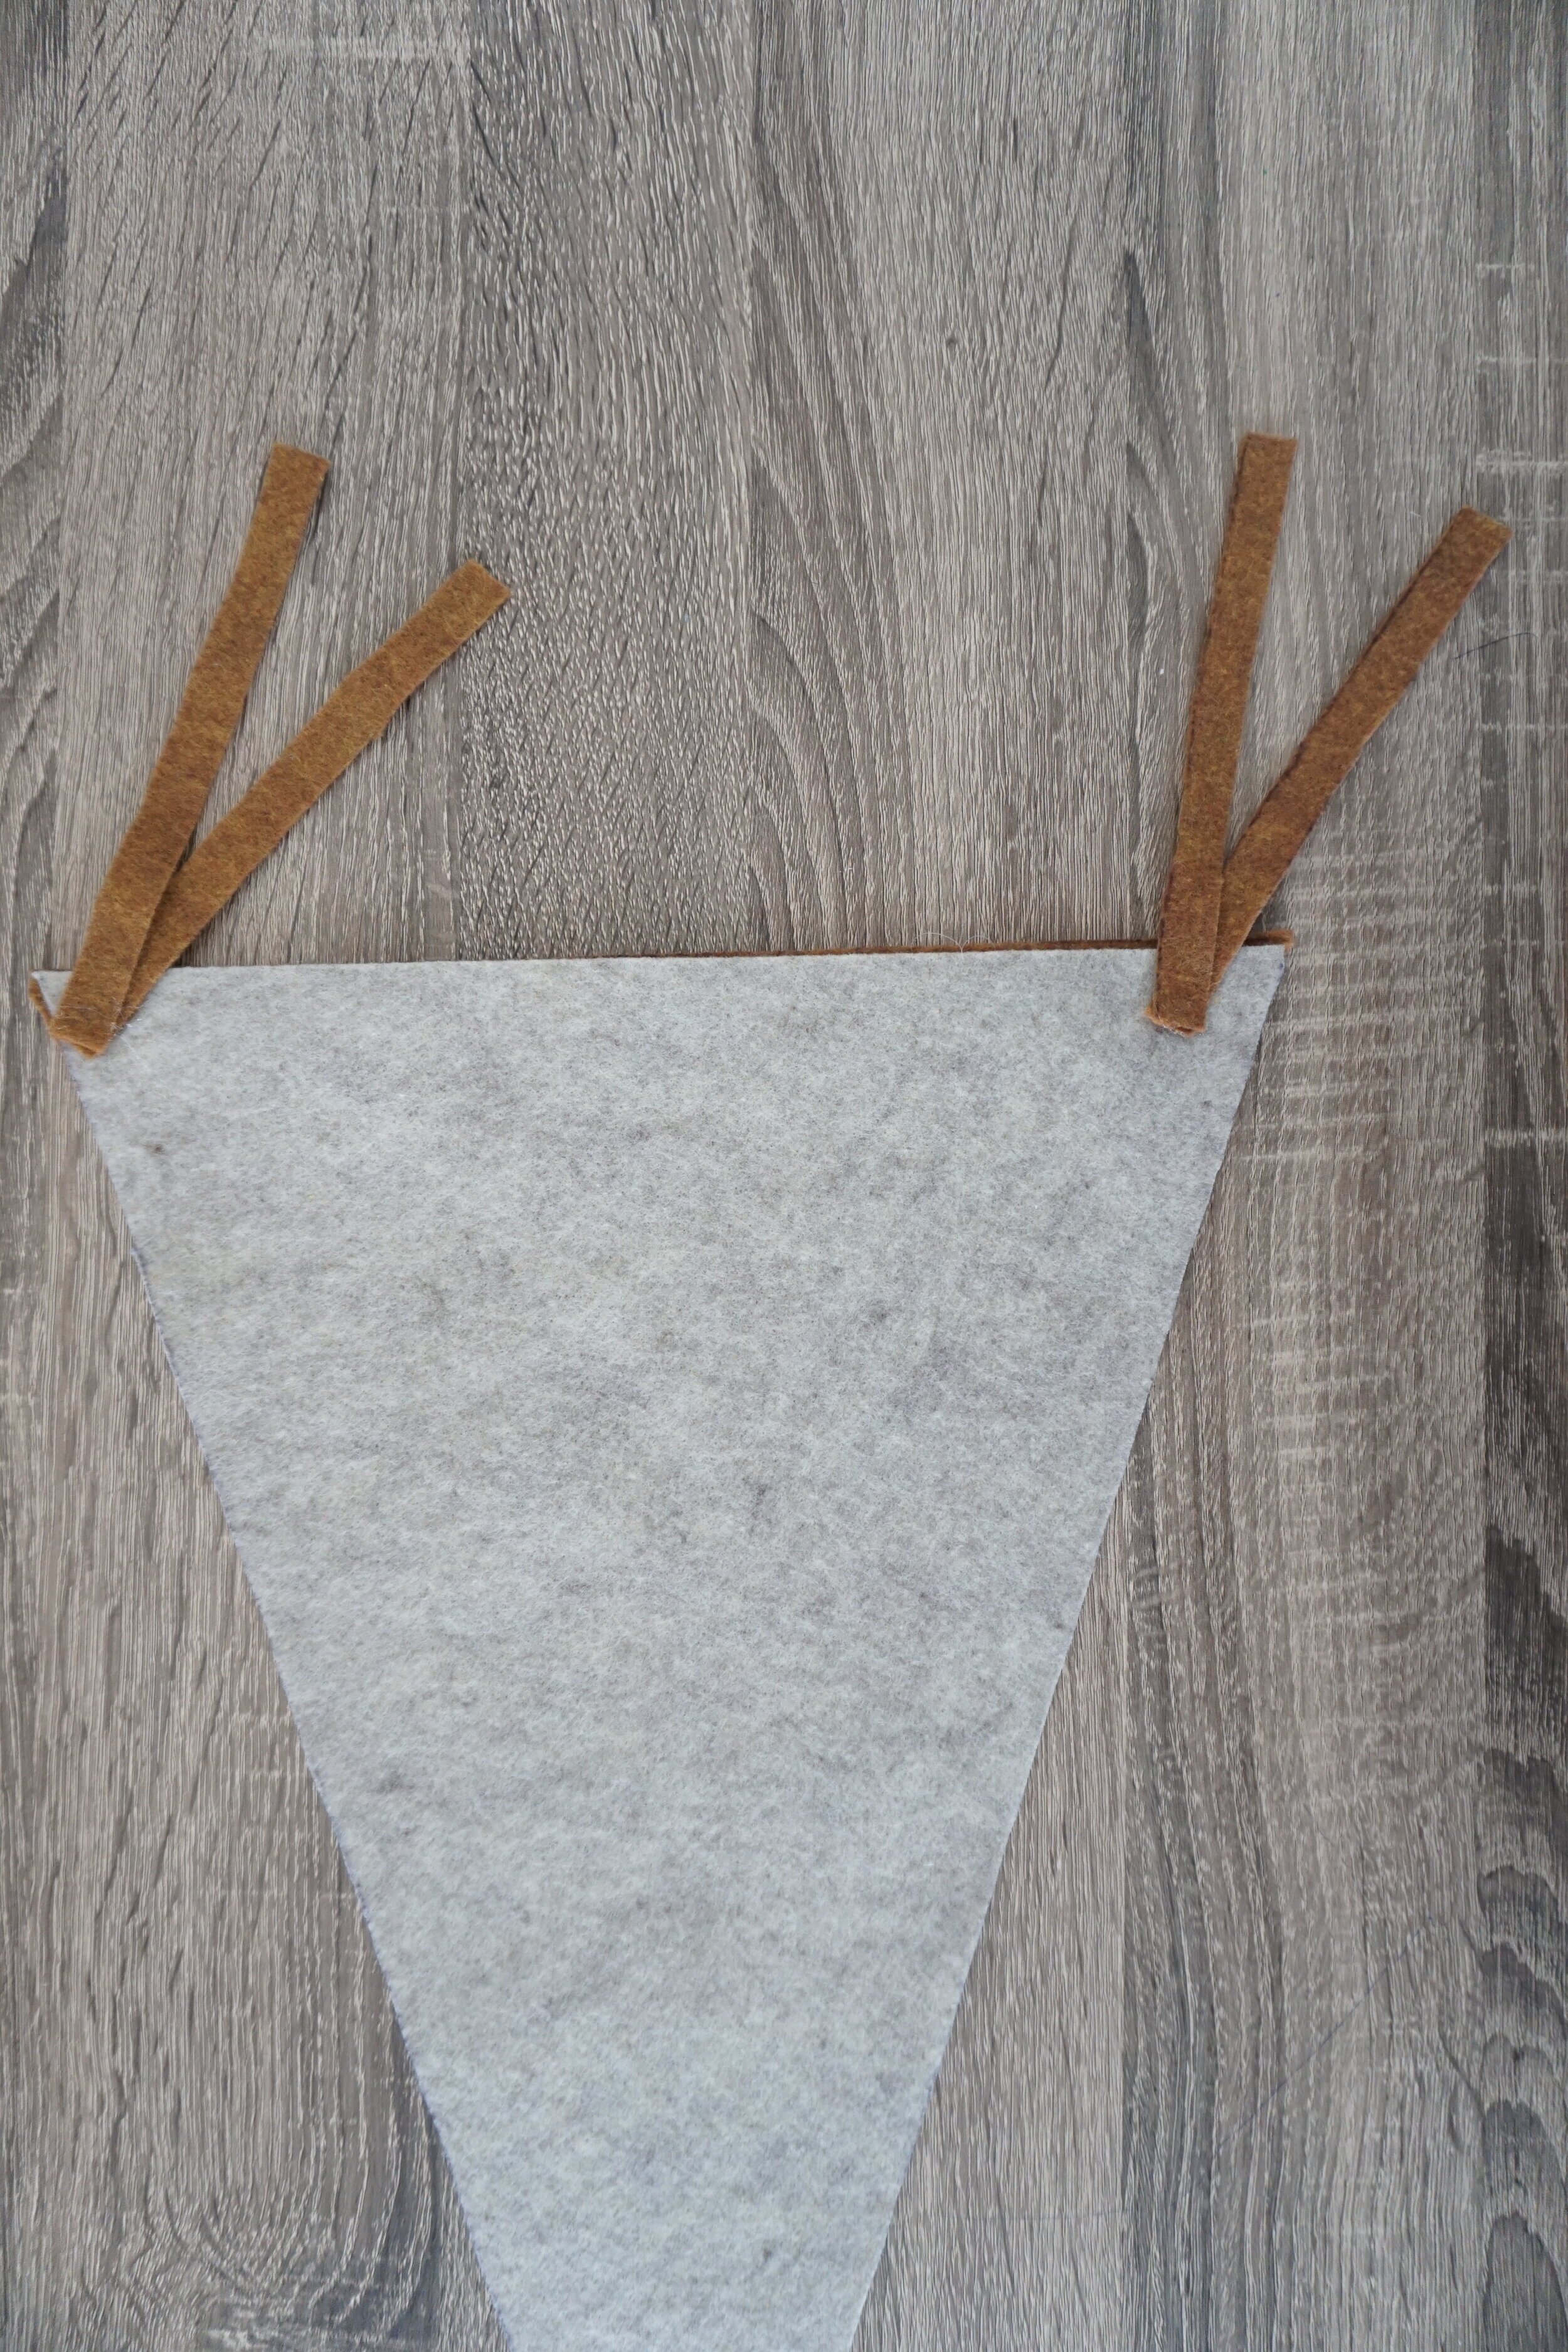
The final touch was to add the ties to the side of the flag. I cut the 1/2 inch strips in half and then used hot glue to glue one end of two strips (see photo below). I then glued those to the backside of the straight side of the flag to mimic the tie strings that would be on a real pennant flag.
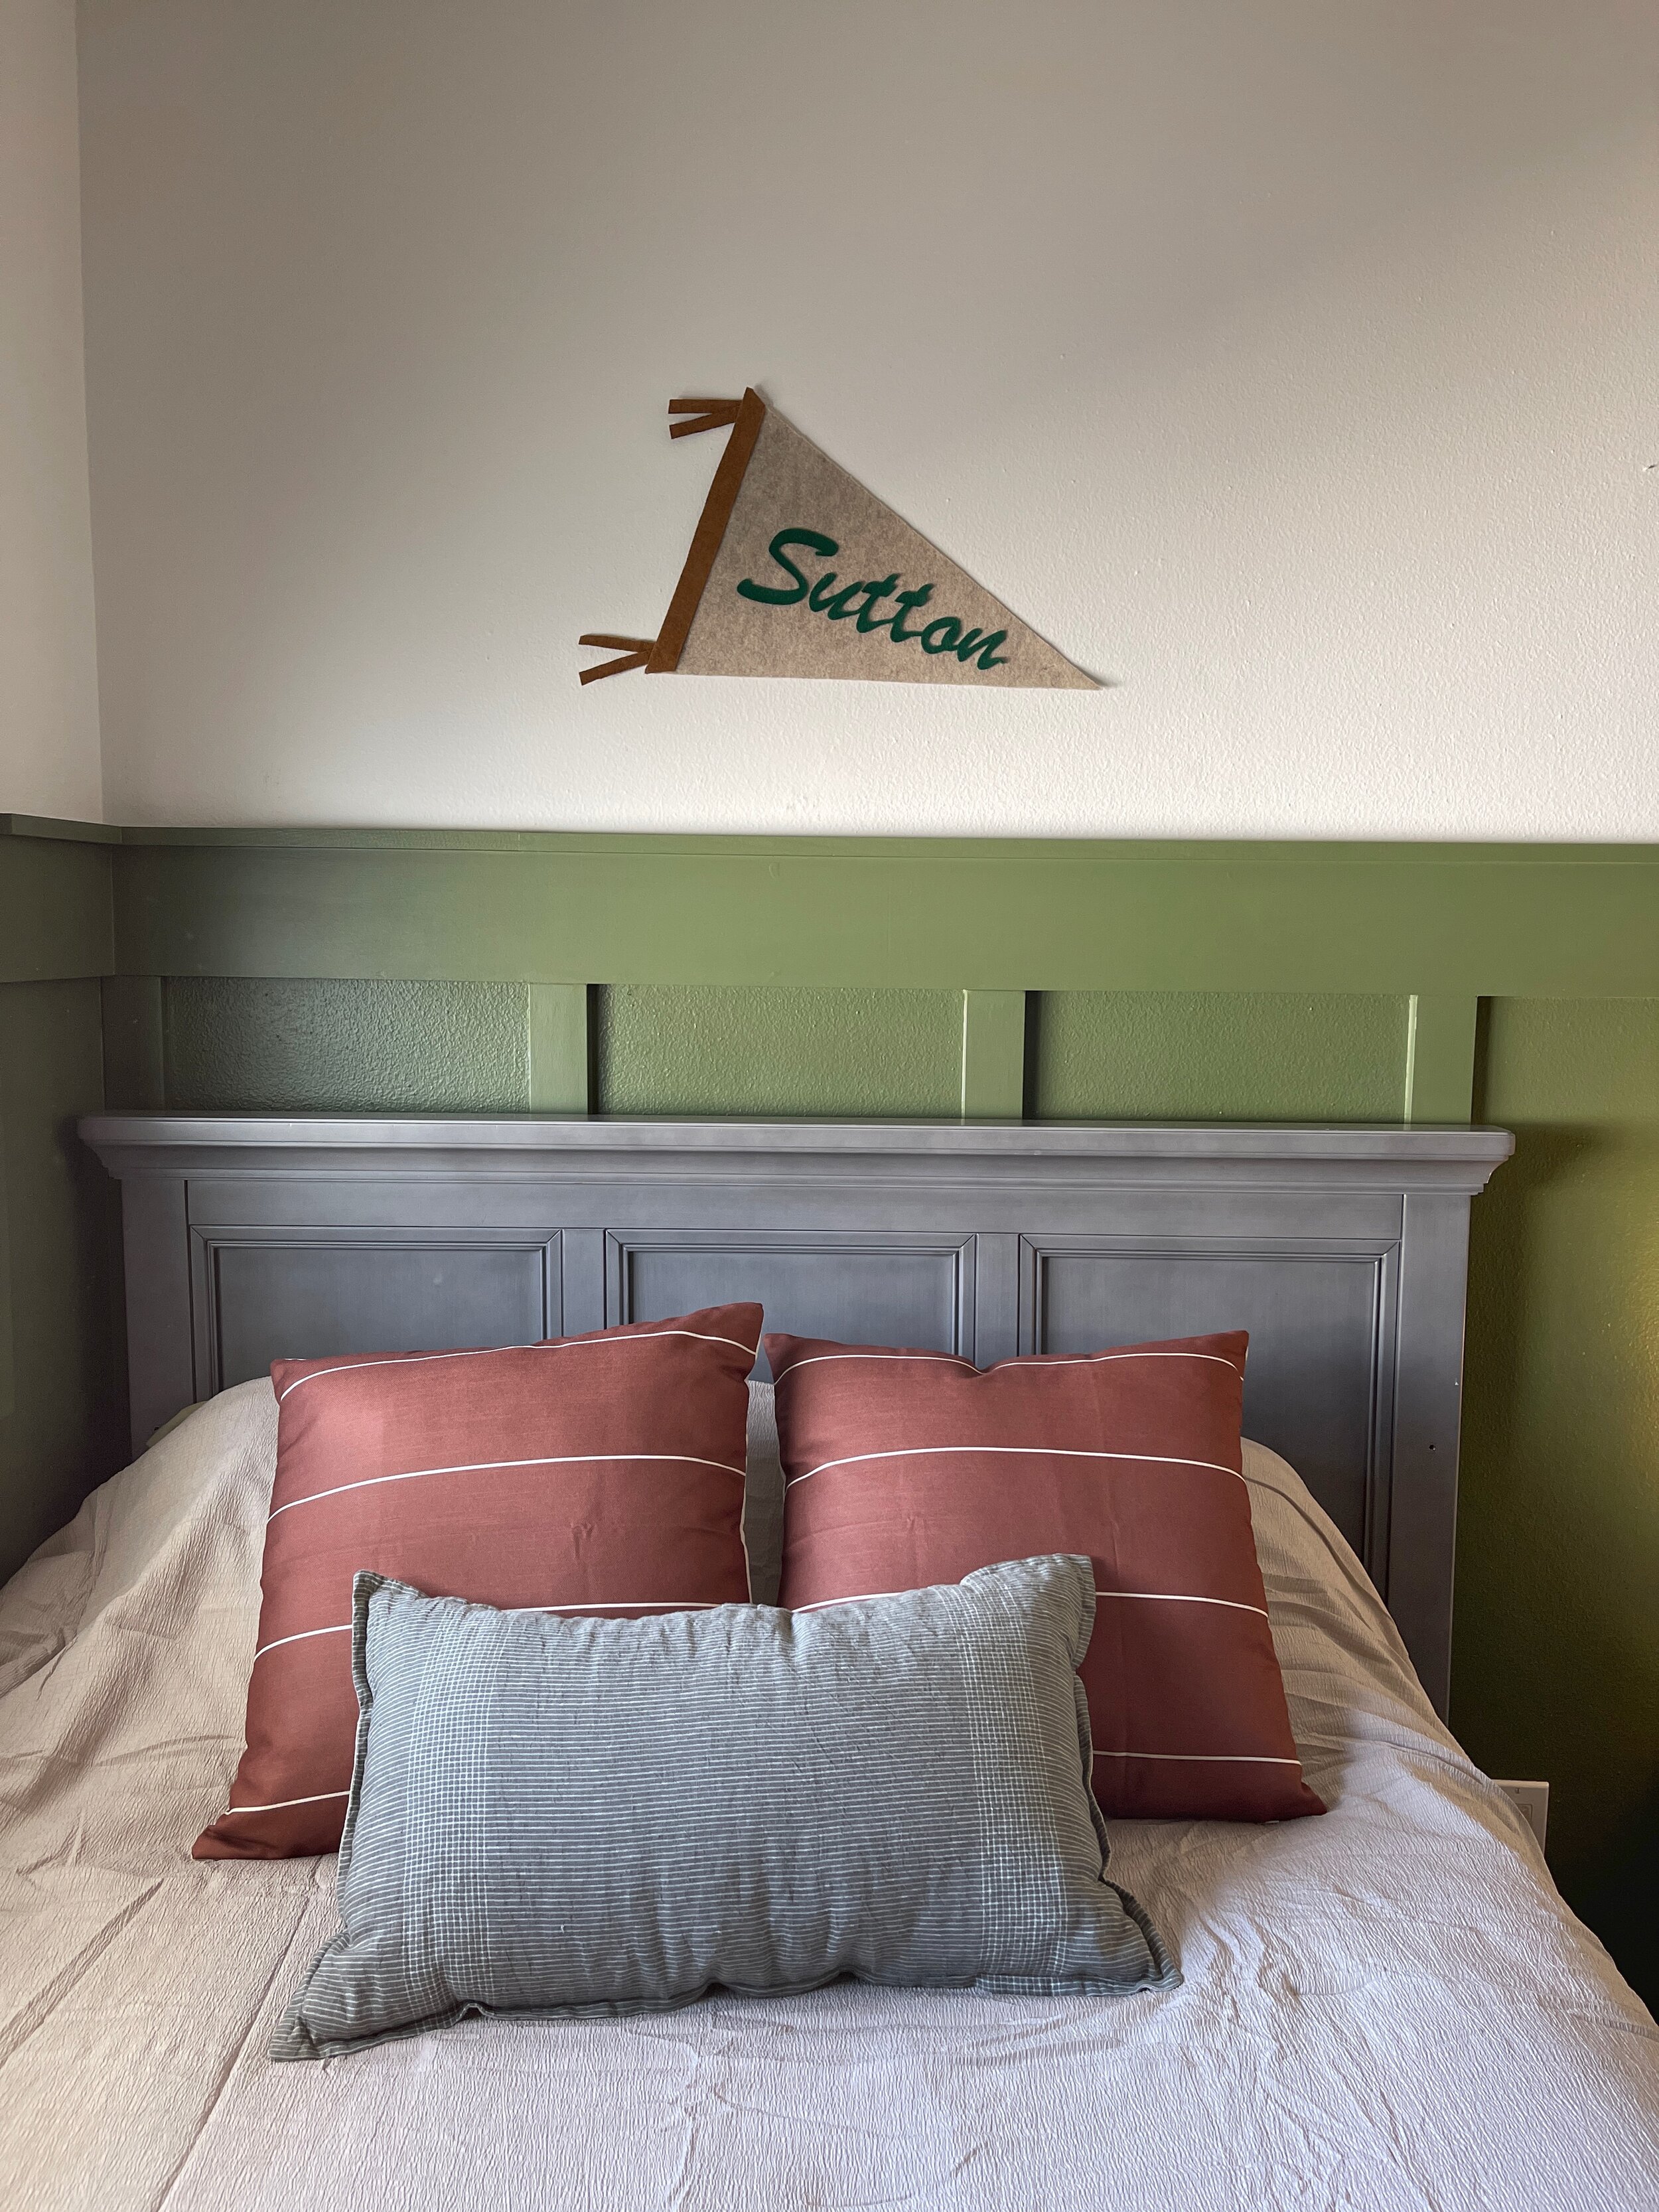
That was it! It was a quick, easy DIY and I was able to let my son help me make it which he loved. Make sure to check out my Instagram to see how I incorporated the flag into his gallery wall and to see the final reveal of his bedroom makeover here soon!
Supplies:
