Garage Organization - Easy & Affordable Tote Rack Storage
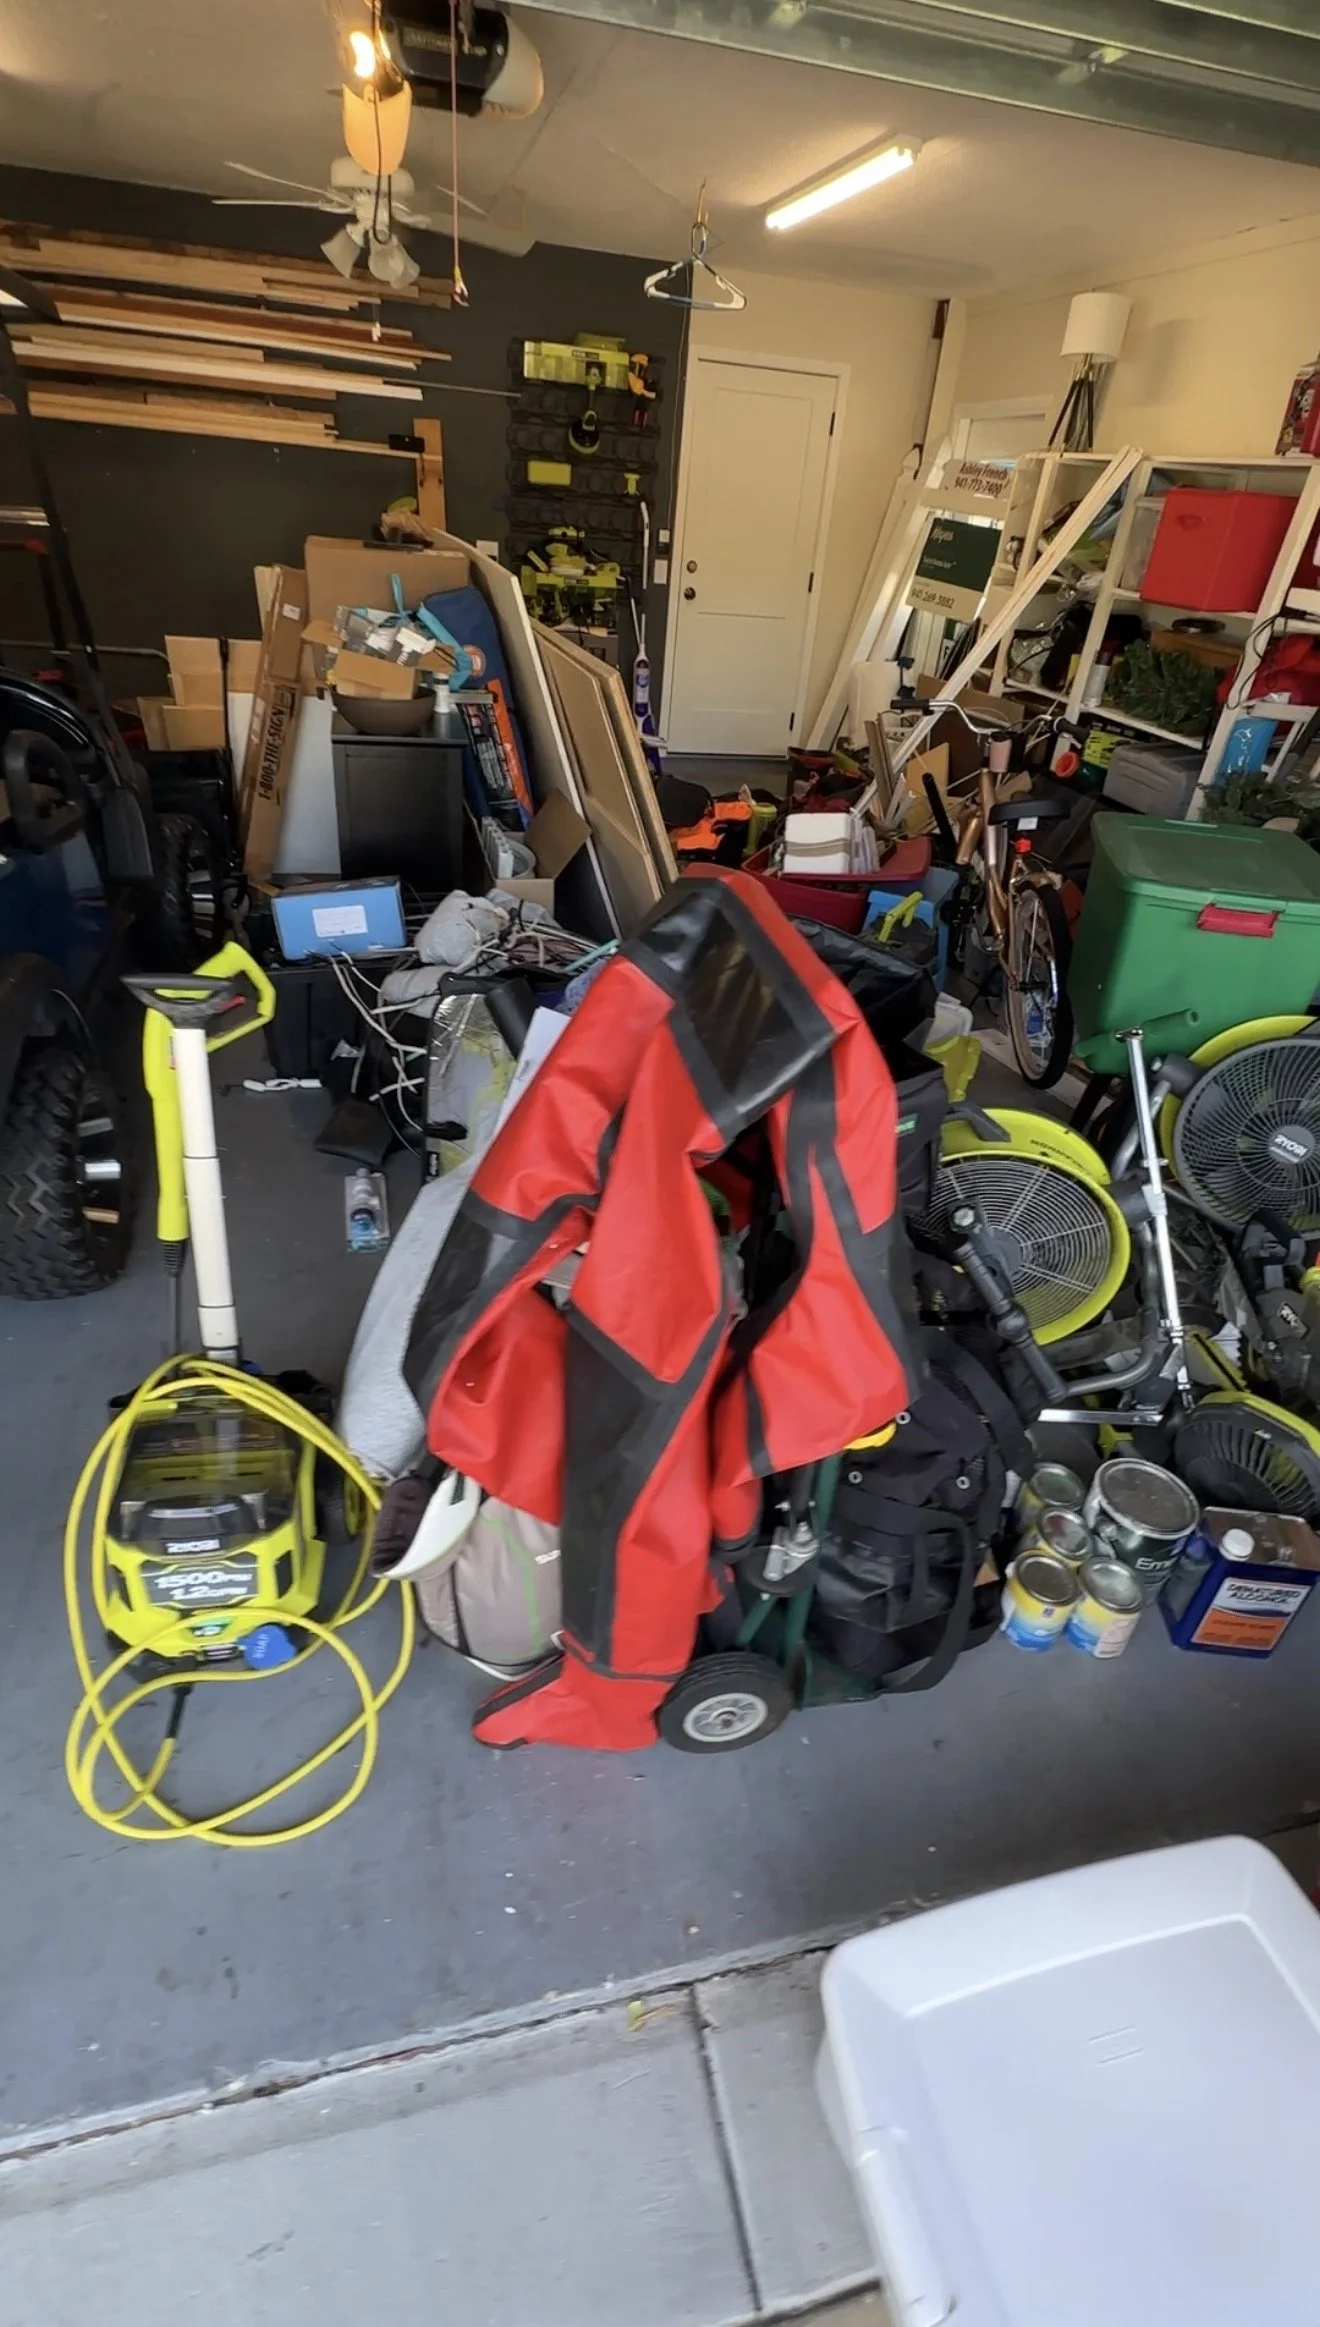
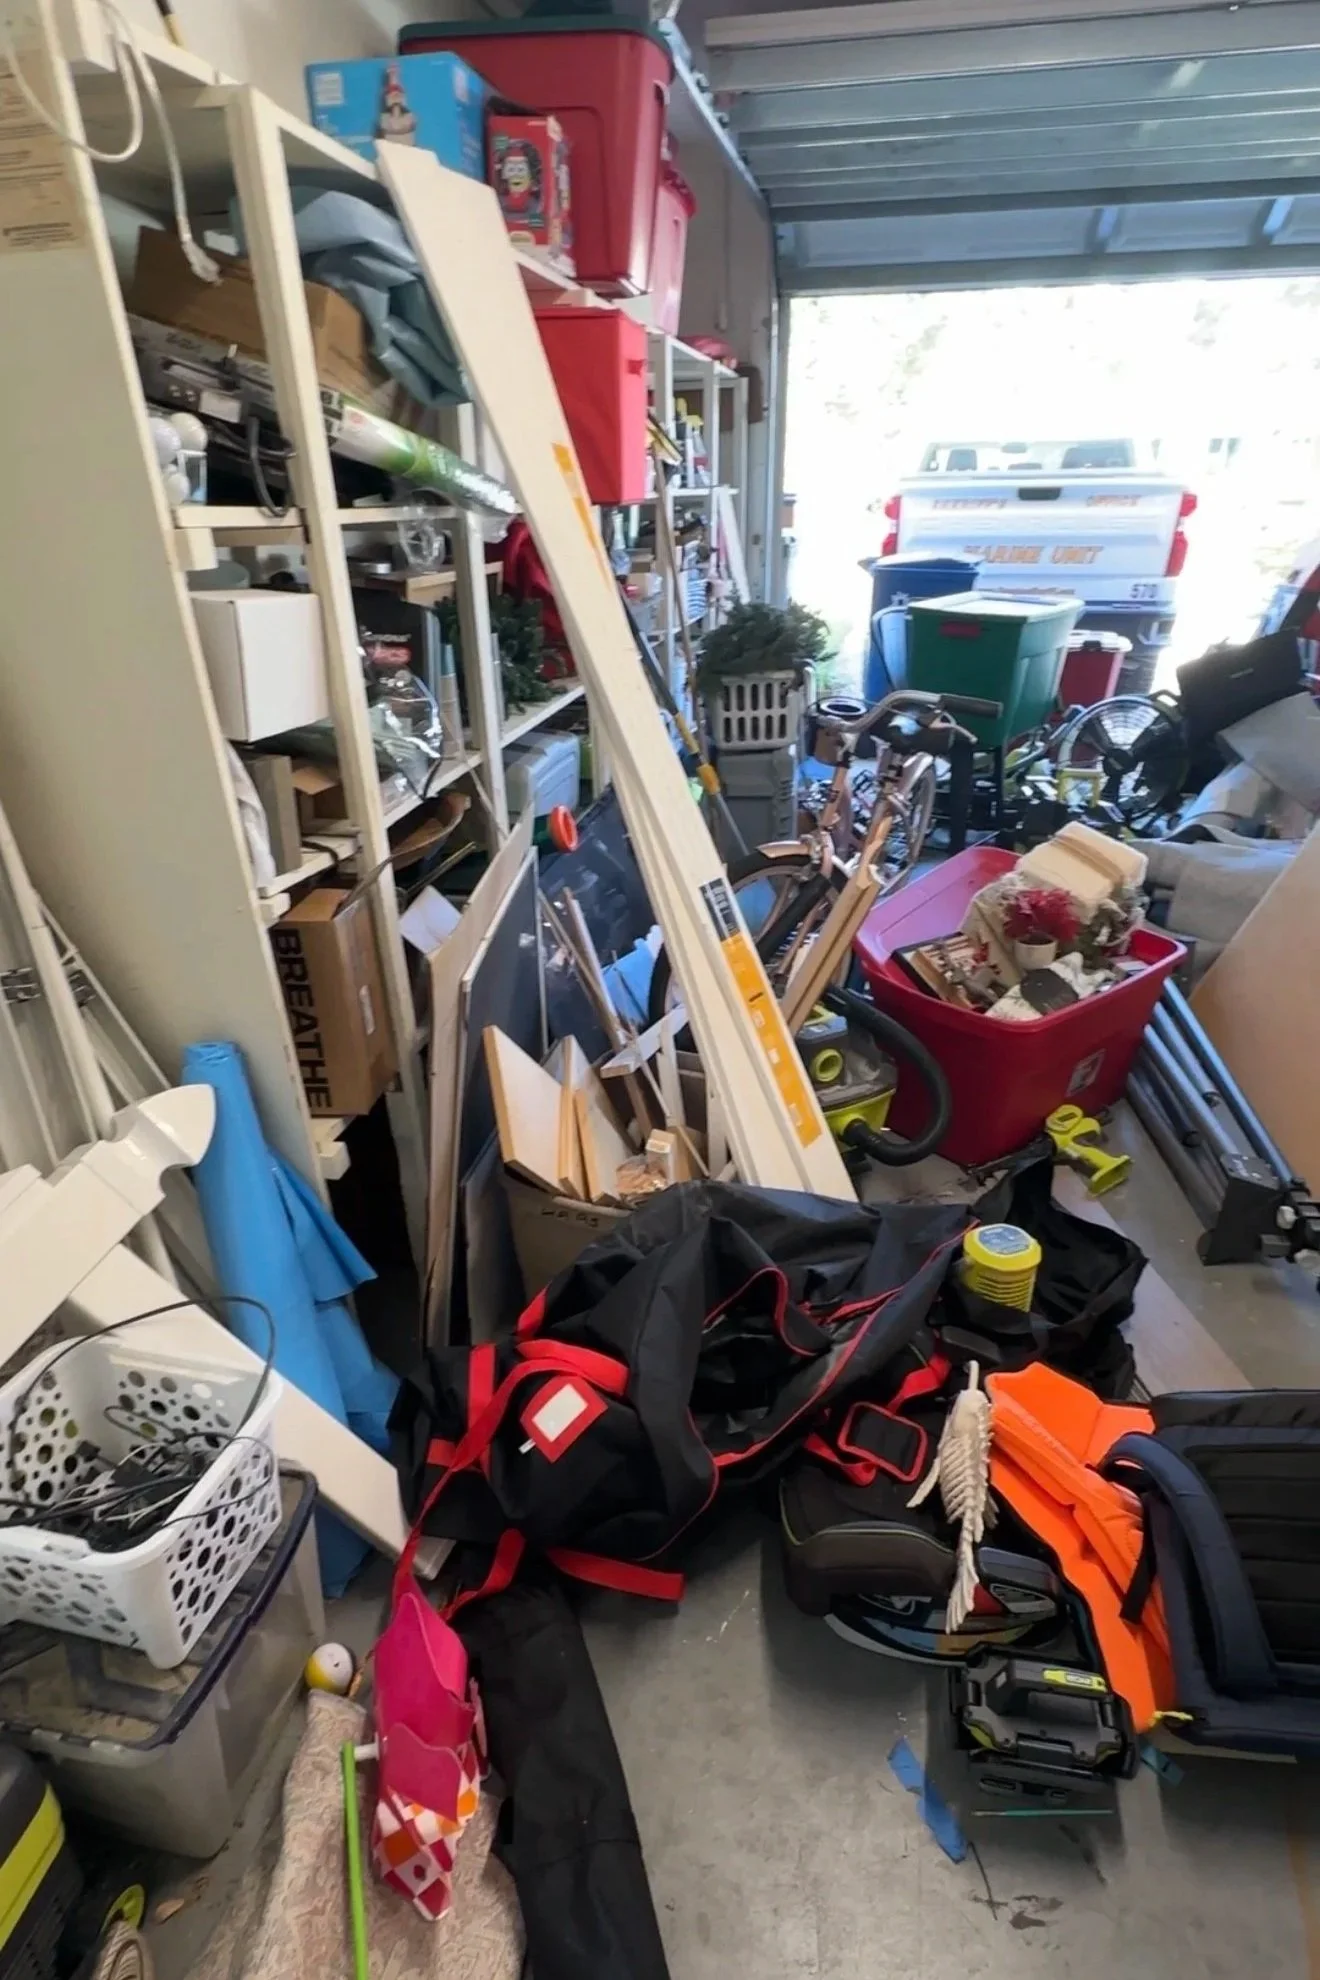
Garage organization can feel overwhelming, especially when you’re staring at stacks of mismatched bins, seasonal items, paint cans and everything else that doesn’t quite have a “home.” We recently found ourselves overwhelmed by the clutter and chaos in our garage. I explored lots of storage rack options with my goals being to find something easy to assemble with easy access, and something that was affordable.
The easiest and most budget-friendly solution I found that looked like it would solve our storage needs, was using simple tote storage racks. They take advantage of vertical space, keep everything visible and accessible, and cost a fraction of custom cabinetry or built-in systems. If you’re looking for a practical way to get your garage under control without spending a fortune, let me show you how.
Before we could set up the tote storage racks, we had to start with a full garage purge. We pulled everything, and I mean everything, out into the driveway and sorted it into three piles: keep, donate, and trash. Our rule was simple: if we hadn’t used something in the past three years, it didn’t stay.
This step is so important and it made the biggest difference. We ended up getting rid of nearly two-thirds of what we had been storing. Once we narrowed everything down, we grouped what was left into categories like home repair supplies, sports equipment, lawn equipment, and Airbnb essentials. At that point, it was much easier to see exactly what needed to go into totes and plan out the storage system.

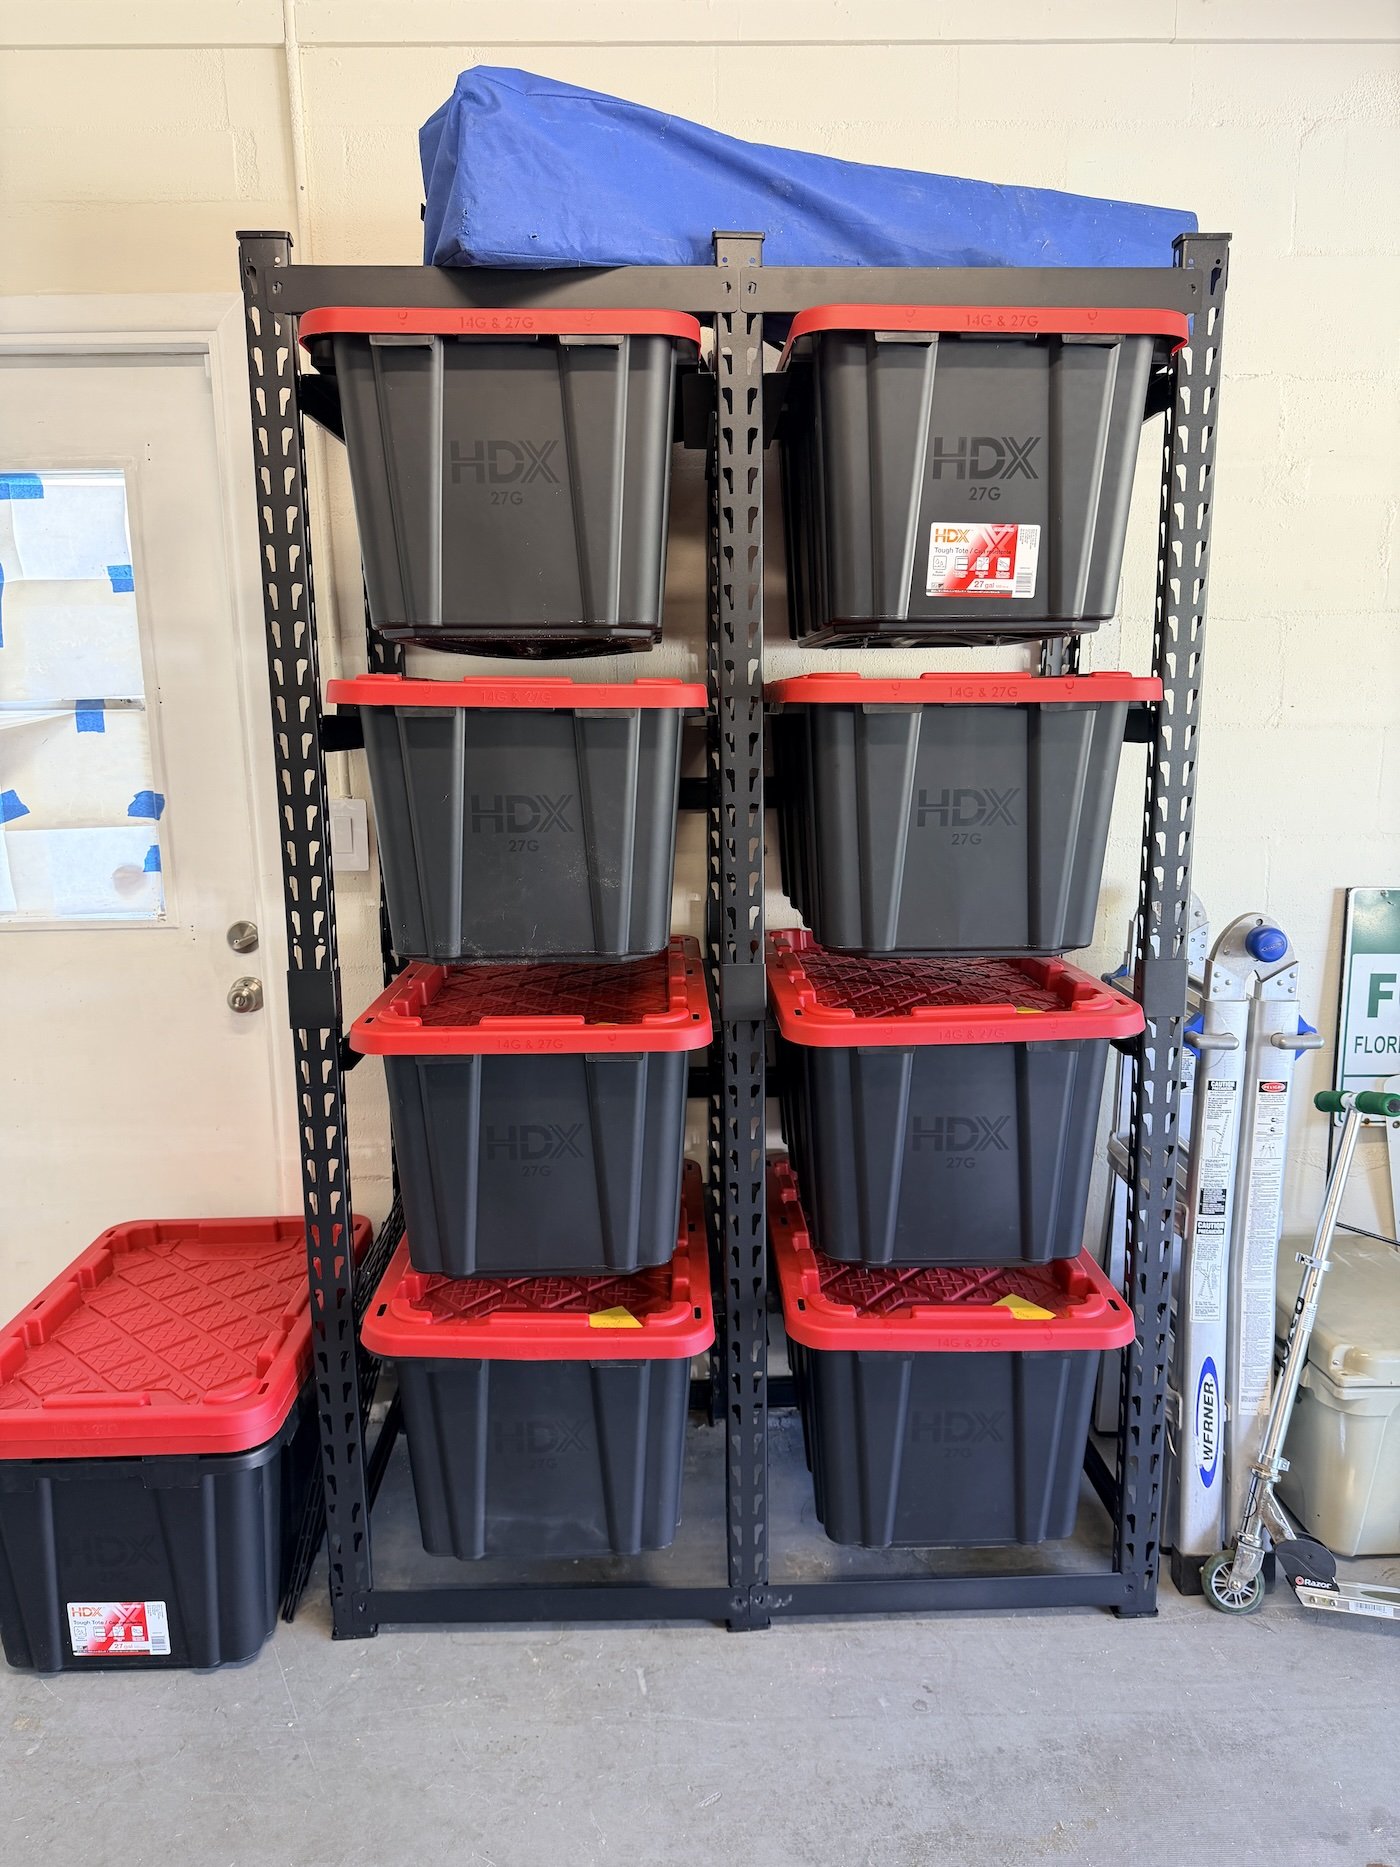
Now it was time to assemble the tote rack. We found an affordable option from Home Depot, and the directions were straightforward enough for me to put it together on my own. One of the best features of this system is that it’s designed to perfectly fit the Home Depot brand storage totes, which makes everything feel really streamlined and intentional. We picked up six totes to fill the first rack, then once it was assembled, we chose a spot along the garage wall and secured it using Tapcon screws for added stability.
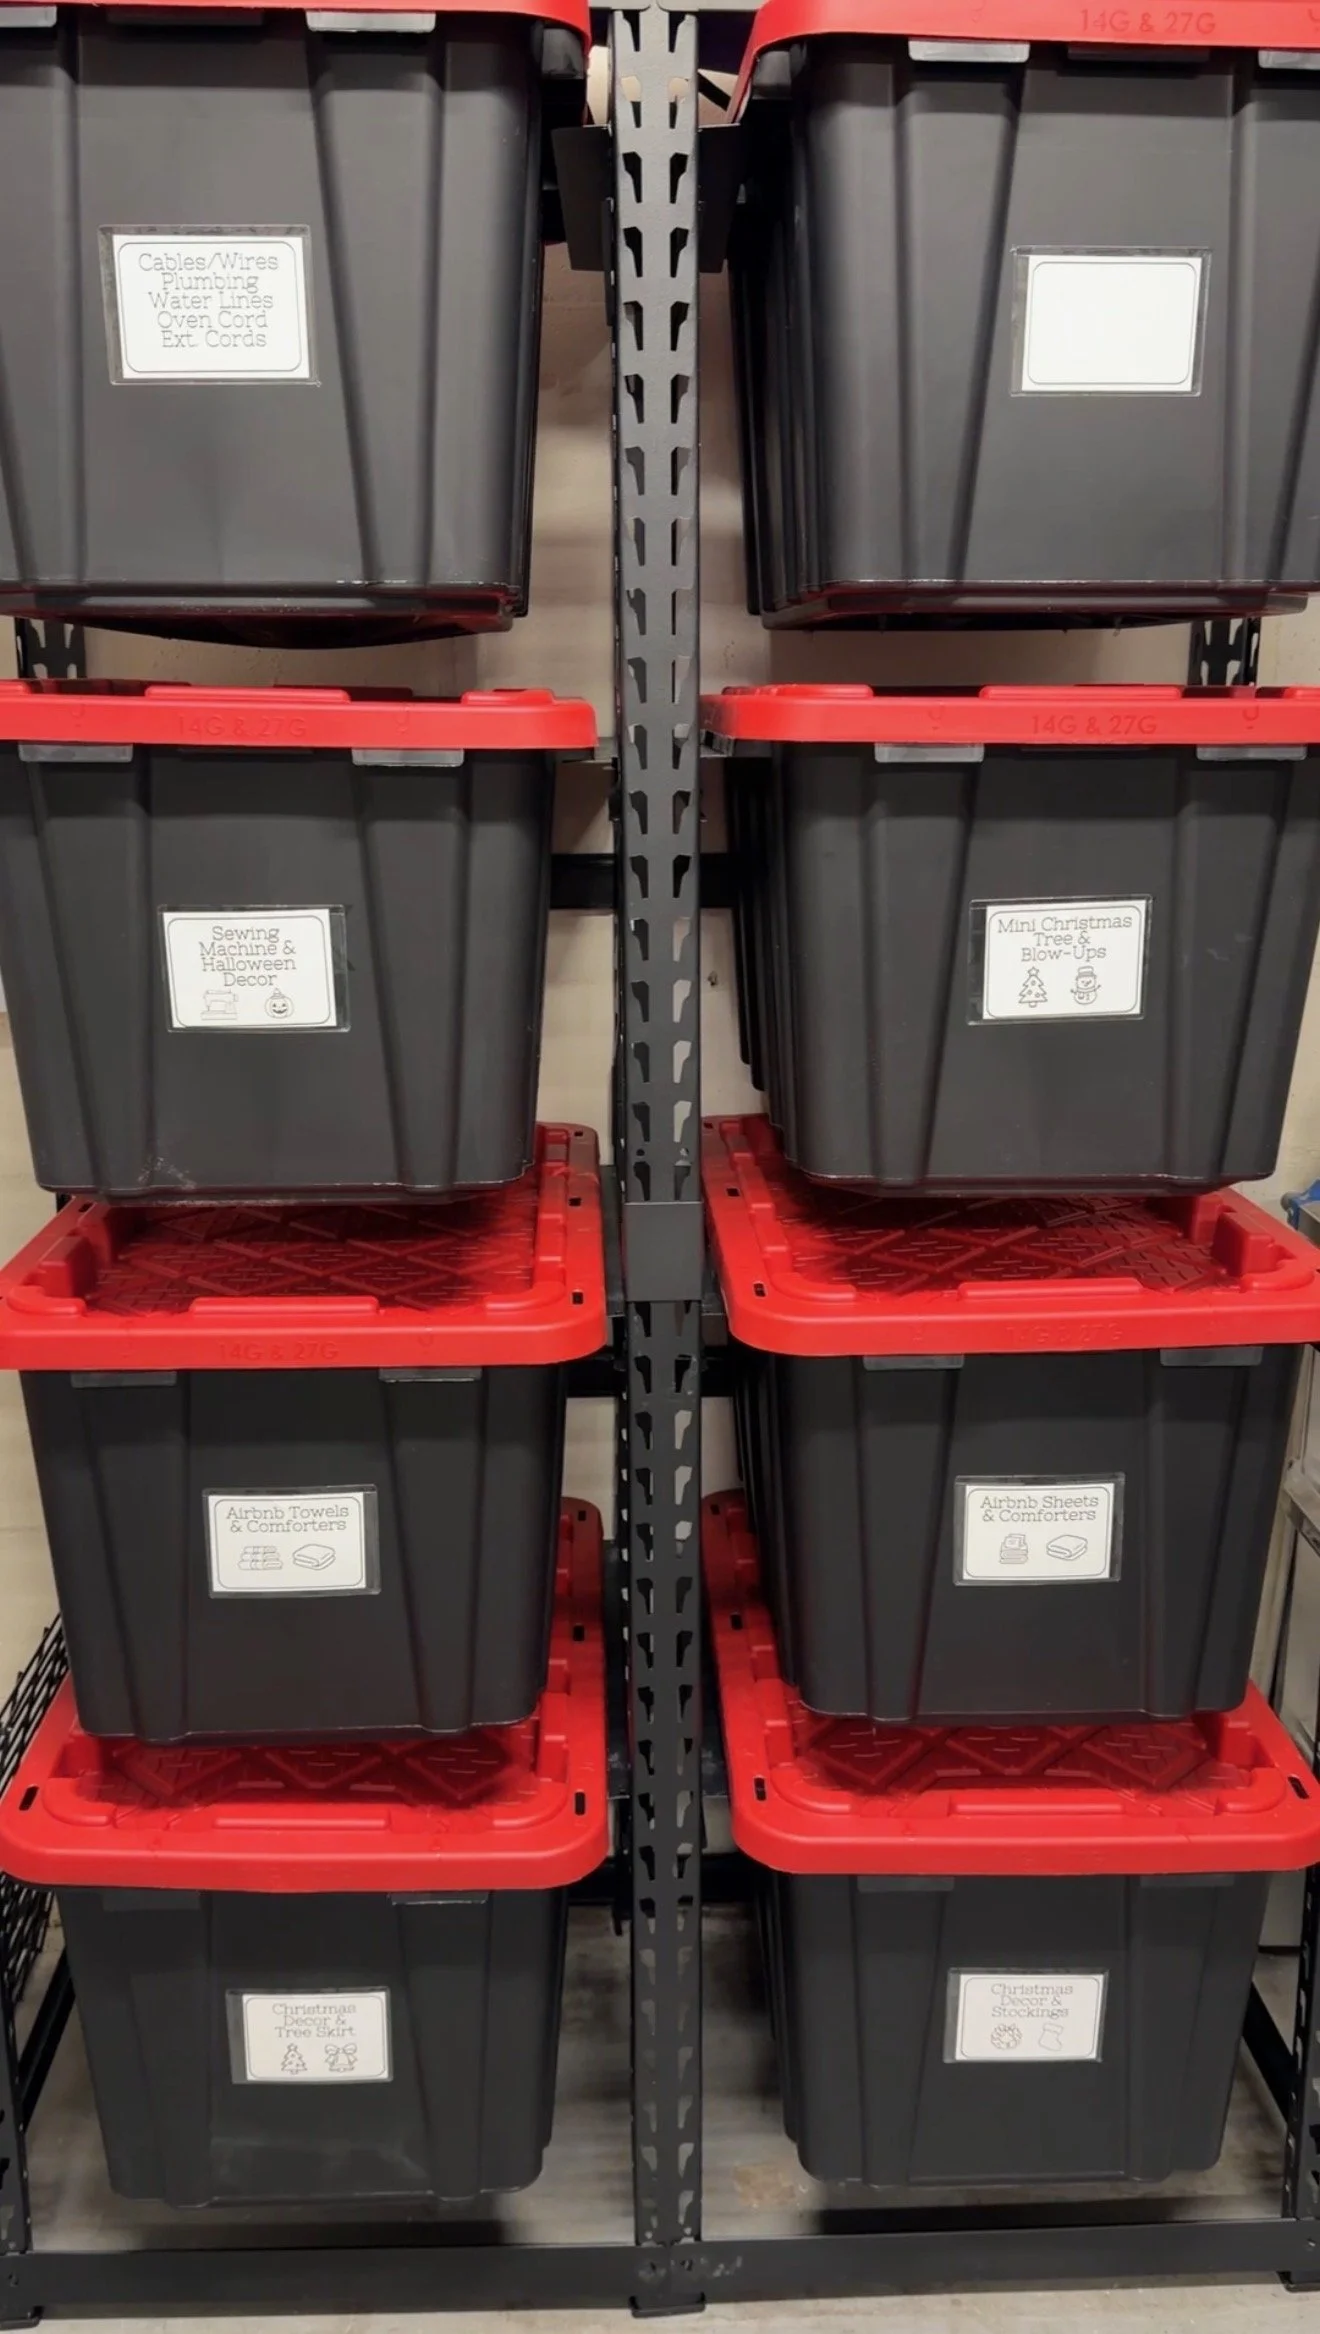
I wanted to make sure that once everything was organized inside the totes, I could easily find what I needed without having to guess what was in each one. So I knew I needed a simple, effective labeling system. I did come across some more high-tech options online, like QR codes paired with apps, but honestly, that felt like more work than it was worth. From experience, I know that if something is too time-consuming or complicated, I won’t stick with it.
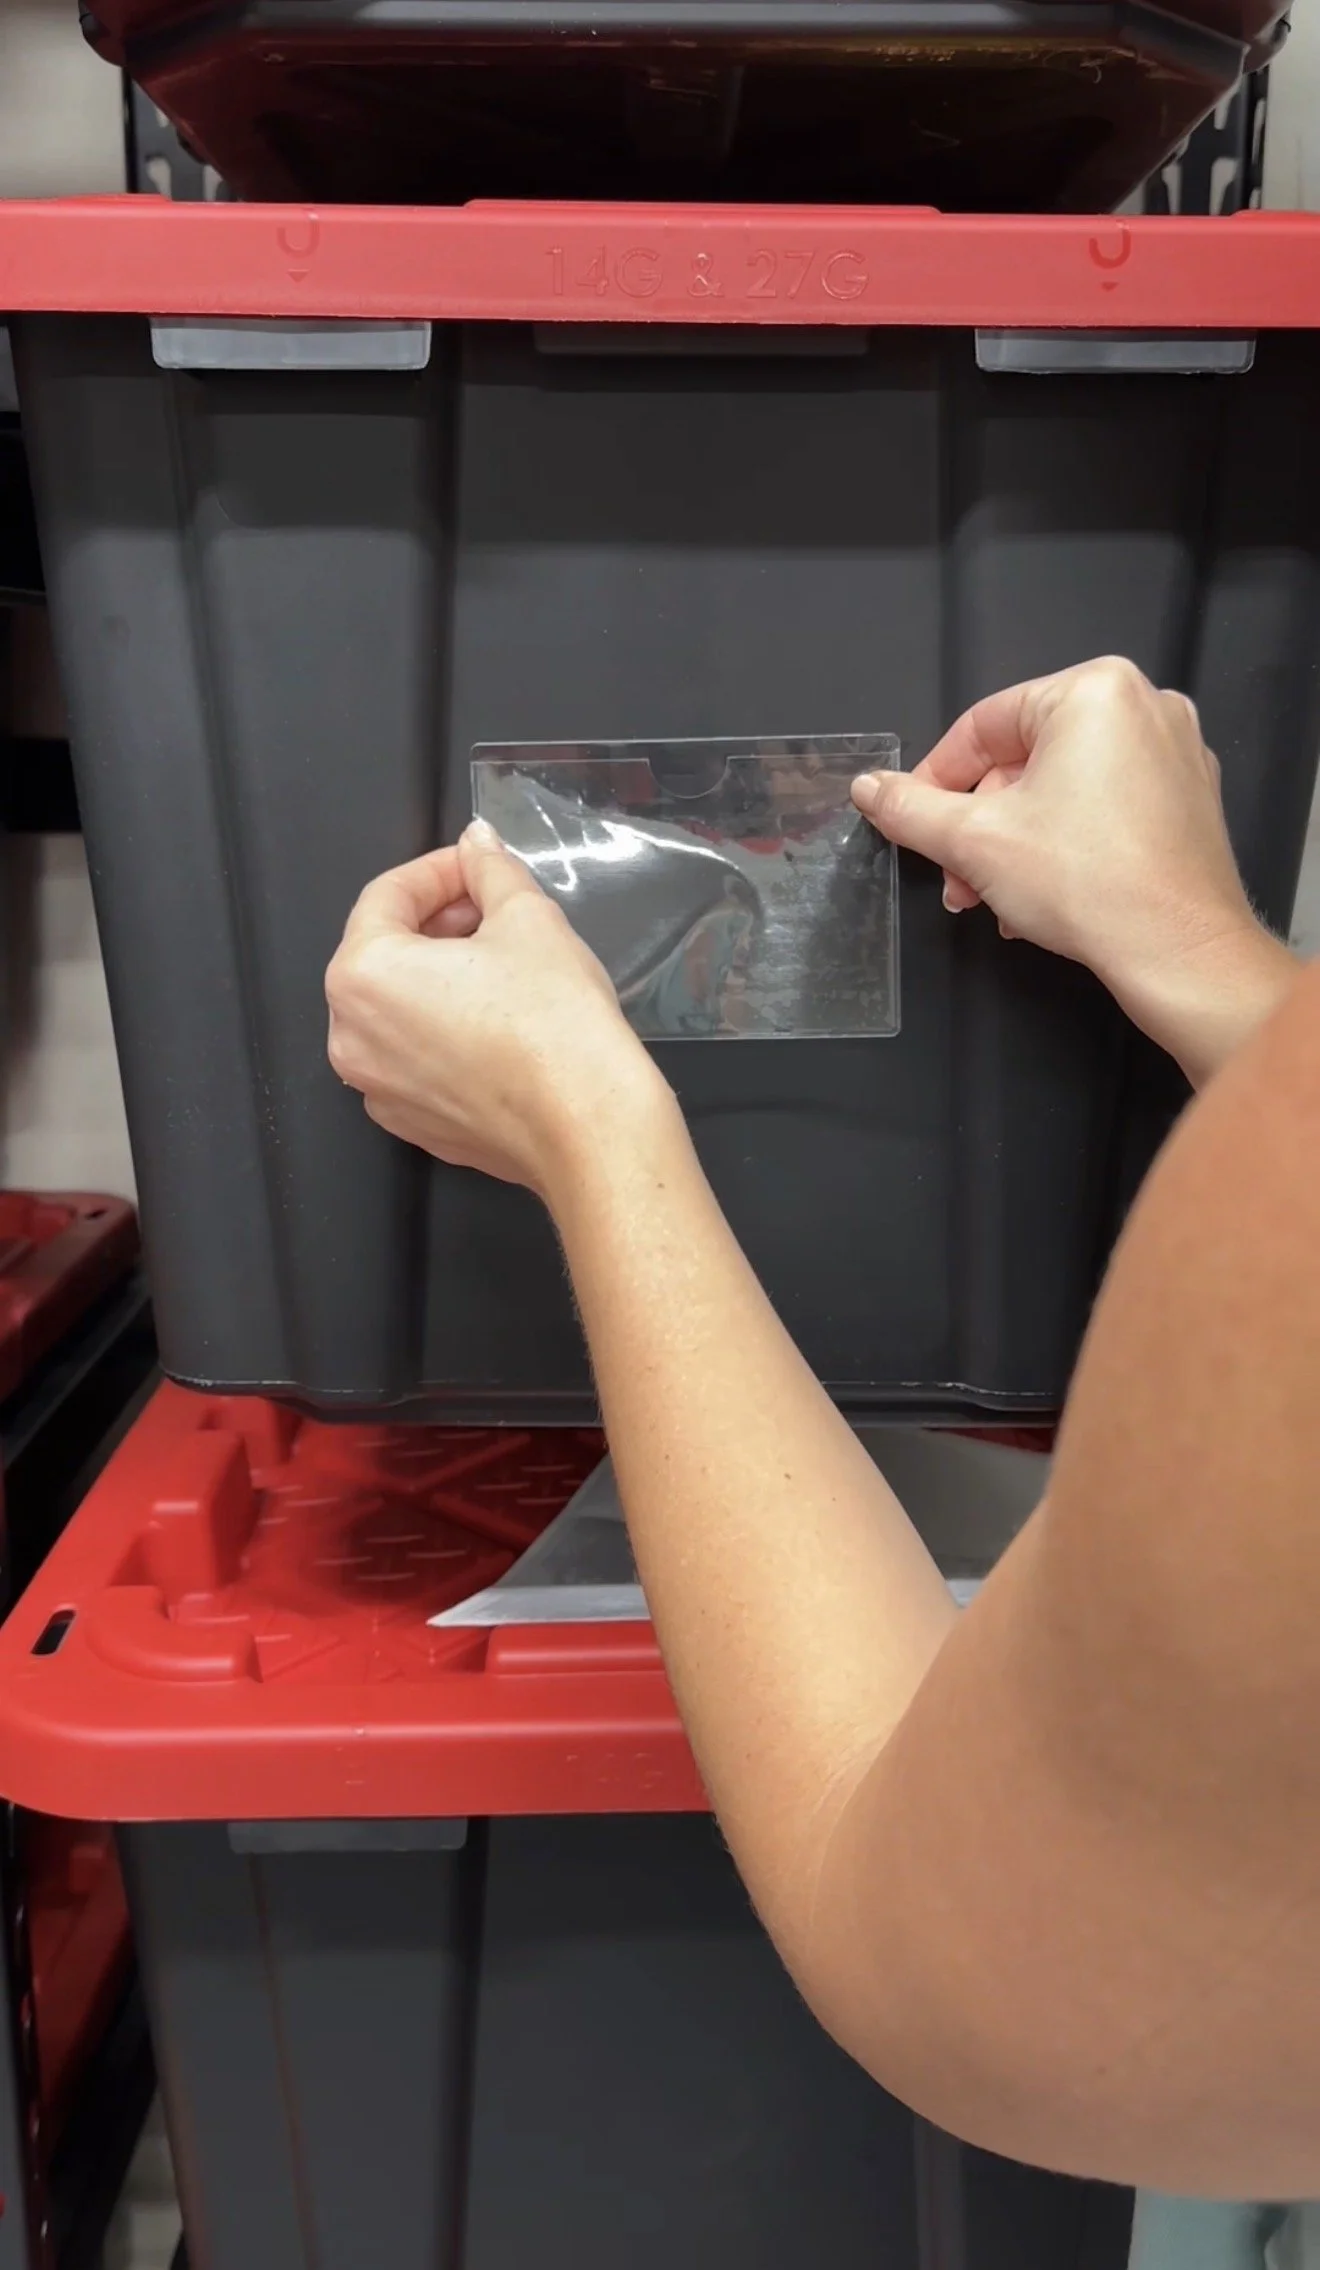
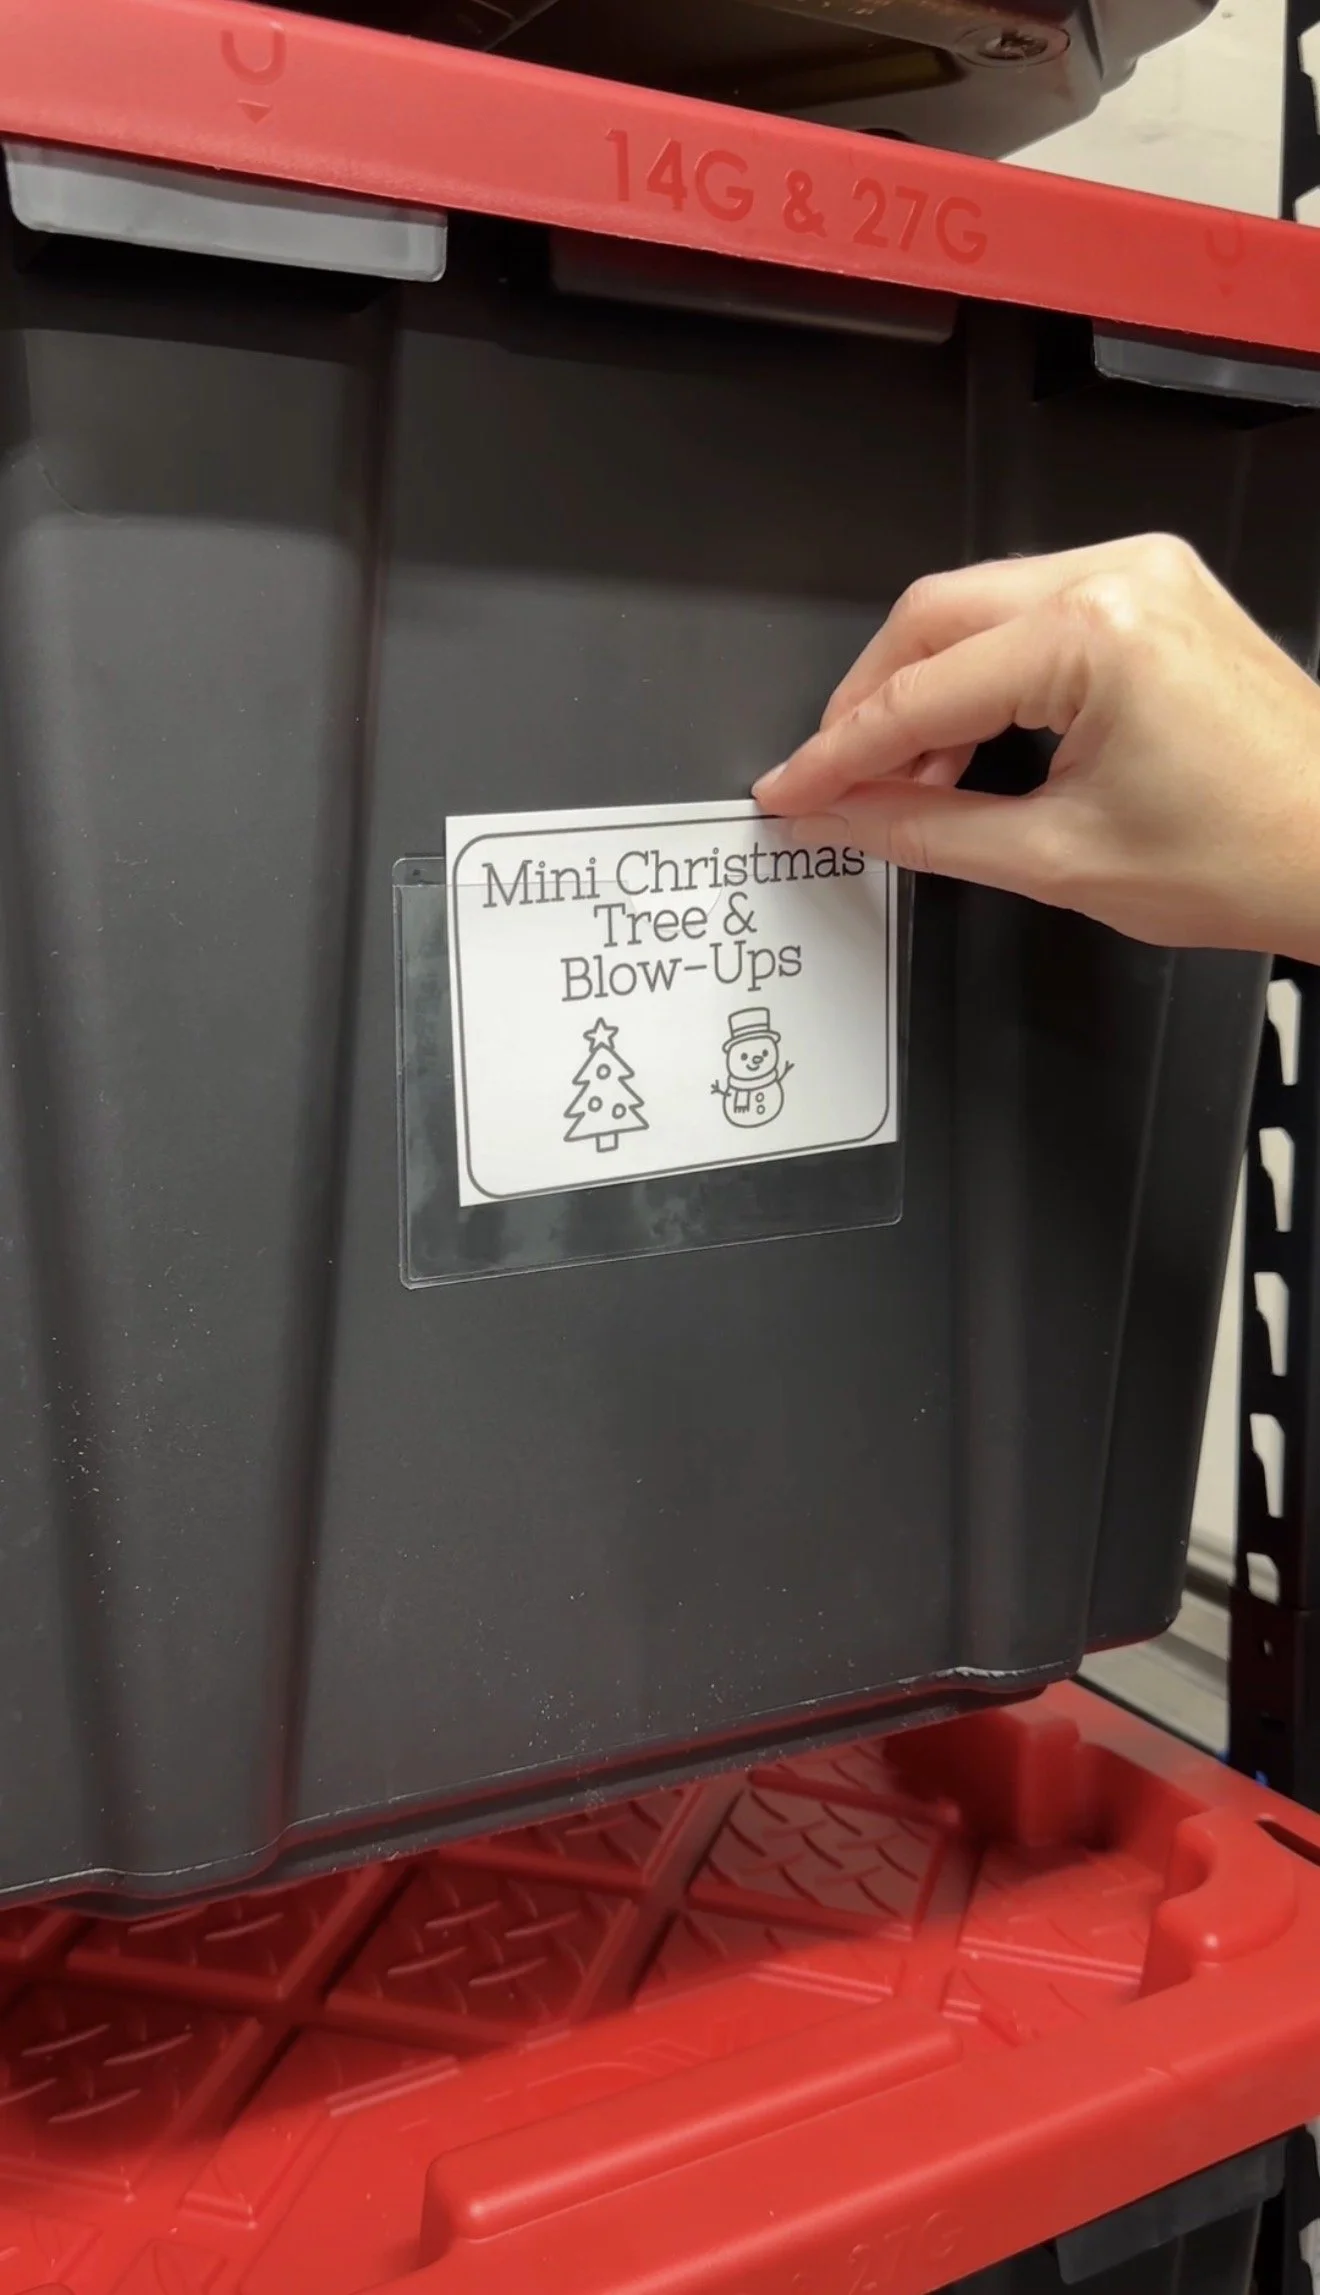
Instead, I went with a super simple solution: adhesive clear pocket sleeves that hold index cards. I stuck the sleeves to the front of each tote and slid in labeled index cards with the contents. The best part is how easy this system is to maintain—if the contents change, I can quickly swap out the card without any hassle. For the initial setup, I used Canva to type and print the labels, then cut them to size and placed them into the sleeves. Moving forward, I’ll likely just handwrite new cards as needed, no apps or complicated systems required.
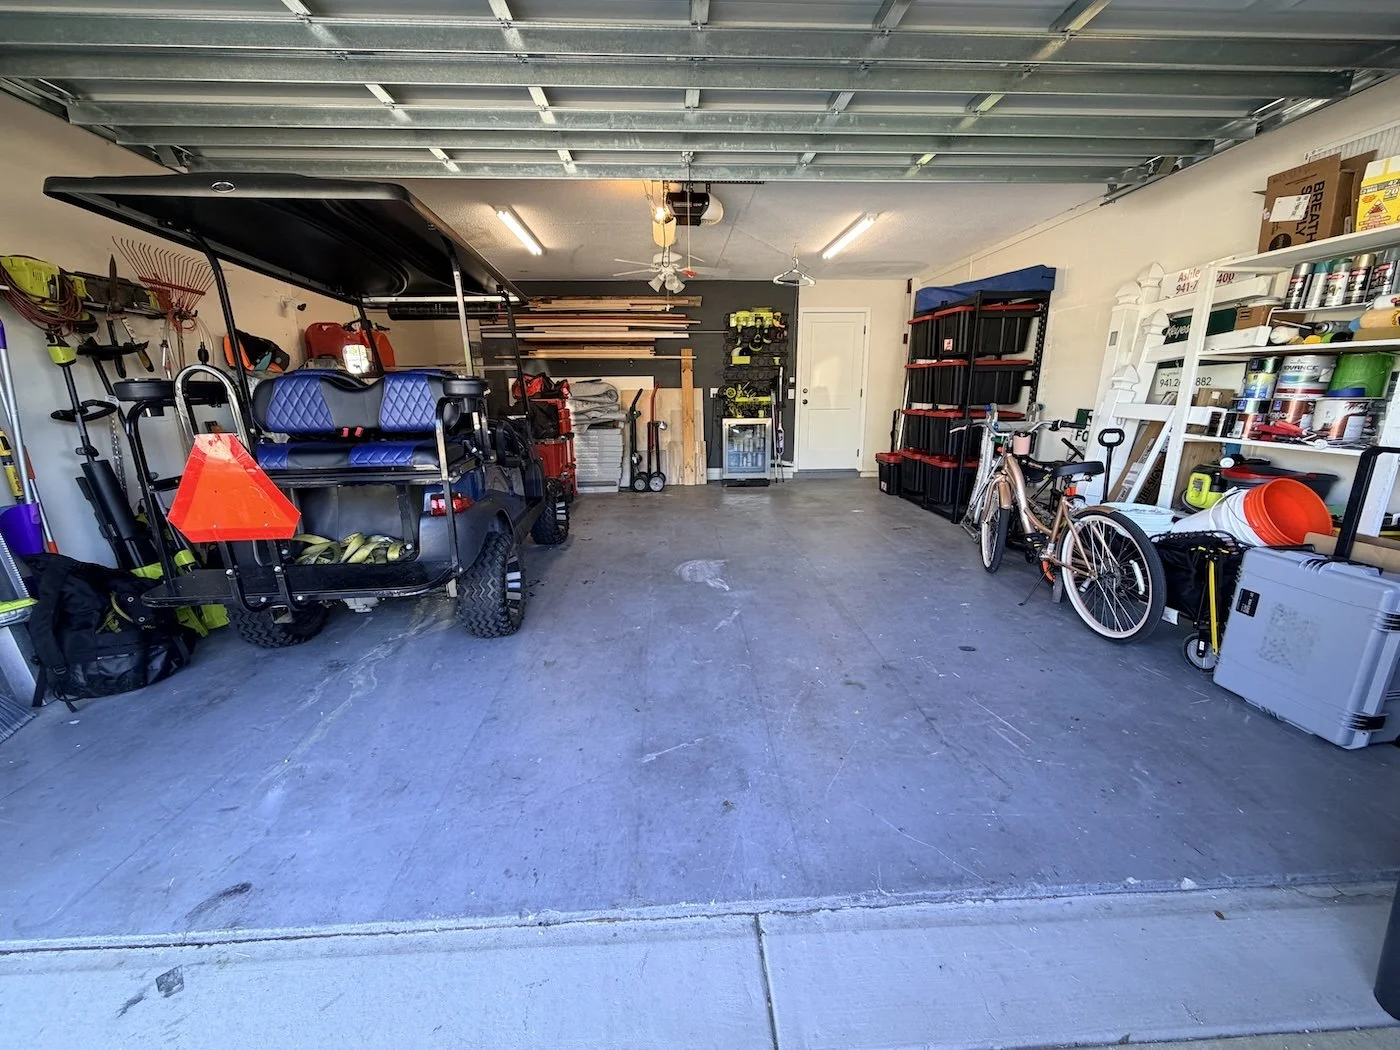
With the new tote rack system in place, we were able to bring everything back into the garage and organize it around the racks. All of our stuff finally had a dedicated space in the garage. The difference was incredible—we couldn’t believe how much floor space we gained just from purging and using a more efficient storage solution. These plastic storage bins hold so much more than we expected, which made a huge impact on keeping everything contained and easy to access. If your garage is in need of a reset and you’re looking for a simple, affordable storage solution, I can’t recommend this tote rack system enough.