How to Paint a Wall Mural - 3 Easy Techniques
Painting a wall mural might sound intimidating, but I promise it’s one of the easiest ways to completely transform a space, even if you’ve never picked up a paintbrush before. Over the years, I’ve created murals on both interior and exterior walls using a few simple techniques that require almost zero artistic talent and very little experience.
In this post, I’m sharing three easy mural techniques that anyone can do, whether you’re refreshing a blank wall inside your home or adding personality to an outdoor space. These methods are beginner-friendly and designed to help you create a one-of-a-kind statement wall without the stress of “getting it perfect.” And spoiler, I included one extra technique that doesn't even involve paint!
If you’re having a hard time coming up with mural ideas, don’t worry—finding inspiration is part of the fun. A great place to start is Pinterest, where you can browse countless wall murals created by other artists and DIYers. Use these images purely as inspiration to spark ideas, not to copy directly.
You can also use a design tool like Canva to build your own mural concept from scratch by adding shapes, patterns, colors, and even text to a blank canvas on your computer. And if you’re having trouble visualizing what’s in your head, one of my favorite tricks is to explain your idea to ChatGPT and have it generate a few mural design concepts for you. Using a combination of all three is a great way to design the perfect mural.
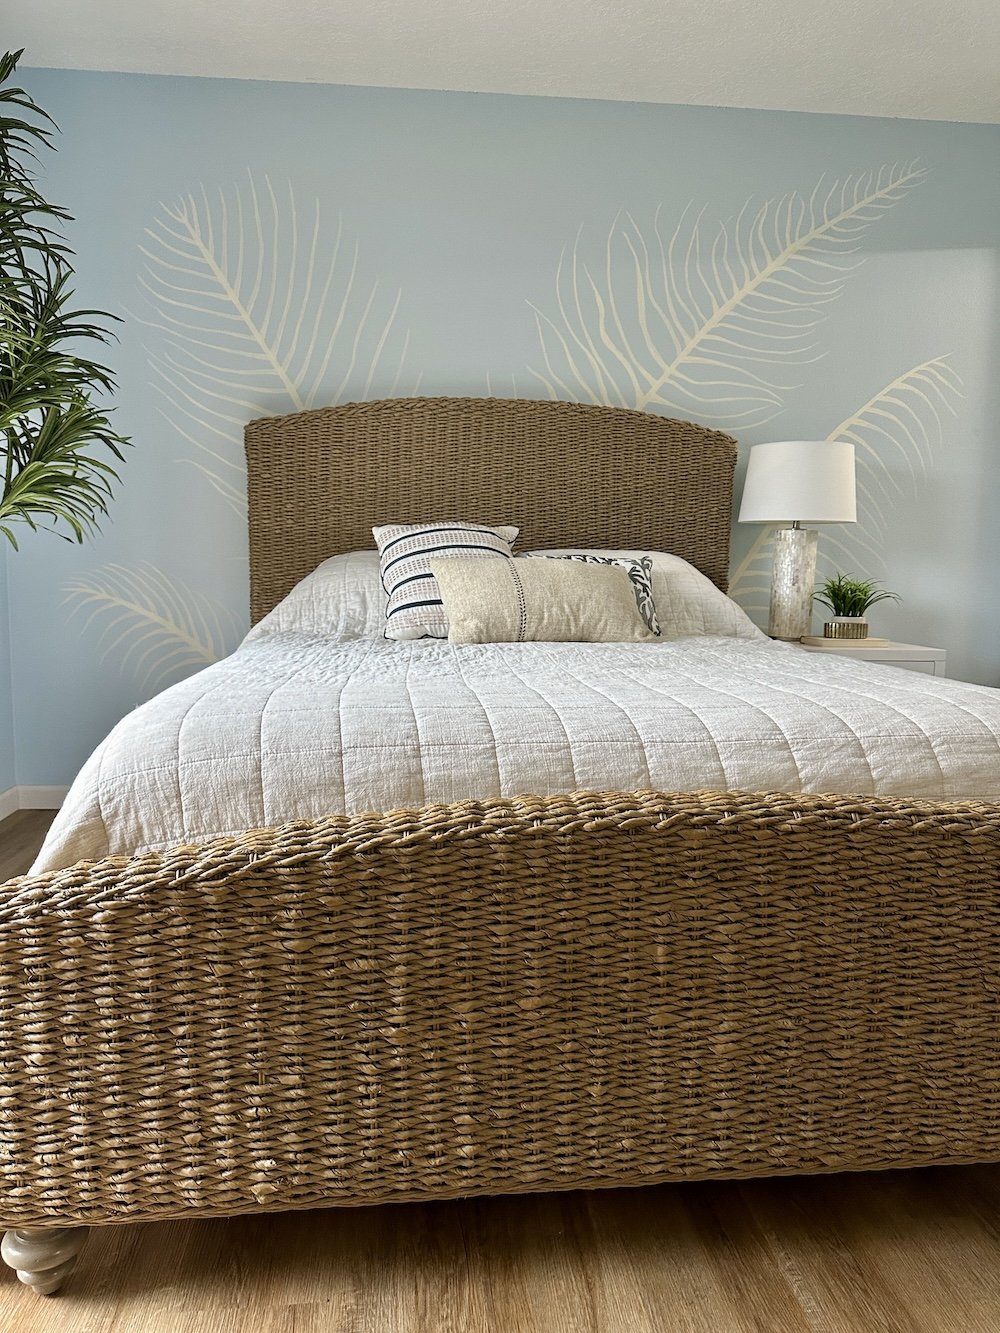
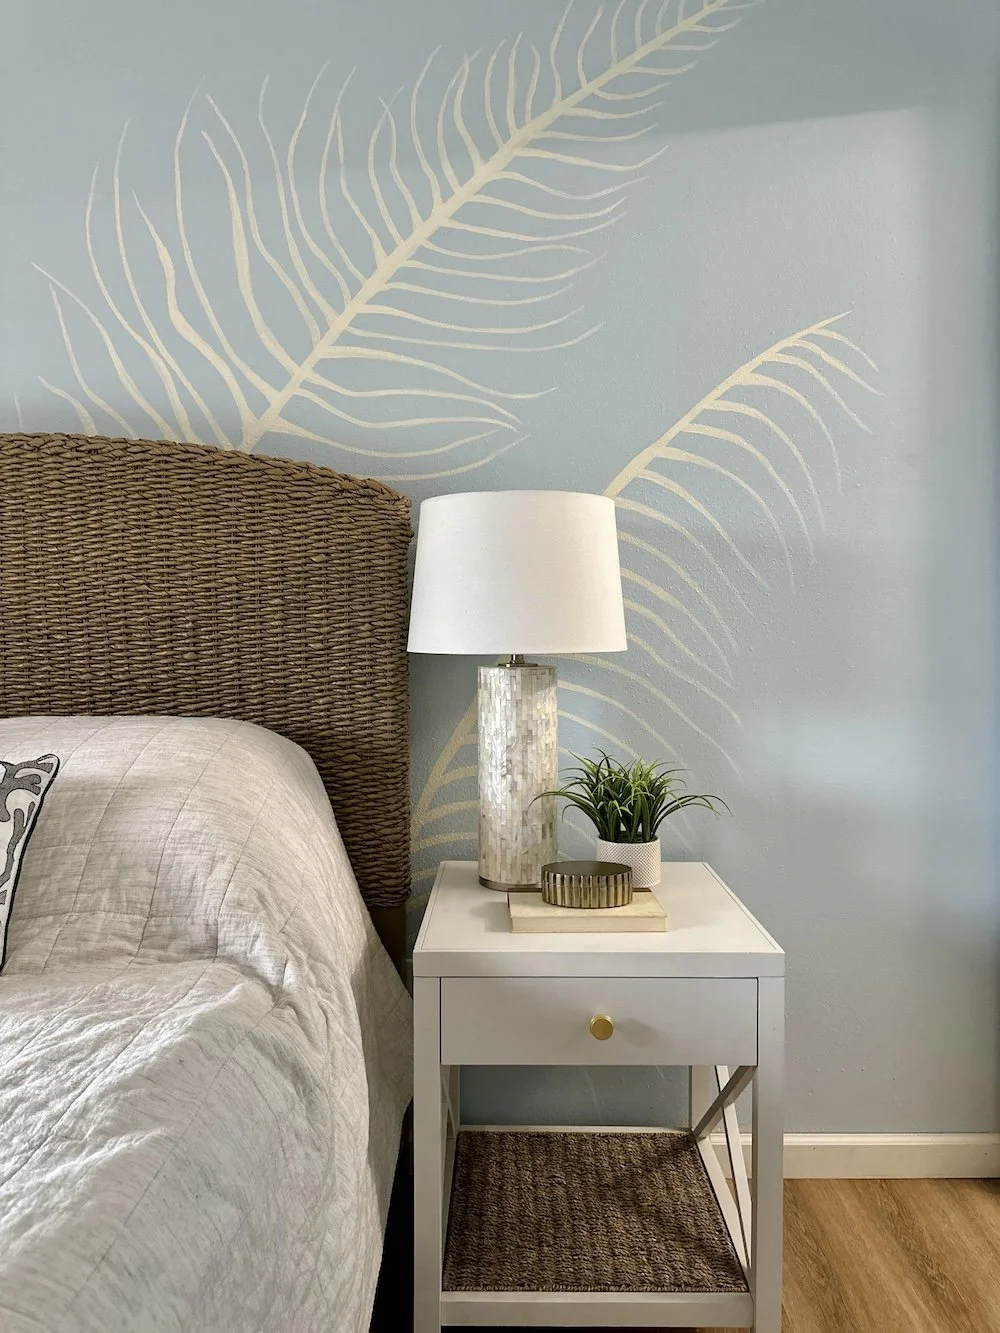
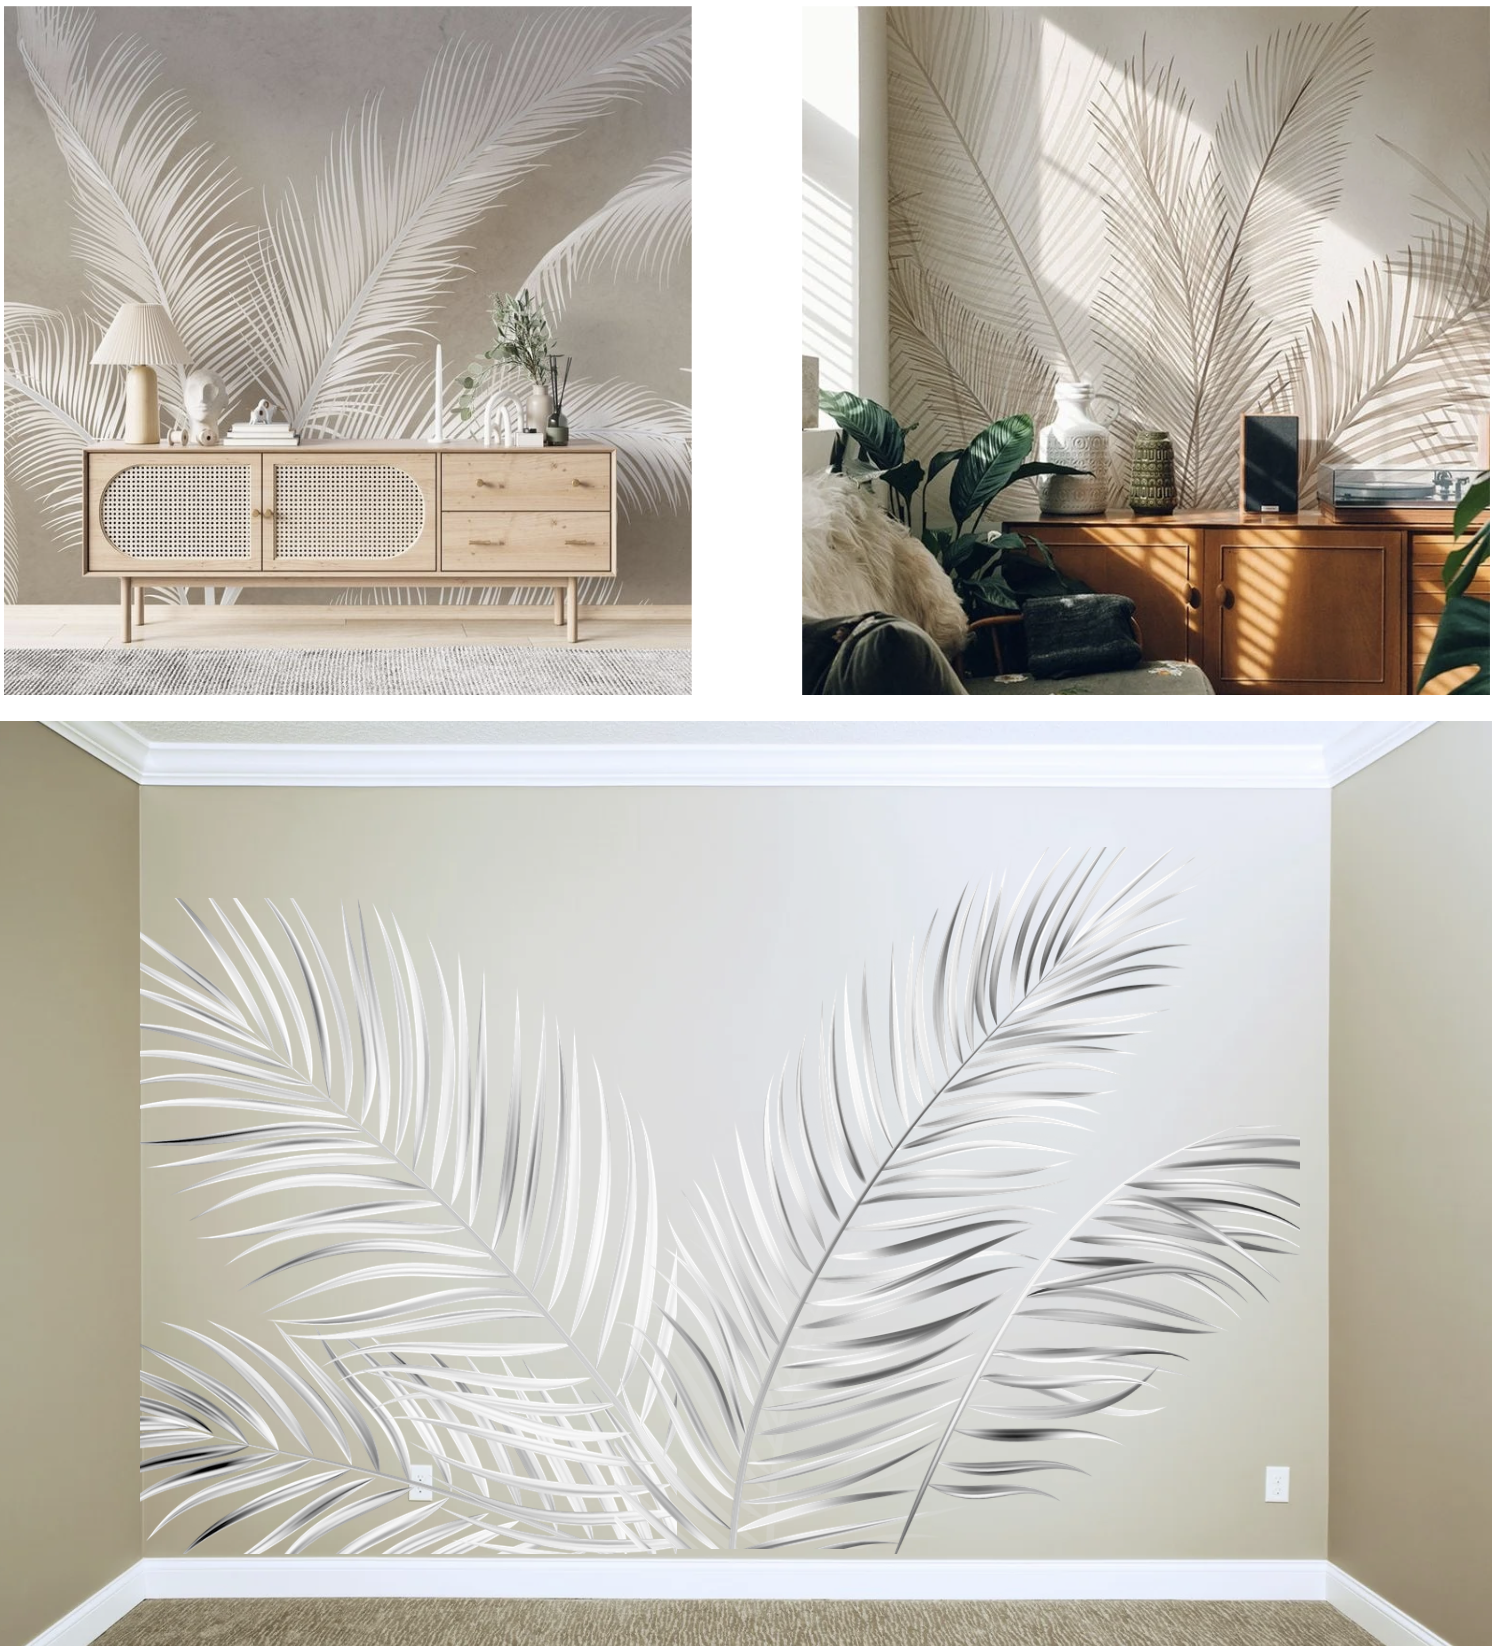
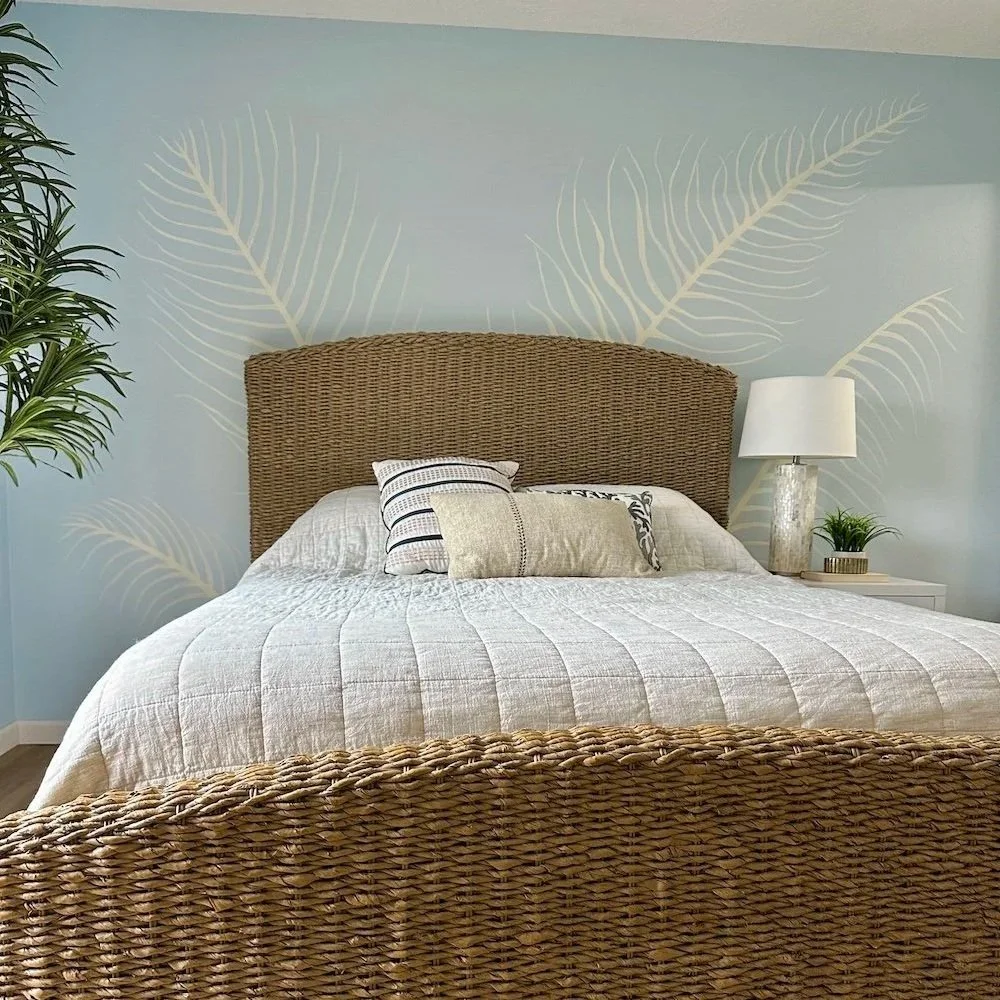
Here is a great example: I recently did a painted palm leaf mural in my parents bedroom. Before I got started I went to Pinterest and found a couple photos of similar murals that inspired me (see below). Then, I went to Canva, uploaded a photo of my parent's bedroom and did an overlay of the inspiration photos onto the bedroom wall using Canva's background removal feature. Then, using some of the mural techniques we will discuss below, I painted my version of palm leaves onto my parents wall.
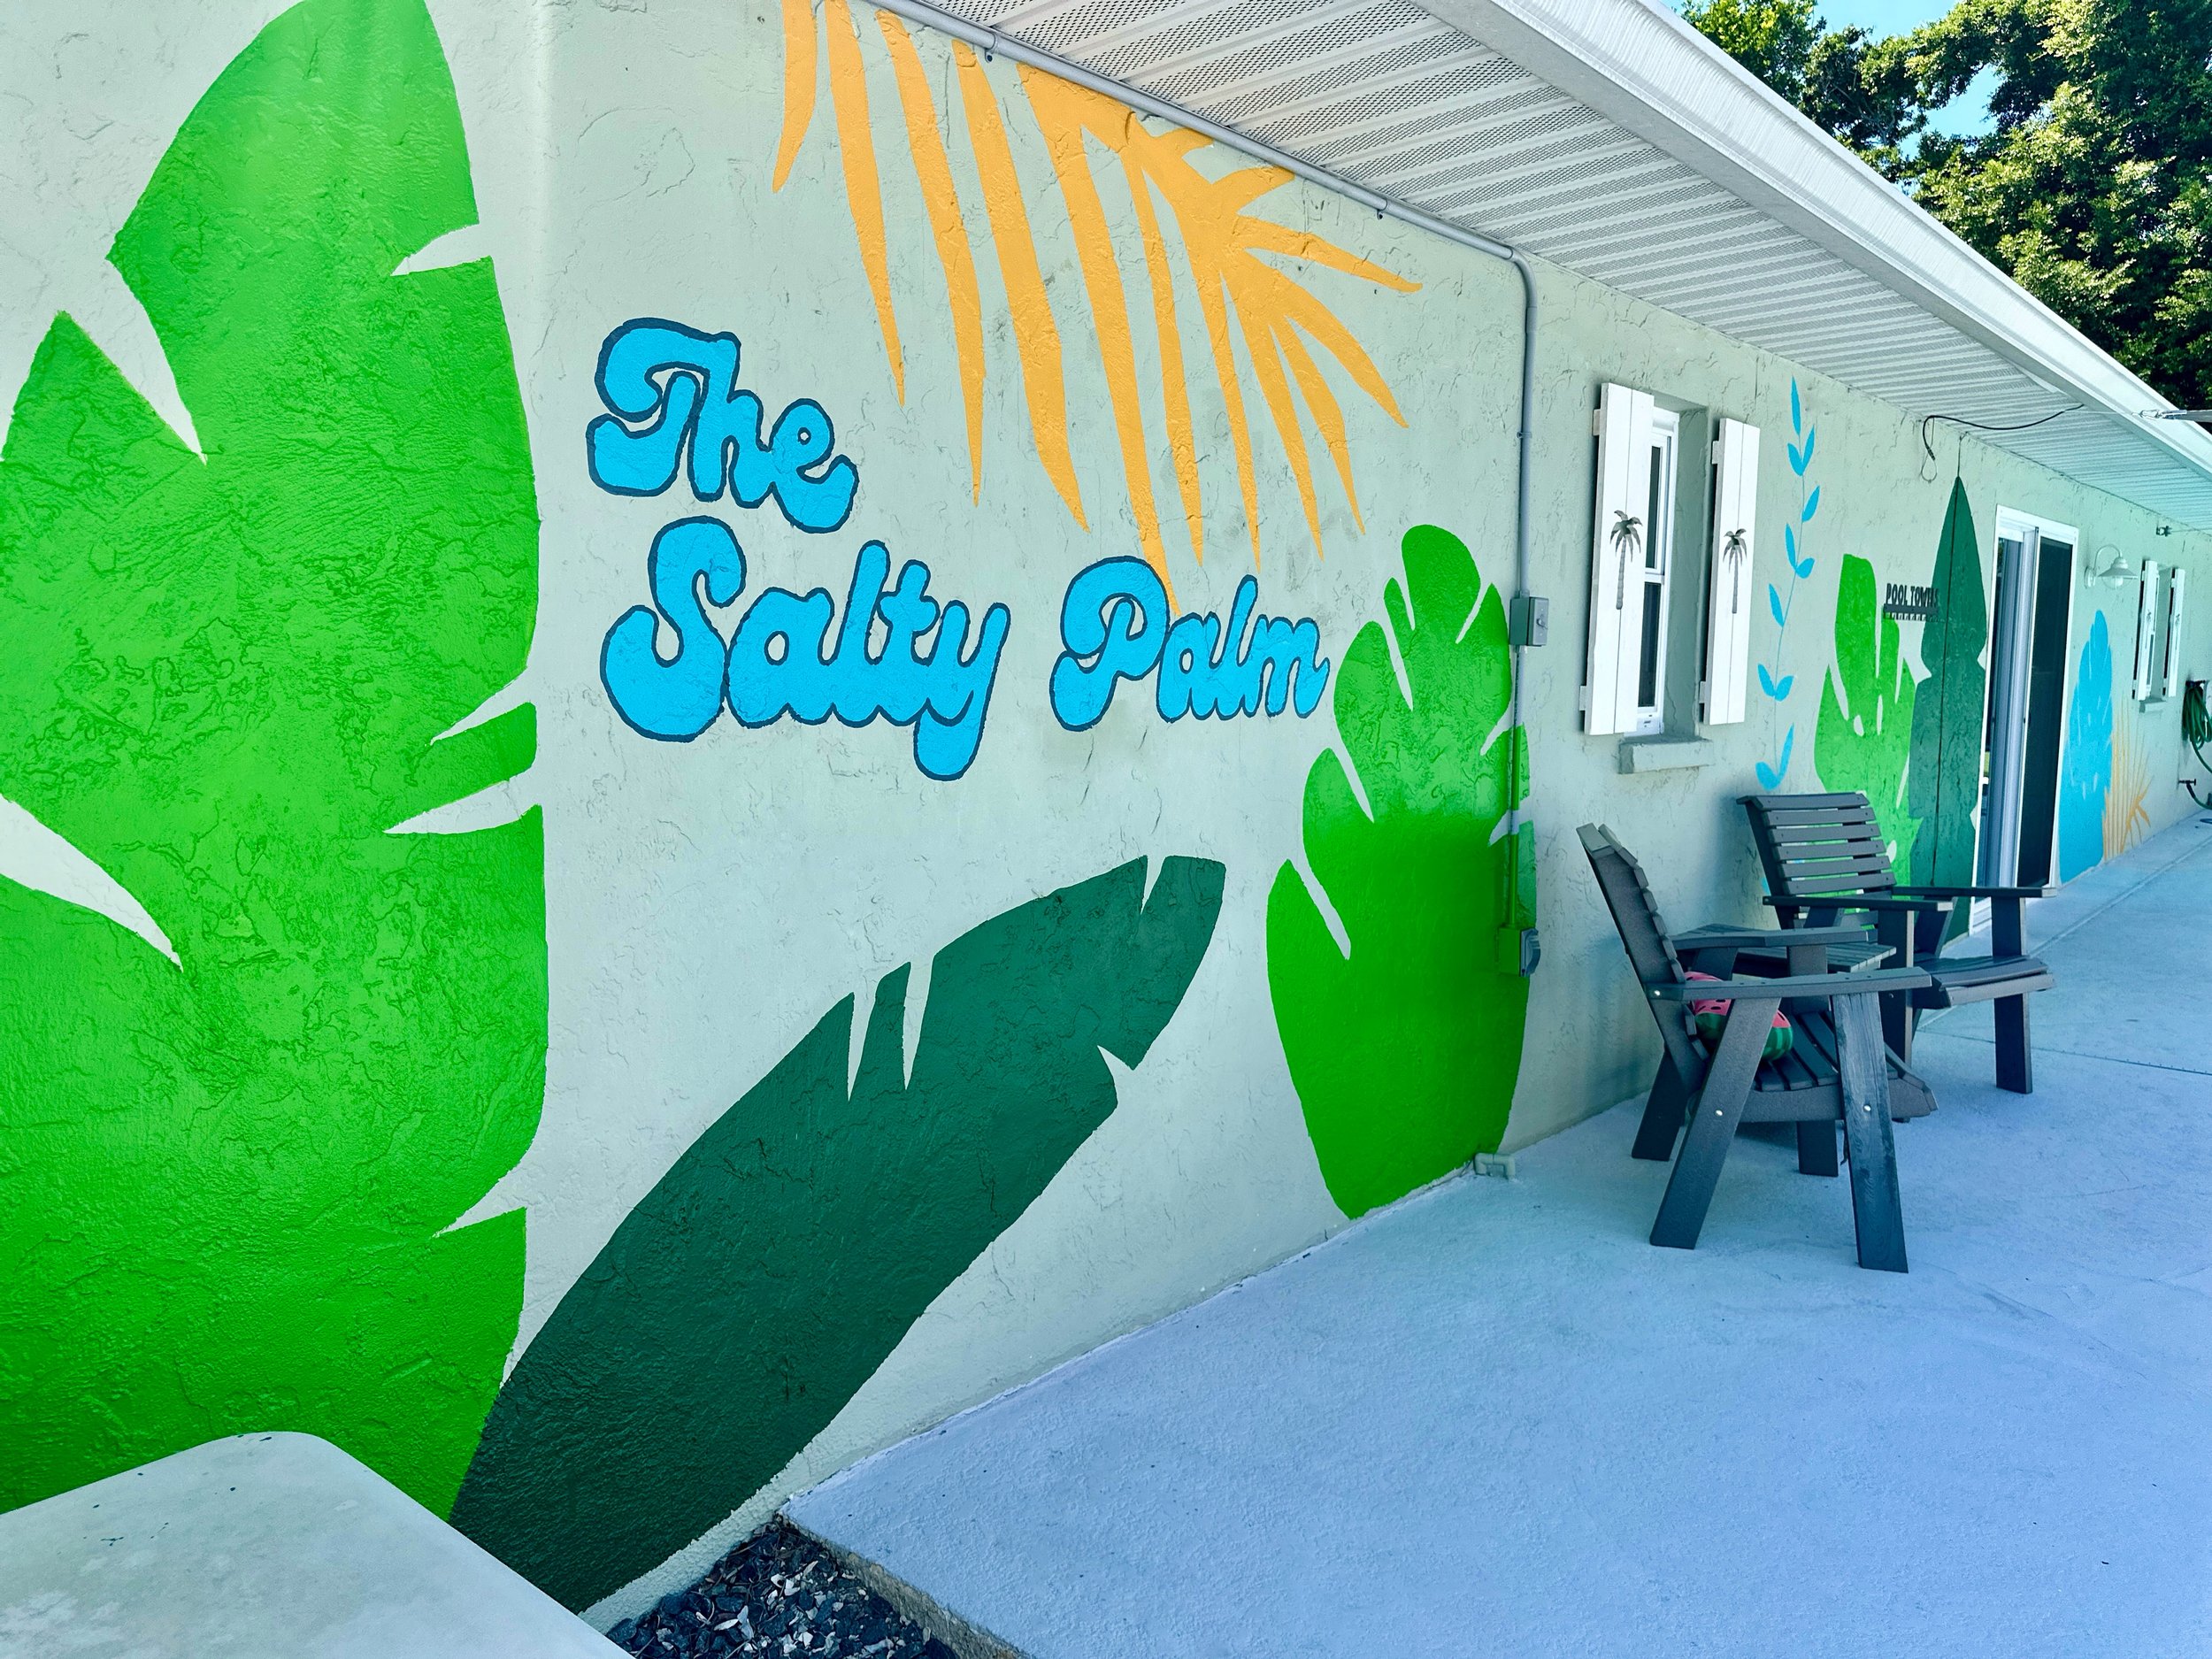
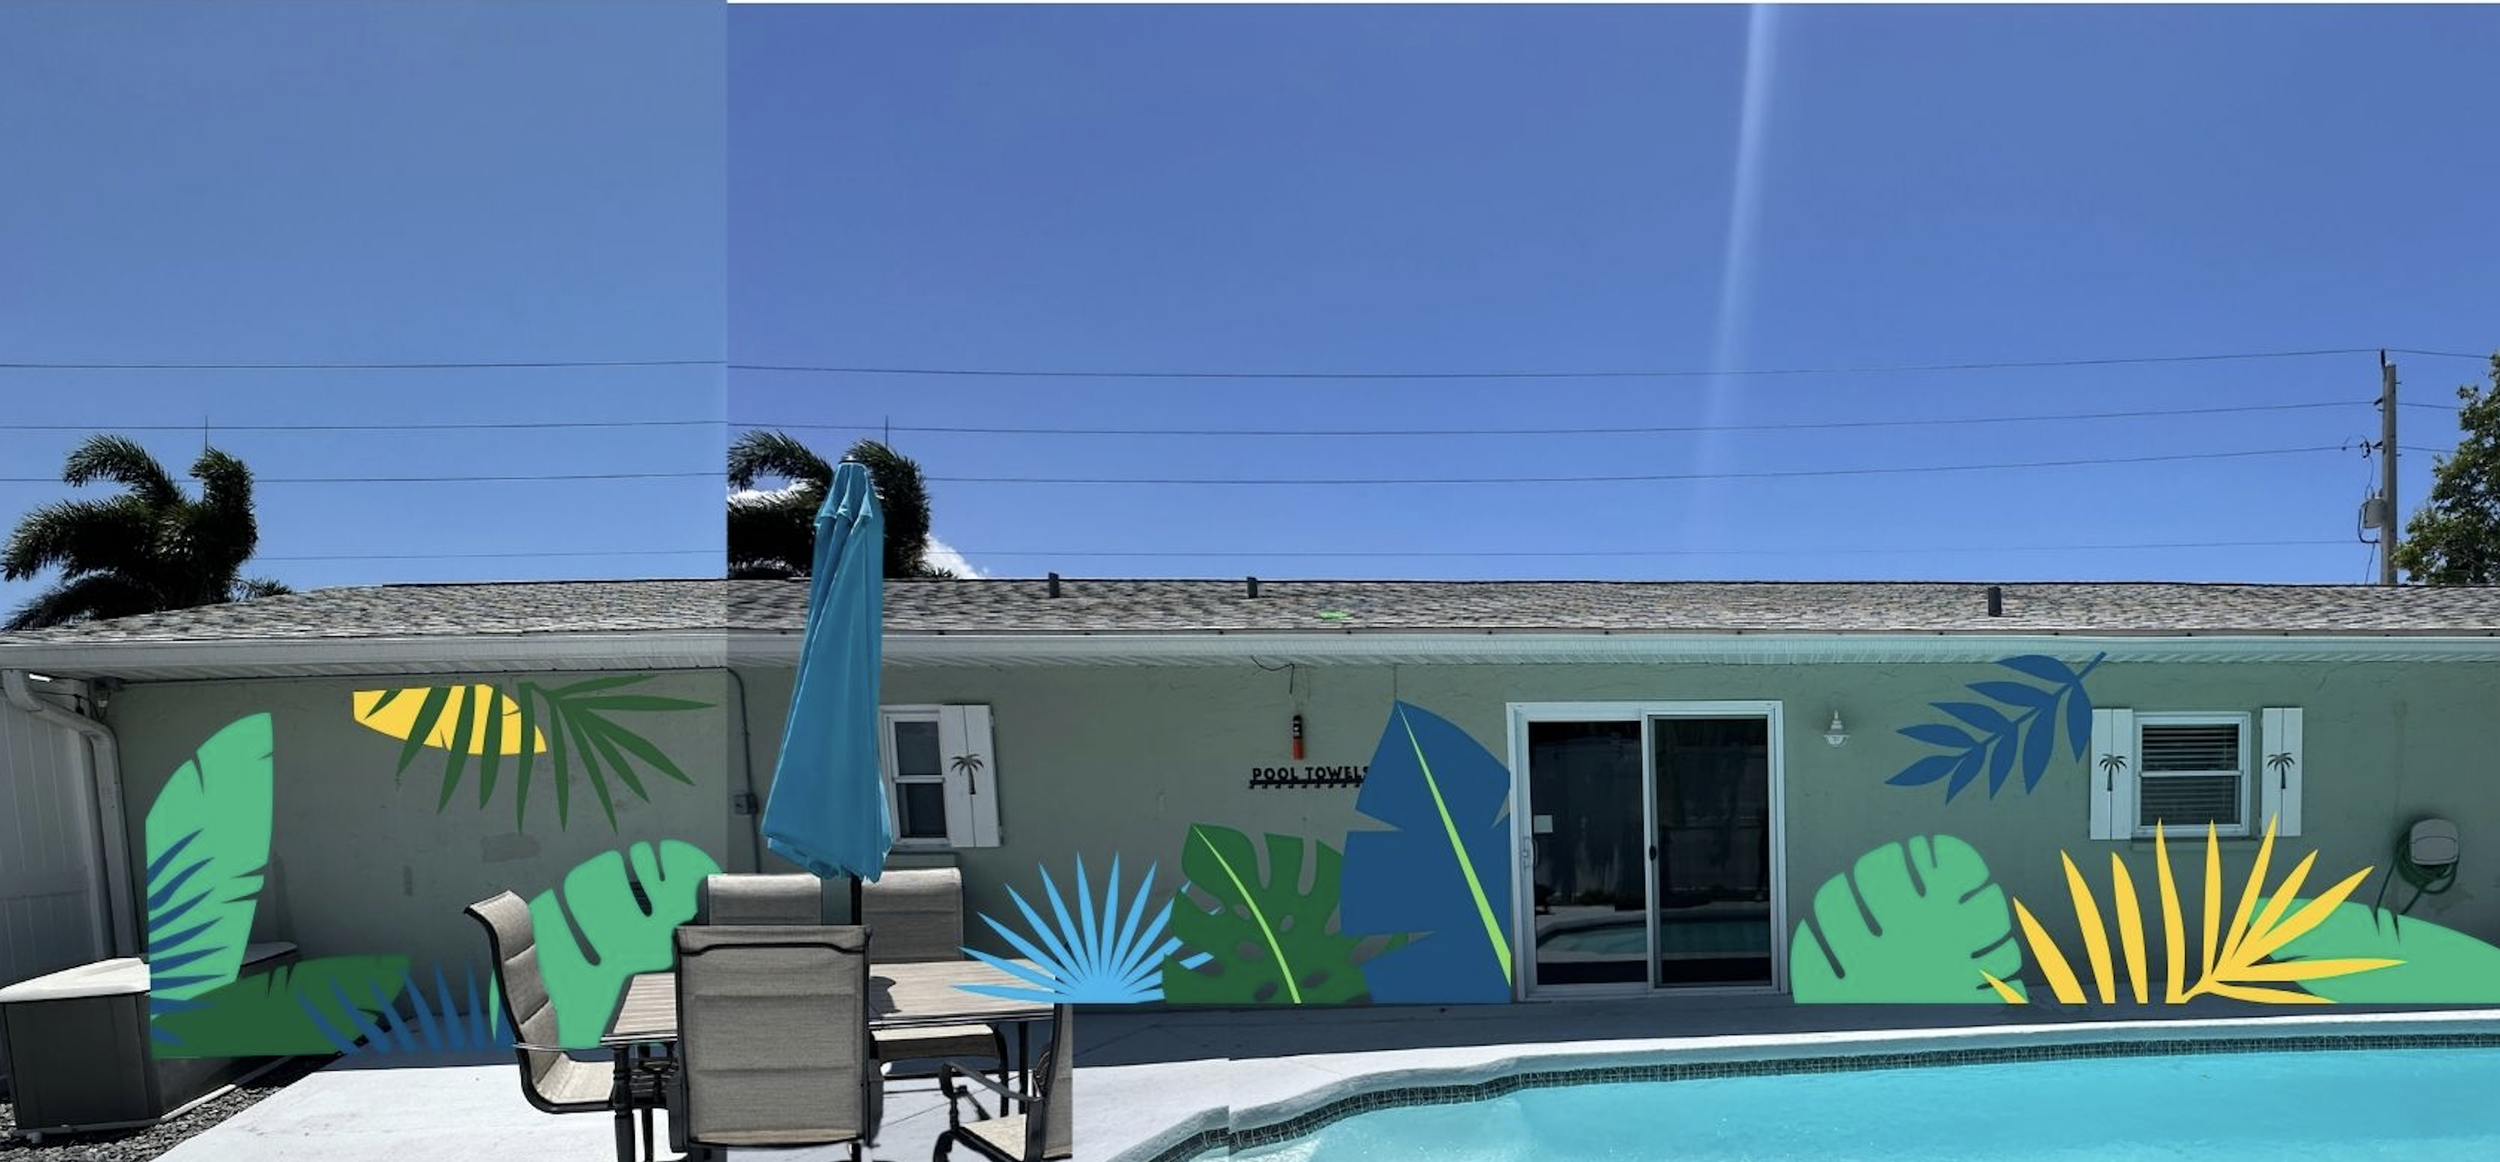
For my recent exterior wall mural, I had an idea in my head of what I wanted so I went straight to Canva to come up with a plan. I uploaded a photo of the exterior of the house into Canva and then began adding different palm leaves available in Canva right onto the photo and playing around with different color combinations until I liked the color palette and layout.
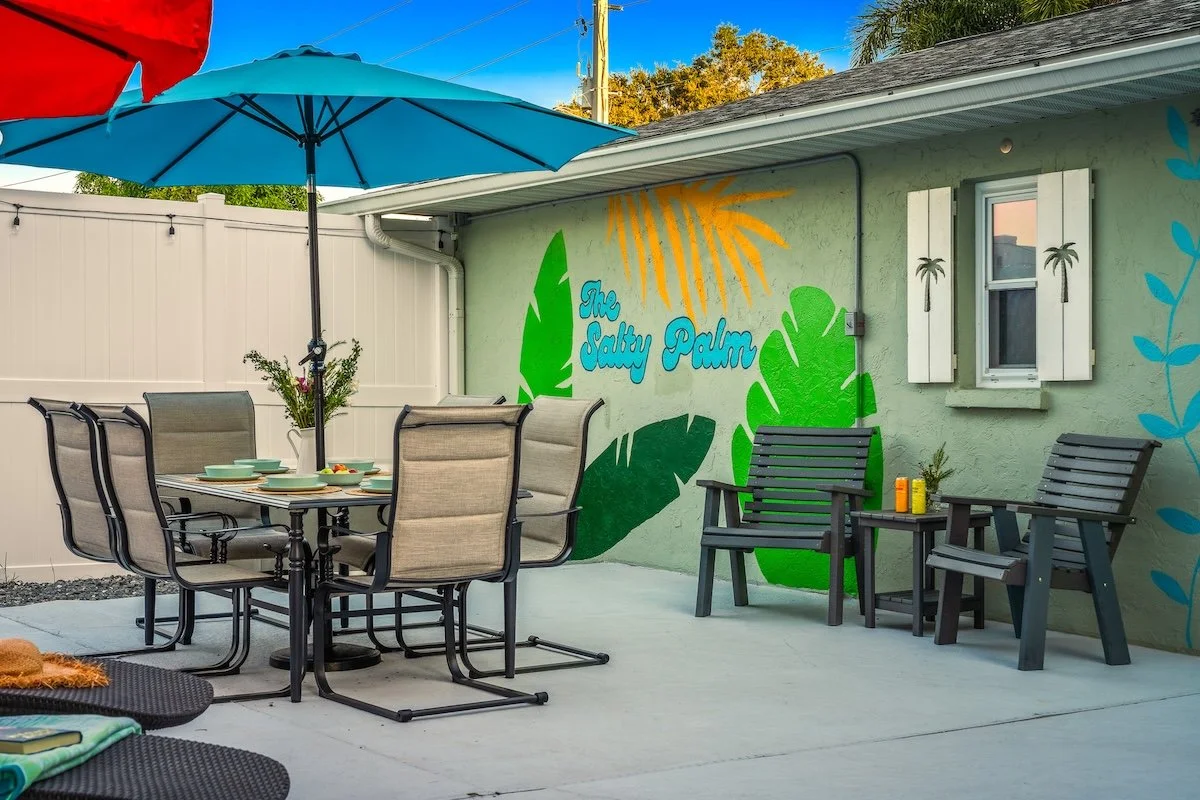
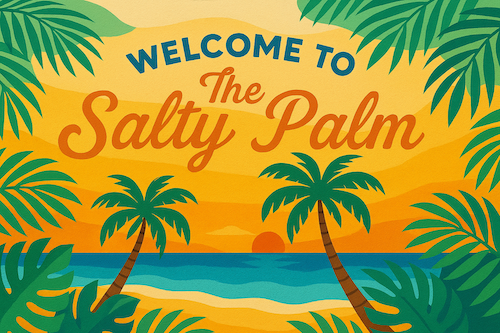
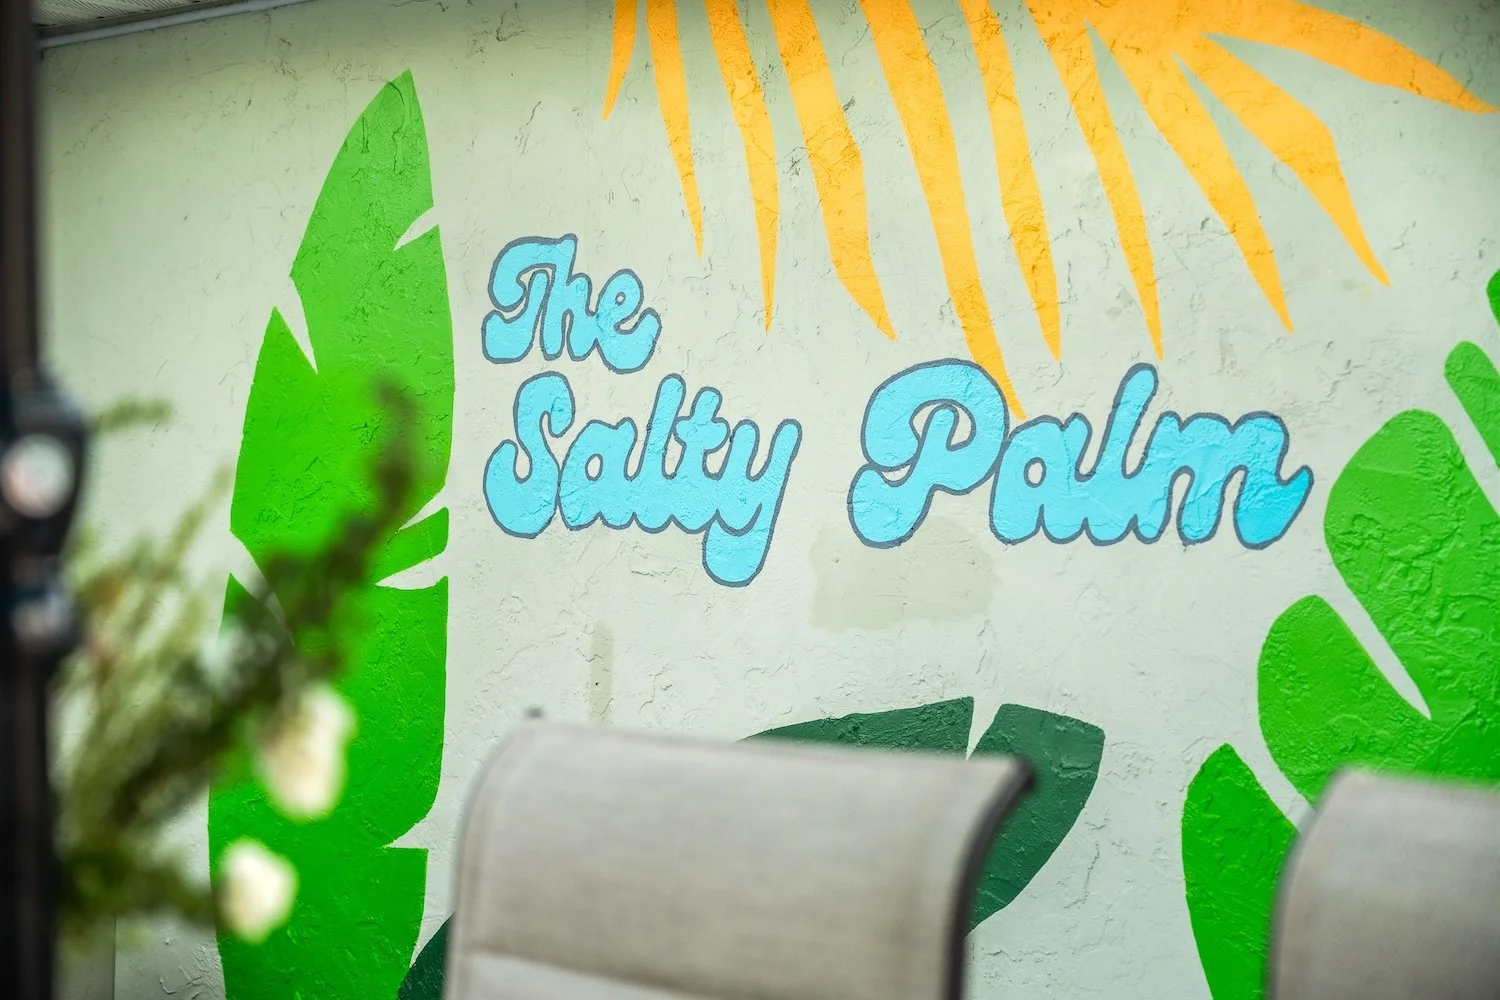
Finally, here is an example of when I went straight to ChatGPT to explain my idea and let it generate a concept for me. In this scenario, I told ChatGPT: "Can you create a bright, colorful wall mural for me that has a beach theme and incorporates palm leaves? I'd like somewhere on the mural to say "Welcome to The Salty Palm" and for the image to be a 16:10 ratio." See below what ChatGPT was able to create for me.
Now let's move on to some techniques you can use to create the perfect wall mural. Depending on whether you are working on exterior or interior walls and how intricate your mural idea is, you may find that one of these techniques will work best for you. You can even combine a couple of the techniques to achieve the perfect mural!
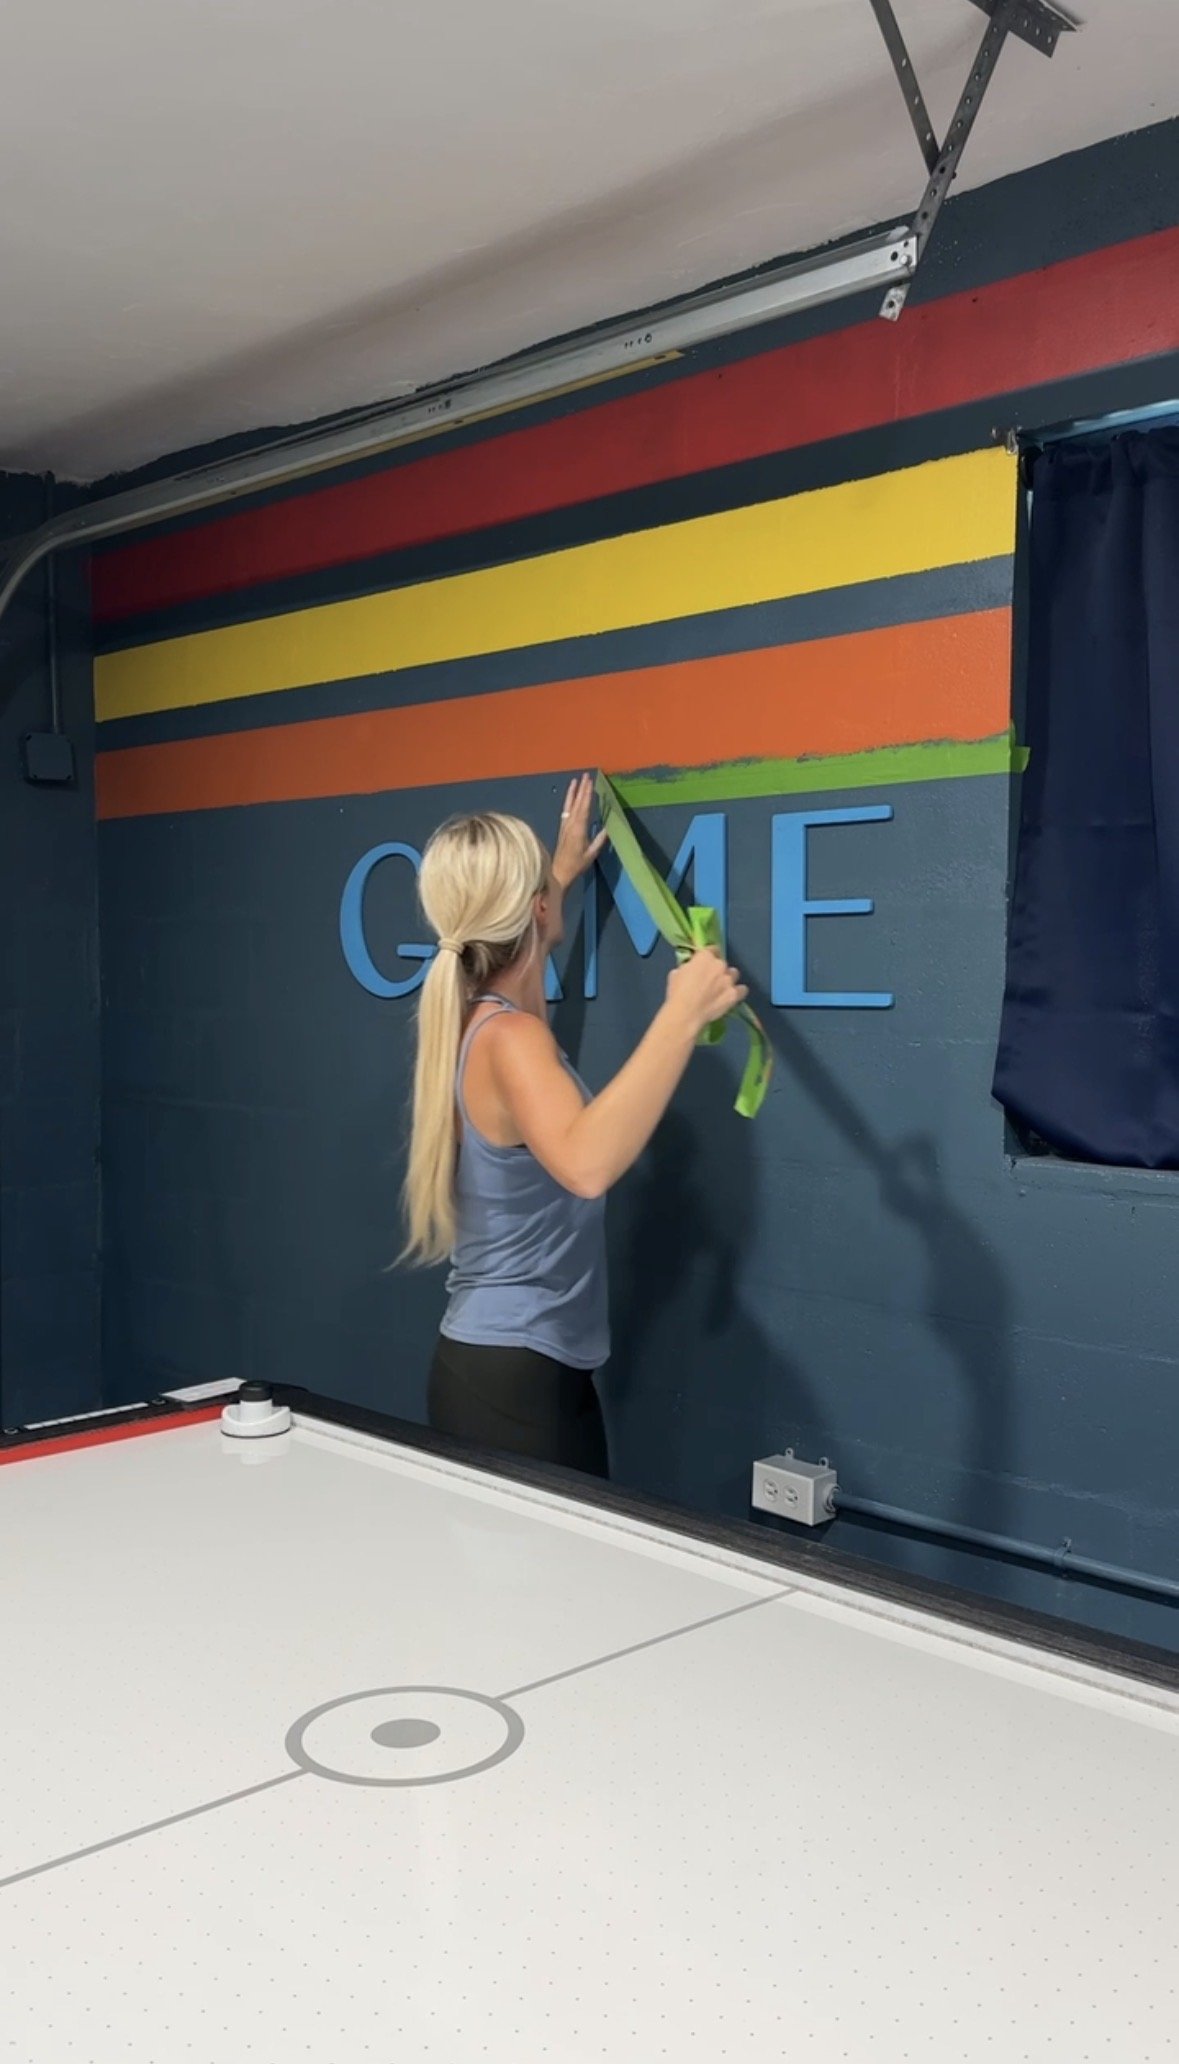
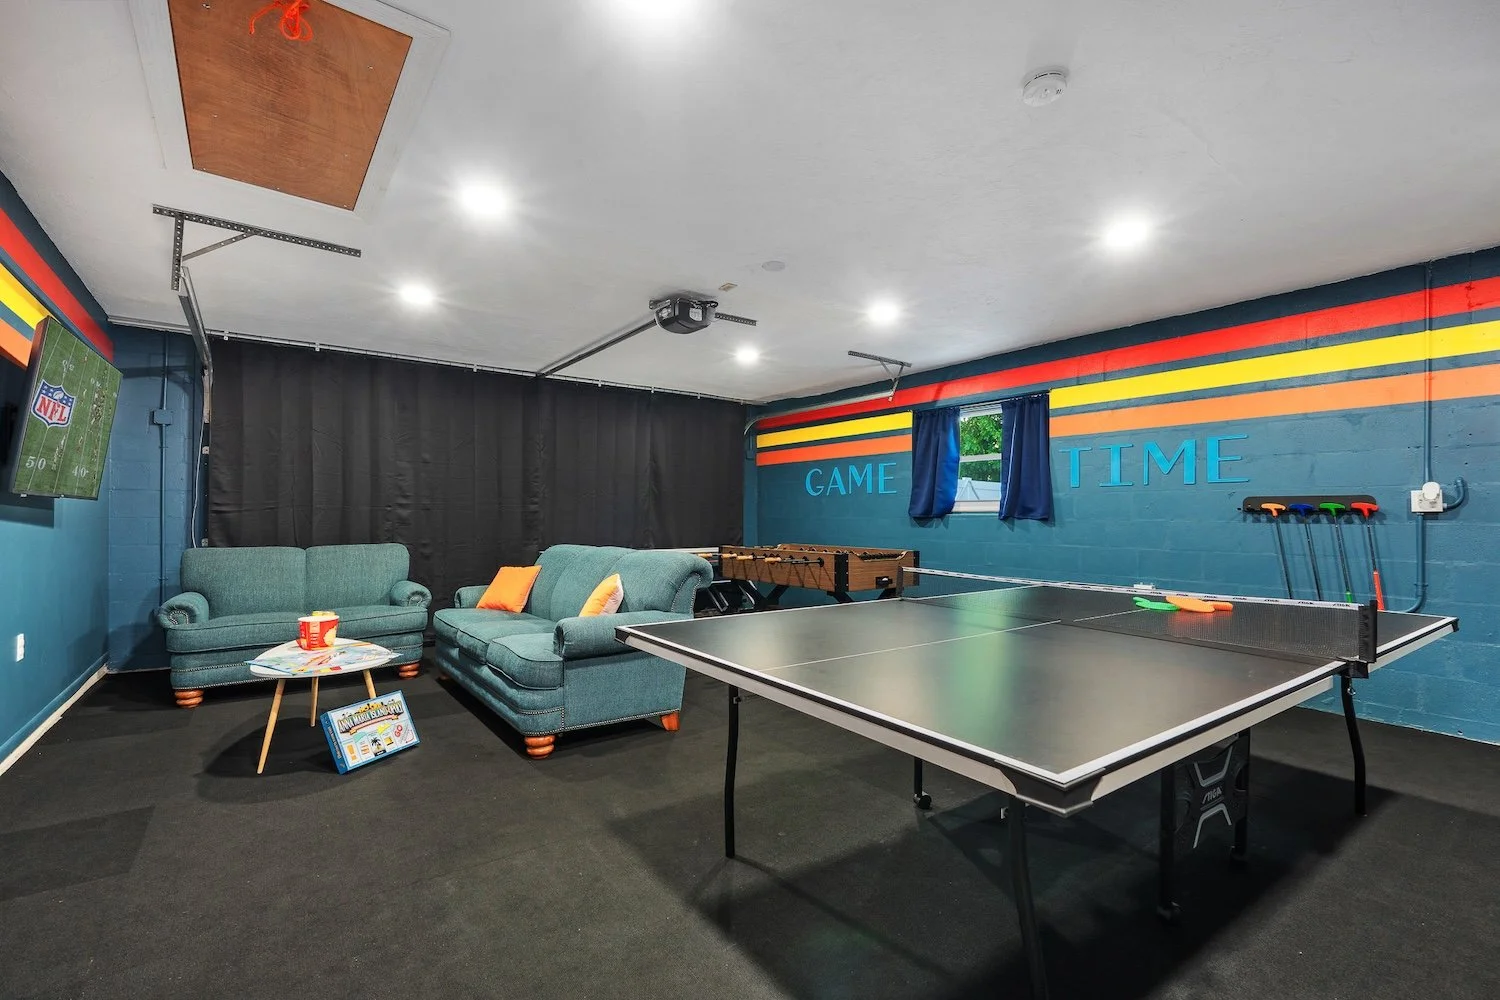
Technique #1: Using Painter’s Tape
An easy method for painting a wall mural, especially for beginners, is by using painter’s tape. This technique is ideal for murals with clean lines, geometric patterns, or stripes, and it works best on interior walls with a smooth finish or light texture. Start by choosing the right tape for your surface: use delicate or low-tack painter’s tape on recently painted walls to prevent peeling, and opt for heavy-duty painter’s tape for exterior walls or walls with heavier texture. Before applying any tape, wipe the wall down with a damp cloth to remove dust or dirt so the tape adheres properly.
For straight lines, I highly recommend using a laser level on the wall that you can match your tape up to ensure you are creating straight lines. Once your tape is in place, run a plastic putty knife or credit card along the edges to seal the tape and eliminate air bubbles (this step is key for crisp lines). Paint your design as usual, then carefully remove the tape while the paint is still wet to reveal sharp, clean edges with professional-looking results.

Technique #2: Using Chalk to Guide You
If you have some basic artistic abilities or are going for a more organic look, using chalk (or pencil) to guide your mural is a great option—especially if you’re nervous about committing to paint right away. With this technique, you’ll lightly sketch your design directly onto the wall using chalk or pencil, knowing that it can easily be wiped away and redrawn until it feels just right. This is one of my favorite methods because once the full design is on the wall, you can step back, assess the overall balance, and make adjustments to individual elements before painting.
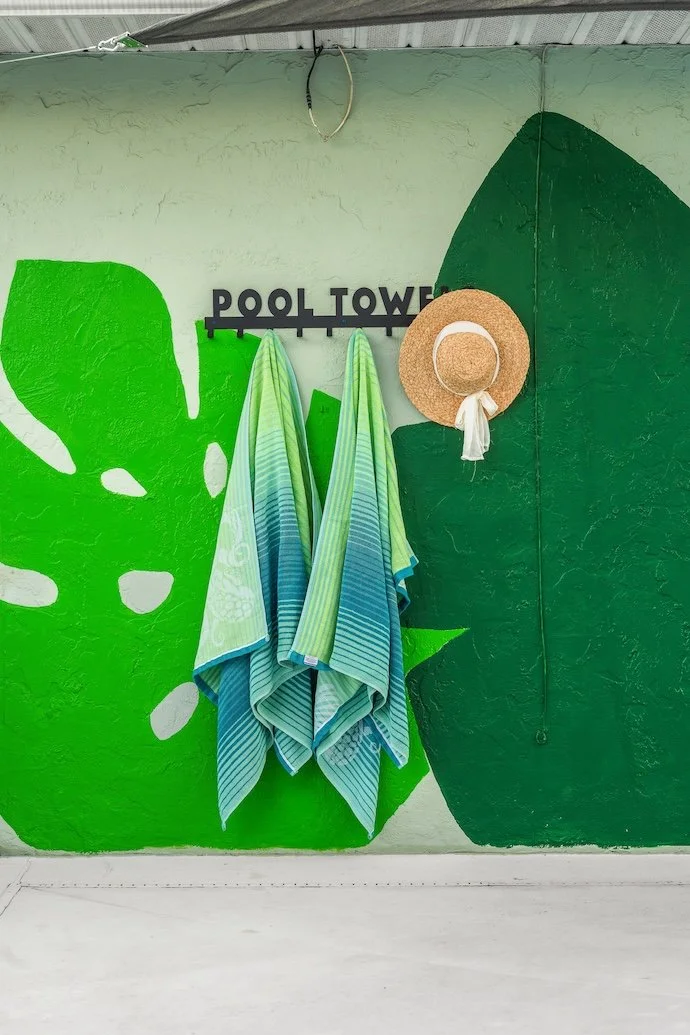
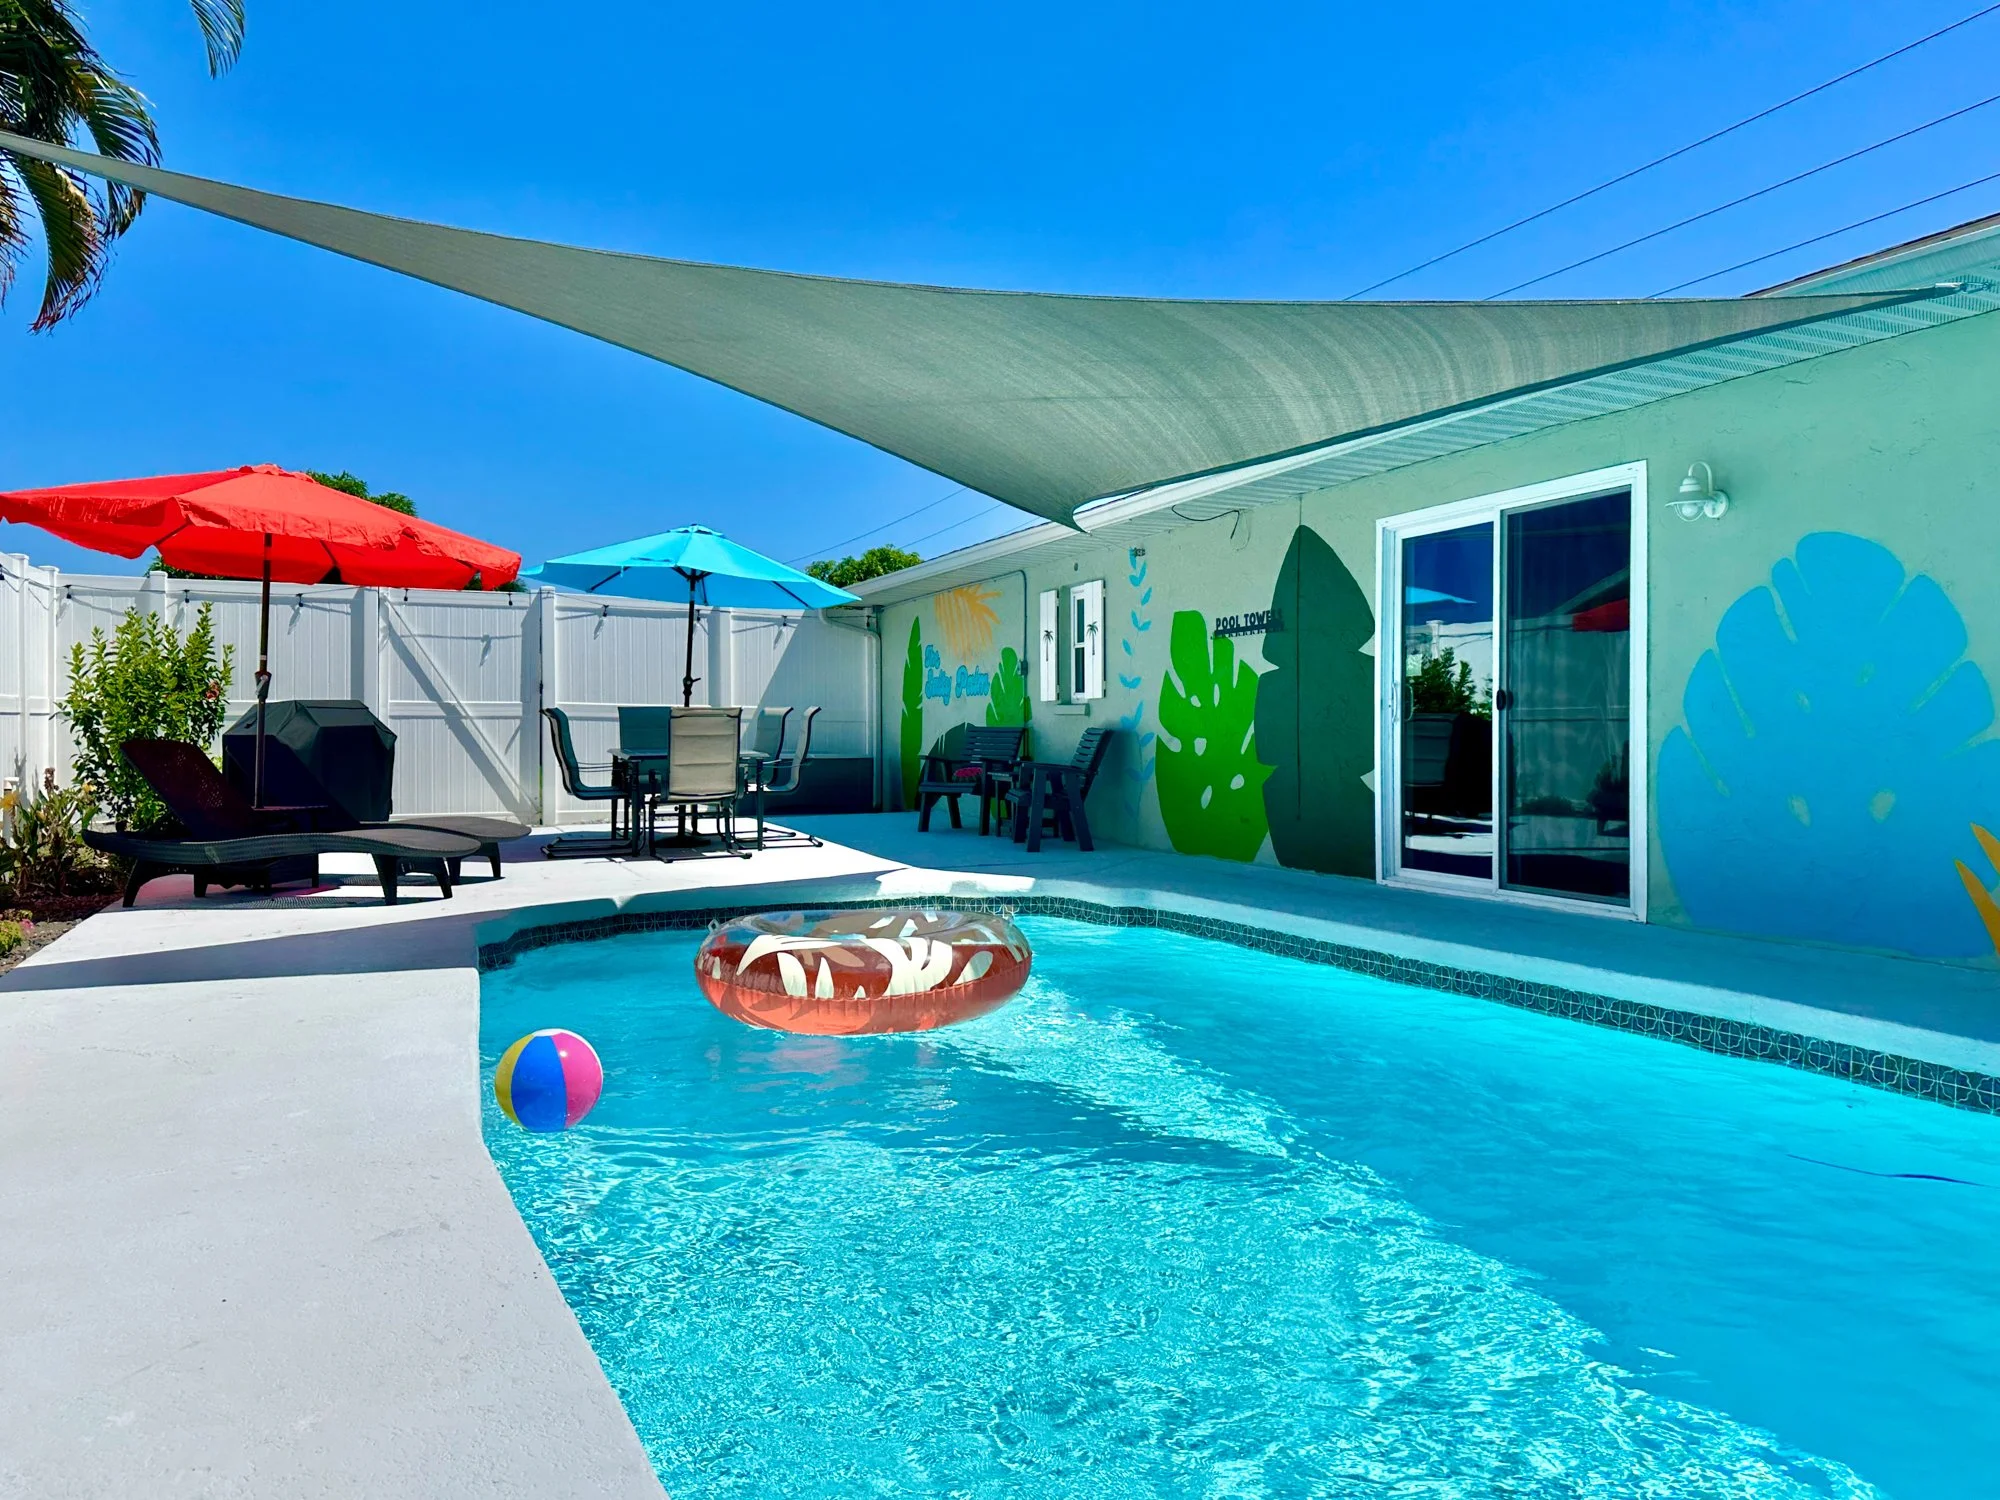
When you’re ready, simply paint right over the chalk or pencil—there’s no need to erase it first. After the mural is complete and fully dry, any remaining chalk or pencil marks can be wiped away with a damp rag. I like to keep my design in hand while sketching, either printed out or pulled up on my iPad so I can reference it as I sketch. I used this exact method on the exterior wall next to the pool at our Airbnb to add different palm leaves onto the wall.


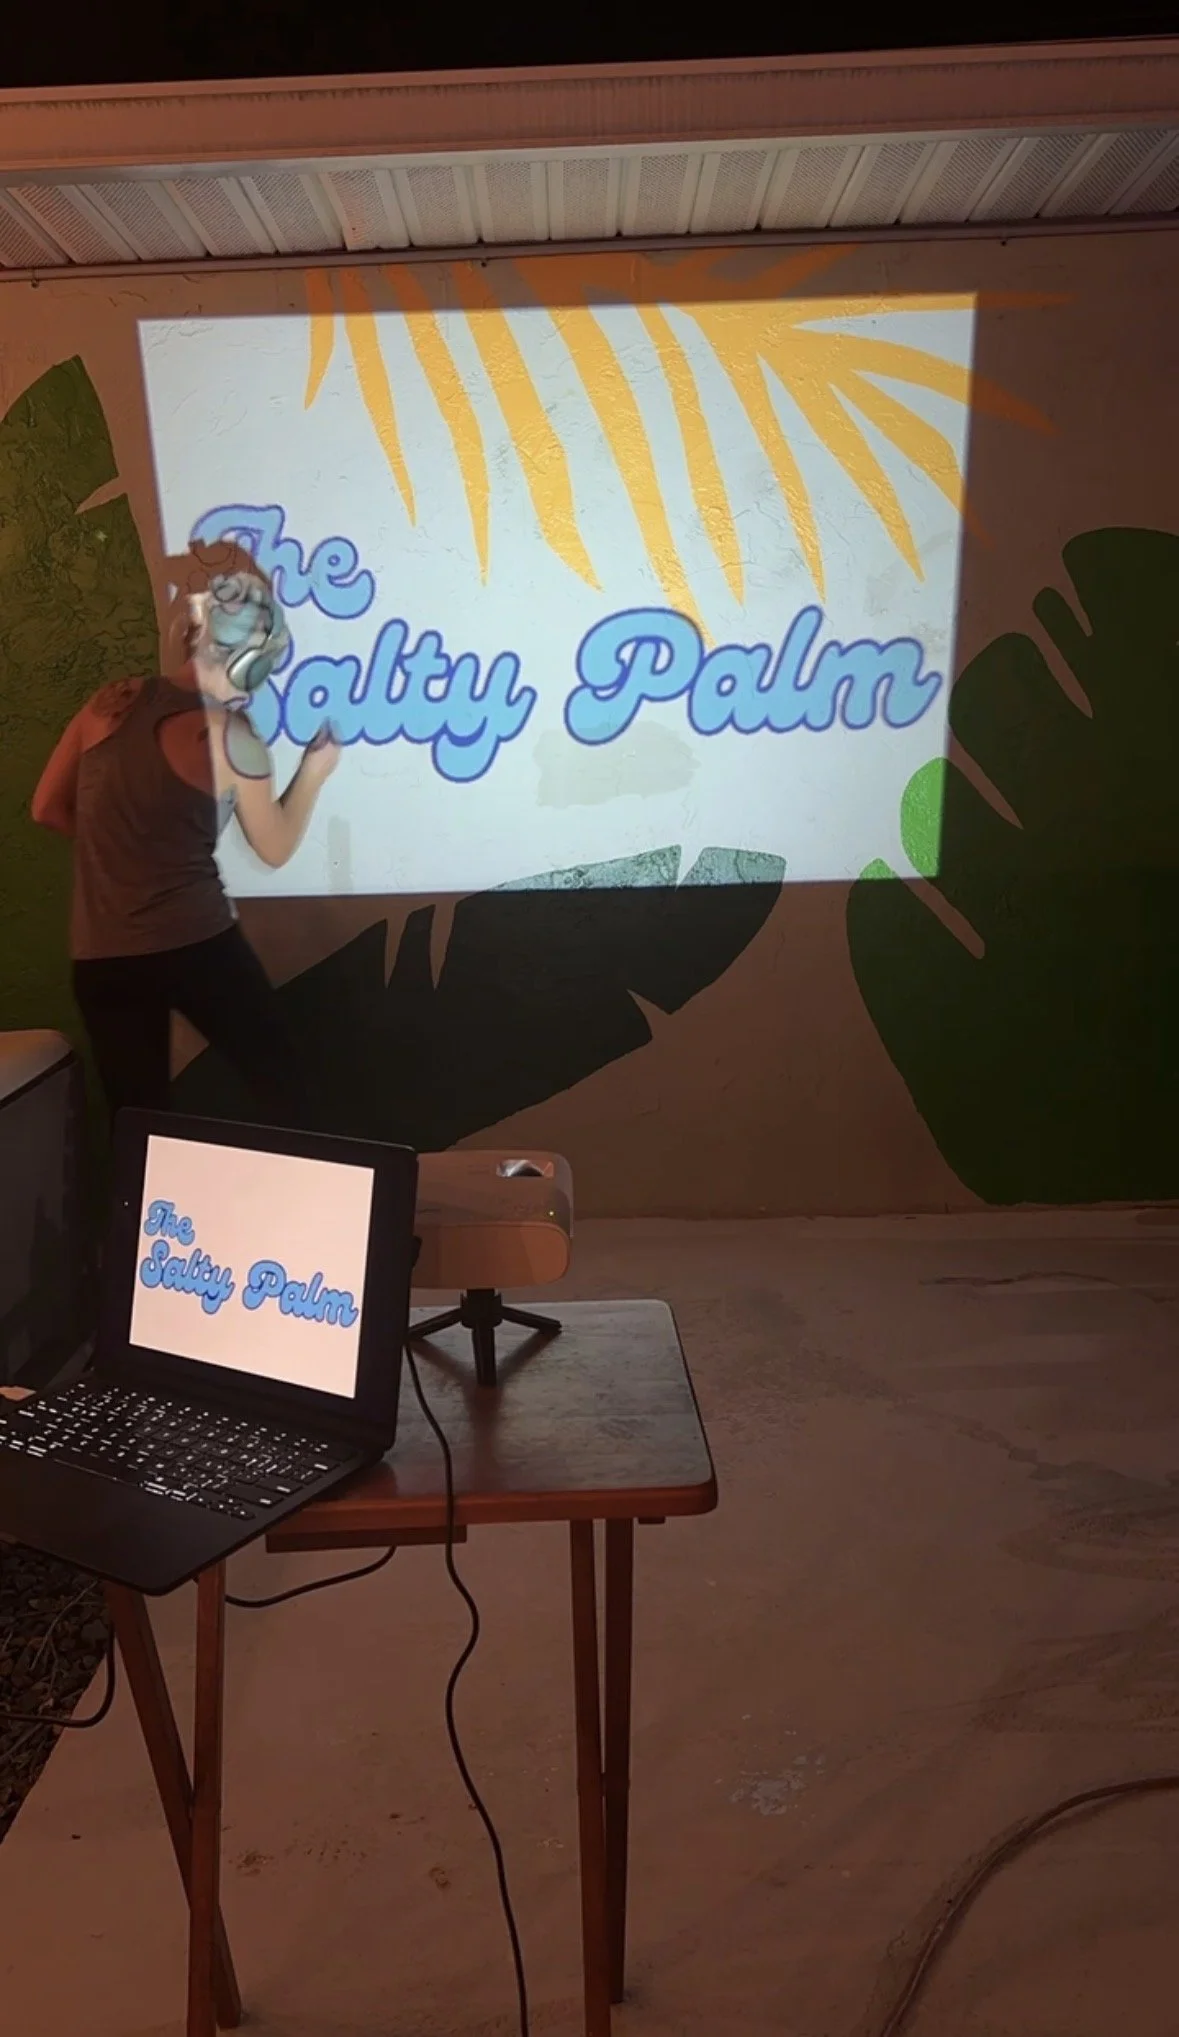
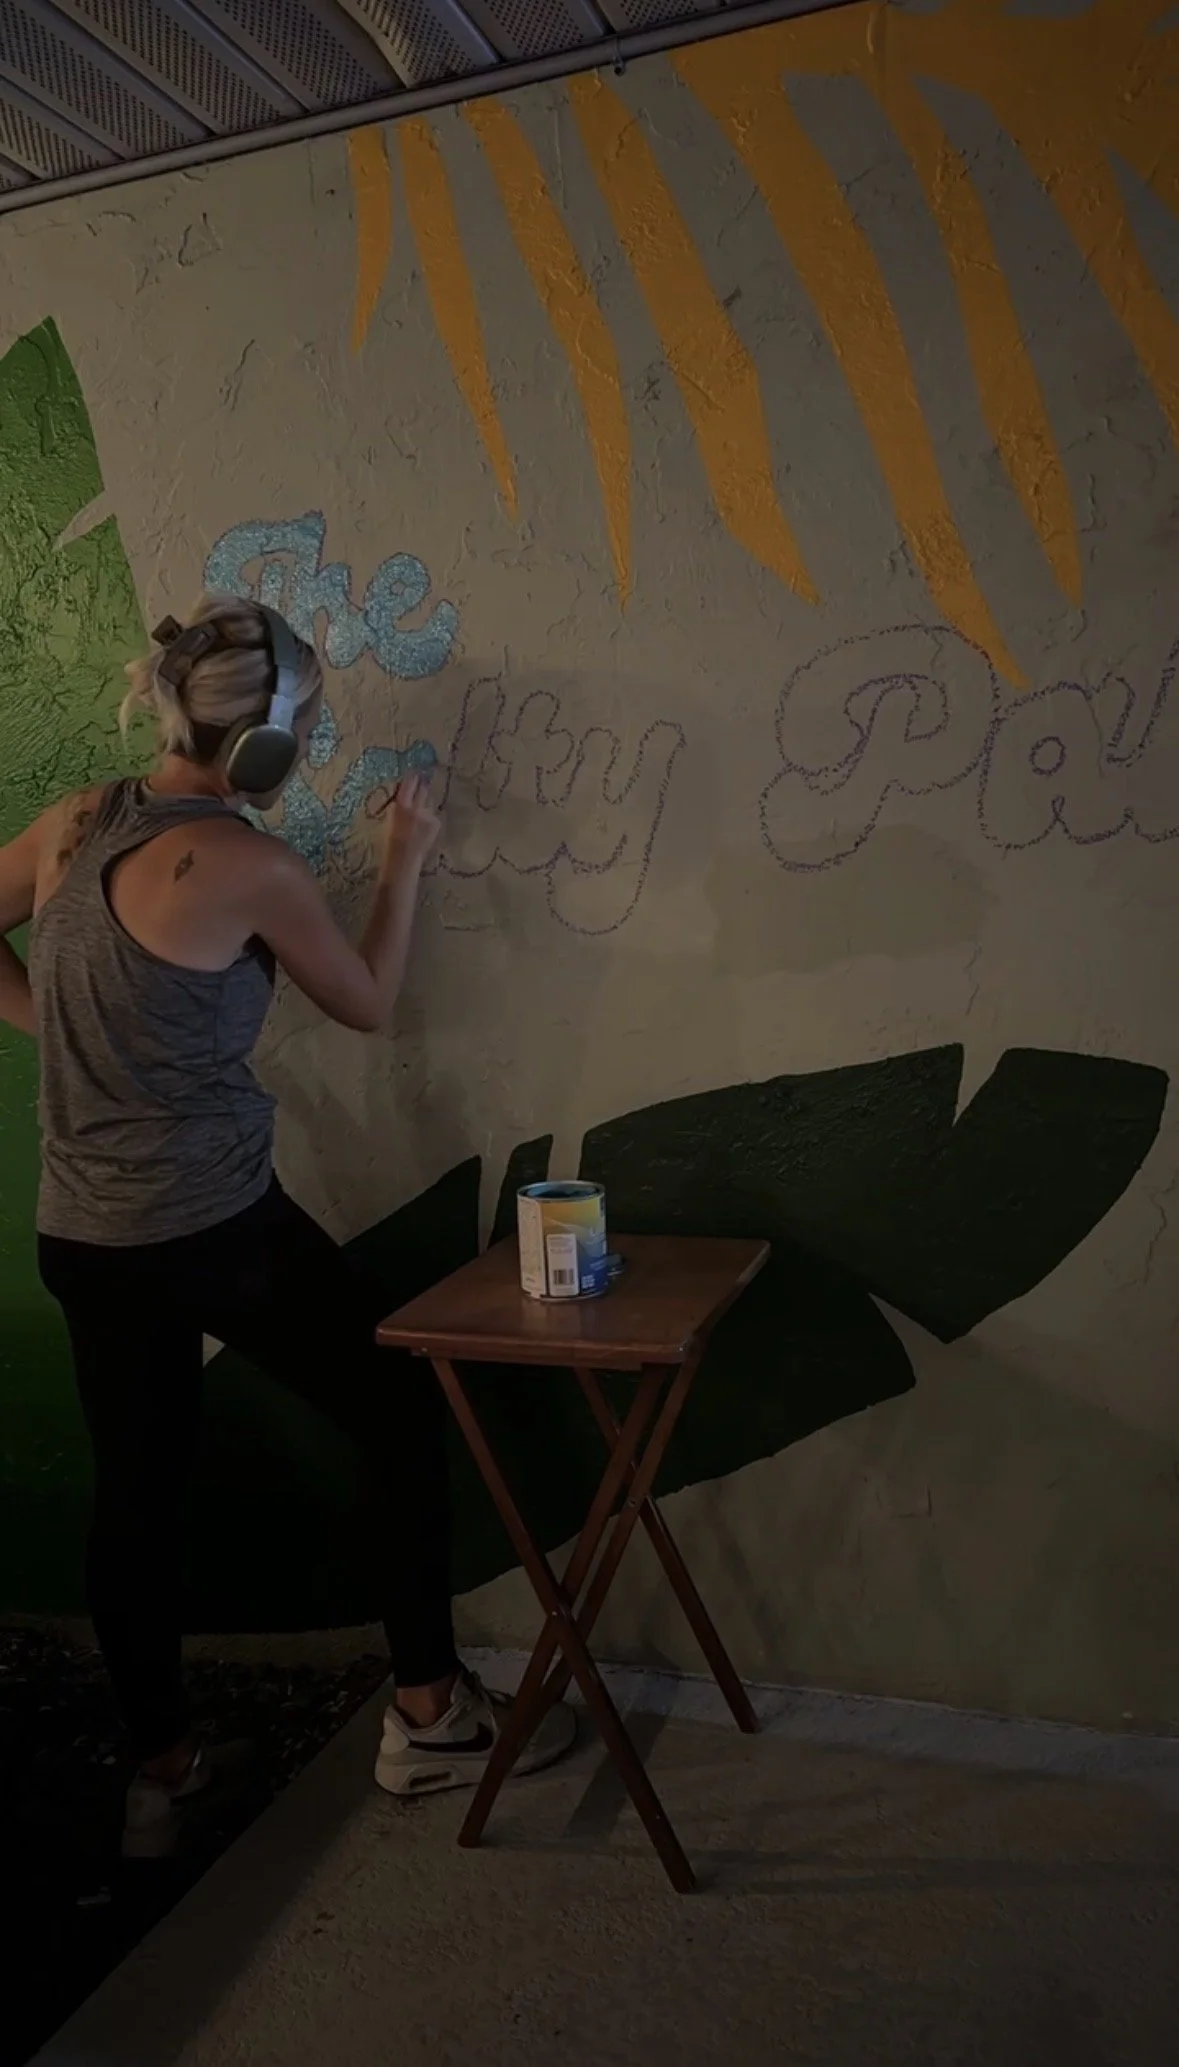
Technique #3: Using a Projector
If you want the most fool-proof, no-guesswork option, using a projector is hands down the easiest way to paint a wall mural, especially for beginners. This method allows you to project your exact design onto the wall, trace it precisely, and then simply paint within the lines. All you need is a small projector, something to prop it up on (a tripod or small folding table works great), a tablet or laptop to connect it to, and chalk or a pencil. Before getting started, make sure your mural design is saved as a PDF or image file on your computer or iPad. In my case, I connected my laptop to the projector using an HDMI cable and pulled up the mural design I created in Canva, making sure the PDF was blown up to full screen so it filled the wall properly.
I just moved the projector farther away from the wall to make the projected image larger on the wall. Once the image was projected in the right size, I used chalk to trace the design onto my exterior wall, then began painting after the full design was sketched. Keep in mind that you’ll need darkness for this method to work, so turn off lights and cover windows for interior walls, or wait until nighttime for exterior walls. I love the projector method because it requires zero artistic skill—you’re simply tracing and coloring inside the lines, which makes it incredibly approachable and stress-free.
Technique #4 (“Cheat” Option): Using Wallpaper Instead
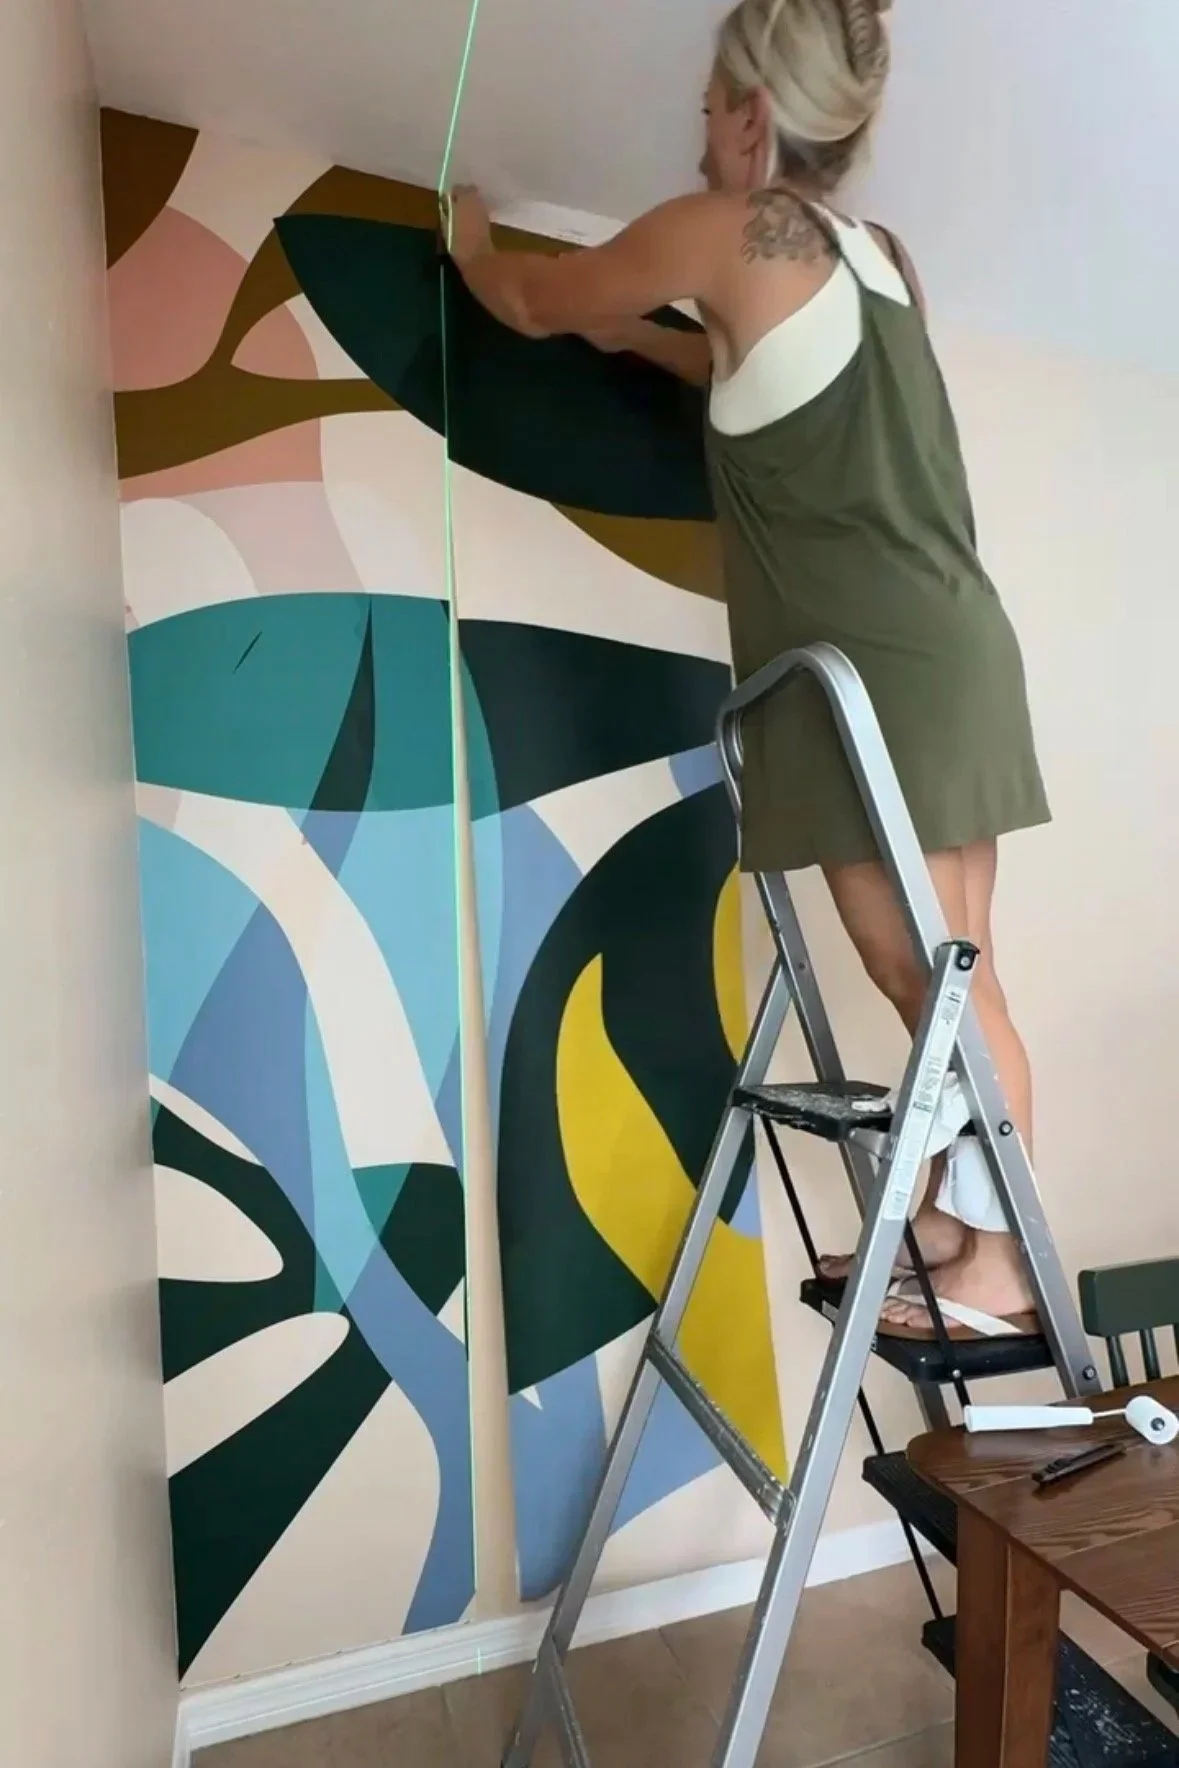
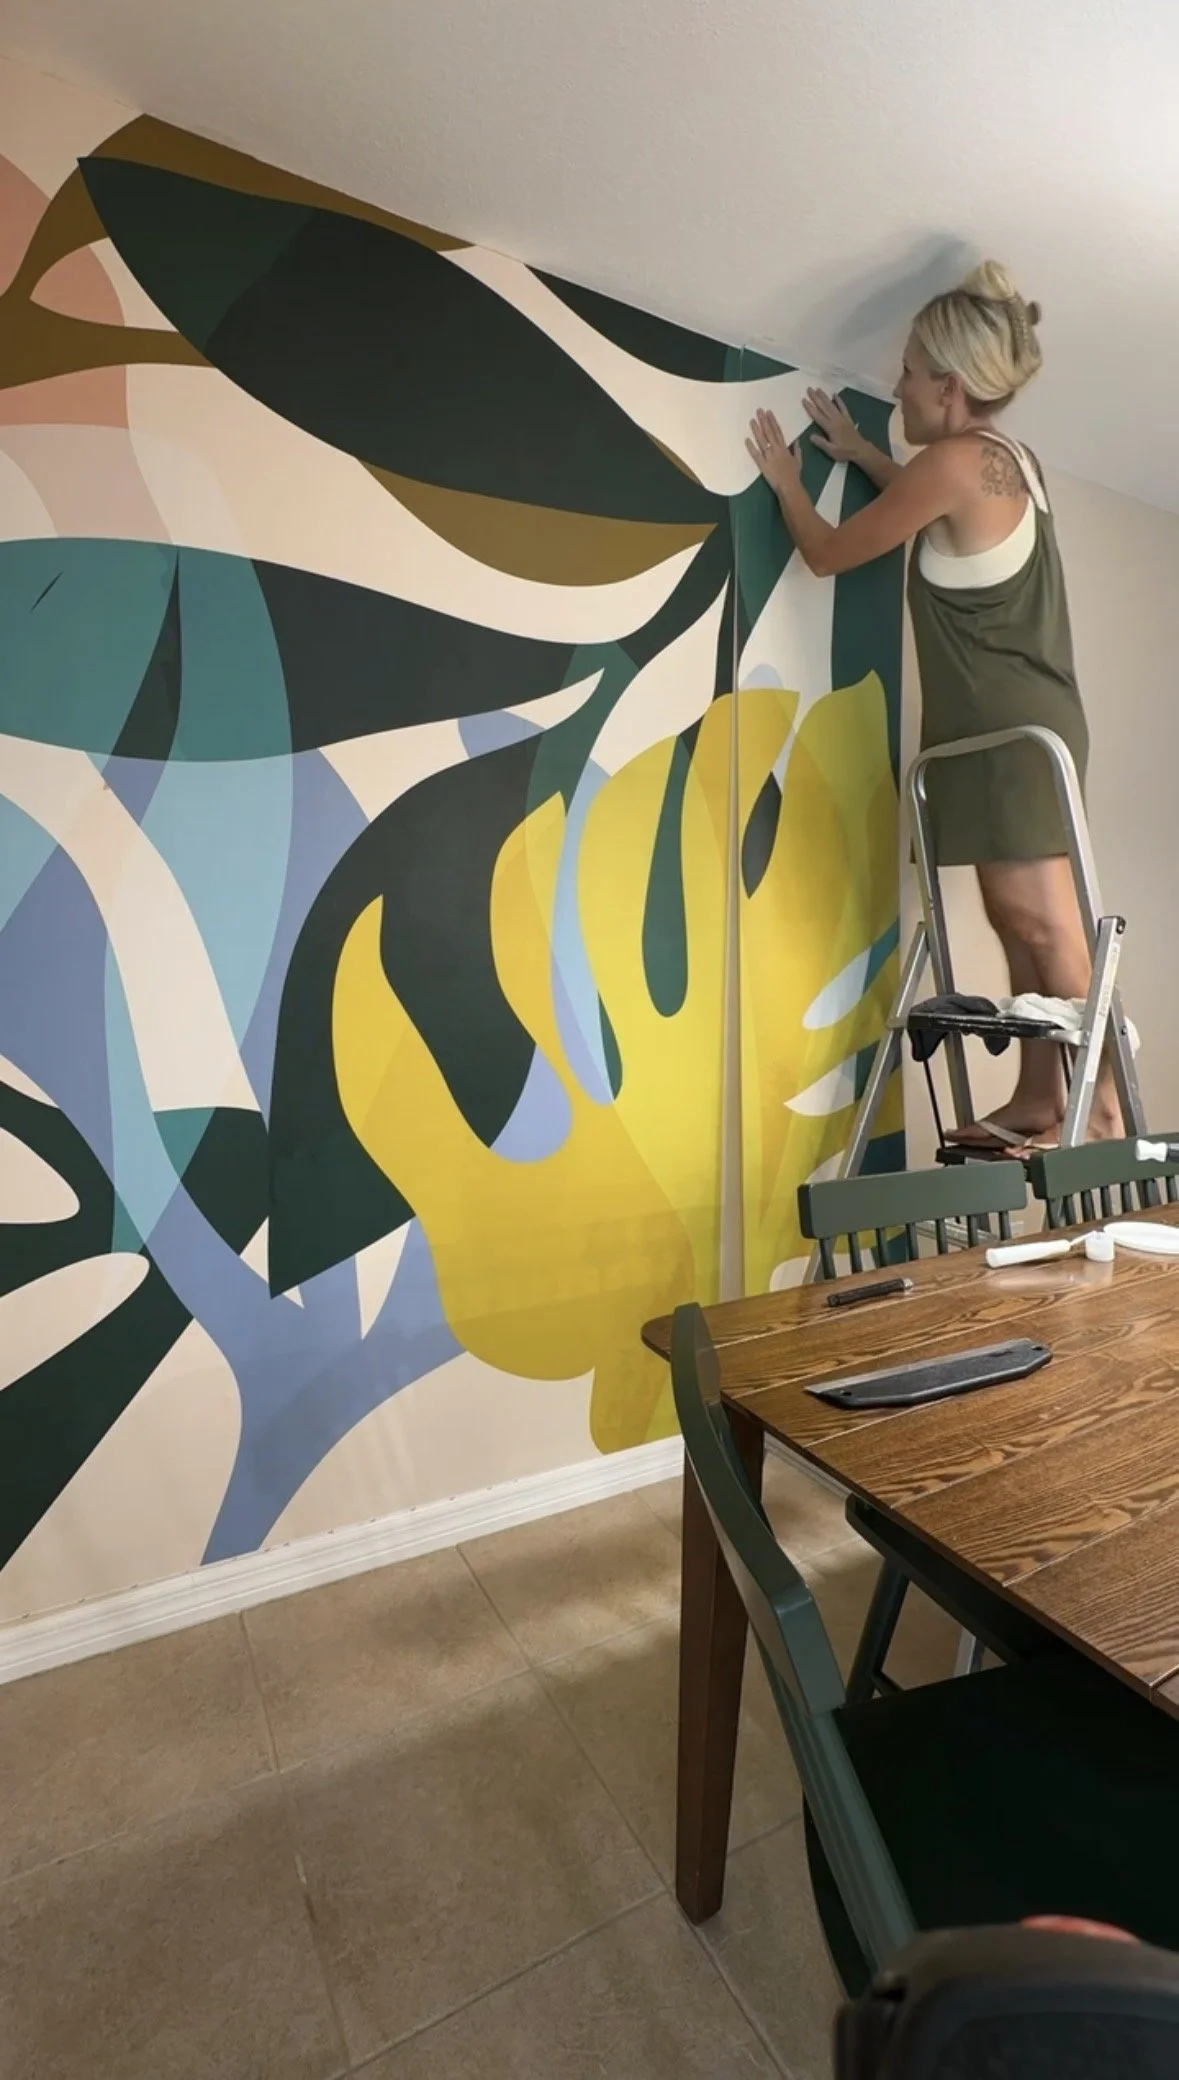
If the idea of painting a mural still feels a little intimidating—or you simply don’t want to deal with paint—there’s a great fourth option that feels like a cheat in the best way: a wallpaper mural. Wallpaper murals allow you to achieve an incredibly detailed, vibrant design without the time, effort, or skill required to hand-paint one. There are endless mural options available online, and most companies allow you to enter the exact dimensions of your wall and they print the mural specifically for your space. The wallpaper arrives in several numbered panels that, when installed in order, come together to form one seamless mural.
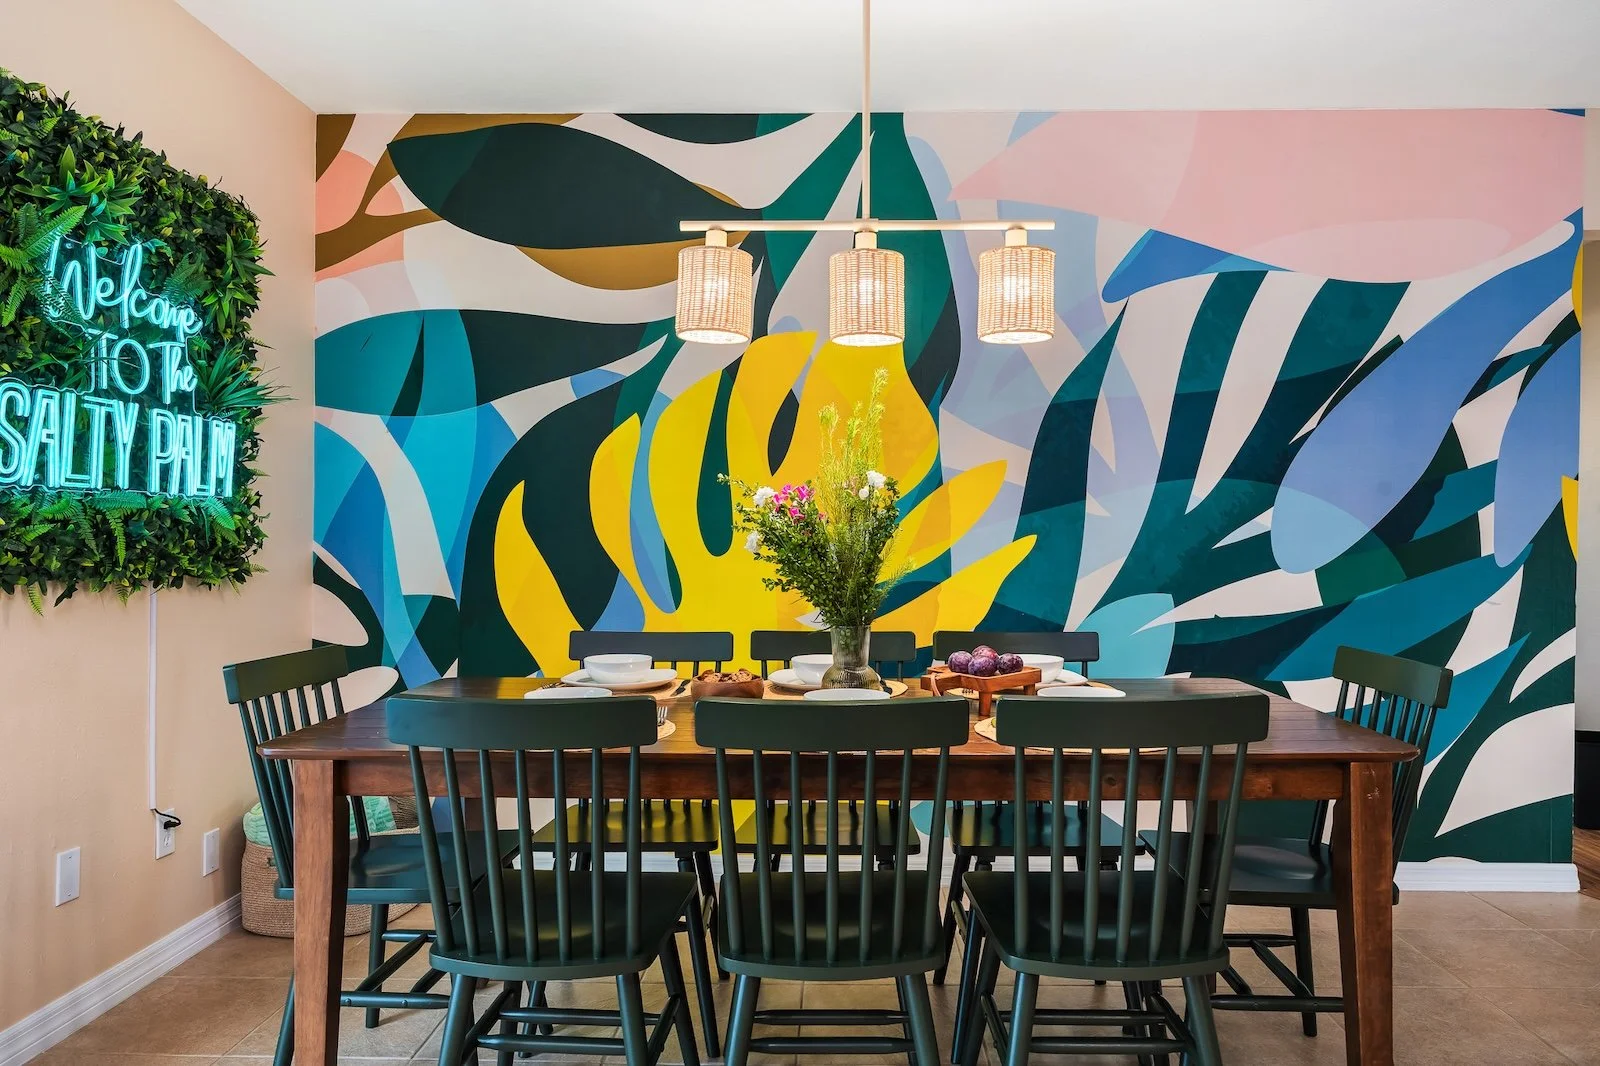
This can be a much quicker option than painting, and many brands offer both traditional pasted wallpaper for a more permanent look, or peel-and-stick wallpaper if you want something temporary and removable. I personally wanted a bold, intricate mural in the dining room of our Airbnb and knew I couldn’t achieve the look I had in mind with paint alone—so I chose a wallpaper mural instead. It turned out so well that most people assume we hired a professional artist to paint it.
Creating a wall mural doesn’t have to be complicated, expensive, or intimidating. Whether you choose painter’s tape for crisp, geometric lines, chalk to freehand your design, a projector for a fool-proof tracing method, or even a wallpaper mural as an easy alternative, there’s a technique that works for every skill level and style. Wall murals are one of the best ways to add personality, color, and character to both interior and exterior spaces—and you don’t need any prior experience to get beautiful results.
If you’ve been looking for a beginner-friendly DIY project that makes a big impact, a wall mural is the perfect place to start. With the right tools, a little planning, and one of these simple techniques, you can confidently transform any blank wall into a custom, one-of-a-kind focal point.