
Easy & Affordable DIY Closet System that Looks Custom
This post is sponsored by Lowe’s and may include affiliate links. All opinions are my own.
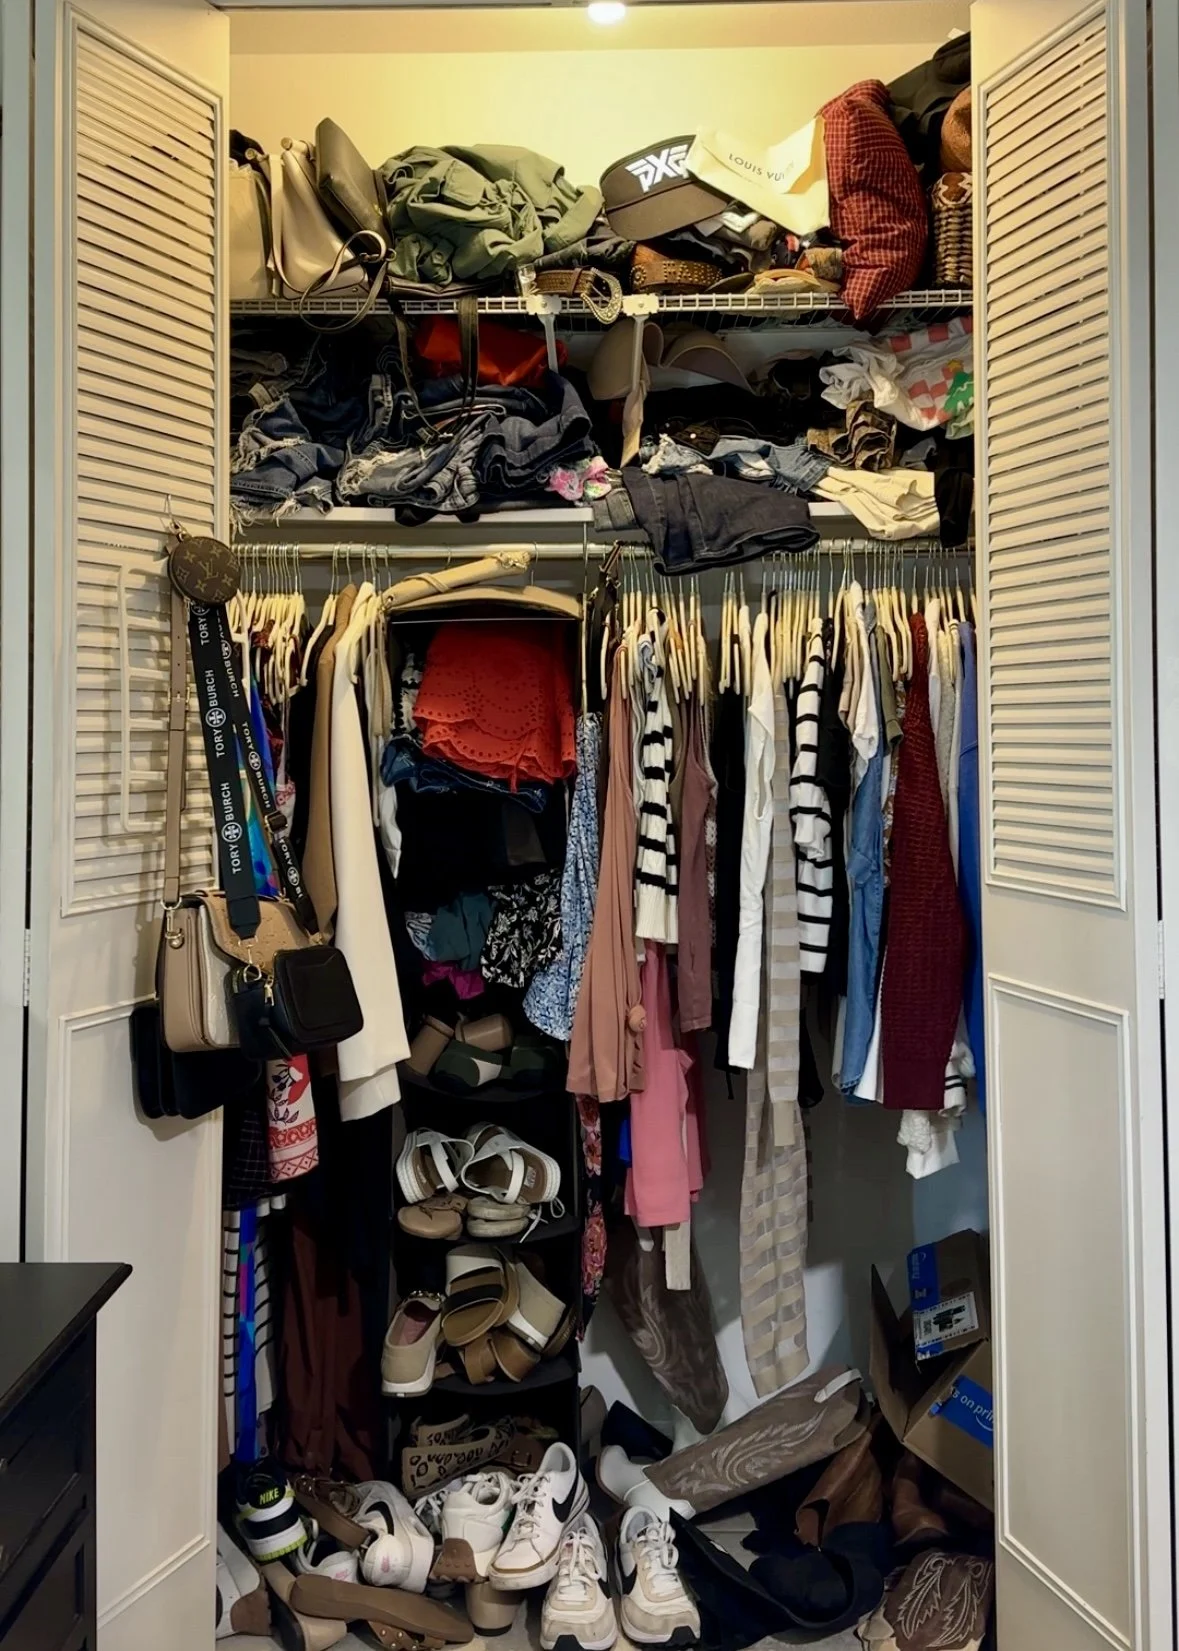
Our home was built in the 1970s, and if you’ve ever lived in an older home, you know that closets weren’t exactly designed with function in mind. My small closet had two awkward top shelves and a single, low-hanging clothes rod that wasted so much vertical space. I tried all the budget storage hacks over the years, but nothing truly fixed my storage problems. I’ve always dreamed of a designer-style custom closet—but the price tags felt unrealistic, and building one from scratch honestly intimidated me. So I went on the hunt for an easy, affordable solution that would maximize every inch of my small closet and look custom. In this post, I’m sharing exactly what I found, how simple it was to install, and why it completely transformed my closet’s storage and functionality.
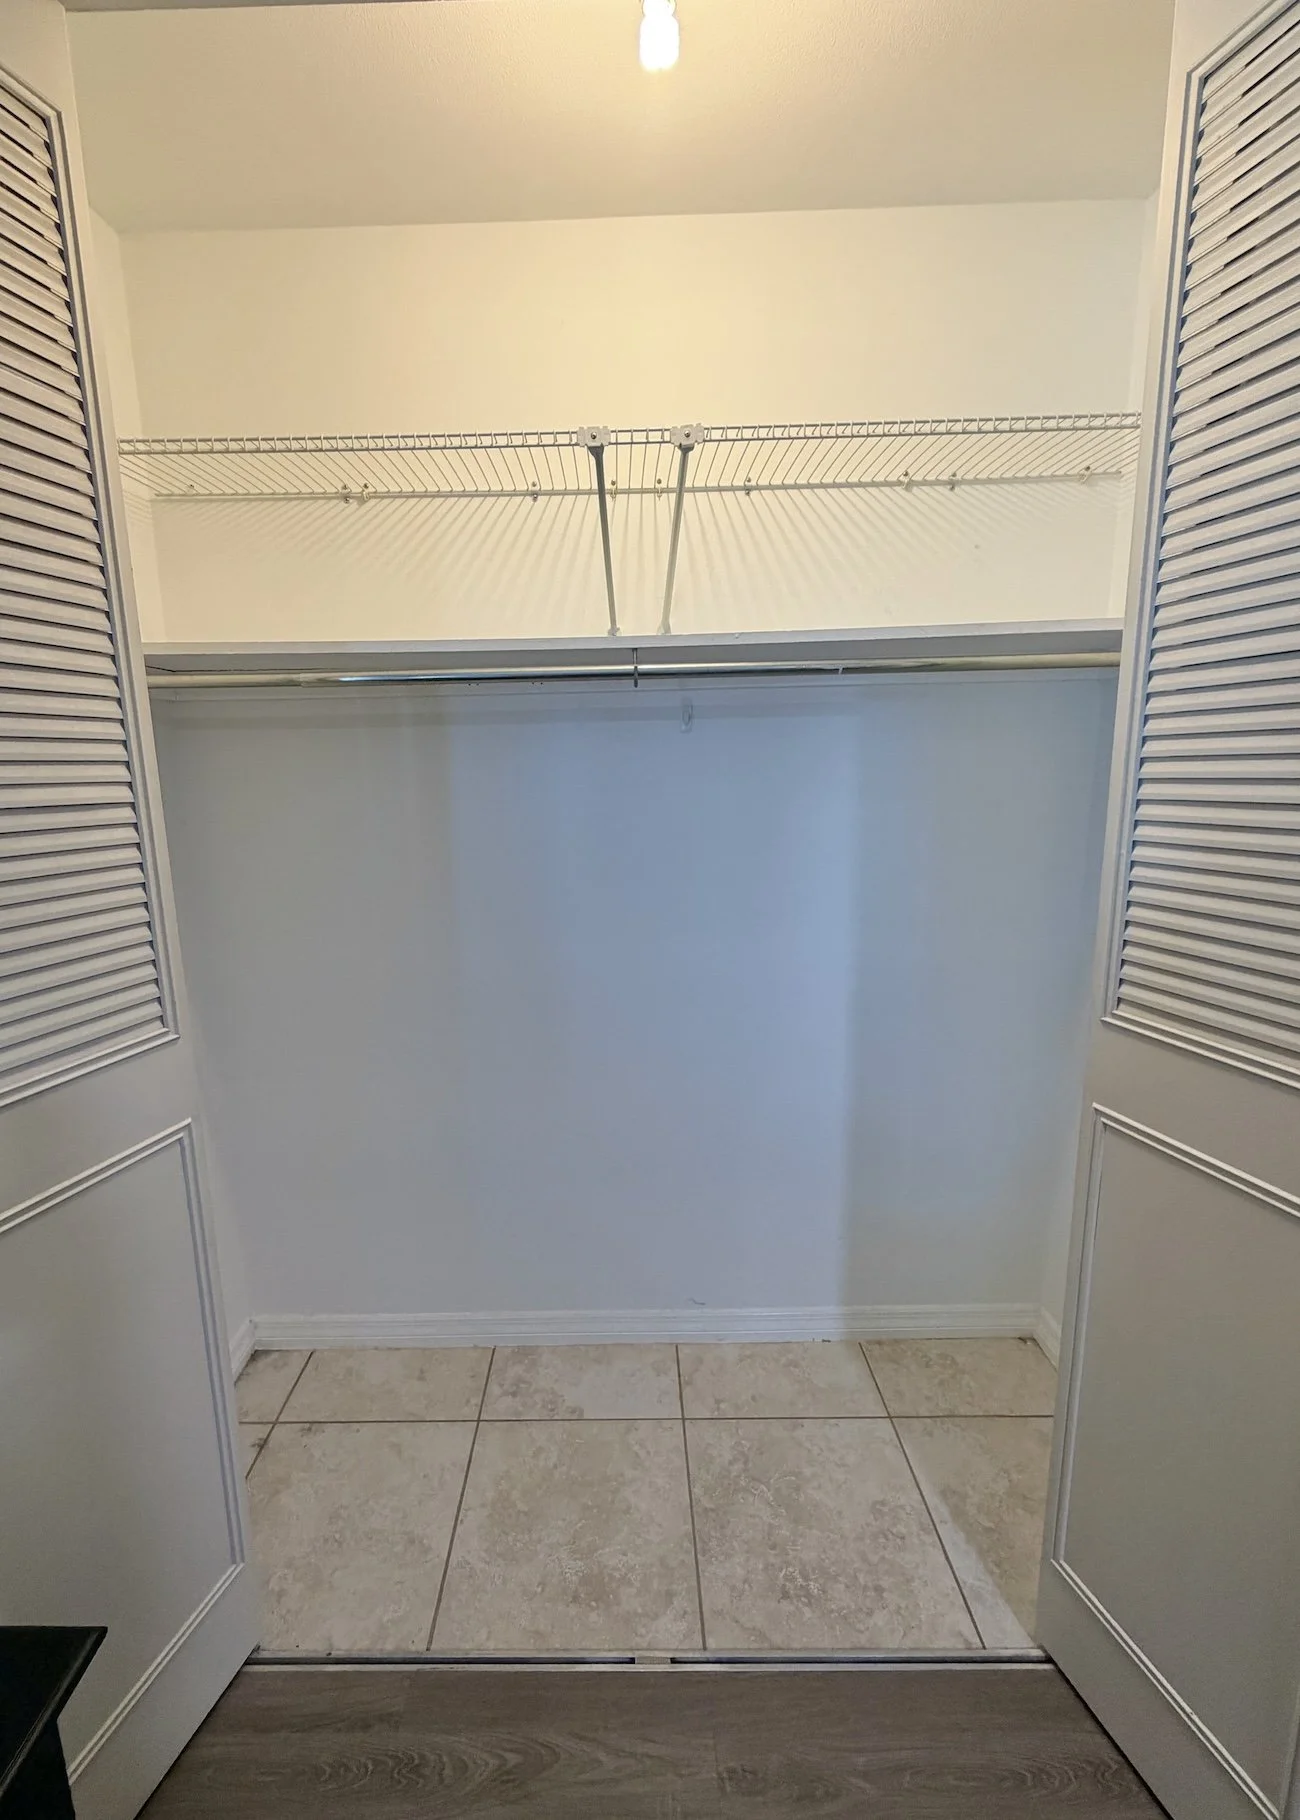
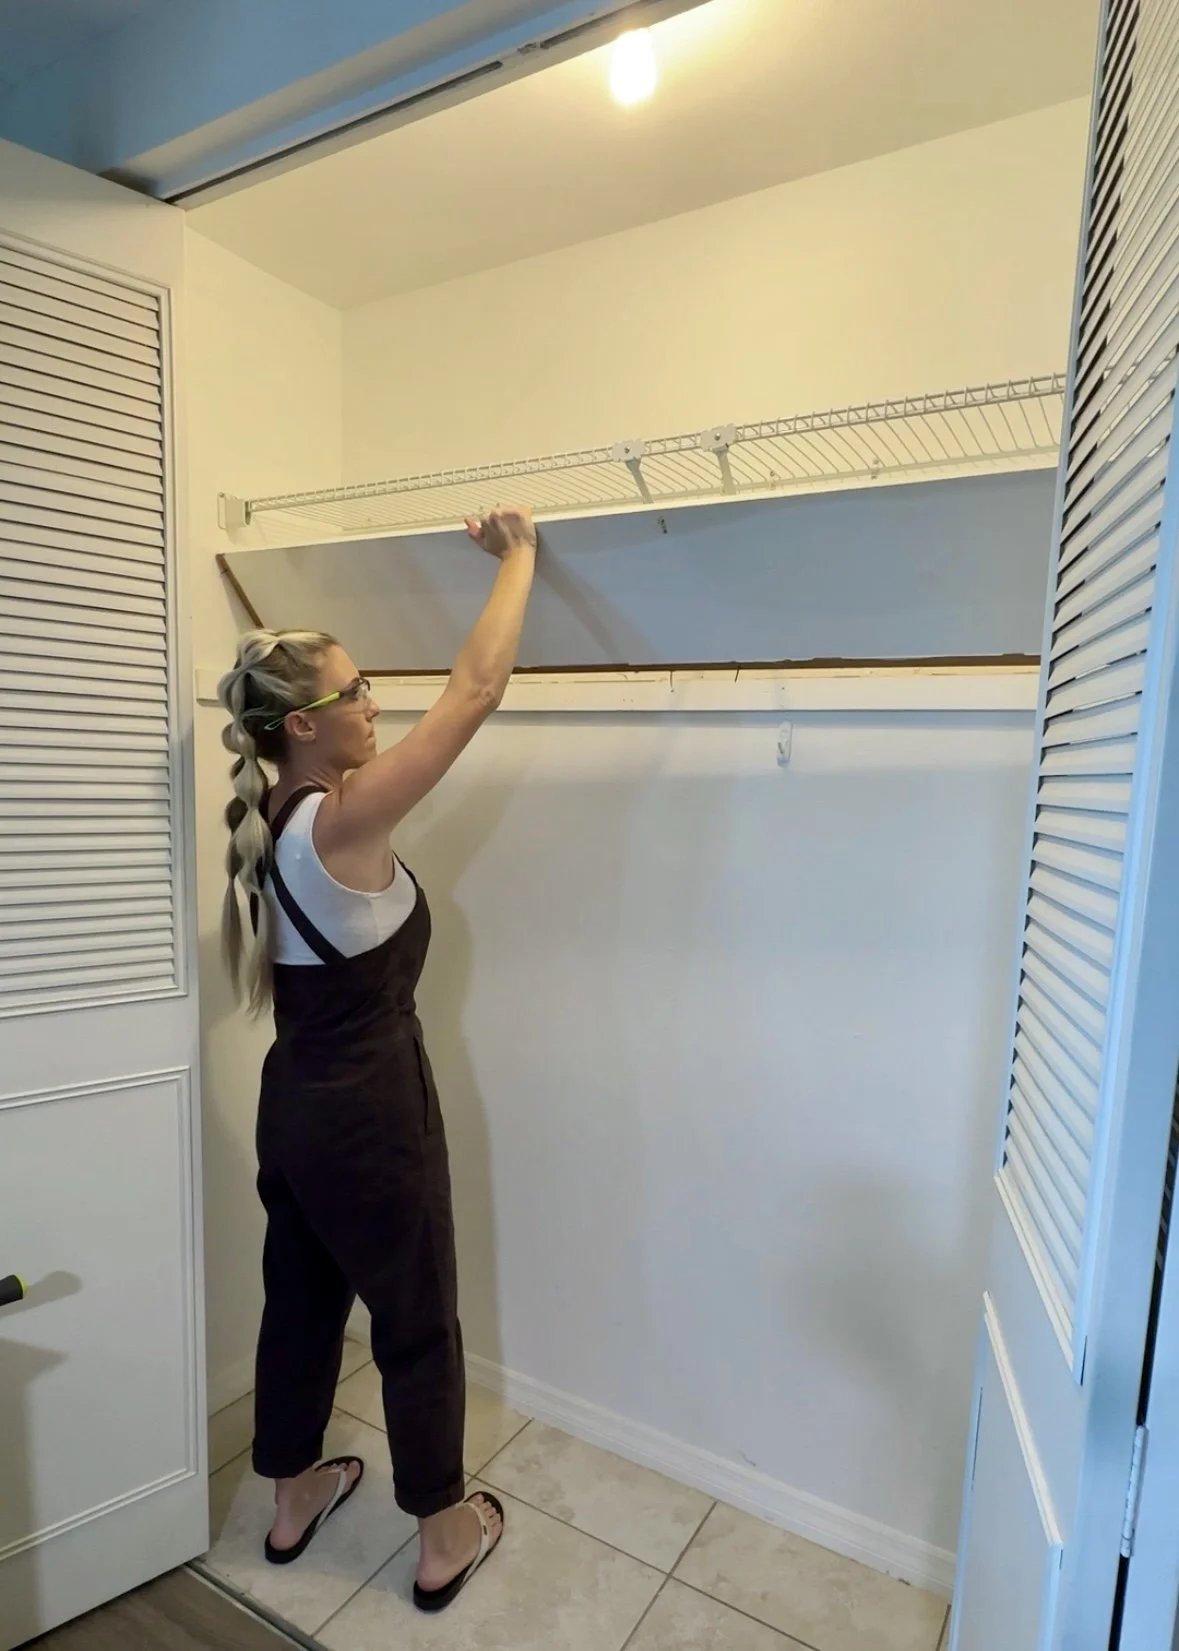
The first step was to remove my existing closet system which I was able to do easily with a drill to remove all the screws securing the shelving to the walls, and a hammer to knock out the wood shelf. With the old shelving gone, I started my hunt for a new closet system.
My focus when searching for a new closet system was to find something that took advantage of the height of the closet, allowed for more hanging space, and still included some shelving. After browsing many websites and visiting a couple hardware stores, I ended up at Lowe’s where I found the perfect solution. I found an all-in-one closet system made by ClosetMaid that checked all my boxes and looked easy to install. The best part though…the incredibly affordable price!
The ClosetMaid Brightwood closet system from Lowe’s came in two sizes depending on the width of your closet. I went with the 4ft to 9ft option since my closet was 6.5ft wide. There were also several add-on options you could purchase to further customize your closet like drawers, extra shelves, corner shelving and more. The options were really endless!

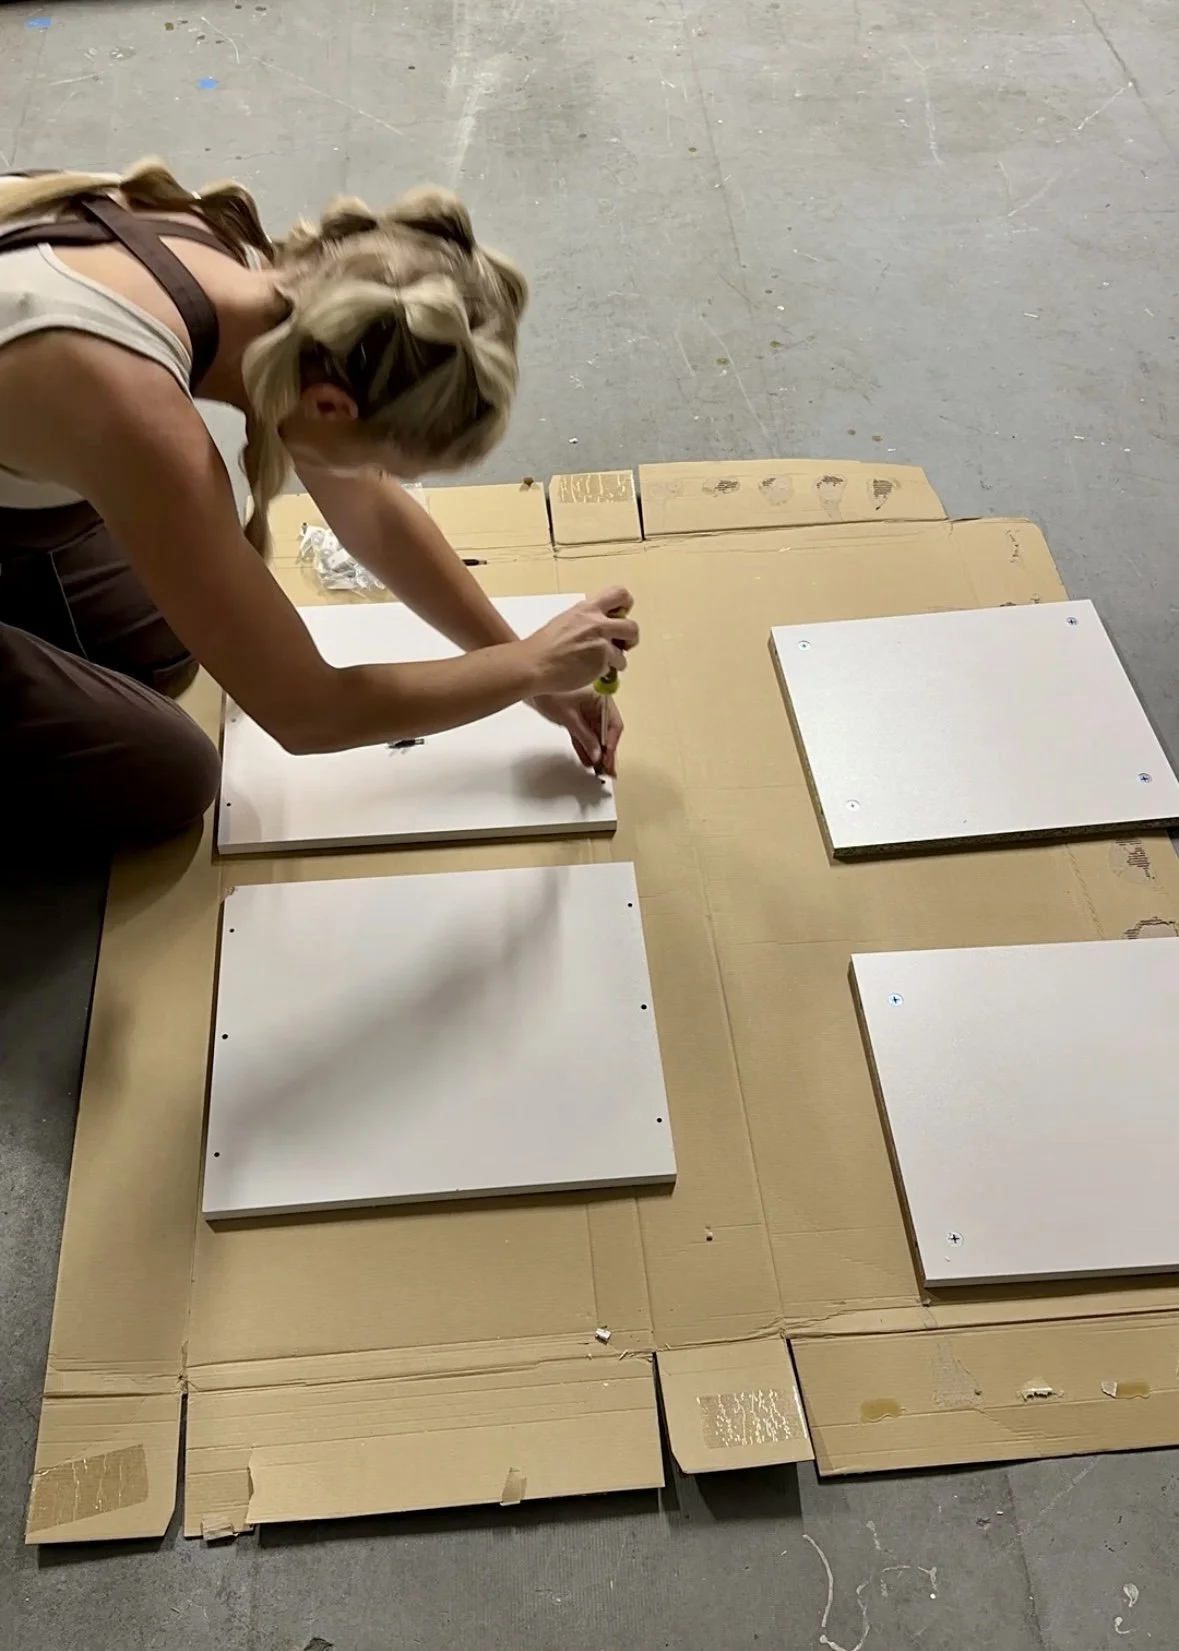
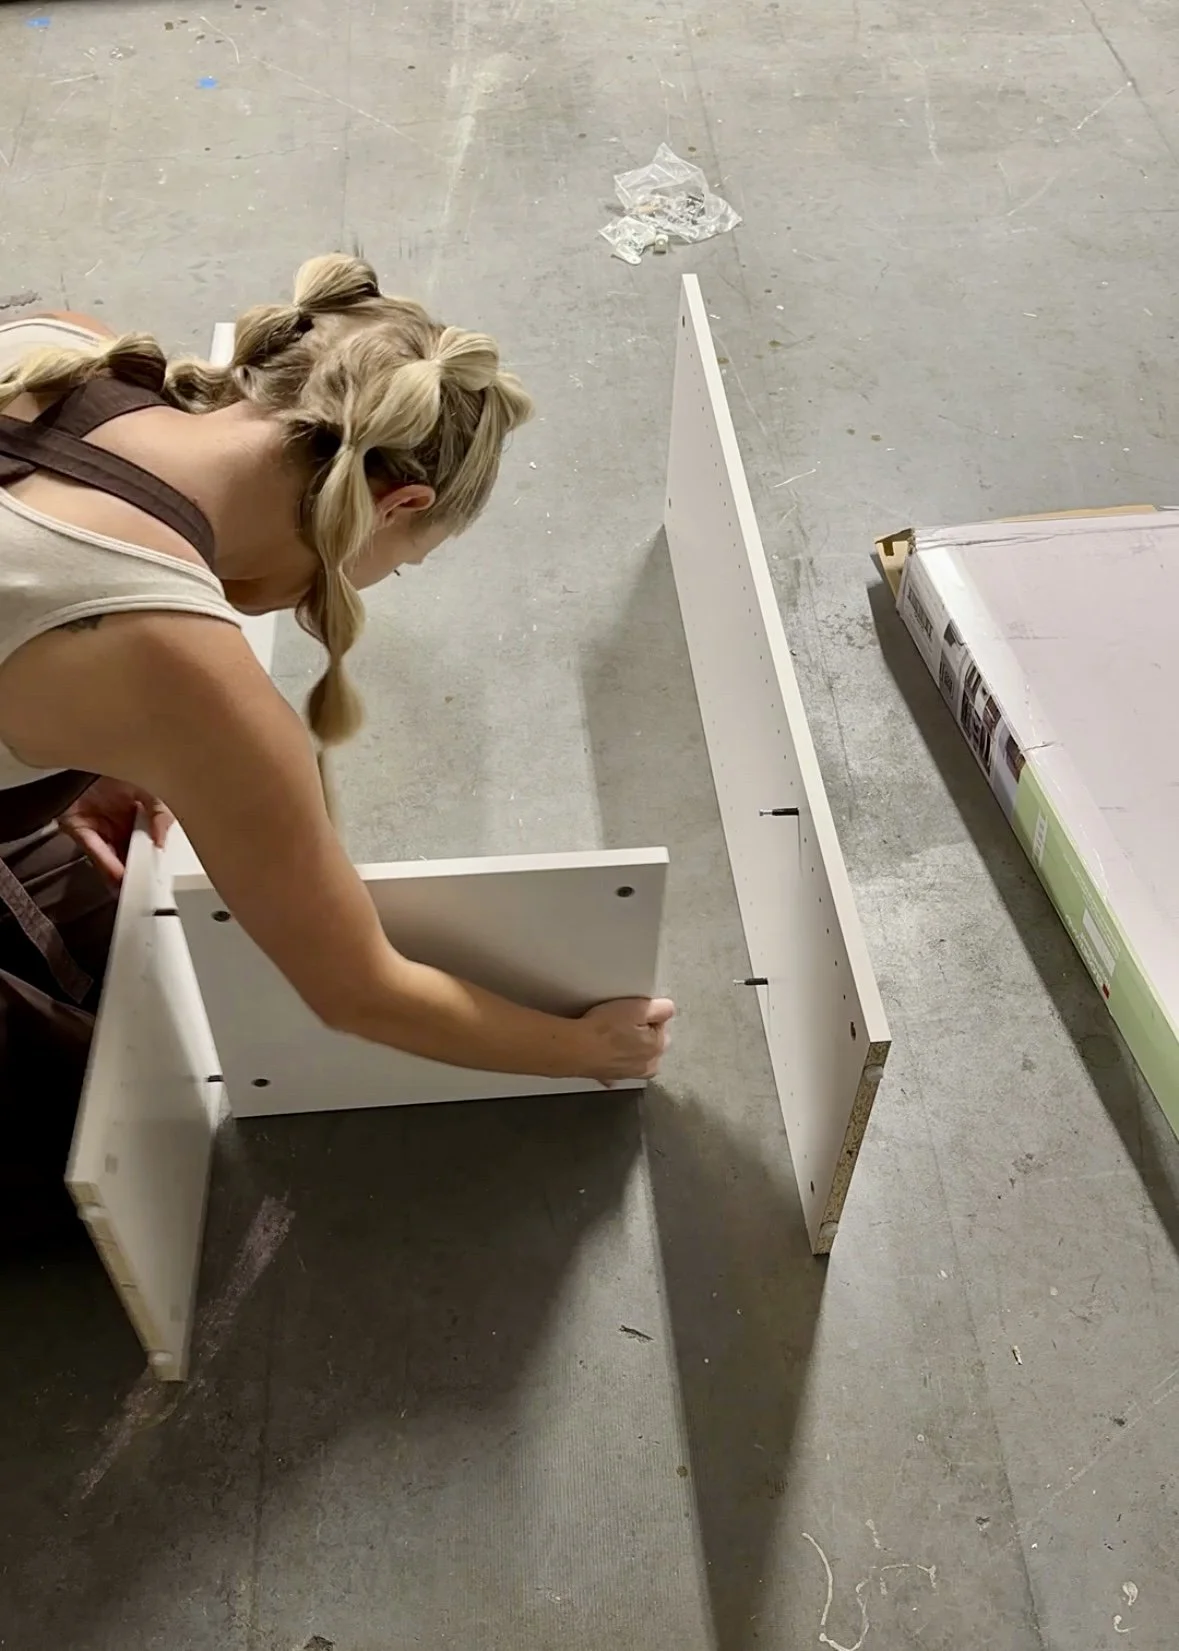
I got everything I needed in the store and headed home to start on my new closet build. The closet system came with easy step-by-step instructions and the only tool I needed to assemble it was a screwdriver. I have put together a lot of furniture over the years and I have to say that this was one of the easiest things I have assembled.
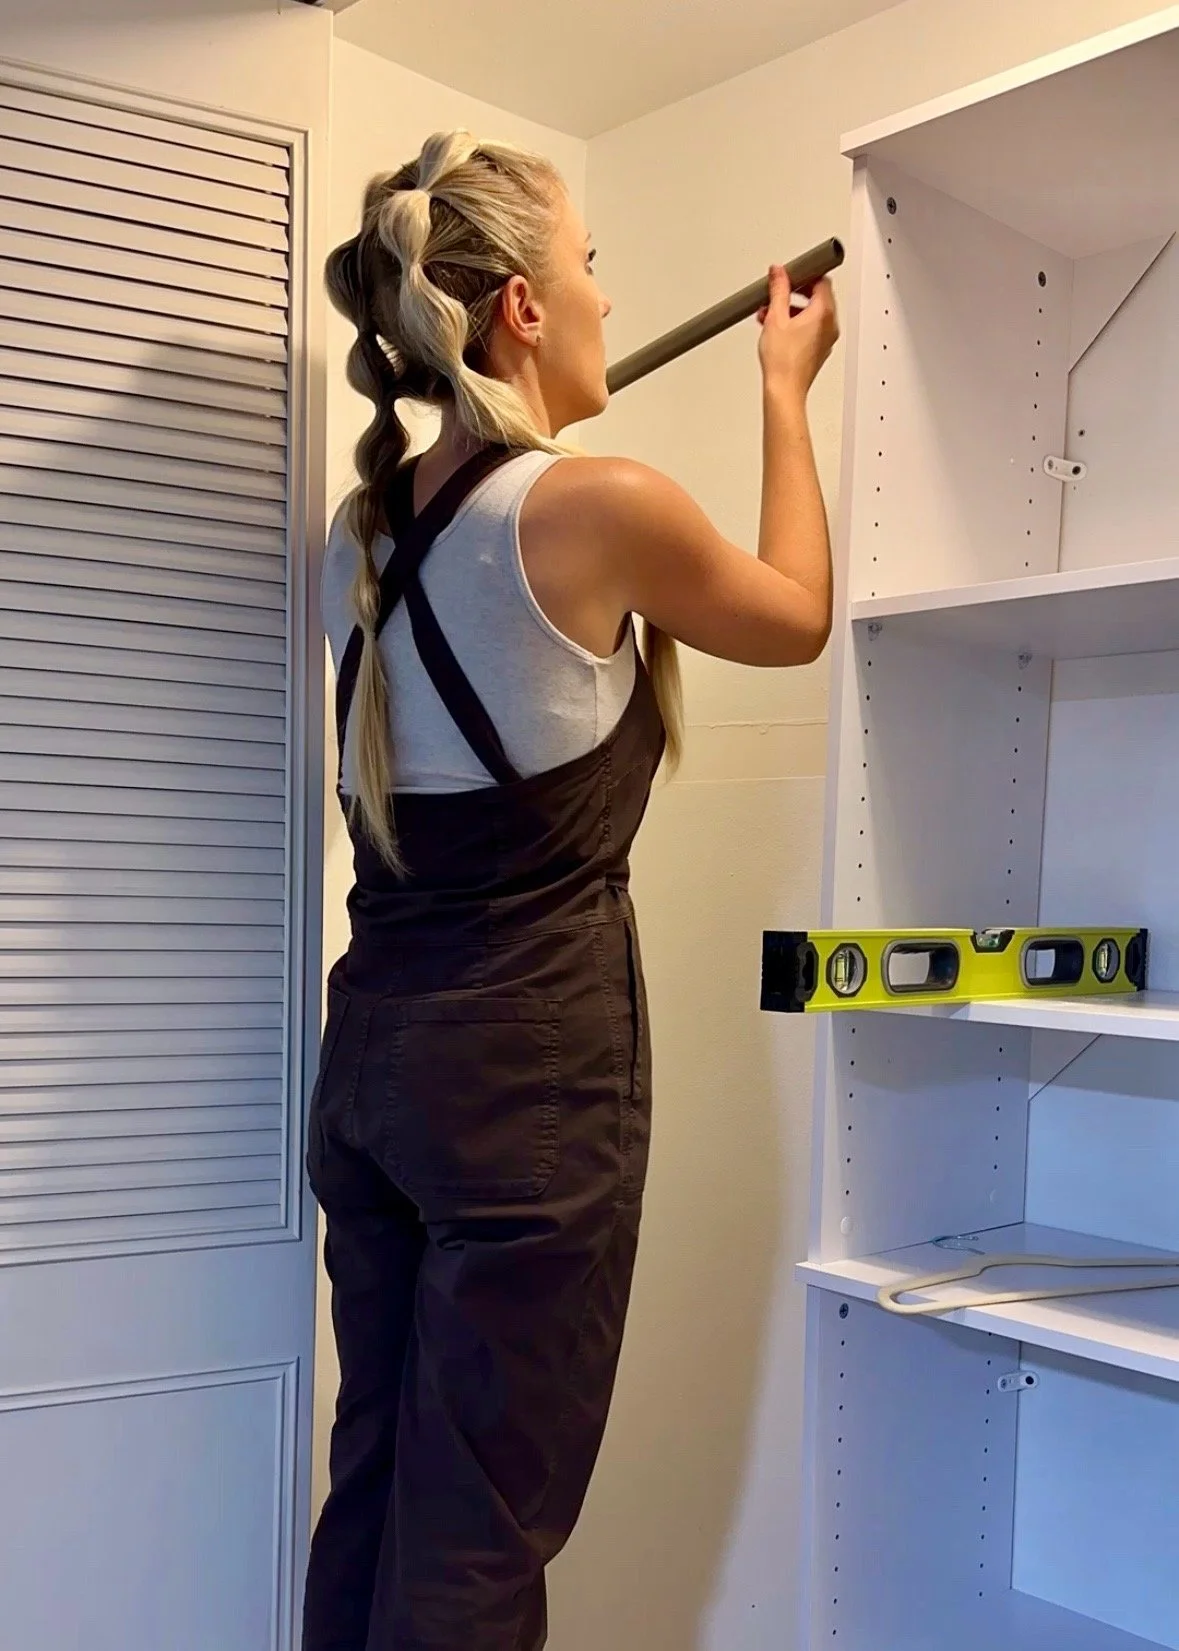
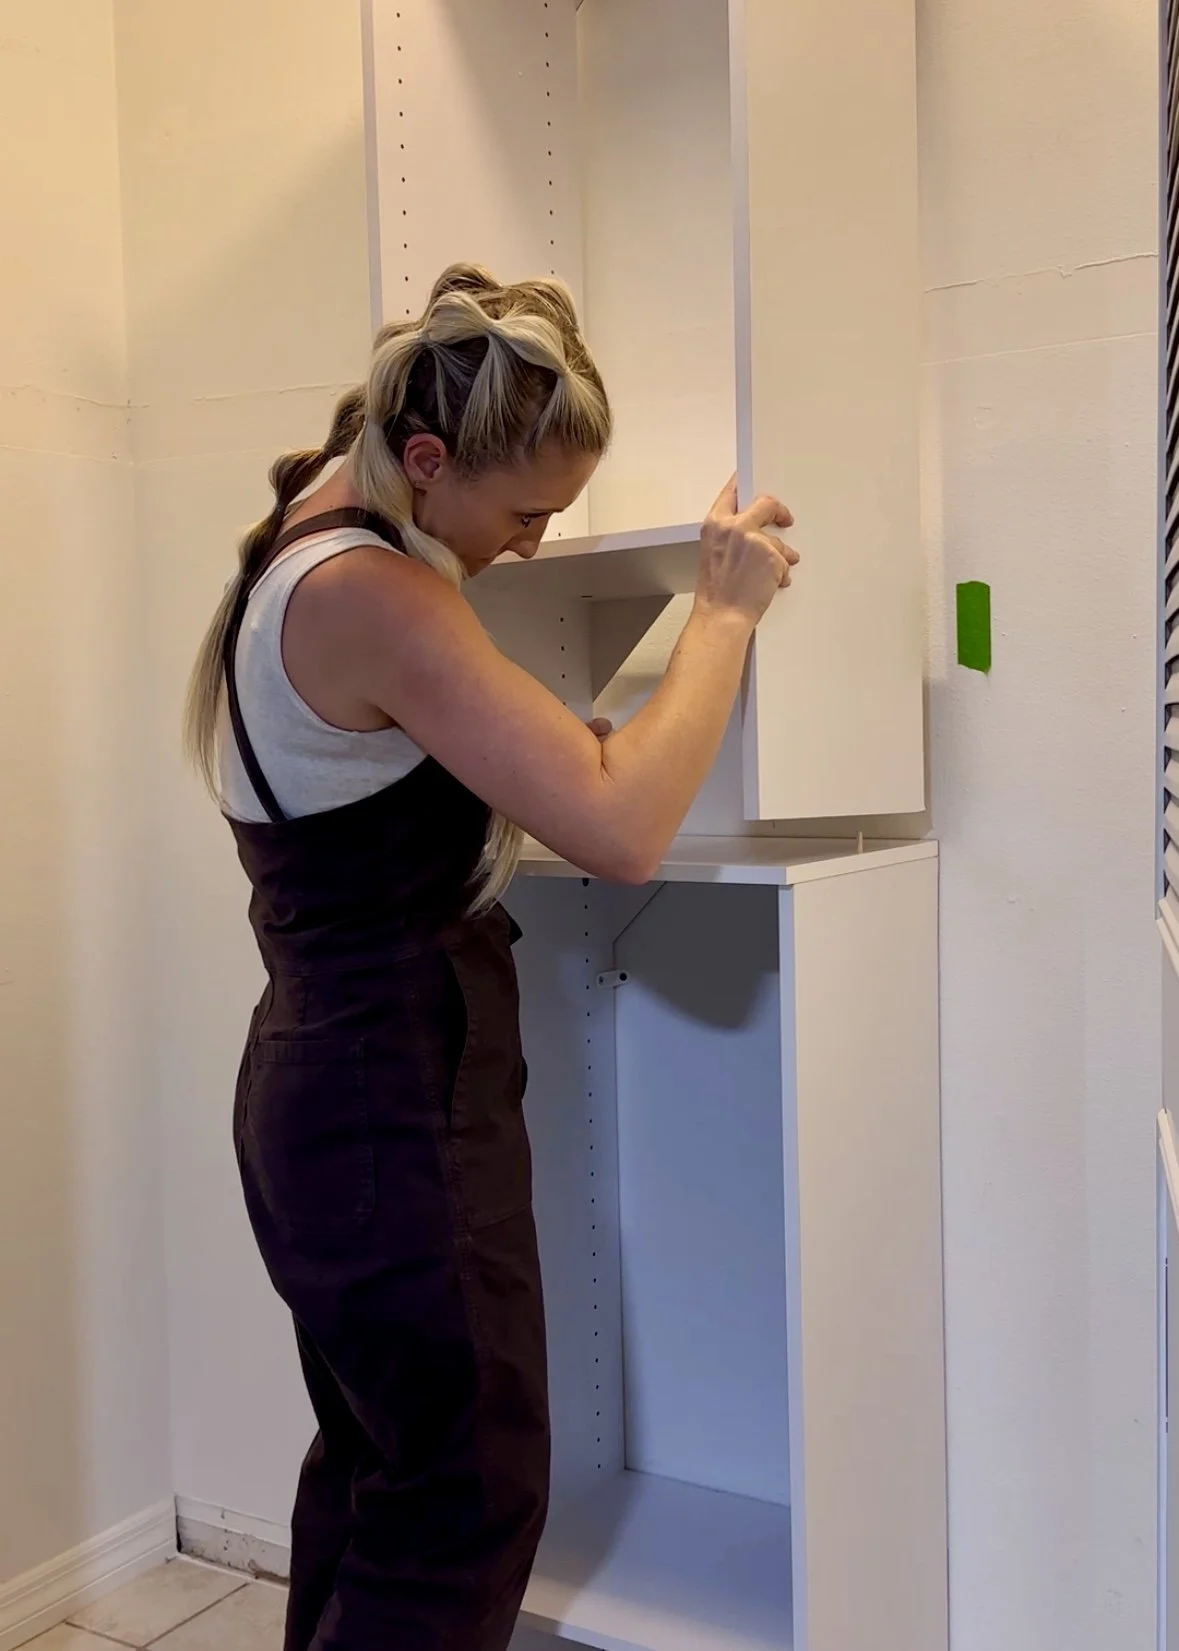
Once the closet system was built, I continued to follow the directions for installing it into my closet. This part did require a few additional tools - my drill, a hammer, measuring tape, level, and screwdriver. But again, the directions were easy to follow and I felt so much pride in knowing that I installed this entire new closet system all on my own.
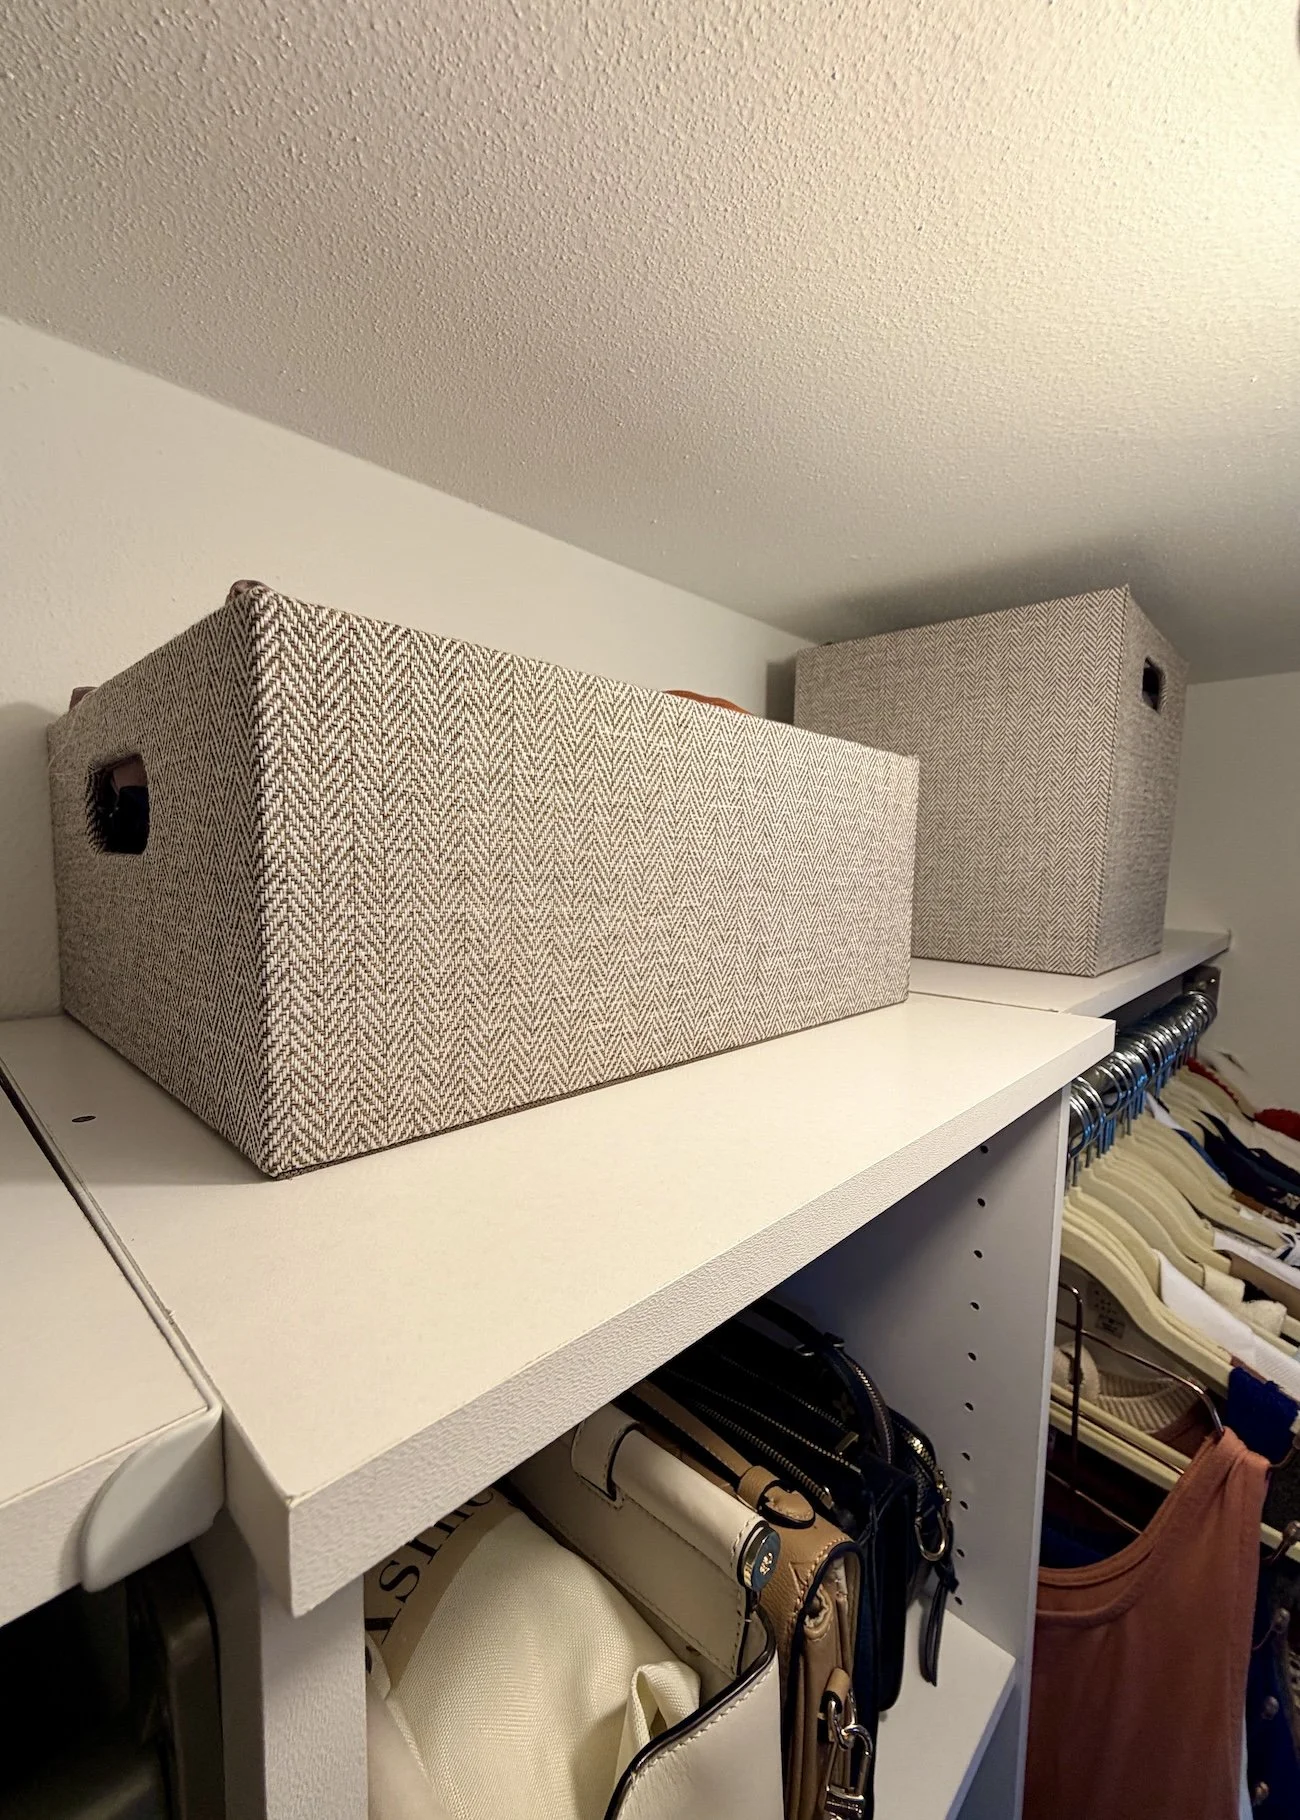
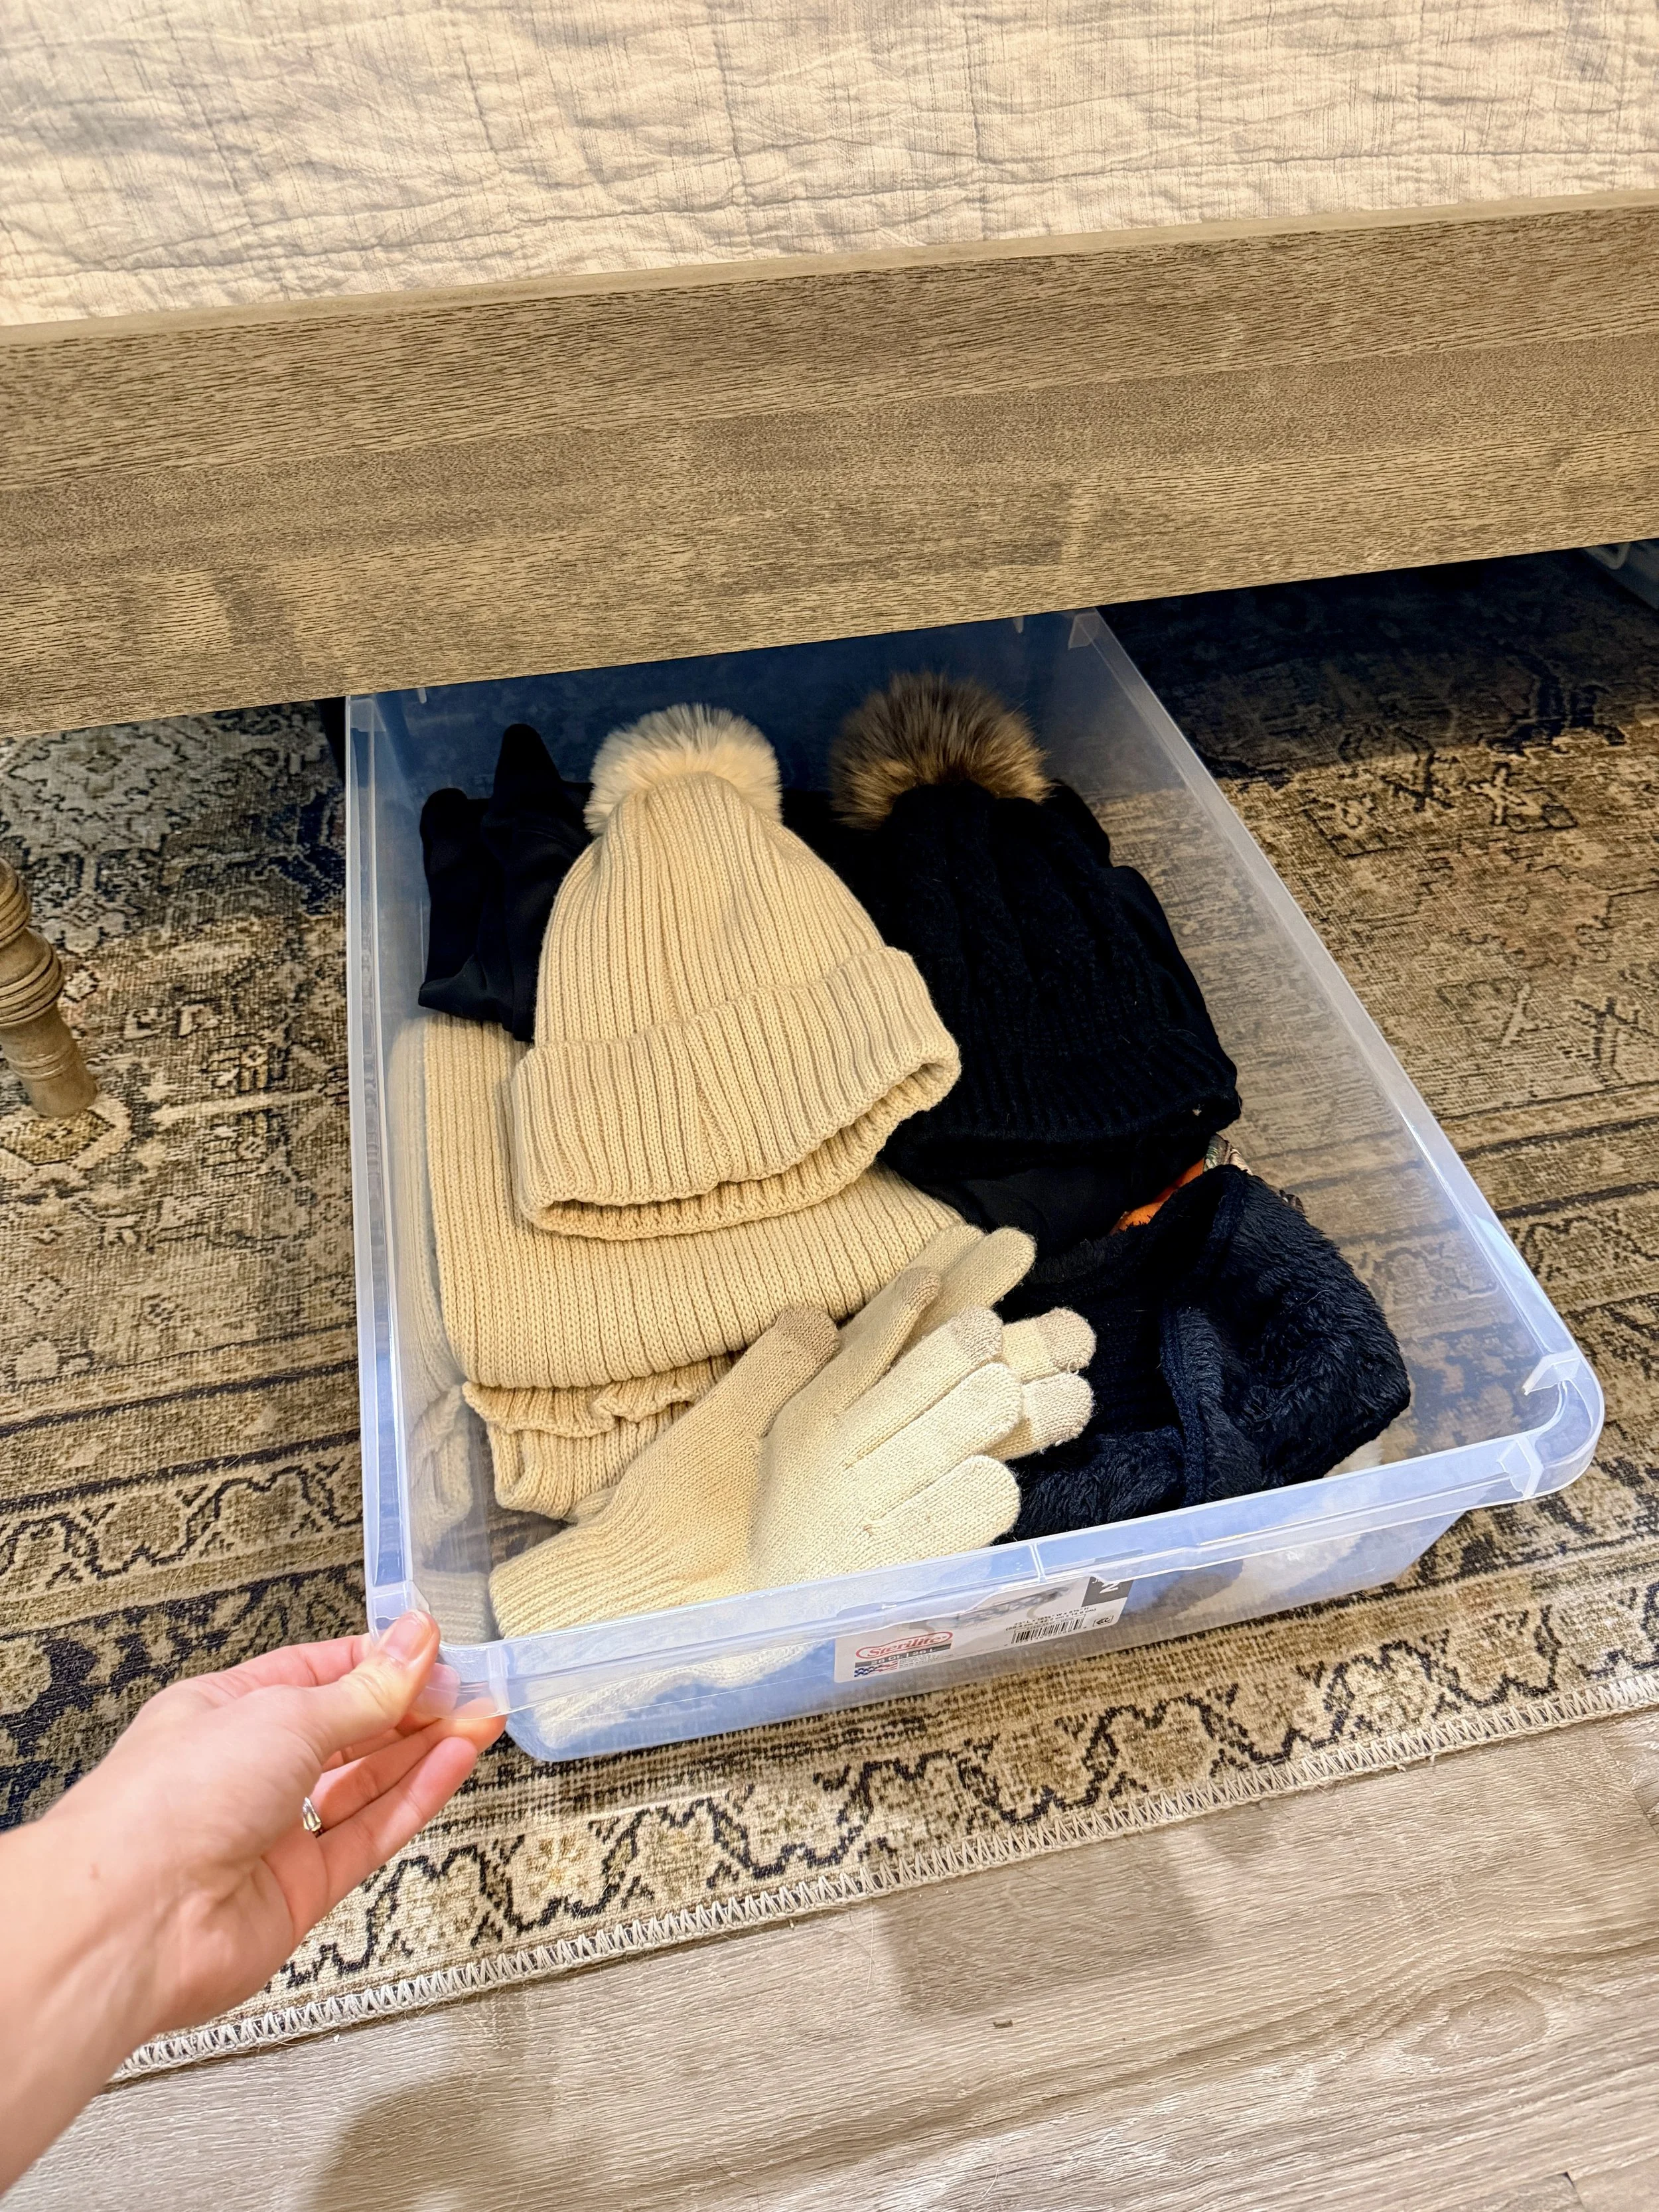
The final touch were these storage bins which fit perfectly on the top shelf and held items that I only needed once or twice a year. I also used this clear tote that slid perfectly under my bed to move some winter gear I rarely use out of my closet, freeing up even more space.
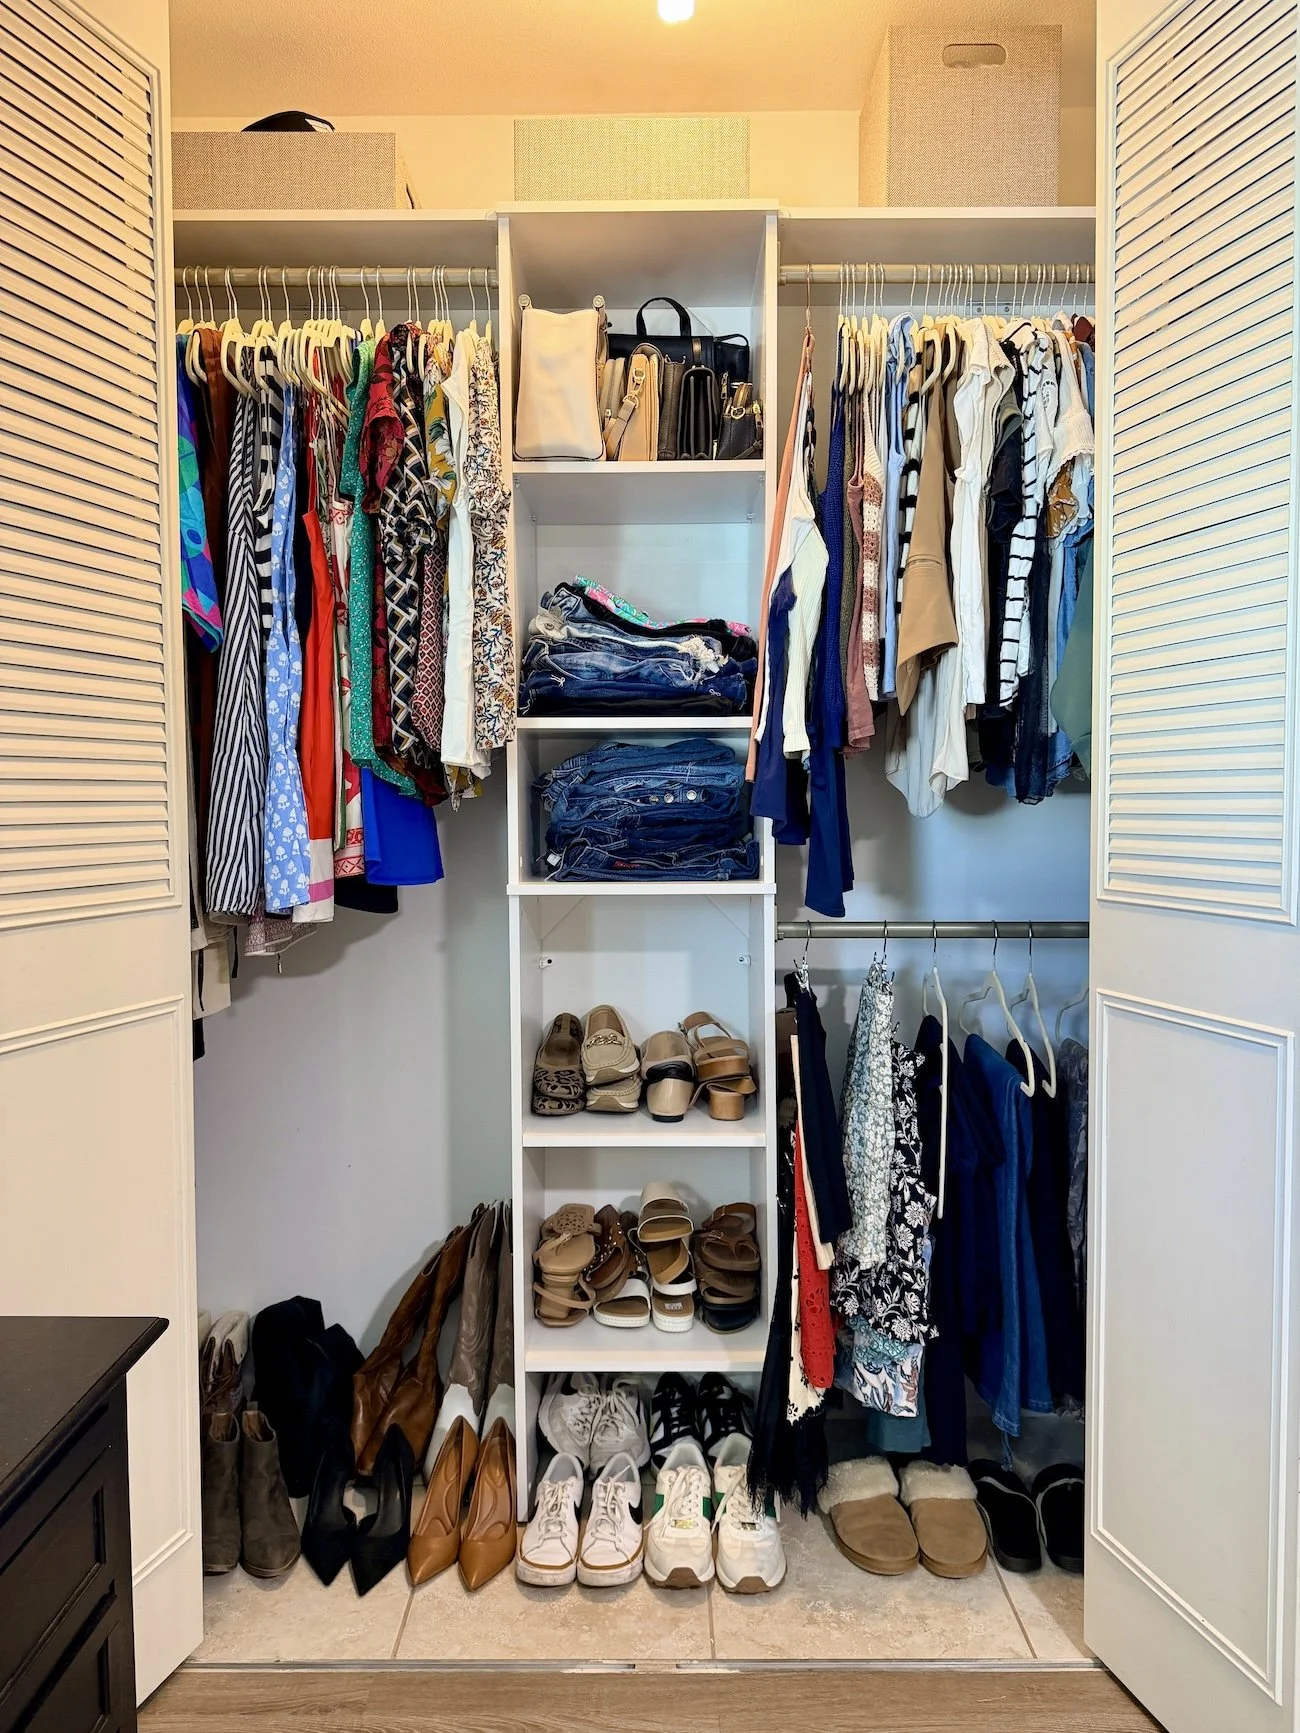
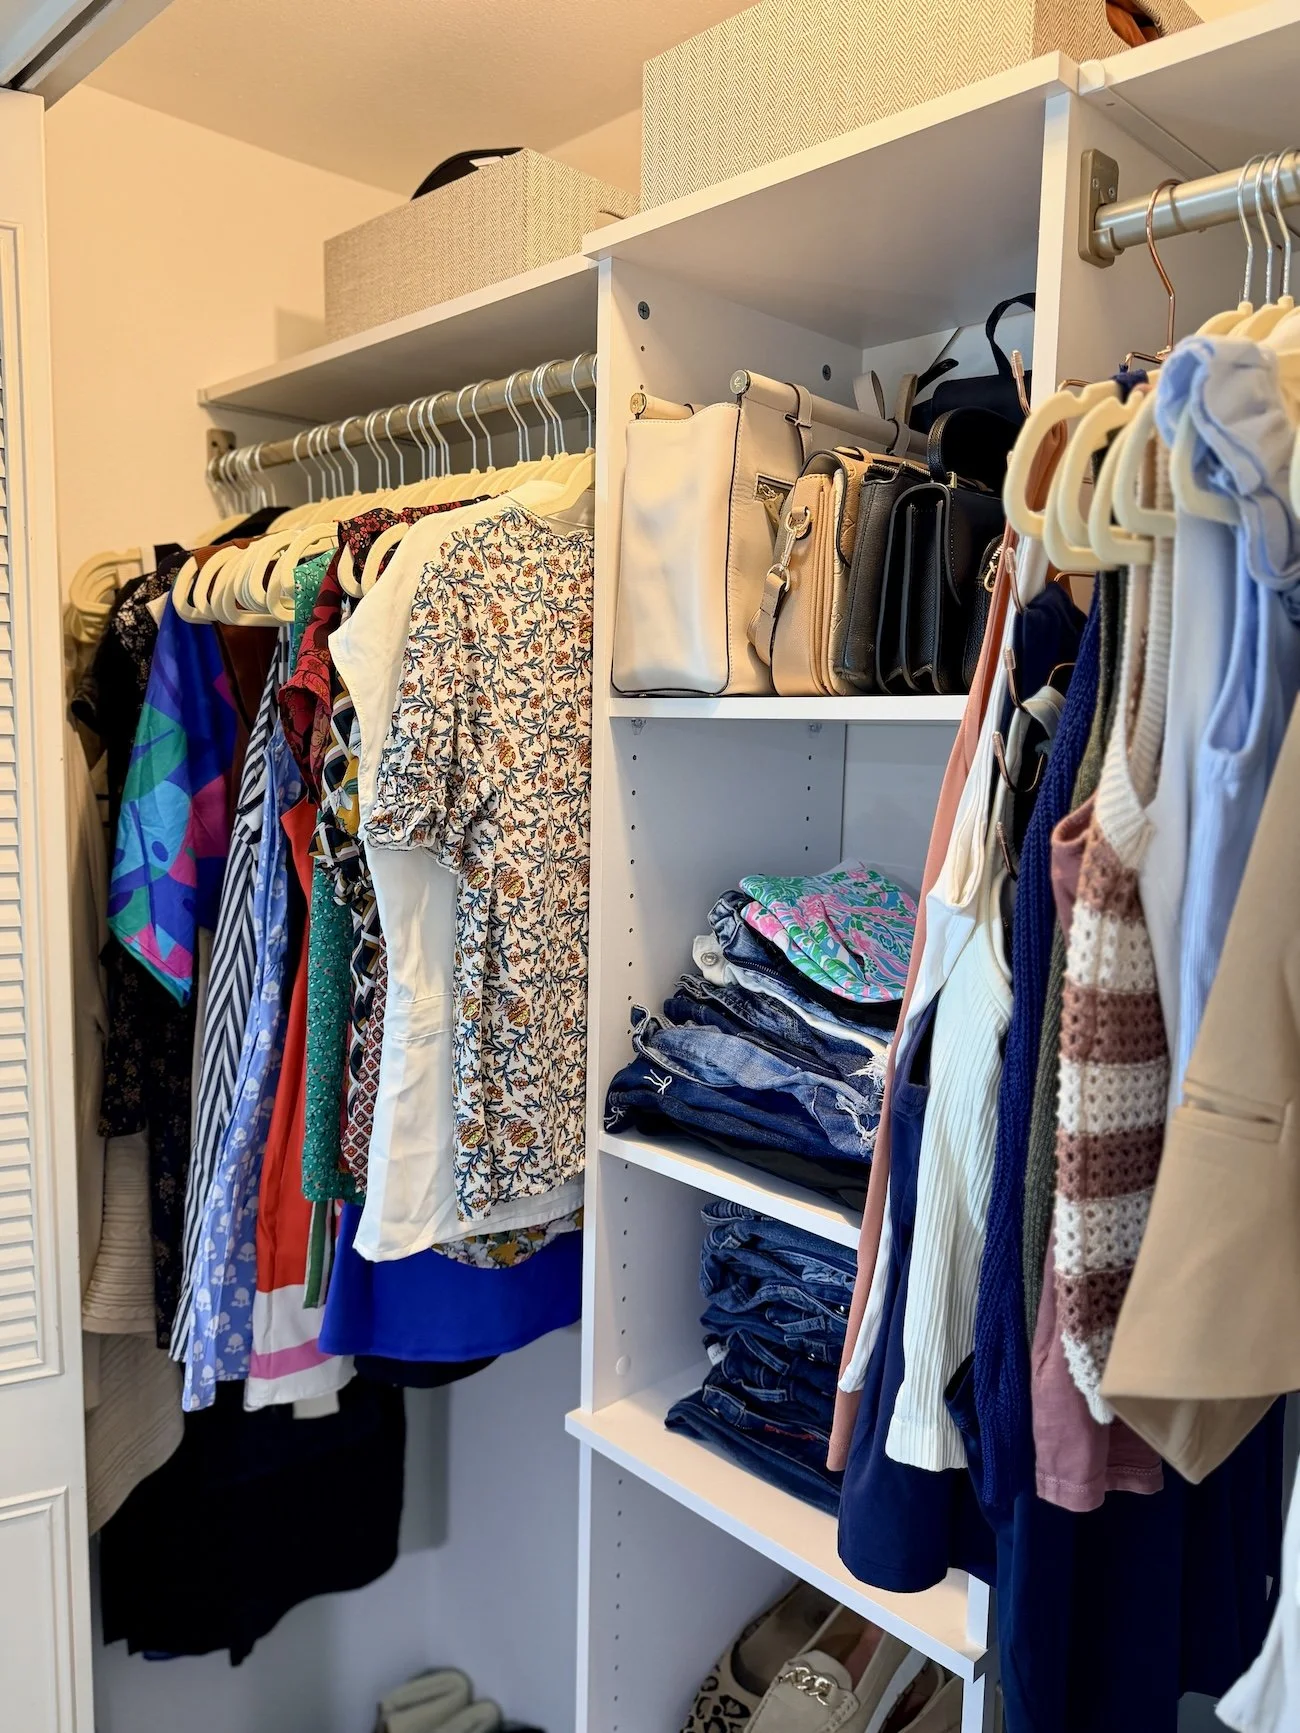
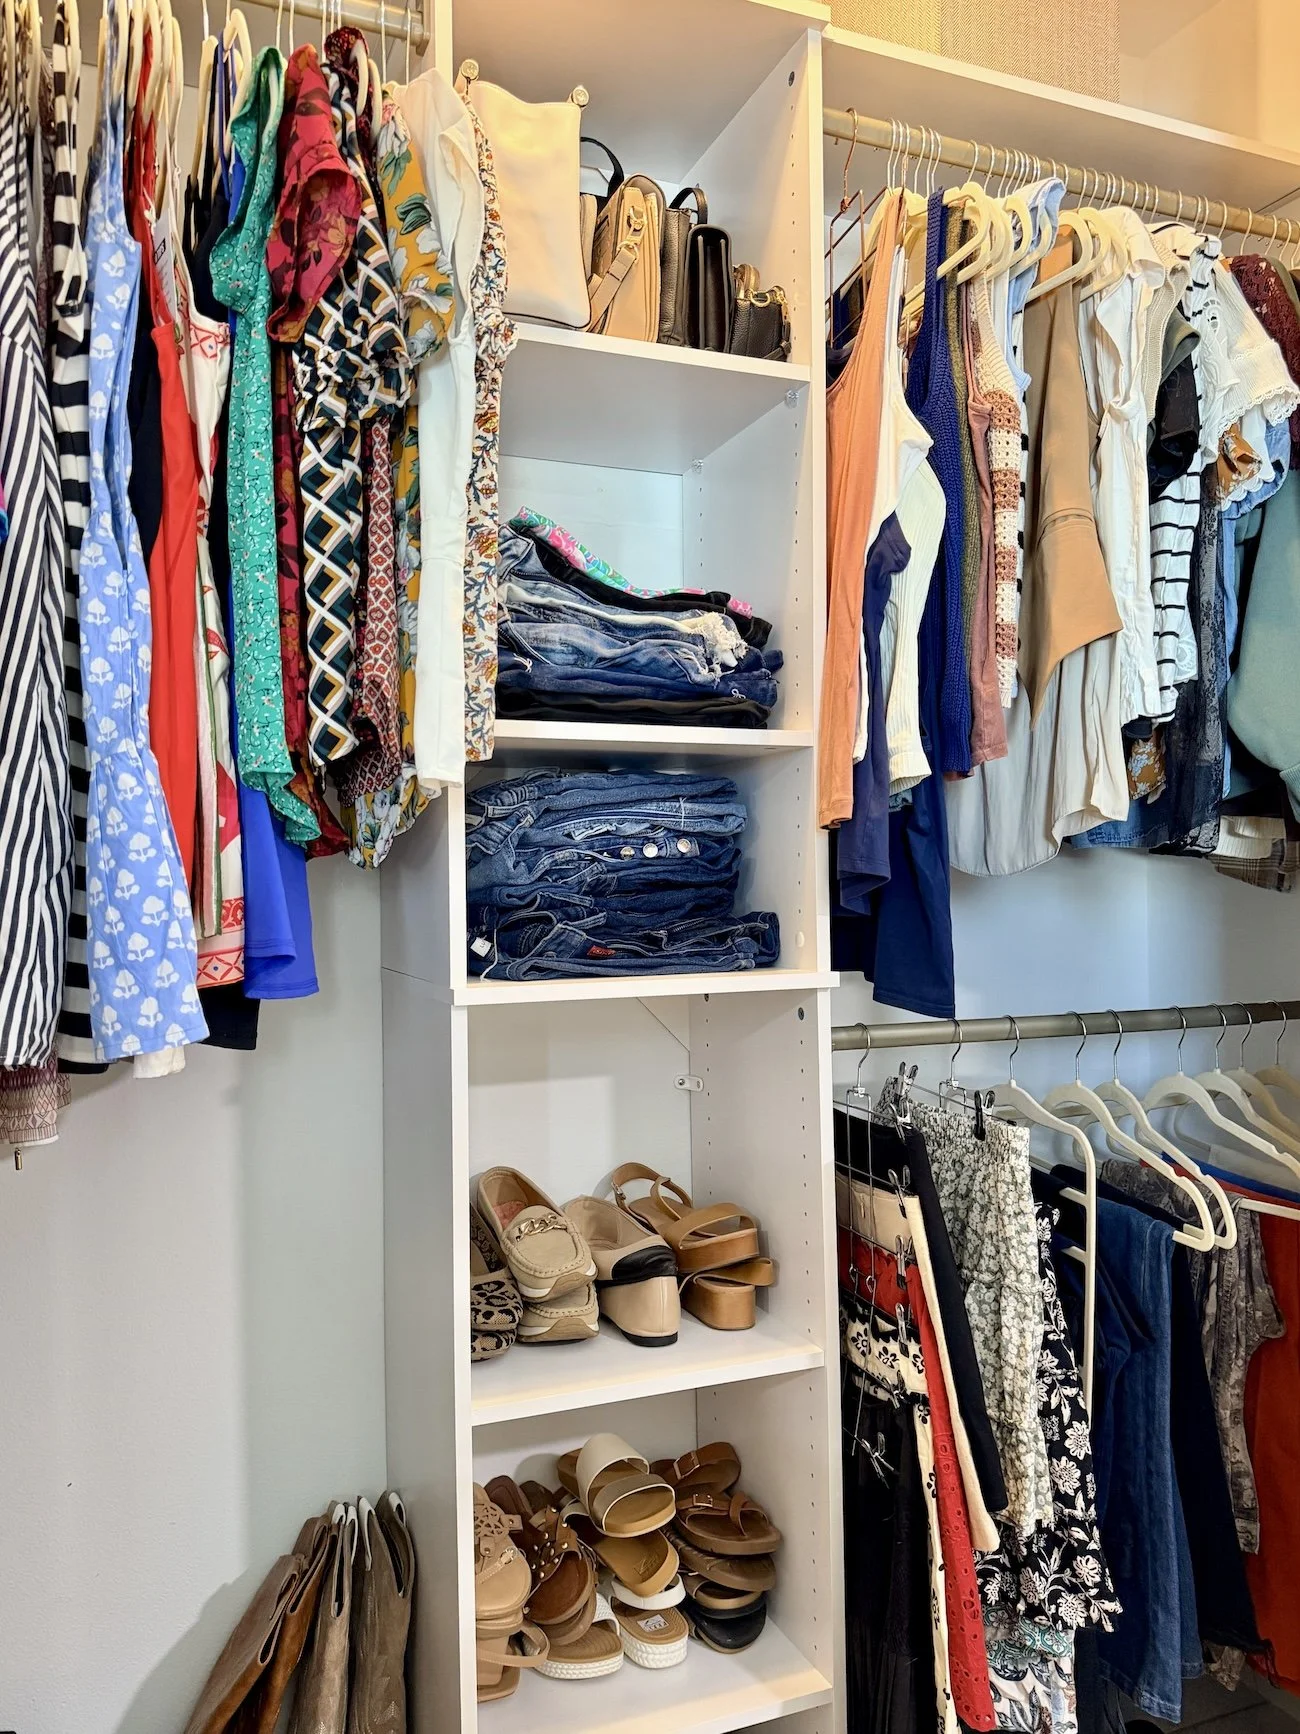
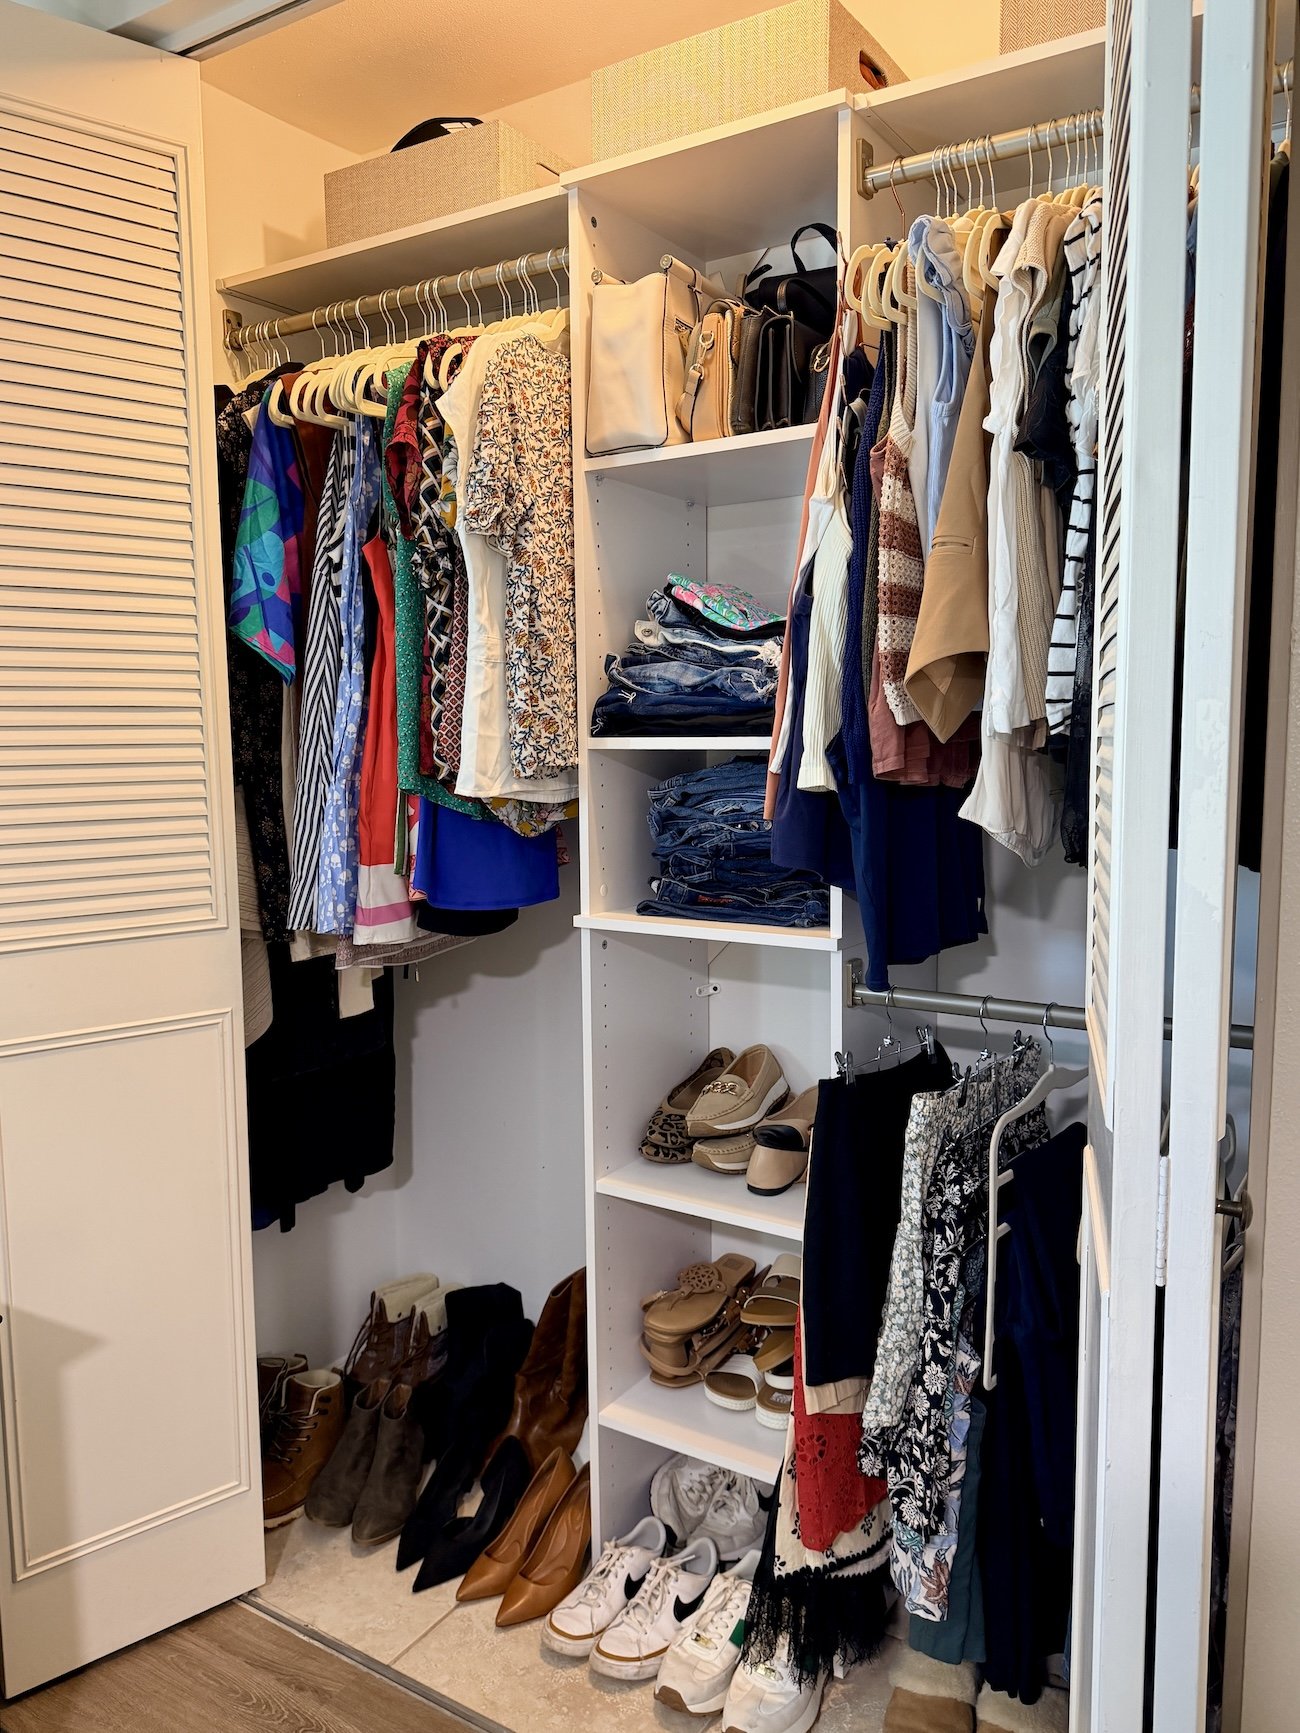
With everything installed, it was time for the true test - seeing if I created more space and function in my closet. Since the new closet rods were much higher, I gained a third hanging rod and more space to hang clothes. I now had a section to hang dresses, a section for my tops and the lower section where I hung my pants.
Having a space to hang pants freed up shelving space which I was able to use to organize some of my shoes which had previously just piled up on my closet floor. One thing I love about the clothing rods being higher is that my clothes are no longer touching the floor which has allowed me to not only organize my shoes on the closet floor, but now I can actually see my shoes. This closet organization system also has adjustable shelves so I was able to change the spacing between each shelf to meet my specific needs.
Now for the question - Was this an affordable option? The answer is an easy Yes!
For the closet system, two top shelves and two sets of shelf brackets I spent less than $200. Then I spent an additional $60 on the 4 storage bins which is completely optional and not required to achieve this custom closet look.
I couldn’t be happier with how this closet system turned out. The installation was surprisingly easy, the price was incredibly budget-friendly, and the functionality is exactly what my small closet needed. I now have so much more available space, and everything finally has a dedicated space. Even if you’re a beginner or novice DIYer, this is a project you can absolutely tackle. If you’ve been searching for a DIY closet organizer to maximize a small closet space without spending a fortune, this closet system from Lowe’s is truly the answer.
Shop This Blog Post
