The holiday season is just around the corner, and if you're anything like me, the thought of gift-giving can be both exciting and daunting. On one hand, it’s a wonderful opportunity to show your loved ones how much you care; on the other, it can feel overwhelming to find the perfect gift, especially when you’re trying to stick to a budget. But here’s the secret: handmade gifts can be just as meaningful, often more so, than store-bought presents. They not only save you money, but they also allow you to pour your creativity and love into something special. Here are some DIY gift ideas that will delight everyone on your list.
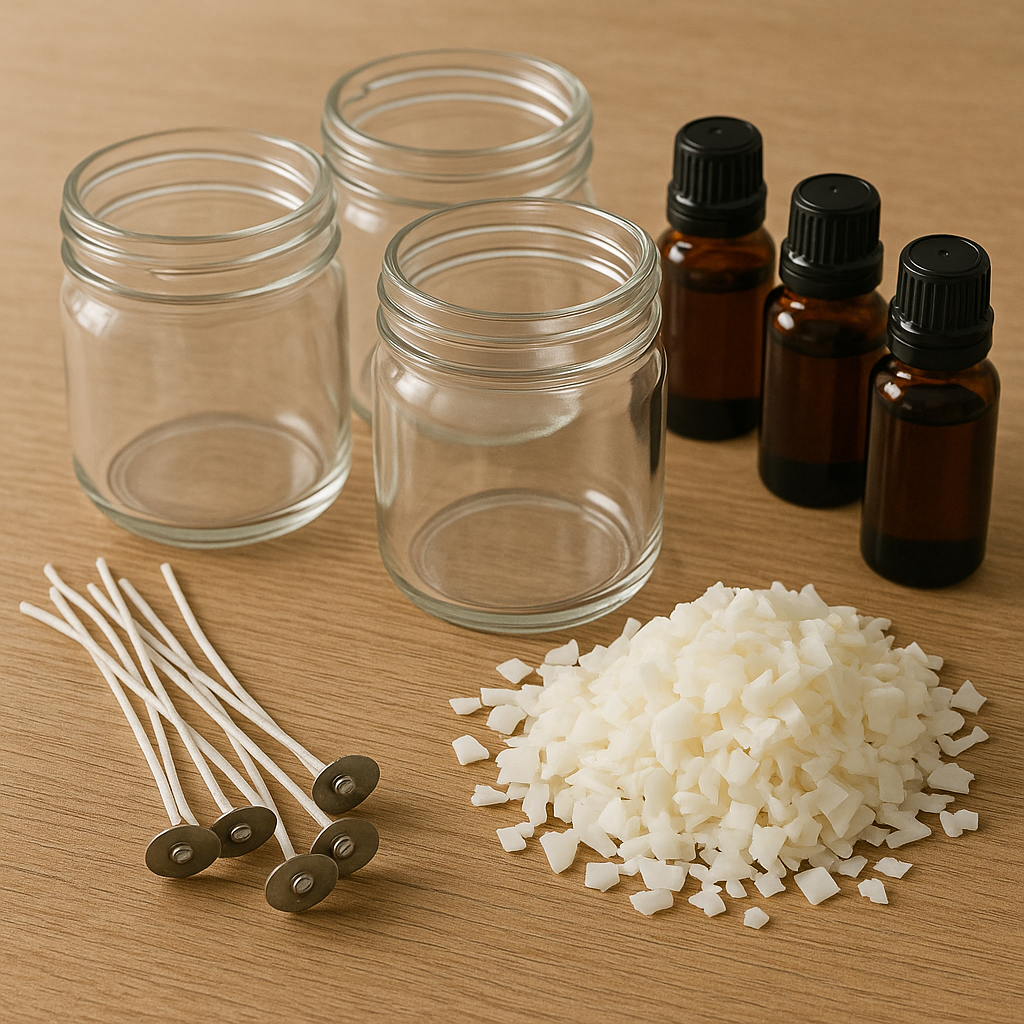
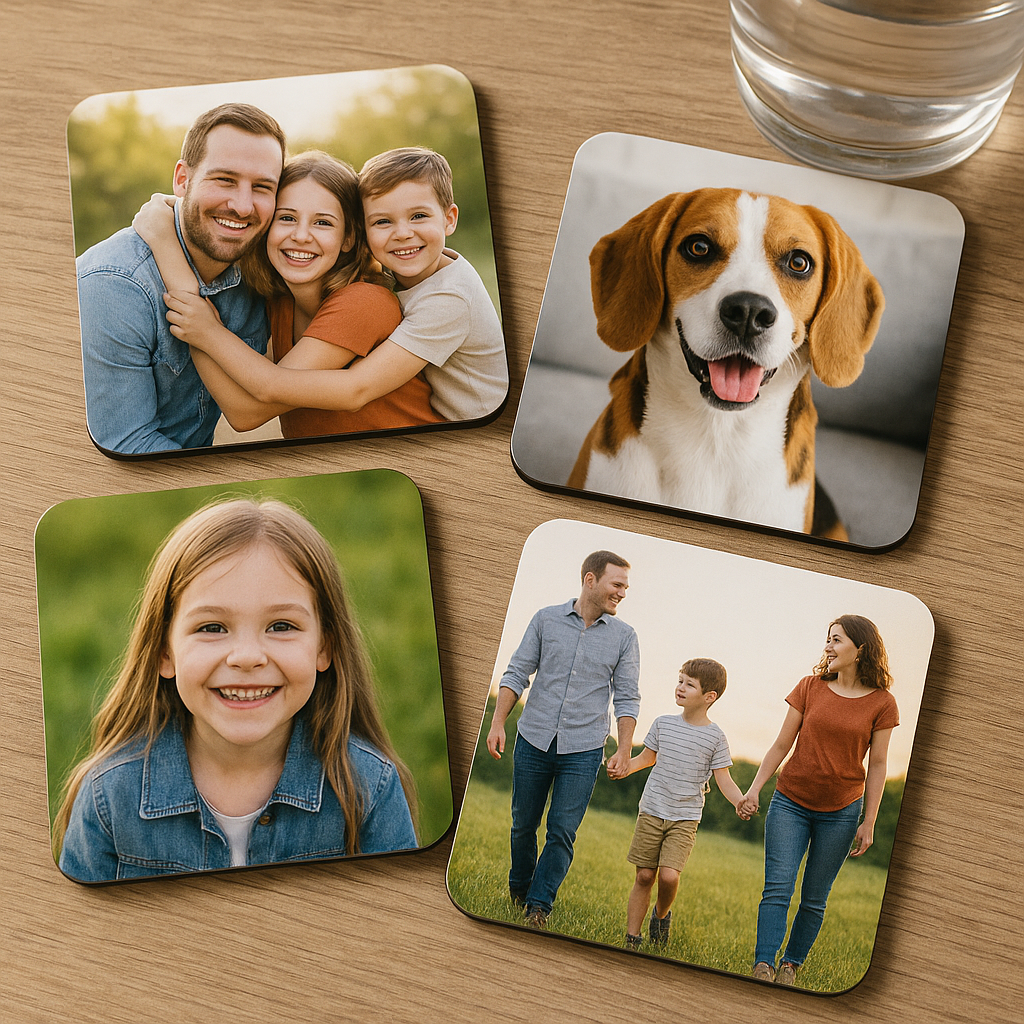
1. Personalized Photo Coasters
A fantastic way to preserve memories and create a functional gift, personalized photo coasters are perfect for family and friends. Here’s how to make them:
What You’ll Need:
Photos (printed on regular paper)
Clear acrylic sealer
Paintbrush
Scissors
How-To:
1. Cut your photos to fit the size of the coasters.
2. Apply a layer of Mod Podge to the coaster, place the photo on top, and smooth out any bubbles.
3. Once dry, apply another layer of Mod Podge over the photo.
4. After it dries, spray with a clear acrylic sealer to protect it from moisture.
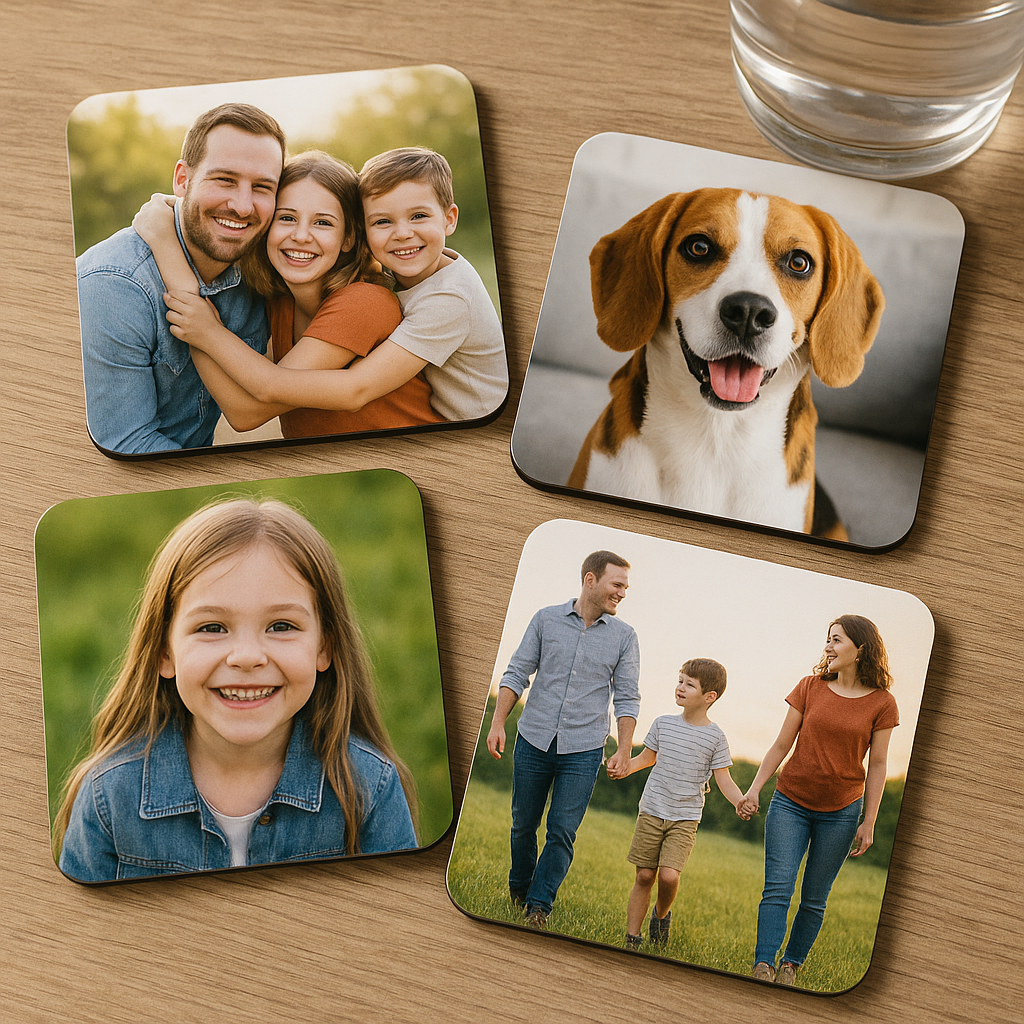
2. Scented Soy Candles
Candles are always a crowd-pleaser. They create a cozy atmosphere and can be customized with different scents. Making your own scented soy candles is easy and inexpensive.
What You’ll Need:
Candle wicks
Essential oils (your choice of scents)
Glass jars or candle containers
Double boiler or microwave-safe bowl
How-To:
1. Melt the soy wax using a double boiler or microwave, following package instructions.
2. Once melted, remove from heat and mix in your chosen essential oils.
3. Secure the wick in the center of the container and pour in the wax.
4. Let the candle set for a few hours before trimming the wick.
3. Hand-Painted Flower Pots
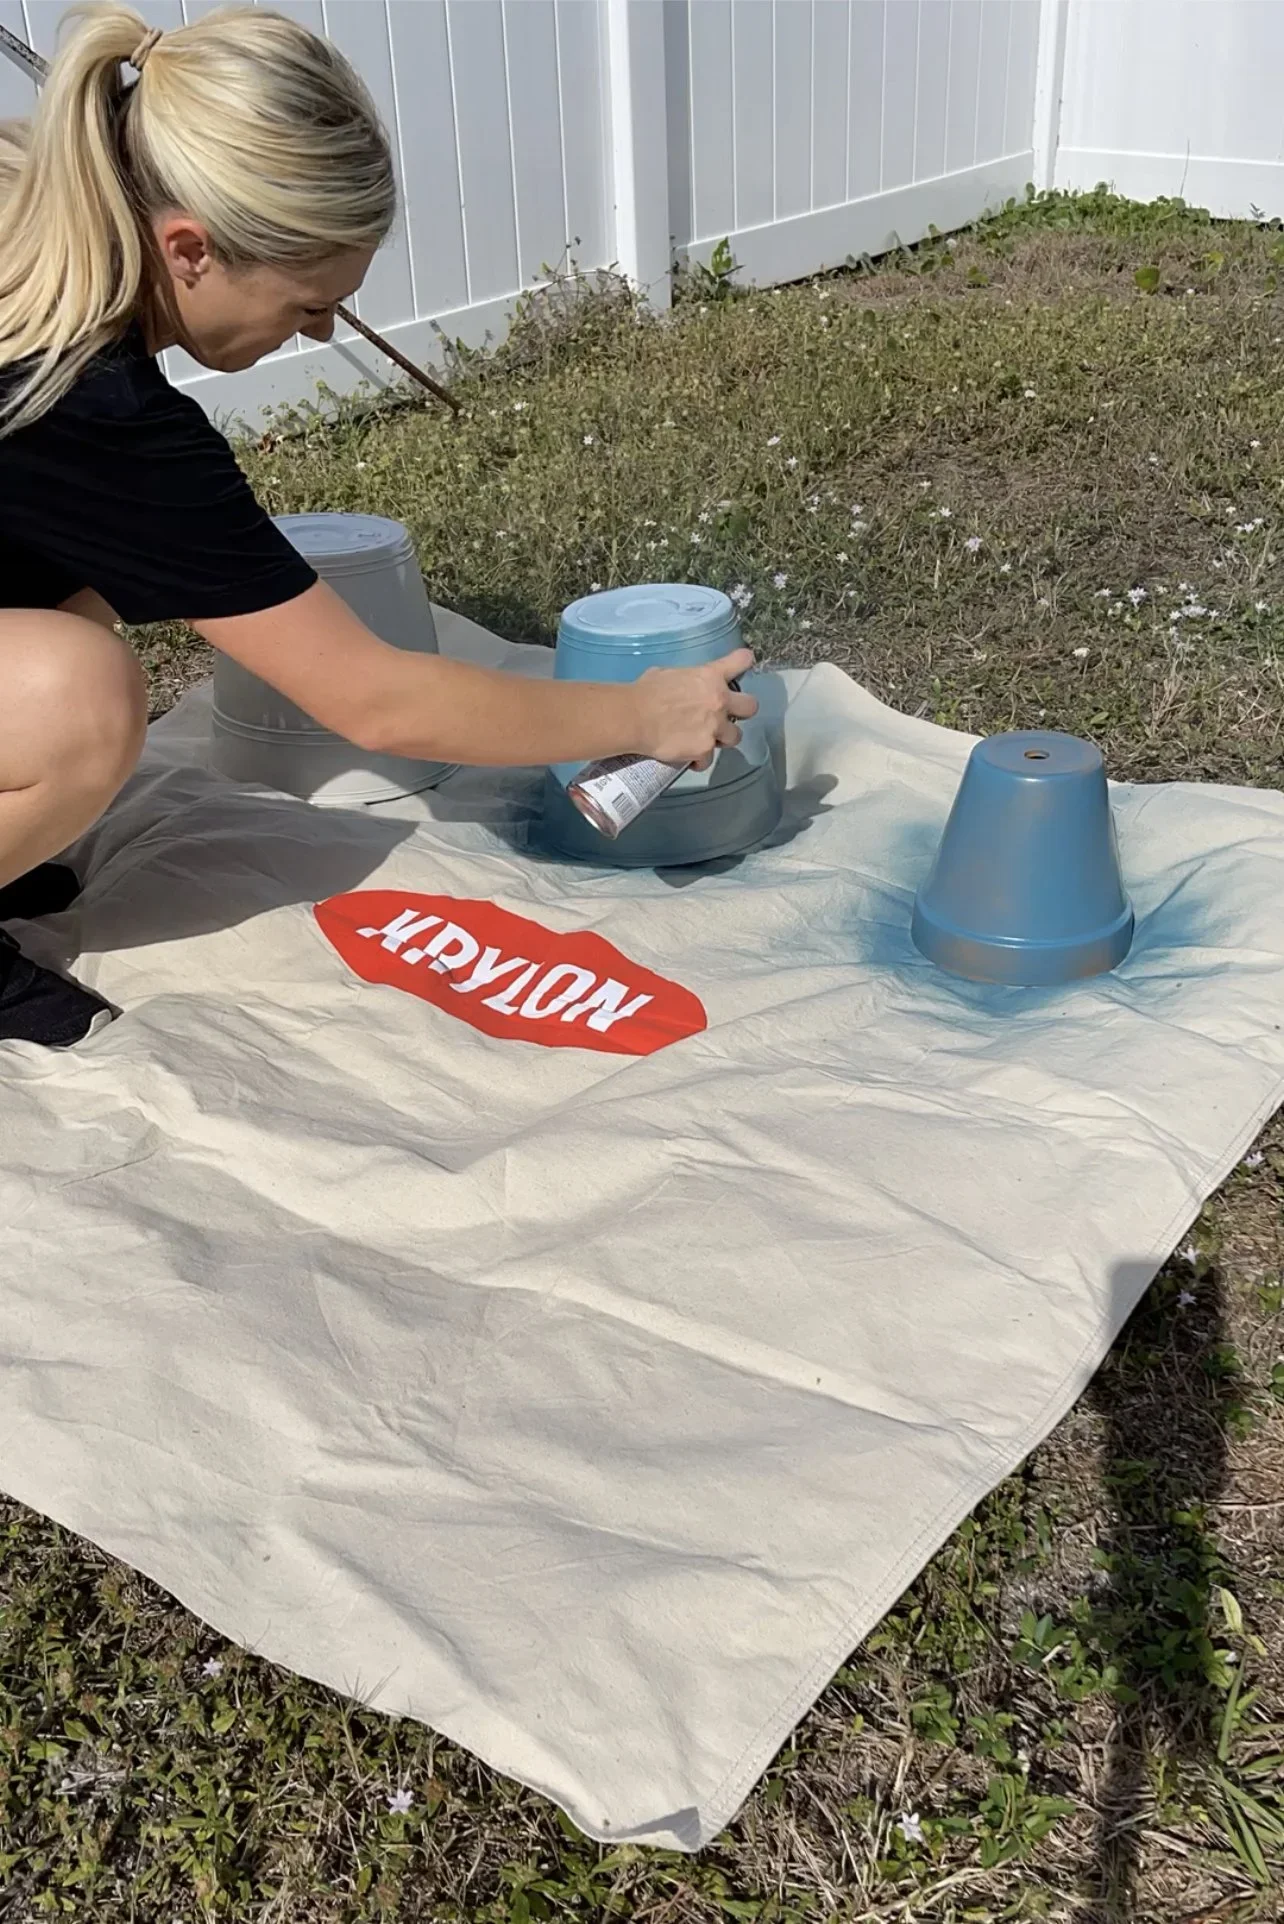
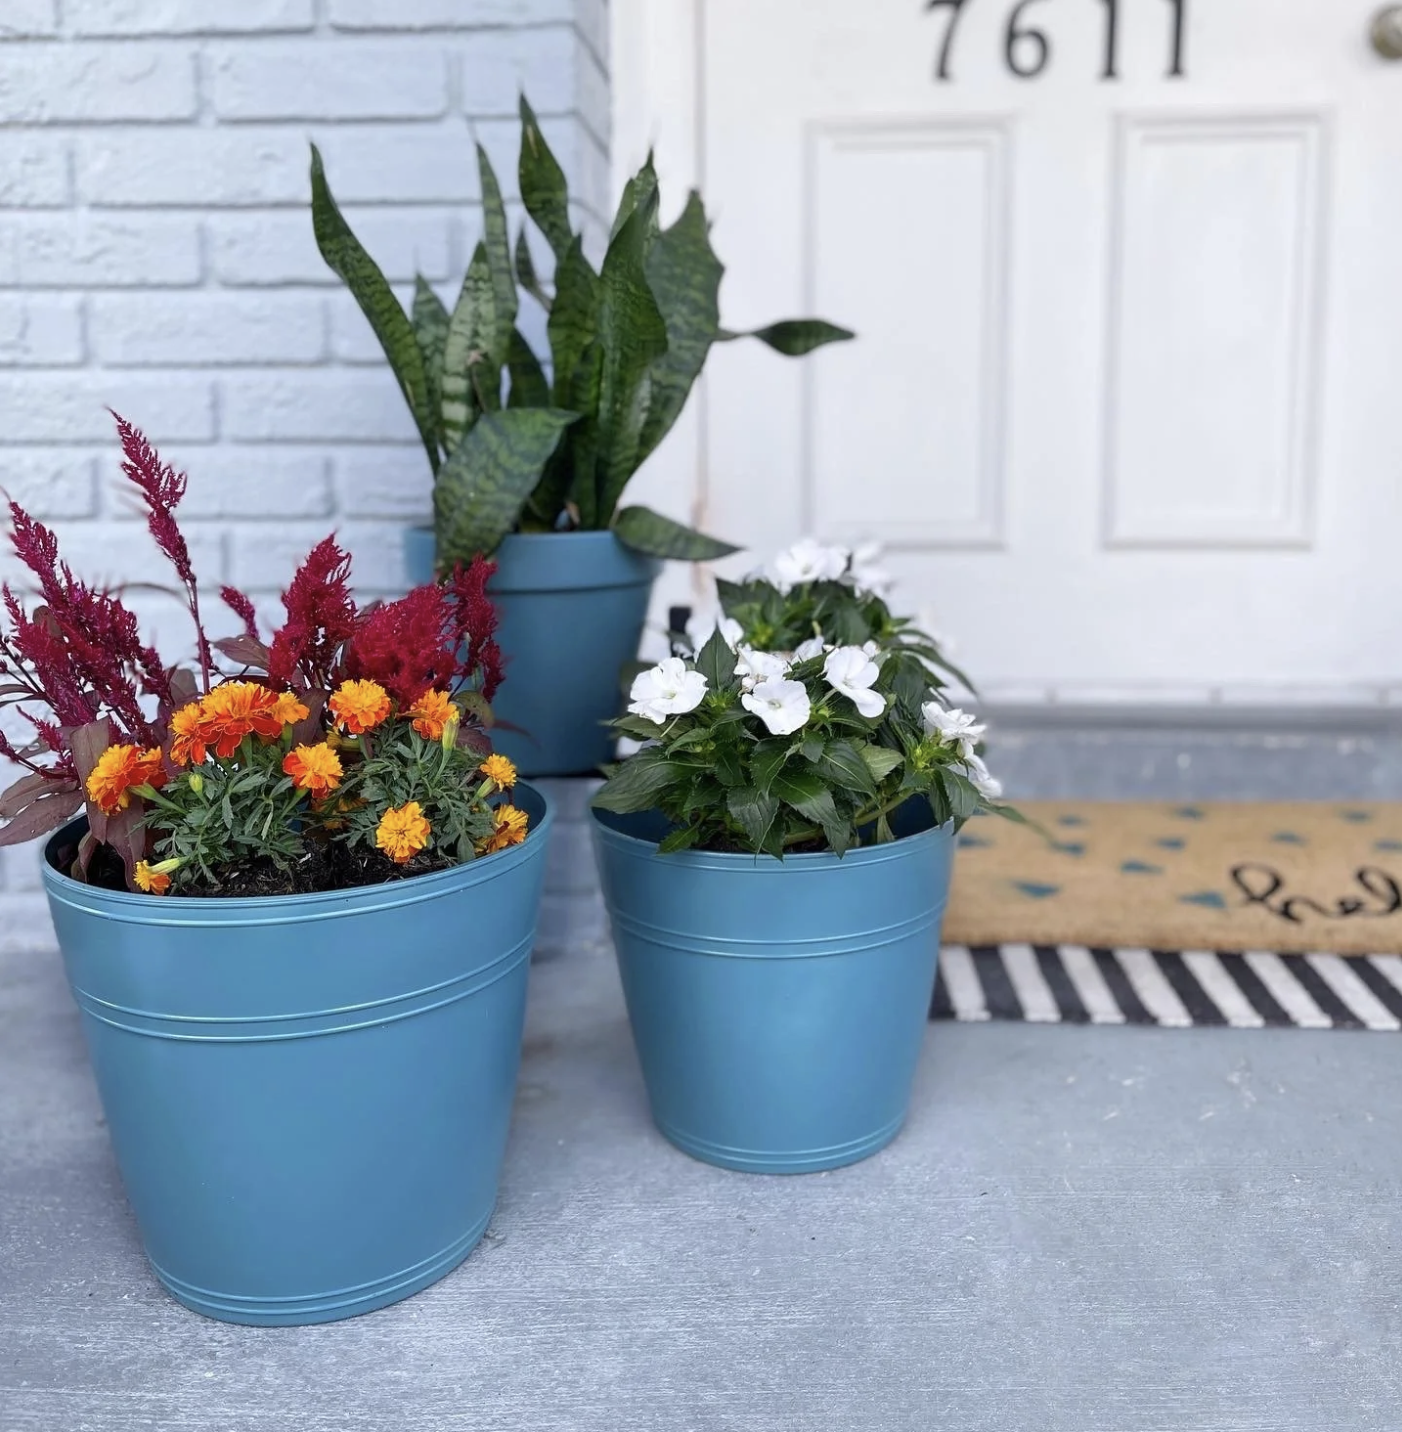
For the plant lovers in your life, hand-painted flower pots make a cheerful and thoughtful gift. Not only are they beautiful, but they also encourage your friends and family to bring a little green into their homes.
What You’ll Need:
Terracotta pots
Paintbrushes
Sealer (optional)
Plants or seeds (for an extra touch)
How-To:
1. Clean the pots to remove any dust.
2. Paint your design on the pots. Whether it’s abstract patterns or cute illustrations, let your creativity flow!
3. Once dry, you can seal the paint for extra durability if desired.
4. If you’d like, plant a small flower or herb in the pot, or gift it alongside a packet of seeds.
4. DIY Bath Bombs
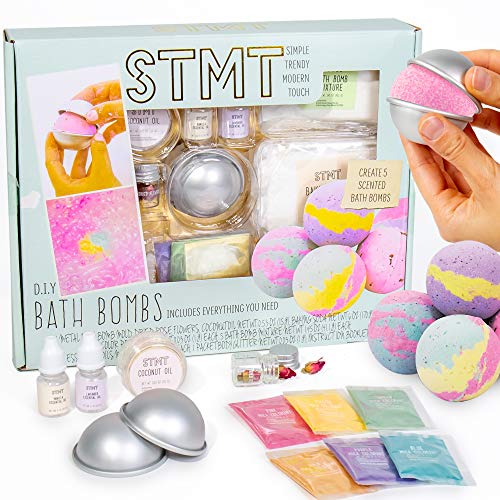
Everyone loves a relaxing bath, and homemade bath bombs make the perfect gift for anyone who could use a little pampering. They’re fun to make and can be customized with scents and colors. If you don’t want to fuss with purchasing all the ingredients separately, try a bath bomb kit which will come with everything you need.
What You’ll Need:
1 cup baking soda
1/2 cup citric acid
1/2 cup Epsom salt
1/2 cup citric acid
Essential oils
Food coloring (optional)
Molds (silicone molds work great)
How-To:
1. In a bowl, mix the dry ingredients together.
2. In a separate bowl, mix the essential oils and food coloring.
3. Gradually add the wet mixture to the dry, stirring continuously until it holds together like damp sand.
4. Pack the mixture tightly into molds and let them dry for 24 hours.
5. Wrap them in clear cellophane and tie them with a pretty ribbon for an elegant touch!
5. Upcycled Tote Bags
For the eco-conscious friends on your list, a reusable tote bag made from old t-shirts or fabric scraps is a thoughtful and practical gift. Plus, it’s a great way to repurpose items you might otherwise toss.
What You’ll Need:
Old t-shirts or fabric
Scissors
Sewing machine (or needle and thread for hand-sewing)
How-To:
1. Cut the sleeves off the t-shirt and the neckline to create the bag shape.
2. Turn the shirt inside out and sew the bottom shut.
3. Flip it back, and you’ve got a stylish tote! You can also add pockets or embellishments for flair.
6. Homemade Spice Blends
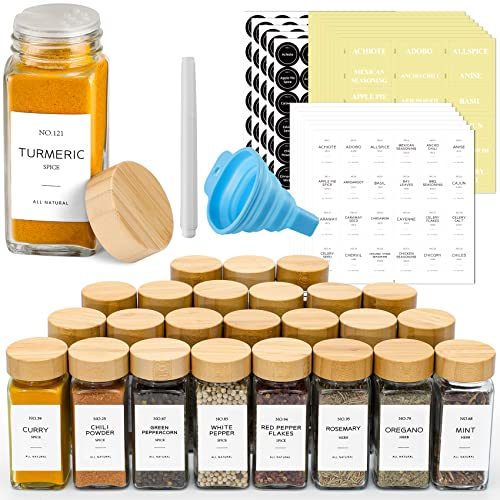
For the foodies in your life, creating personalized spice blends is a unique and practical gift. You can tailor the blends to suit their cooking styles or favorite cuisines.
What You’ll Need:
Various spices (paprika, garlic powder, herbs, etc.)
Small jars or containers
Labels or stickers
How-To:
1. Choose a few spices to create your blend. A classic Italian blend could include oregano, basil, and garlic powder.
2. Mix the spices in a bowl until well combined.
3. Transfer to jars, and label them creatively - this adds a lovely personal touch.
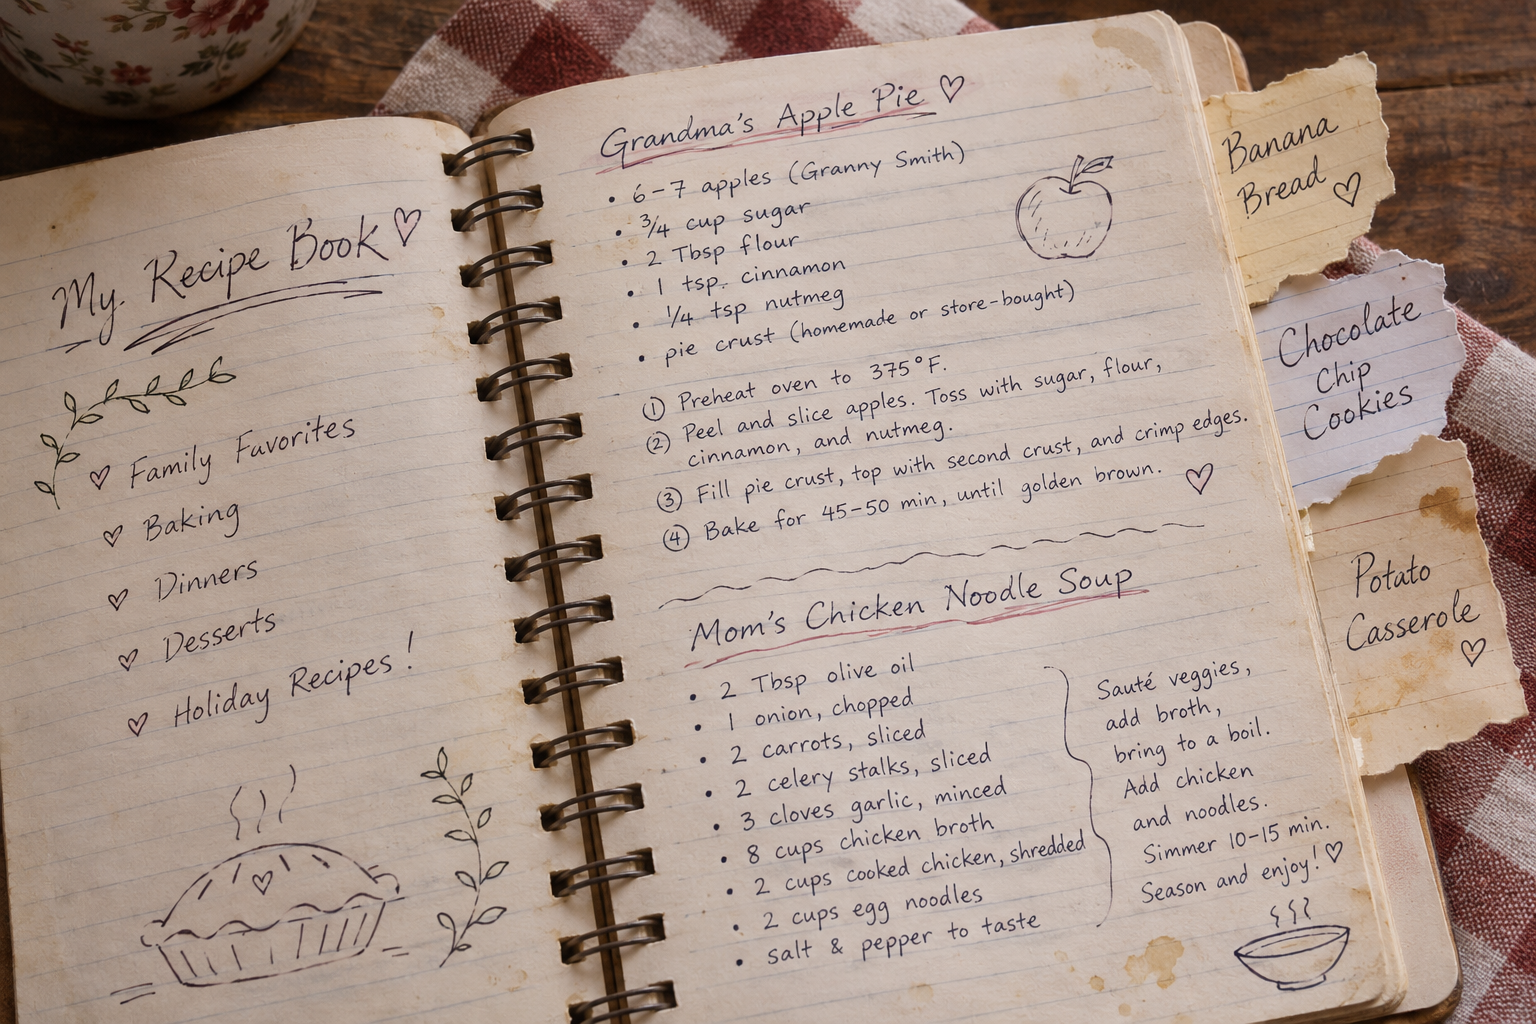
7. Customized Recipe Book
For the culinary enthusiasts on your list, a customized recipe book filled with your favorite recipes is a thoughtful and personal gift. This is a perfect way to share your love for cooking and create a keepsake that they can treasure.
What You’ll Need:
Printed recipes (handwritten or typed)
Decorative paper or stickers
Pens or markers
Dividers (optional)
How-To:
Gather your favorite recipes. These can be family favorites or new dishes you’ve discovered.
Write or print each recipe on a separate page. Add personal notes about why you love each dish or tips for making it.
Decorate the pages with stickers or drawings to add a personal touch.
Organize the recipes in the notebook or binder. You can even use dividers to separate categories (appetizers, desserts, etc.).
8. Homemade dish towels
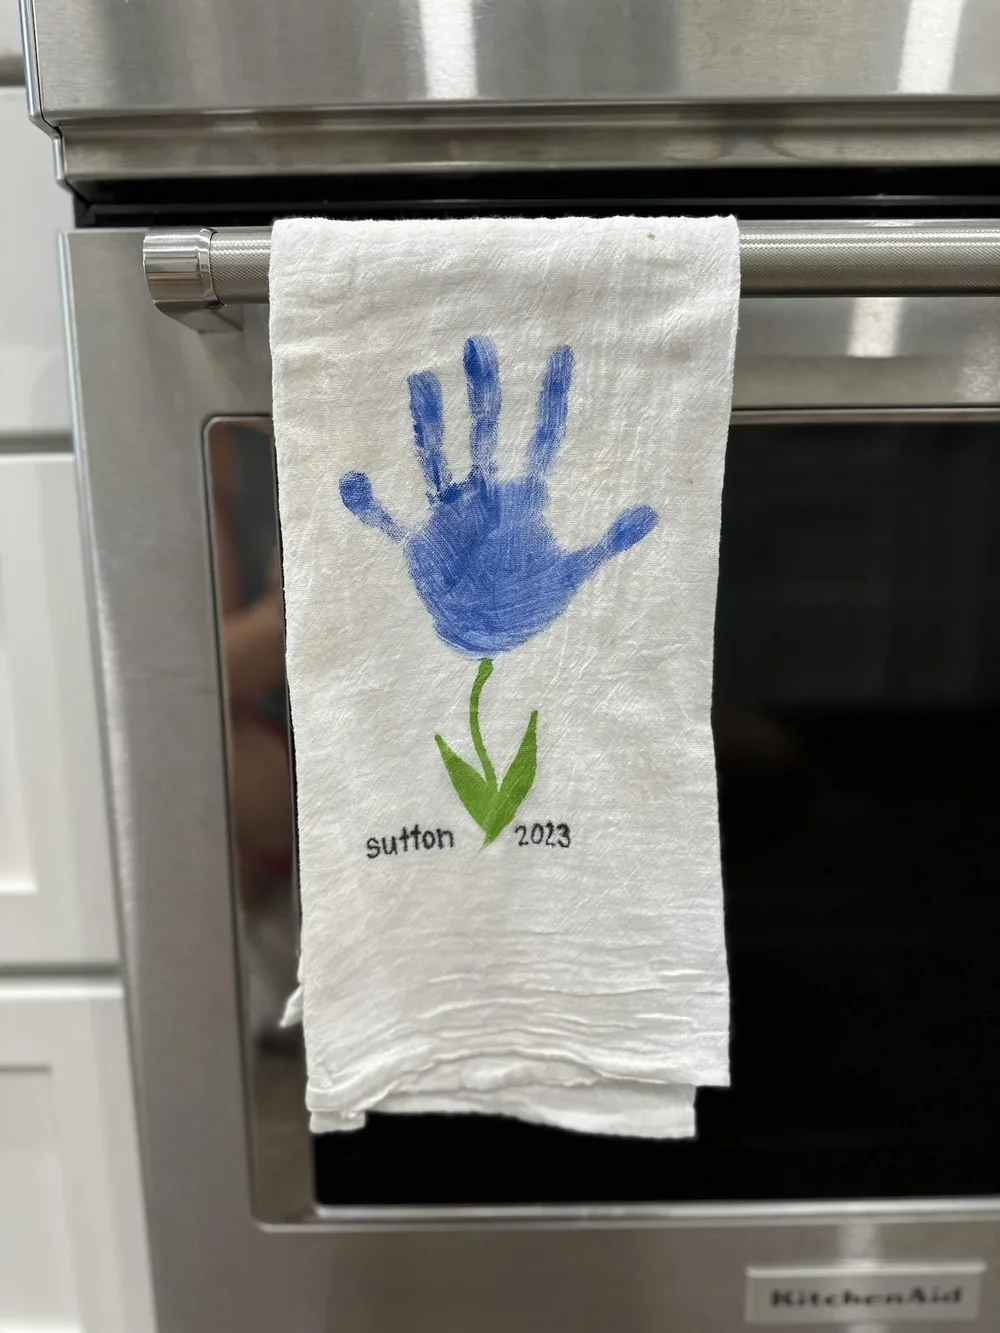
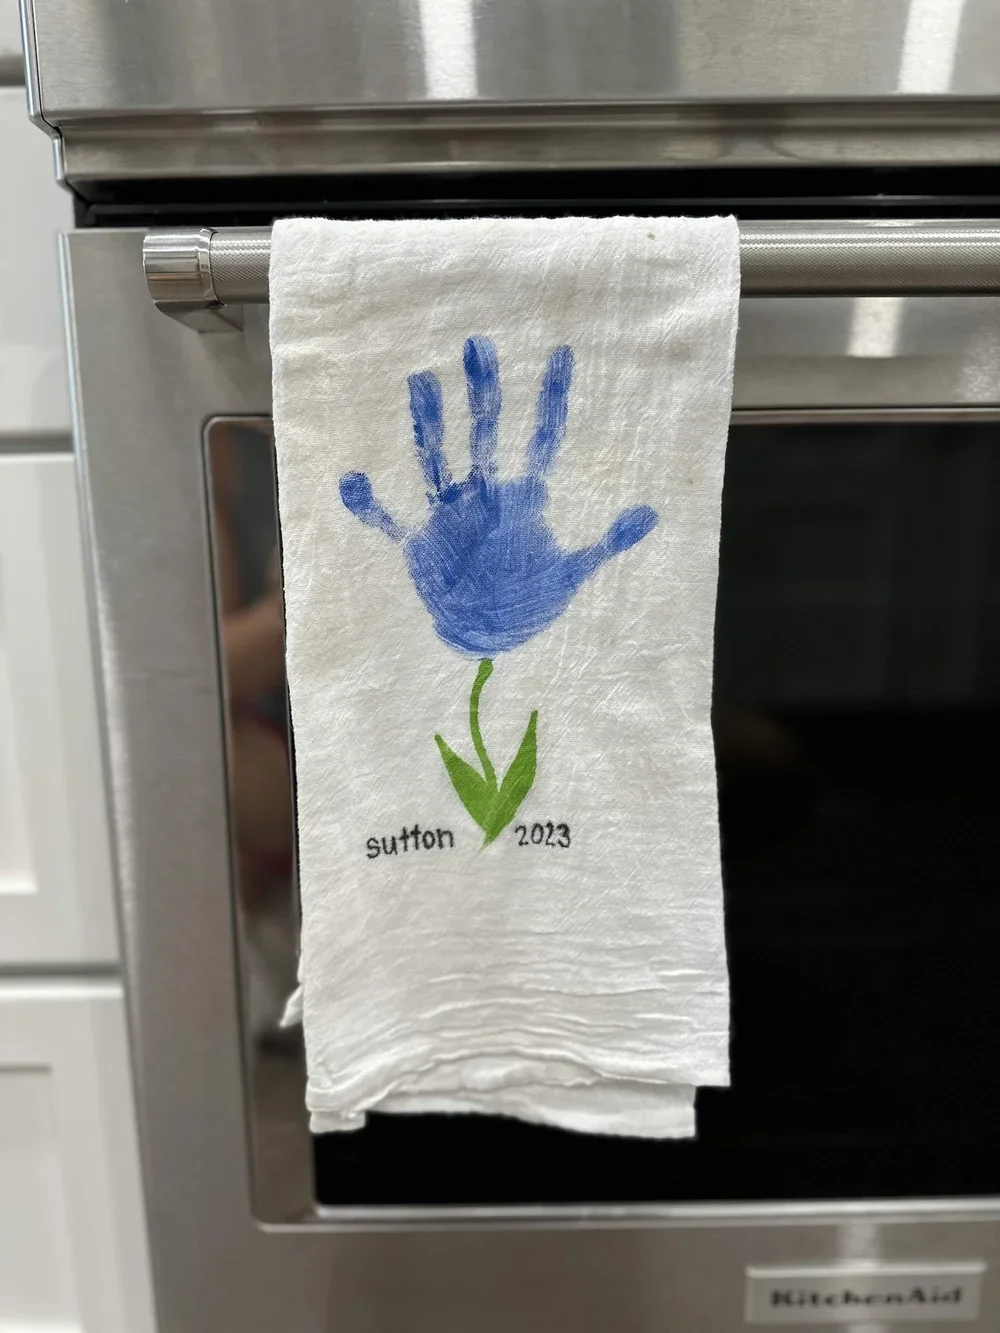
A hand painted or handprint dish towel makes for a functional and heartfelt gift. Have your kids paint or draw a picture of their choosing or incorporate a handprint onto the dishtowel for a lasting memory.
What You’ll Need:
How-To:
Lay dishtowel onto a piece of cardboard so the markers or paint does not bleed through.
Have your kids choose a design for their dishtowel.
For handprints, pour some paint onto a paper plate, gently dip hand into paint, and press hand onto dishtowel making sure not to move or smudge the paint.
Allow dishtowel to dry for 24hrs.
9. Jewelry Trinket Dish
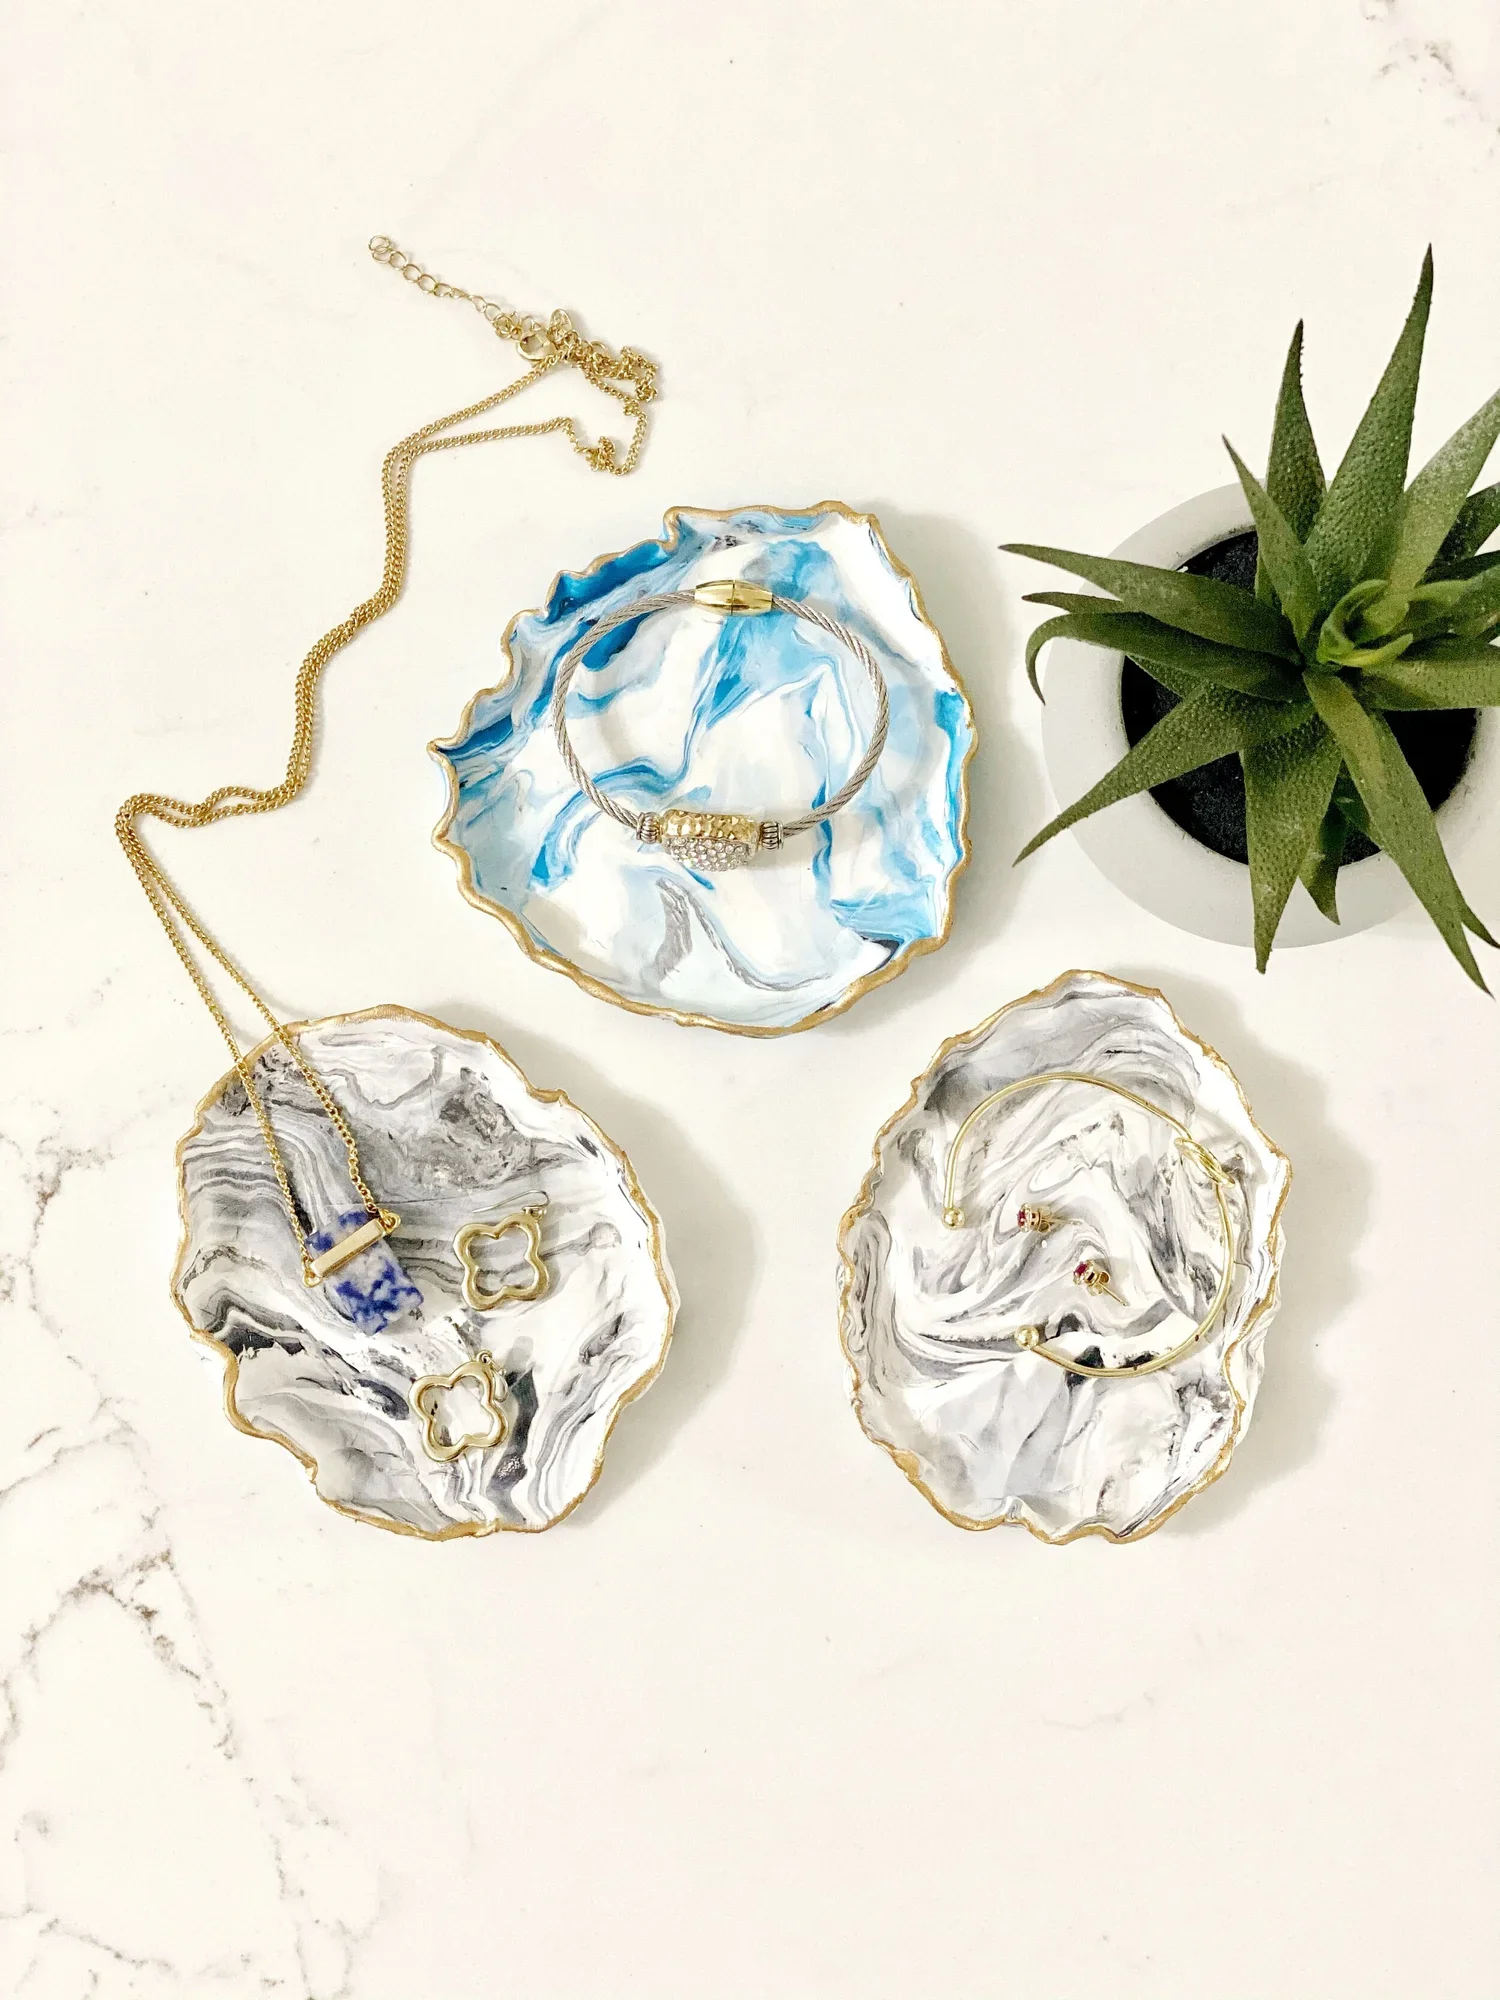
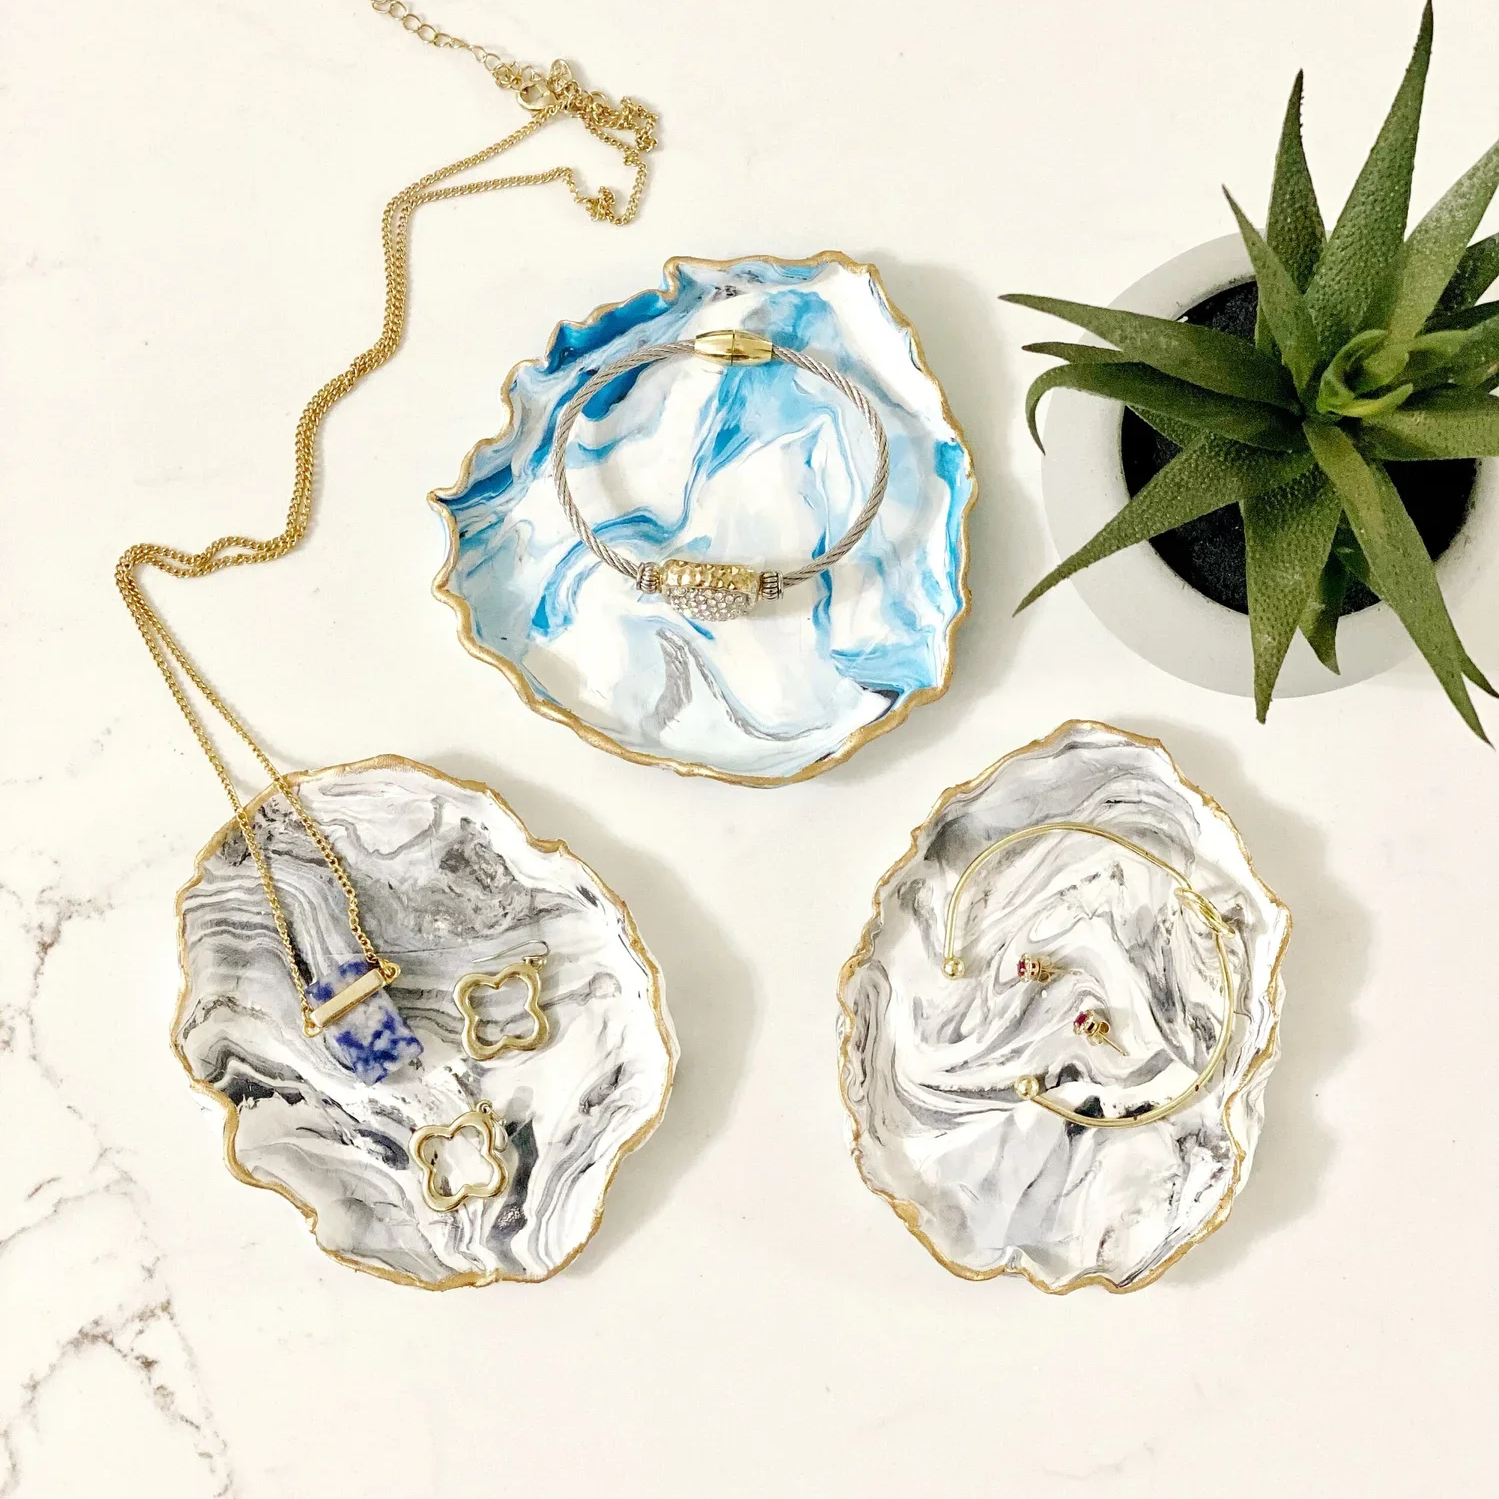
Jewelry trinket dishes are a great gift for mom, grandma, friends, and coworkers. You can customize the size and colors and they are a fun way to use your hands to create something one of a kind.
What You’ll Need:
Small Paint Brush
Baking Sheet Pan
Parchment Paper
How-To:
Use 1/4 of the clay from each color and roll each one into string-like strips.
Wrap the strips around each other and then roll them into a ball.
Twist the ball in different directions almost ripping the ball in half to get the marble look.
Use a rolling pin or cylinder shape to roll the clay ball flat.
Use your fingers to pinch the sides up all the way around the edges to create a little lip.
Place trinket dishes on a baking pan lined with parchment paper. Bake them in a preheated over at 250 degrees Fahrenheit for 20min.
Remove from oven and allow to completely cool and come to room temperature.
10. Name Pennant Flag
Handmade gifts are a beautiful way to show your appreciation and love for your friends and family, and they don’t have to break the bank. With a little creativity and effort, you can create meaningful presents that will be cherished long after the holidays are over.
What You’ll Need:
How-To:
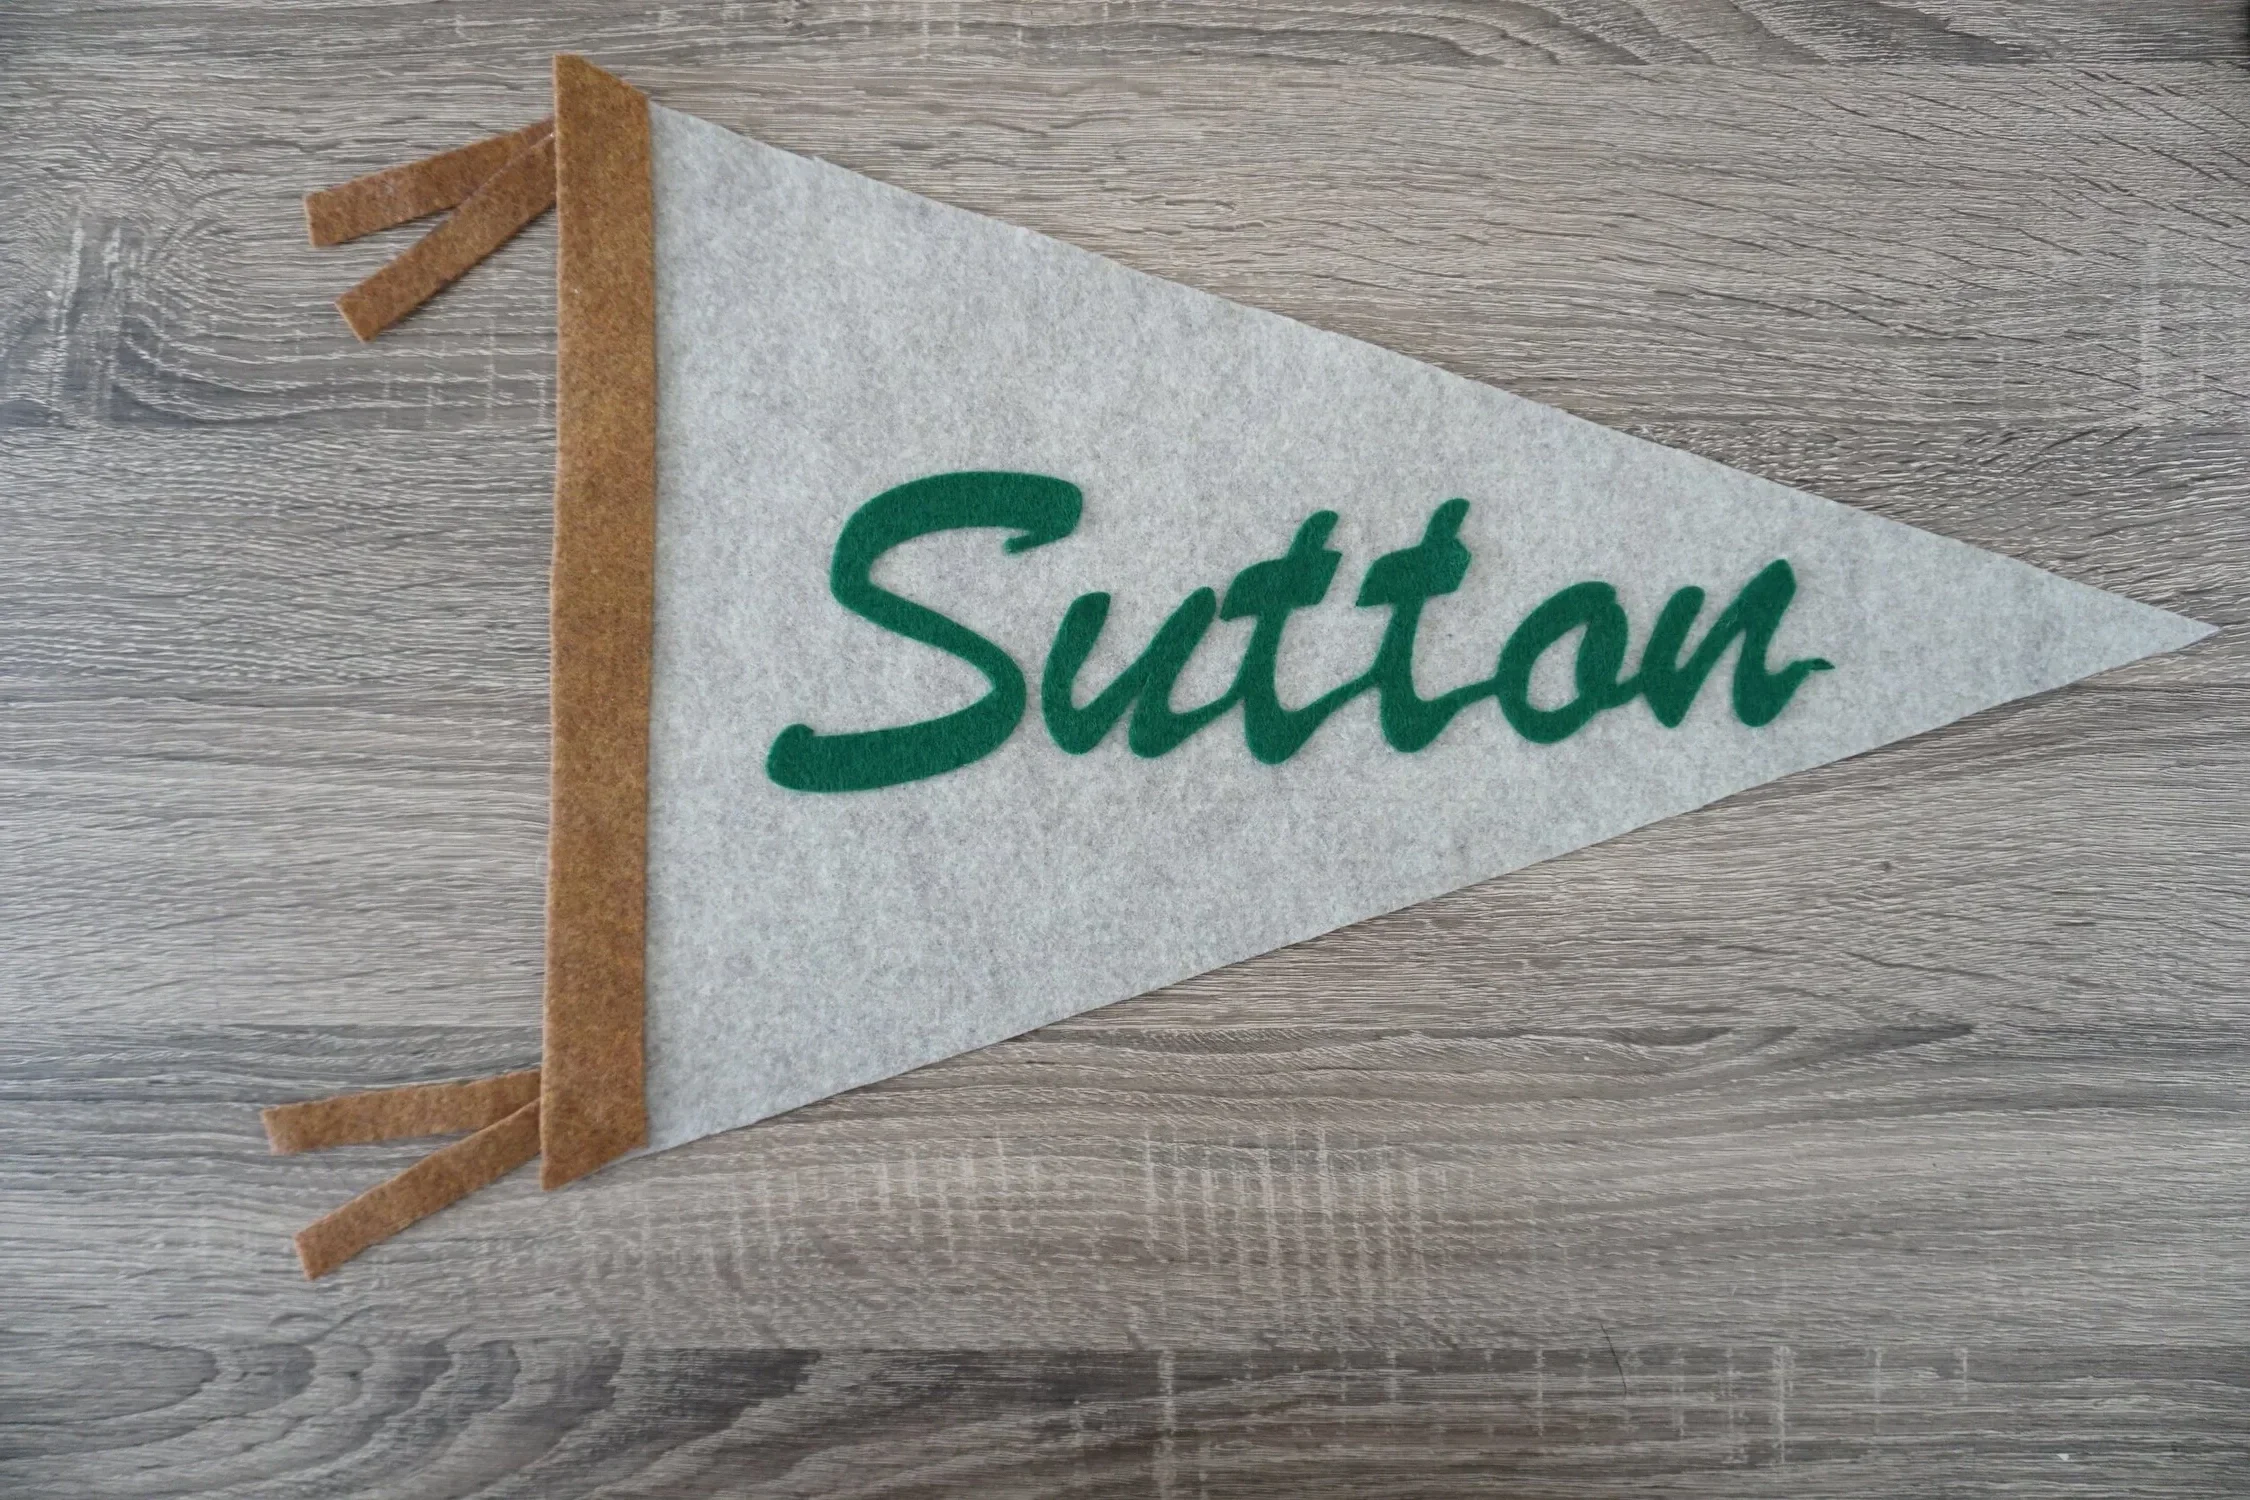
Cut a large sheet of felt into a classic pennant flag shape, with one straight end and one pointed end.
Using a contrasting felt color, cut one 1-inch-wide strip and two ½-inch-wide strips.
Use a Cricut machine and adhesive-backed felt to cut out your desired name or word.
Hot glue the 1-inch strip along the straight edge of the pennant, trimming any excess felt.
Arrange your letters on the flag, then secure each one with a small dot of hot glue.
Cut the two ½-inch strips in half and hot glue the ends together to create two ties.
Hot glue the ties to the back of the straight edge of the flag.