How to Choose the Right Kind of Paint for any Project
If you’ve ever dreamed of transforming your home on a budget, paint is your best friend. A fresh coat of paint can make a dramatic difference, but it can feel overwhelming when met with the endless options in color, sheen, and types.
Painting can completely transform your space, even if you haven’t picked up a brush before. Let’s dive into the essentials to get you started so that you can choose the right kind of paint for any project.
Understanding Paint Types
The two primary types of paint are acrylic (latex) and oil-based. Each has its unique characteristics:
Acrylic Paint: Water-based and easy to clean up with soap and water. It dries quickly and has low odor, making it a popular choice for interior walls. It's also flexible, which helps it resists cracking.
Oil-Based Paint: Known for its durability and smooth finish. It takes longer to dry and requires mineral spirits or turpentine for cleanup. It’s great for surfaces that see a lot of wear and tear, like trim or furniture. It typically has a string odor too.
Tip: For most interior walls, acrylic paint is your best bet due to its ease of use and quicker drying time. Reserve oil-based paint for high-traffic areas or special projects.
Choosing the Right Sheen
The sheen of your paint determines how reflective it is. The sheen affects not only the look but also the durability and ease of cleaning. Here’s a quick guide to common sheens:
Flat/Matte: This finish has no shine and is great for hiding imperfections on walls. It’s ideal for ceilings and low-traffic areas but can be harder to clean.
Eggshell: Slightly more reflective than matte, eggshell offers a soft sheen that’s easy to maintain. It’s perfect for living rooms and bedrooms.
Satin: With a bit more shine, satin is durable and easy to clean, making it suitable for high-traffic areas like hallways, bathrooms and children’s rooms.
Semi-Gloss: Reflective and durable, semi-gloss is often used for trim, moldings, and cabinetry. It withstands cleaning and moisture well.
Gloss: Highly reflective and easy to clean, gloss paint is often used for accent pieces and high-use surfaces, but it can highlight imperfections.
Tip: For most walls, an eggshell or satin finish is a good balance between durability and aesthetics. Use semi-gloss or gloss for areas that need to withstand more wear and tear, like baseboards.
Picking the Perfect Color
Choosing a color can be both exciting and daunting. Here’s a strategy to make it easier:
Consider the Room’s Purpose: Soft, calming colors work well for bedrooms, while lively and energetic hues can be great for playrooms or offices. Think about how you want the space to feel.
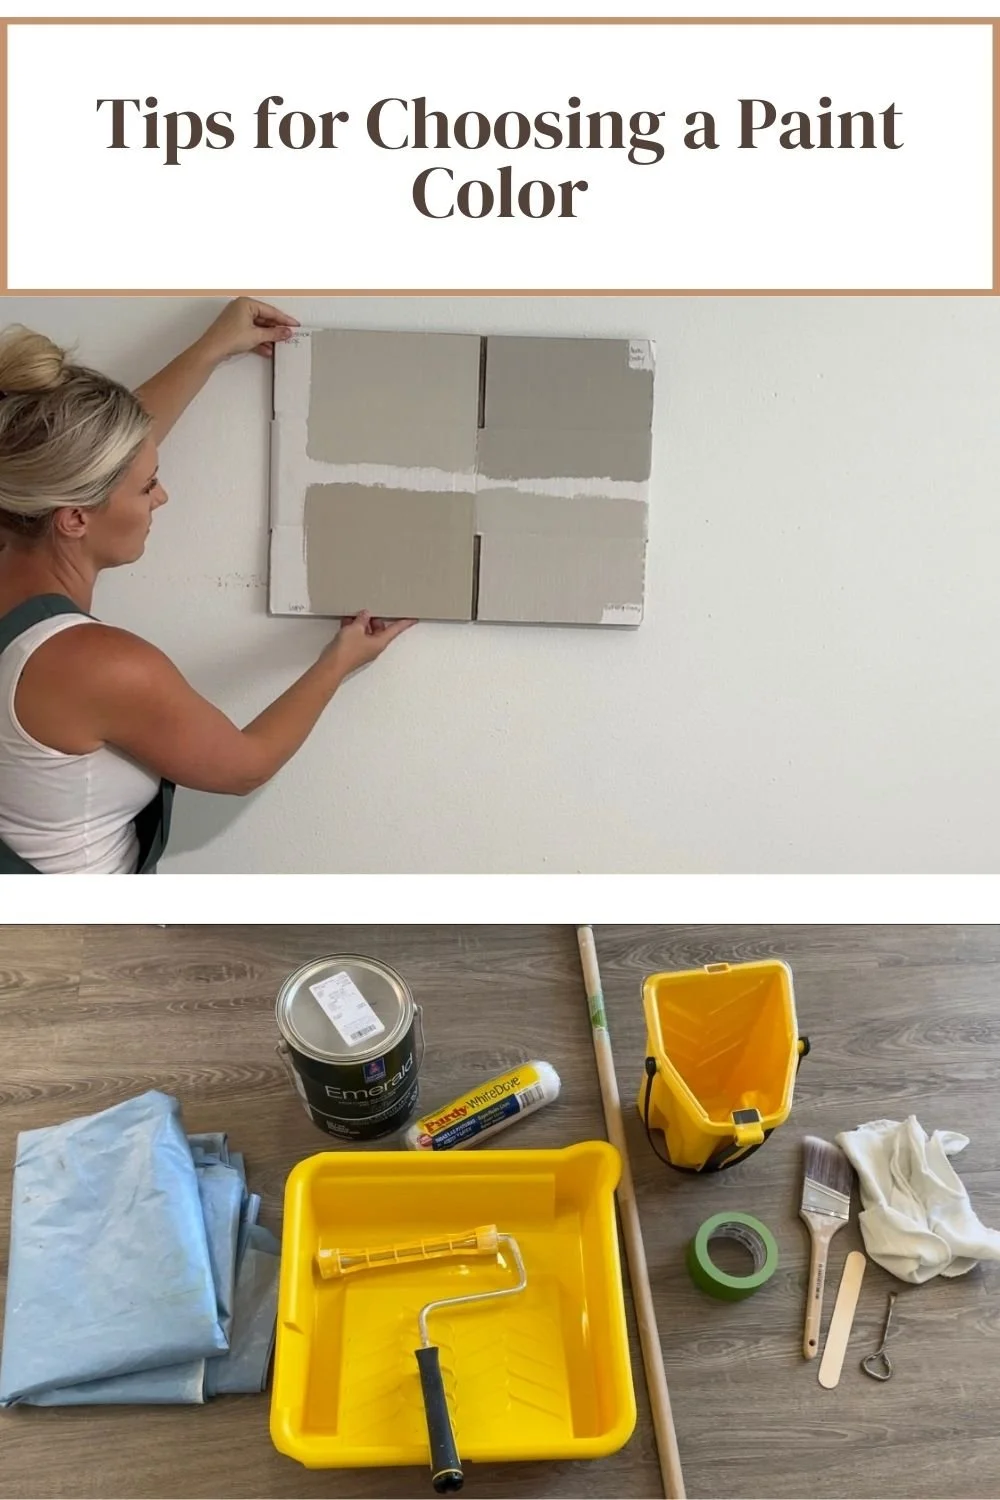
Test Samples: Paint small swatches on your walls and observe them at different times of the day. Colors can look different under natural and artificial light.
Use Color Tools: Online color visualizers and apps can help you see how different shades might look in your space. Many paint brands offer these tools on their websites.
Coordinate with Existing Decor: If you have furniture or artwork you love, choose a paint color that complements these elements. Consider using a color wheel to find harmonious shades.
Tip: Don’t be afraid to experiment with bold colors in smaller areas like accent walls or pieces of furniture if you're hesitant to commit to a whole room.
Bonus Tip: If you’re stuck on where to begin a design project, pick a rug first, then pull paint colors from the rug.
Primer and Wall Repairs
Before diving into your painting project, proper preparation is crucial for achieving a professional finish.
Primer serves as a base layer that helps paint adhere better to the wall and ensures a more even finish. It’s particularly important if you’re painting over a darker color, a high-gloss surface, trying to cover stains or painting new drywall.
When to Use Primer
Apply primer when you're covering stains, painting over a high-gloss paint, trying to cover an existing dark paint with a lighter color, or painting over patched hole or drywall repair. It's also essential for new drywall to seal the surface and prevent the paint from soaking in unevenly.
Types of Primer
Choose a stain-blocking primer for tough stains or a bonding primer for slick surfaces. For most general purposes, a standard latex primer will work well.
Wall Repair
Before painting, repairing wall imperfections is key to a smooth finish.
Filling Holes and Cracks: Use spackle or joint compound to fill small holes and cracks. For larger holes, consider using a wall repair patch. Apply the filler with a putty knife, smooth it out, and let it dry. Once dry, sand the area until it's flush with the wall surface.
Sanding: Lightly sand repaired areas and any rough patches on the wall to ensure a smooth surface. Opt for a fine-grit sandpaper around 220 grit.
Cleaning: Before you start painting, clean your walls to remove dust, dirt, and grease. I like to use a damp rag or this flat mop. Let the walls dry completely before applying primer or paint.
Tip: Take your time with repairs and primer. A well-prepped surface will give you the best results and make the painting process smoother.
Essential Tools for a Smooth Painting Experience
Before you start, make sure you have the following tools and supplies:
Paintbrushes: Use angled brushes for edges and trim, and flat brushes for larger surfaces. Synthetic brushes work well with latex paints, while natural bristles are best for oil-based paints.
Rollers: Choose a roller with a nap length suited to your wall texture. Short naps (1/4" to 3/8") are good for smooth surfaces, while longer naps (1/2" to 1") are better for textured walls.
Painter’s Tape: For clean lines and protecting areas you don’t want to paint apply a smooth line of painter’s tape. Use a putty knife to seal the tape, leaving a crisp line.
Drop Cloths: Protect your floors and furniture with drop cloths or old sheets. This will save you from a lot of cleaning up afterward.
Paint Tray and Liners: Use these for easy paint loading and cleanup. Liners make it easy to switch out colors or clean up after the project. You can also line your tray with aluminum foil.
Ladder or Step Stool: For reaching high areas safely. Make sure it's sturdy and positioned on a flat surface.
Tip: Invest in high-quality tools. They can make a significant difference in your painting experience and final results.
Finding Inspiration
If you’re stuck in a color rut or need a little extra motivation, draw inspiration from various sources:
Home Décor Magazines and Websites
Nature
Color of the Year for each brand of paint
Local Paint Stores
Tip: Start with one room or a small project to build confidence. It’s a great way to see how different colors and techniques work before taking on larger areas.
Click Here to watch my full step-by-step video tutorial on how to paint a room for beginners!
Paint has the power to completely transform a space and make it feel brand new. Remember, preparation is key to a successful paint job, so take your time to choose the right type of paint, sheen, and color. Don’t forget to repair and prime your walls for the best finish. Then you can step back and enjoy your work!


HEY THERE, I’M ASHLEY!
Here to inspire beginner DIYers!