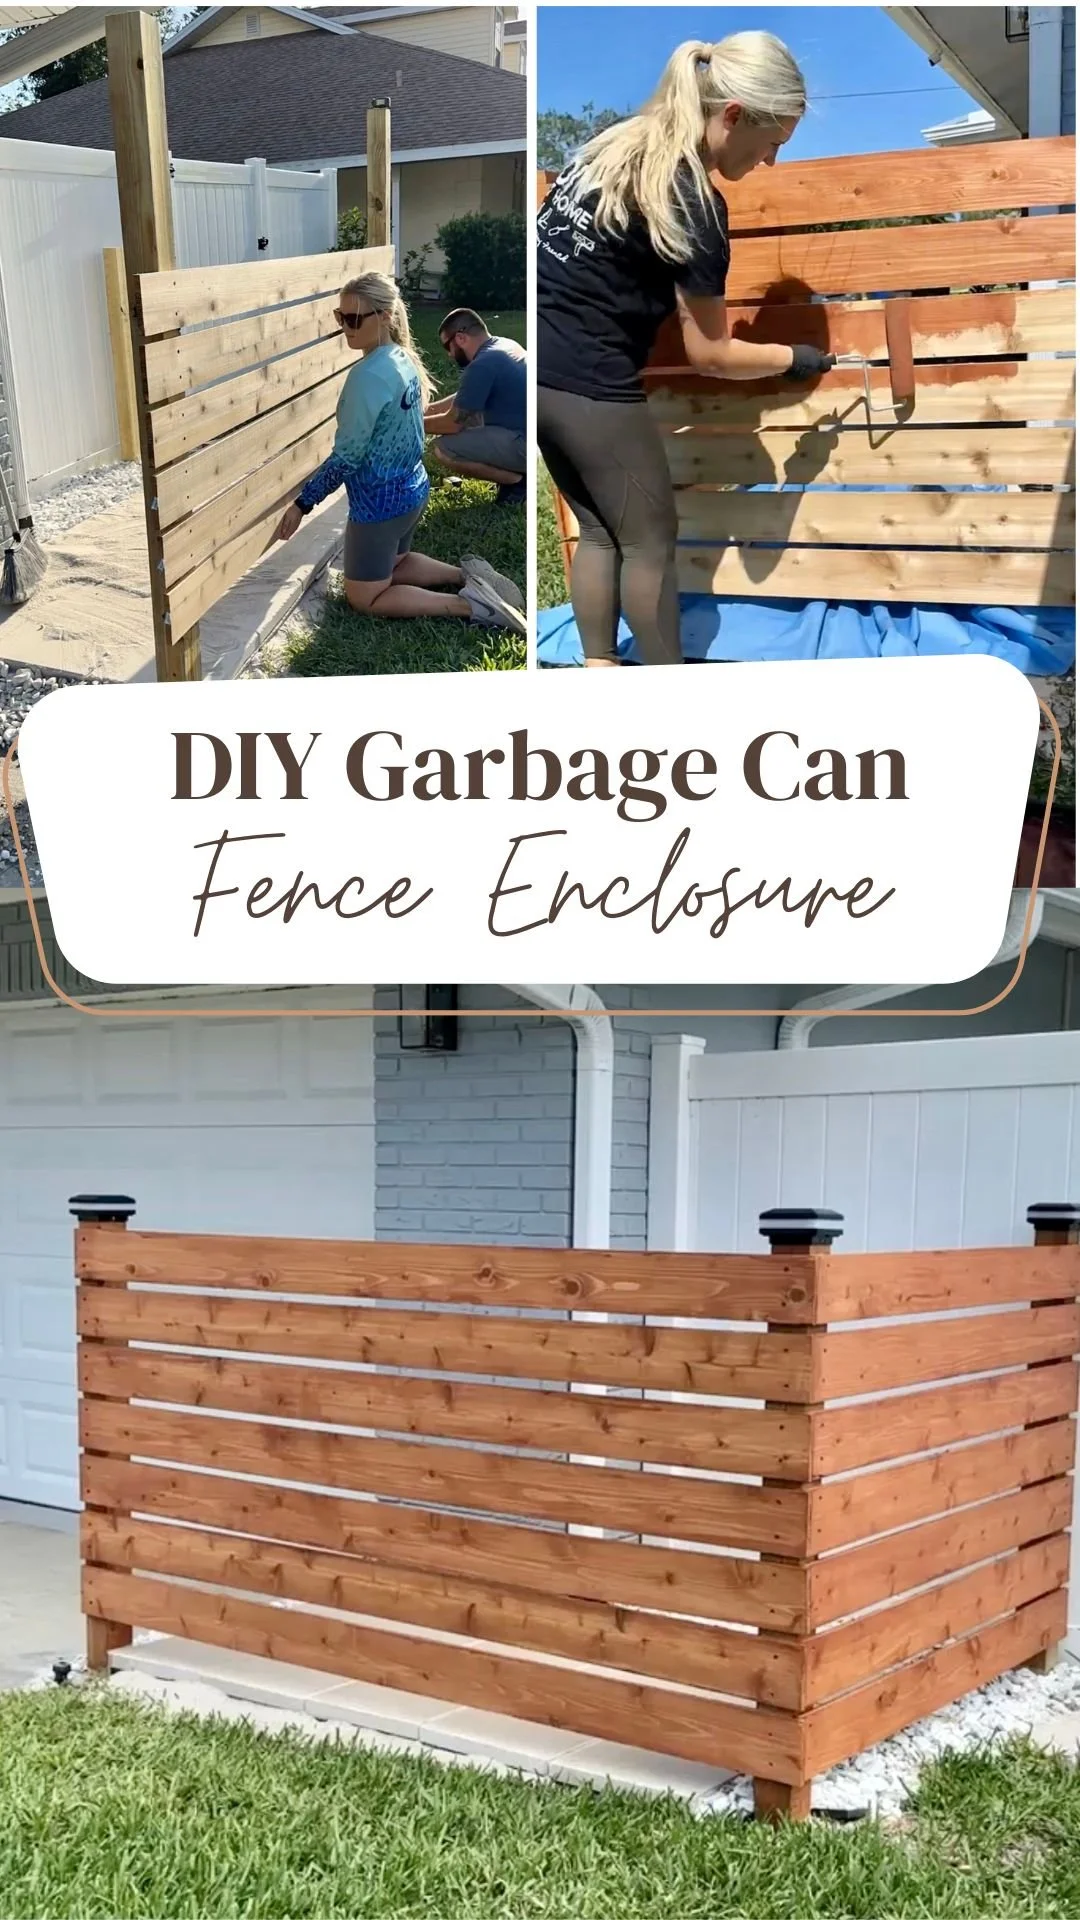
DIY Garbage Can Enclosure with Paver Base
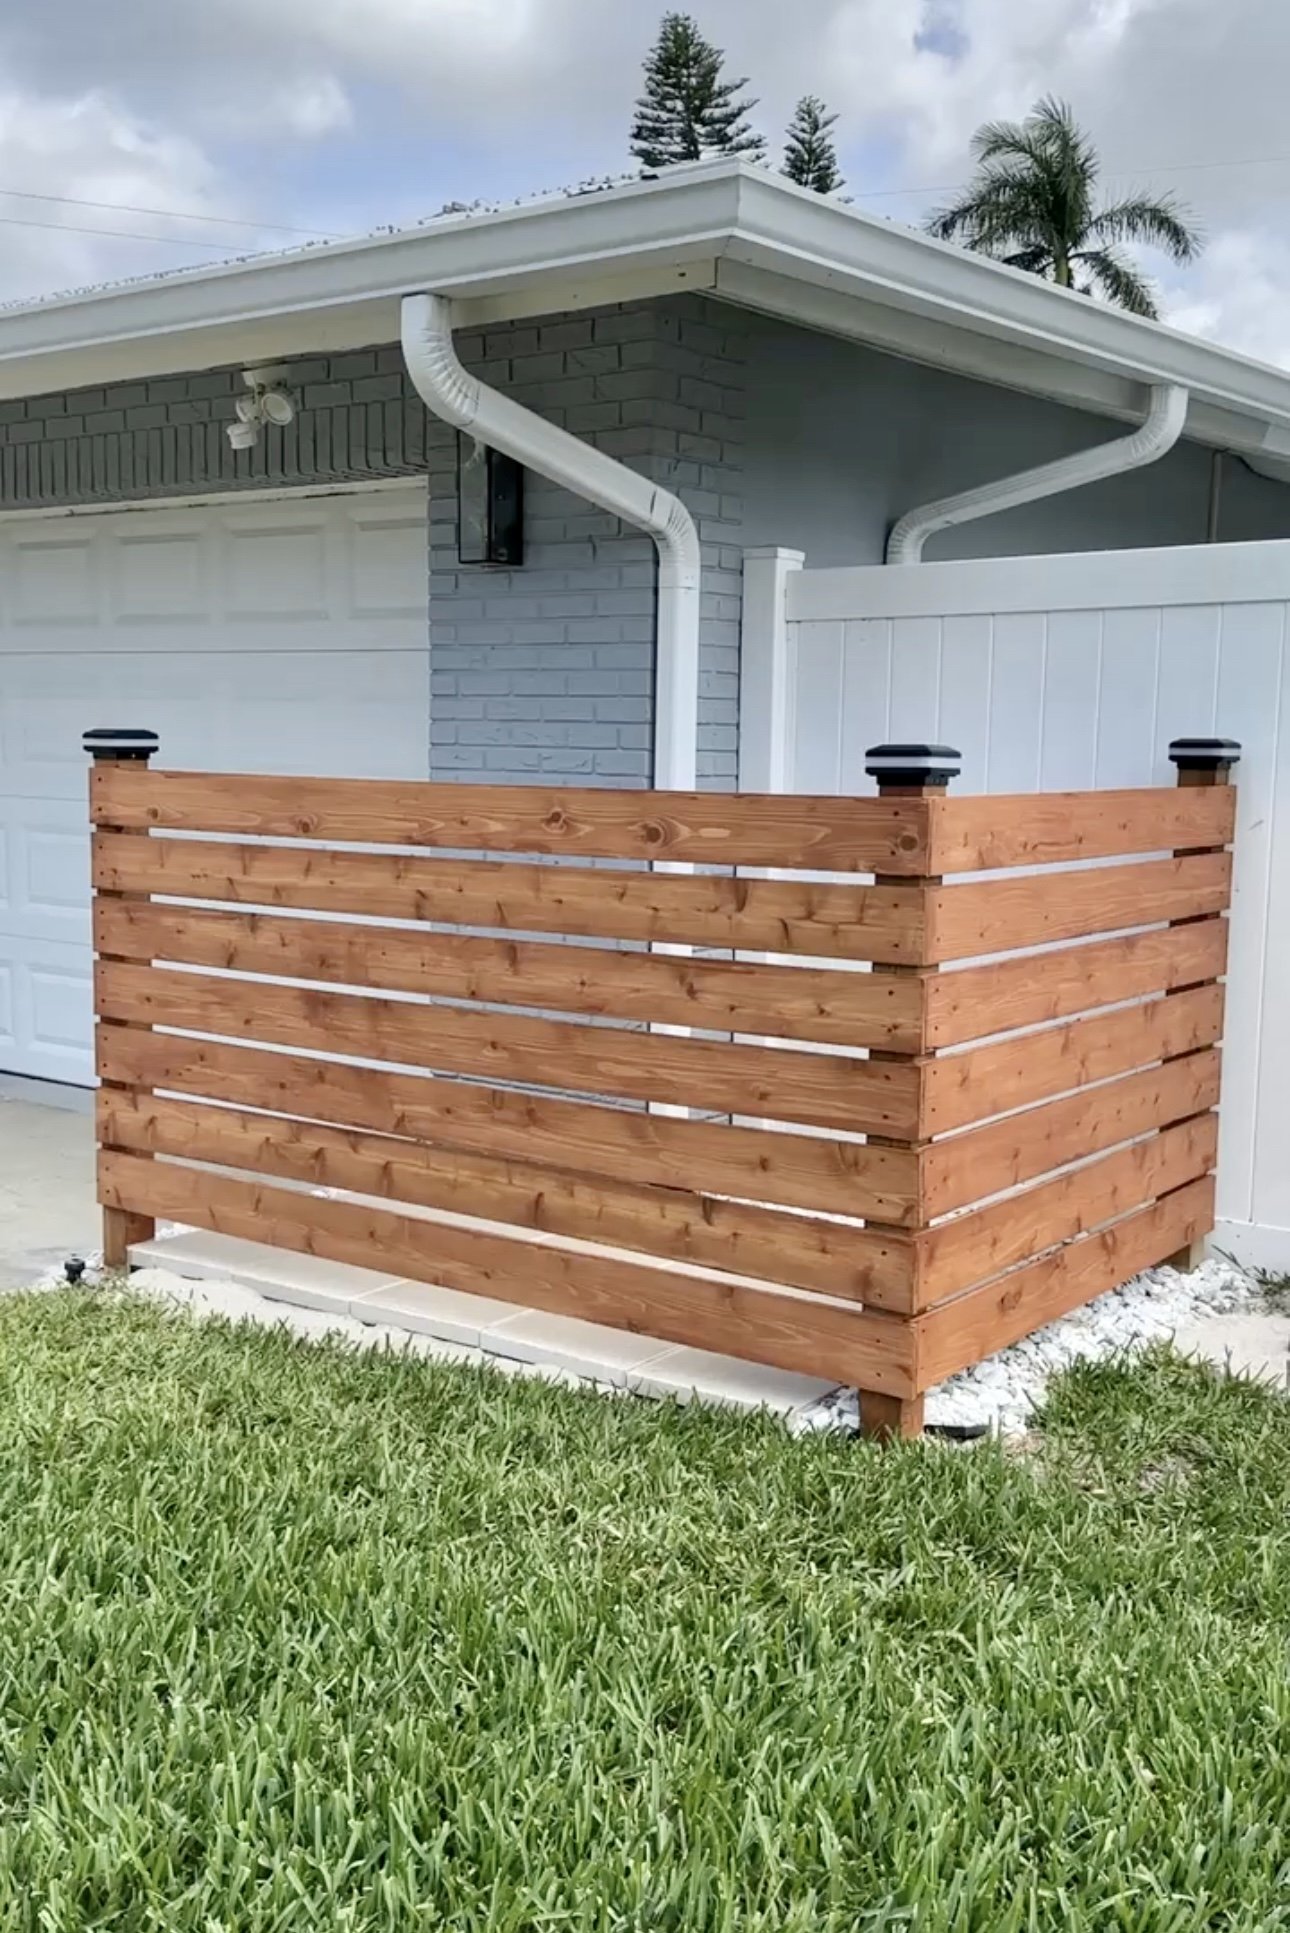
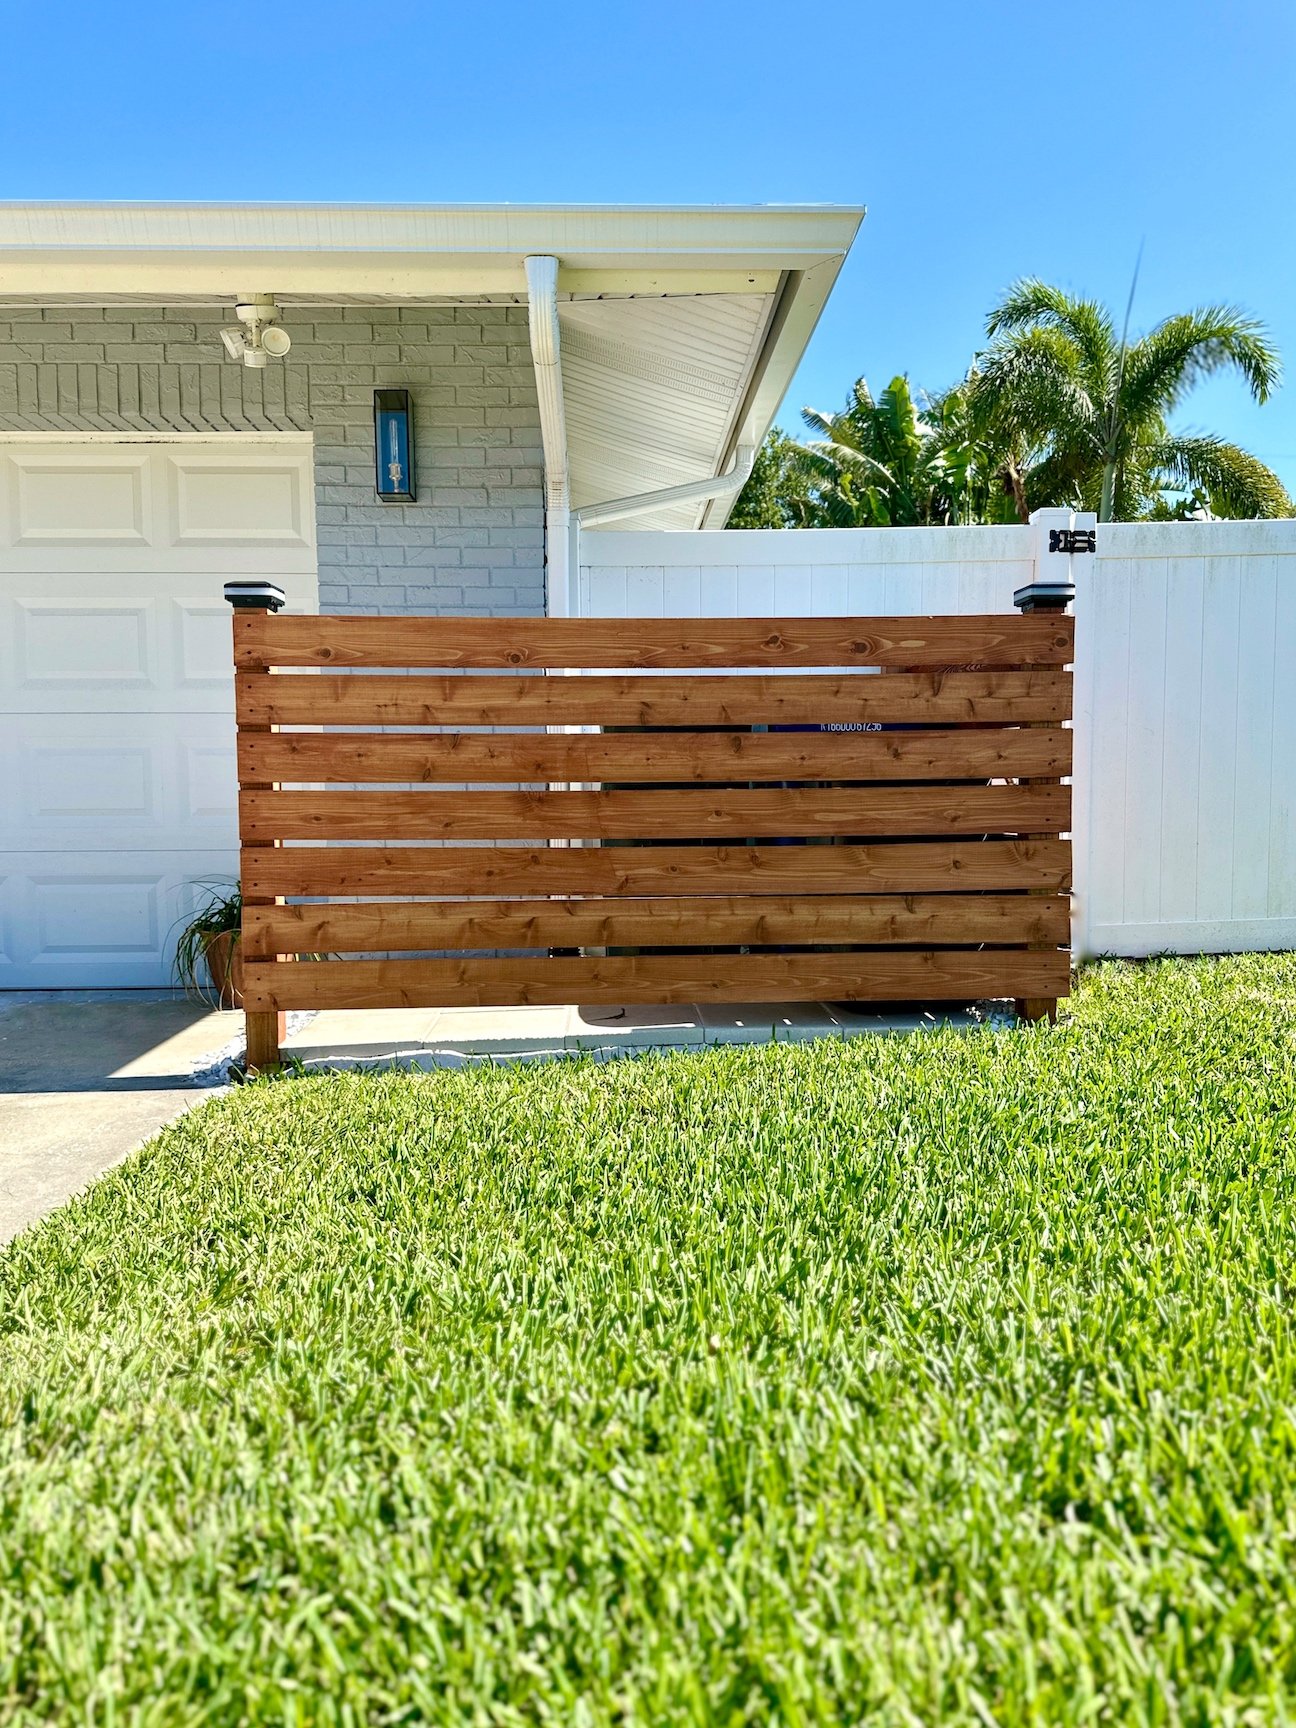
We finally got tired of seeing our garbage cans lined up in front of our garage door and decided to build a a trash can enclosure to conceal them. My goal was to build something that looked modern, matched with our cedar shutters and was easy to get in and out of with three trash cans. This wood fence enclosure would also work great to conceal your air conditioner or pool equipment.
Recommended Tools:
Materials:
Step 1: Determine the Size
We decided to build the enclosure on the corner of our home just off our driveway. Our first step was to determine the size of the enclosure that we would need so that 3 trash cans would fit and leave room for us to walk into the enclosure and pull them out.
We lined our cans up to give us an idea of spacing and determined we would need a space that measured roughly 8ft by 6ft. This size is much larger than the cans themselves but we wanted enough room to be able to walk into the enclosure and pull out just one or two cans without having to pull them all out to access just one or two.
Step 2: Prep Foundation & Set Posts
Once we knew the size of our enclosure area we started digging up the existing grass to create a flat foundation to lay our pavers on. We used a combination of a shovel and a garden hoe to dig up the grass. Then we used a rake to flatten out the area as best as we could. With the area dug up, we then determined where our fence posts would go and used a post hole digger to dig a 24” hole for each post.
Once our three holes were dug, we set our posts one at a time. We did this by placing the post in the hole and then pouring the dry fast-setting concrete mix into the hole. We used just about a full bag for each hole. With the concrete mix in the hole, one of us held the post while the other used the garden hose to fill the hole with water. Once the hole was filled with water we used the shovel and stabbed it into the hole to ensure the water was mixing with the dry concrete mix.
We wanted to move on to the next hole and not have to hold the post in place while the concrete dried so we used some scrap wood that we nailed to the post to hold the post in place while the concrete dried (see photo below). We also used our level to make sure the post was plumb before nailing on the scrap boards to hold it into place. The technique we used of pouring the dry concrete mix into the hole is specific to the kind of concrete mix we used.
Typically this method only works for “fast-setting concrete mix” that is specifically designed to be used with post holes. We knew each of our holes would not be an identical depth so we chose to place the entire 8ft post and we would cut it down to the height we wanted at the end of this project.
Step 3: Paver / Stepping Stone Foundation
The first step after digging up and leveling out the area was to lay down some landscaping fabric to prevent any weeds from growing up over time. Then we poured a layer of Step 1 Paver Base and leveled it out with a rake. Next we poured a layer of Step 2 Paver Sand and leveled it out with the rake. At this point you could start laying the stepping stones in place but we decided to use a new product we found at Home Depot. We used these Paver Base Panels because they helped create a more level surface before laying your stones or pavers.
If you have a tool called a Tamper, you can compact your ground and achieve a more level surface and skip using the Paver Panels. Either way, using a Tamper or using the Paver Panels, both will work. We then spread out a very thin layer of paver sand on the panels and then laid our stepping stones side by side so that there was little to no gap between them.
With all the stepping stones in place we moved on to the final step of pouring the remaining paver sand all over the stepping stones and using a broom to sweep it all around so that it would fall into the cracks between the stones.
Step 4: Install Cedar Fence Boards
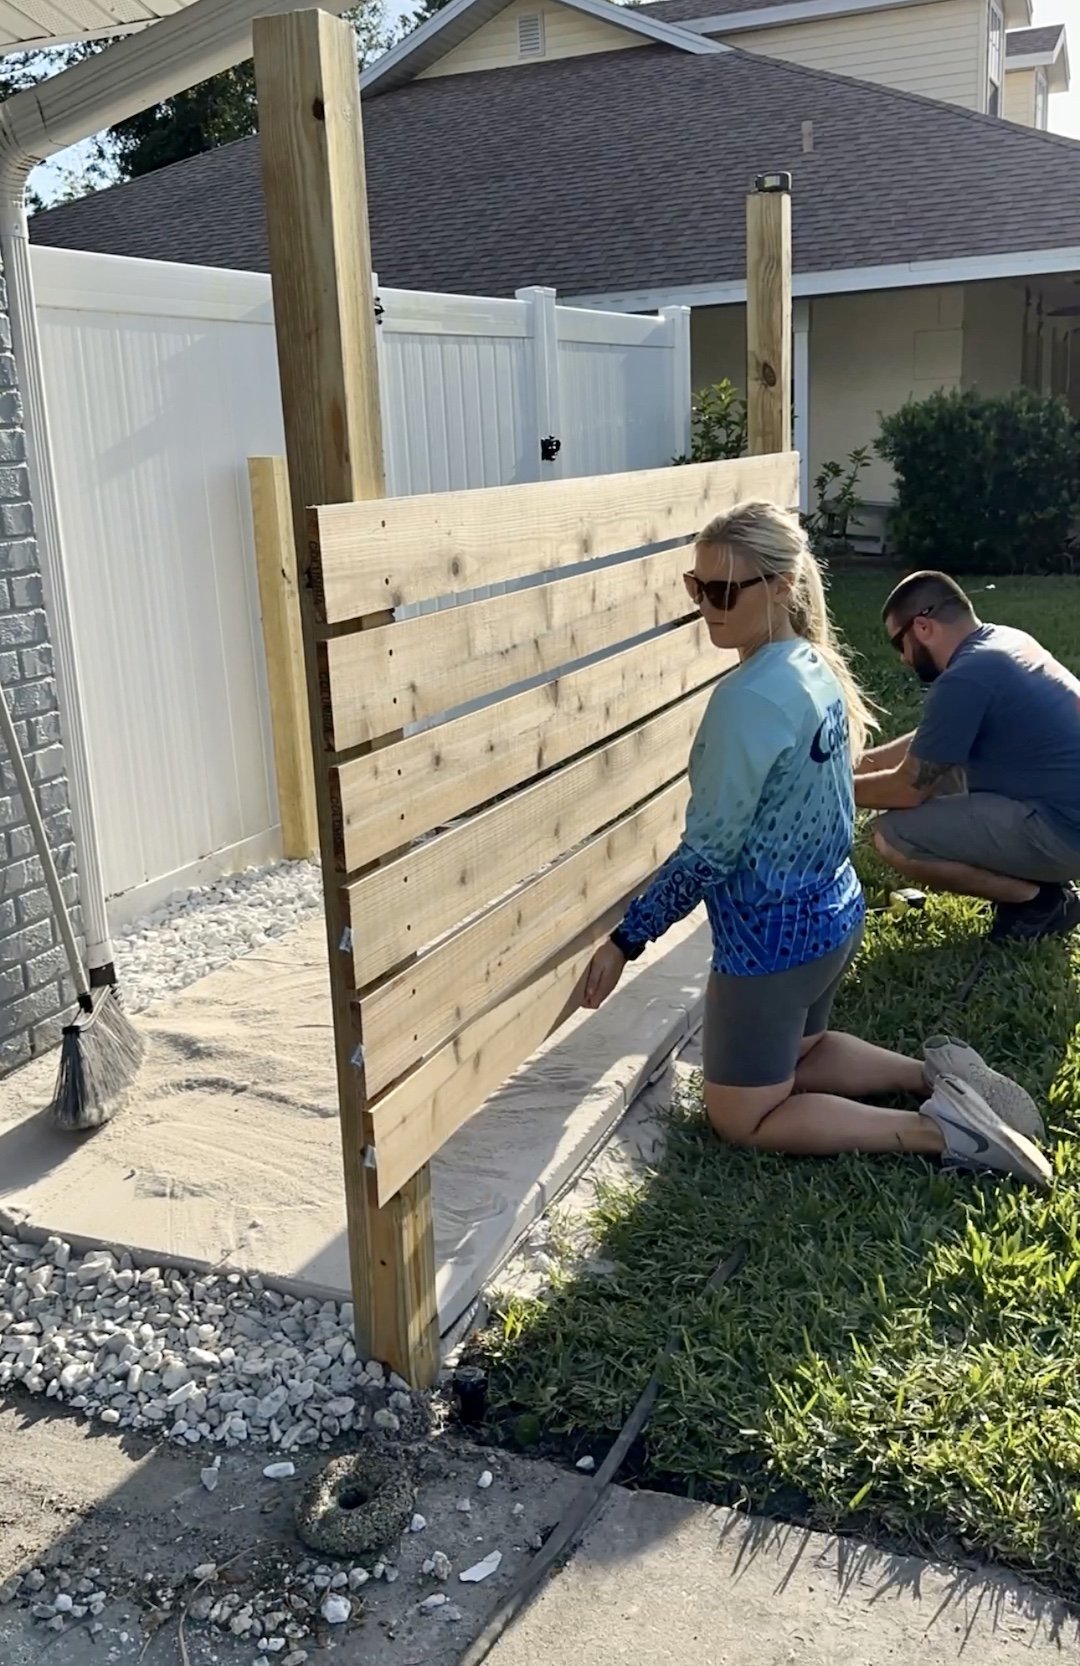
Now it was time to attach the cedar boards horizontally to the three posts we installed. You may want to measure and cut each board to length as you go. We did not do this and instead installed the boards and came back with a router to trim the edges after they were all installed (a circular saw would work for this too). This process of cutting the boards after they were installed was a little tricky so I would recommend cutting your boards in advance.
We started our first cedar board at a height of about 48” off the ground. We used a level to make sure the board was straight and used two wood deck screws on each end to attach the board to the posts. Between each board we used a scrap piece of wood that was 3/4” thick to create a consistent gap between all our boards. We continued to work our way down attaching our cedar boards to the posts.
Once we got the front side complete, we moved on to the other side and had to measure and cut each of these boards as we went. We did not do a miter cut on these edges and instead just butted them up to the horizontal boards on the front.
Step 5: Staining and Sealing the Boards
Before staining the wood we did use a circular saw to cut off the tops of the vertical posts. We used the offset of the circular saw base plate against the horizontal cedar boards to cut off the top of the post and this ended up being a measurement of 1 3/4”. We used small pieces of scrap wood and nailed them temporarily to the post on all three sides of the post so the circular saw would have something to rest against as we made the cut.
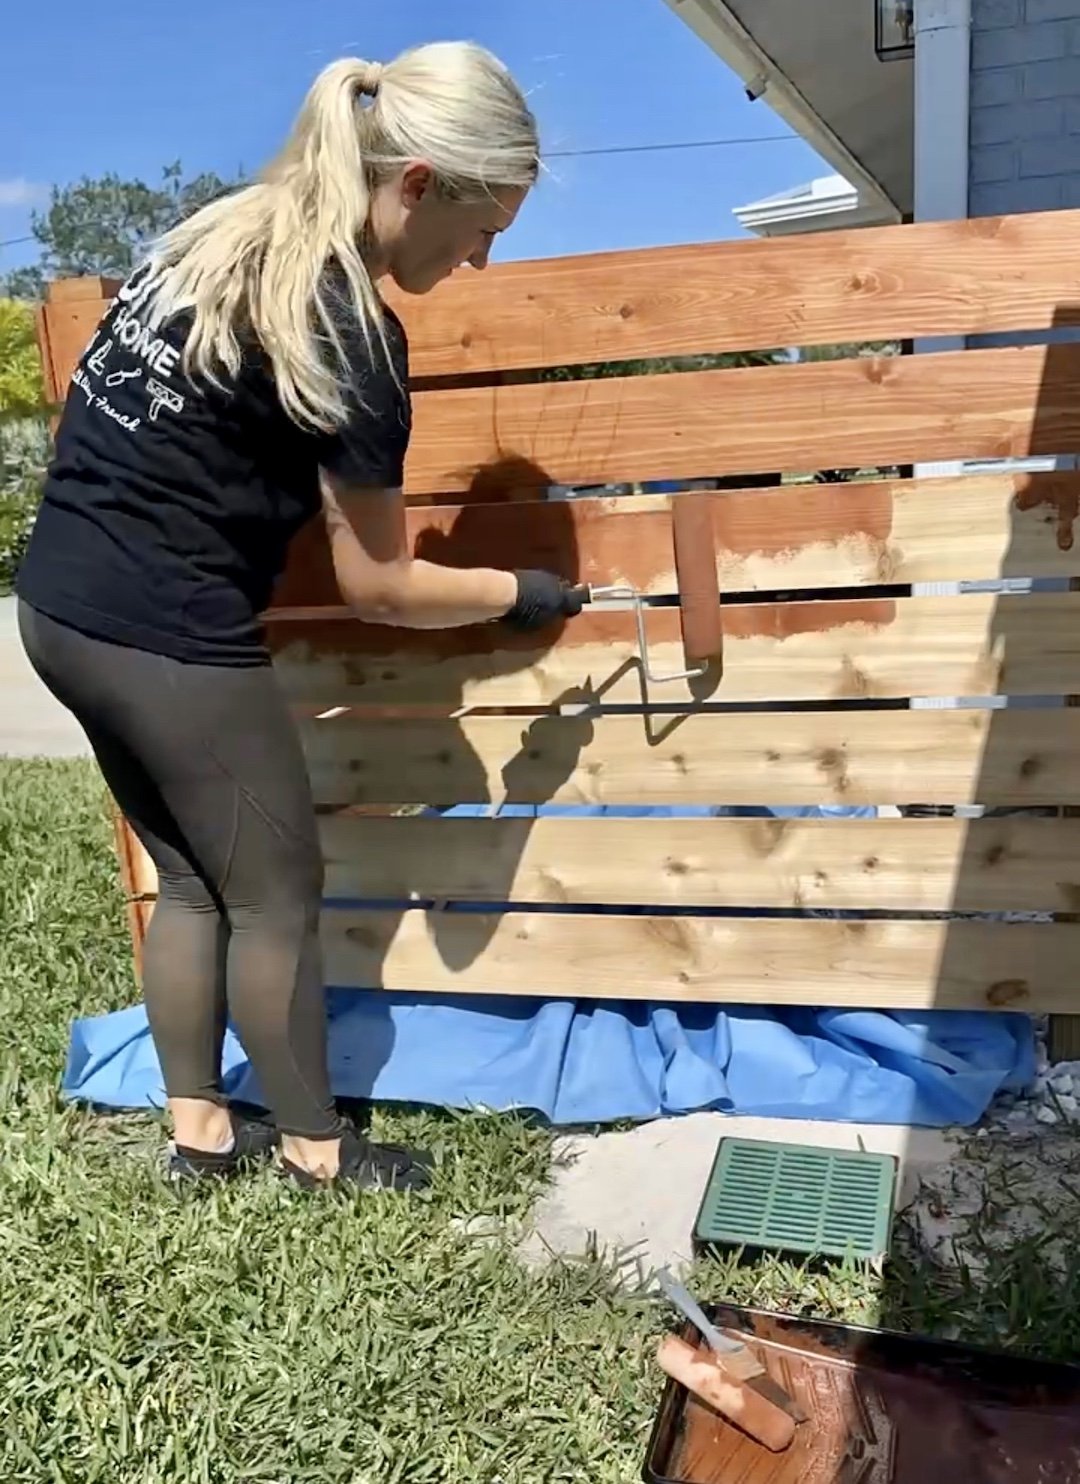
The final step for us was staining and sealing our boards. Technically we did not need to do this since our posts were pressure treated and cedar stands up really well to water and weather. But we chose to stain and seal them because we wanted them to match the stain color of our cedar window shutters on the house and wanted extra protection from the environment since we get a ton of rain and sunshine in Florida.
We used Thompson’s WaterSeal semi-transparent wood stain and sealer in the color Chestnut Brown. I used a paint roller to apply it and a rag to wipe off the excess. I would definietly recommend staining your wood in advance as doing it like I did was pretty tricky. I used a small foam roller that I dipped in the stain to run in between the cedar boards to get the edges stained.
Since the stepping stones were white, I decided to apply a sealer to them as well to prevent any moisture from soaking in and prevent staining on them. After all, they would have garbage cans on them and the potential for garbage to drip or leak on them was pretty likely. I used a paint roller and applied Thompson’s WaterSeal Multi-Surface Waterproofer. Once dried, water just beads up on the stepping stones and doesn’t soak in.
Step 6: Final Touches
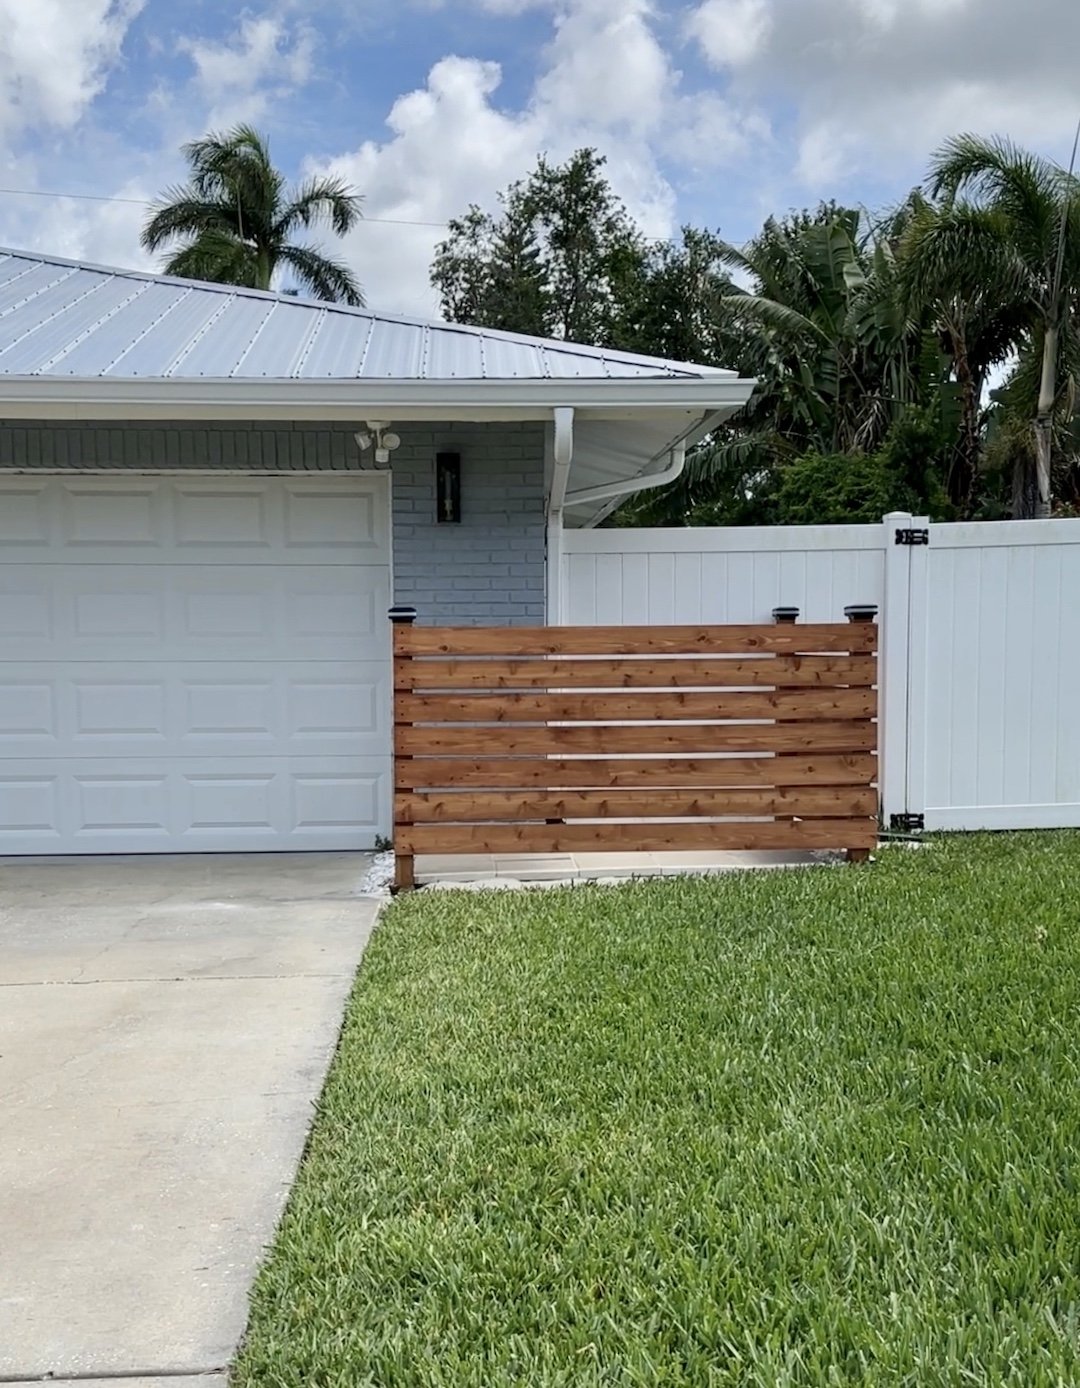
The area where we created this garbage can enclosure was on the corner of our house so it wasn’t a perfect square we were working with. Because of this, after laying our stepping stones we were left with a little gap on three sides of the stepping stones and we chose to fill this area with Marble Chip landscape rocks. The final touch to the enclosure was to add solar lights to the top of the posts. I used these Solar Post Lights that fir perfectly on a 4”x4” and add a modern look to the area.
We have been so happy with the look and function of this garbage can concealment area! The cedar matches perfectly with our cedar window shutters and cedar front porch columns. Our garbage cans are hidden but are easy to access whether we are throwing out garbage bags into the cans or bringing the cans down to the curb. This fence enclosure would also work great to conceal an air conditioner or pool equipment.









HEY THERE, I’M ASHLEY!
Here to inspire beginner DIYers!