The Best Primer to Cover and Block Ceiling Stains
During our kitchen renovation, we had the popcorn scraped off our ceilings and that revealed the old ceiling drywall that had yellow/brown stains. We paid a drywall company to spray on a new ‘knockdown’ texture and we could still see the old yellow drywall stains showing through. If you follow me on Instagram then you saw the priming and painting fiasco that ensued. In this blog post, I am going to share with you what you SHOULD and should NOT use when priming and painting your stained or yellow ceilings.
Do All Primers Block Stains?
No, all primers are not designed to block stains. You need to use a primer that is specifically designed to block stains. I don’t want you painting three coats of primer plus two coats of ceiling paint on your ceiling like I did only to have yellow still showing through. After two full days of priming and painting, it was obvious that the products I was using were not the right ones for my situation. I made the mistake of buying a water-based “drywall sealer and primer” not realizing that it was designed to be used on brand new drywall and had absolutely zero stain-blocking power.
I painted three coats of this ‘wrong primer’ on my ceilings before I accepted the fact that it just was not covering the yellow. I knew I needed to find a better primer that was designed to block stains and so I turned to the internet. After spending a night of Google searching, I read that oil-based primers and shellac primers were the best for covering stains. I also decided to turn to social media and ask for advice and personal experiences from anyone who had used a stain blocking primer that actually worked. I polled my audience asking for their advice and there were two primers that were recommended the most.
What is the Best Primer for a Ceiling?
The best primers for covering stains on a ceiling are an oil-based or shellac based primer. The two primer brands most recommended to me were Kilz Interior oil-based primer and Zinsser BIN shellac-based primer. I picked up a quart of each and decided to test them both out on the yellow ceiling. I found that both of them did an excellent job of covering the yellow stains and I could no longer see the staining showing through. I ultimately decided to go with the Kilz primer because it was a brighter white color which I liked.
With the Kilz oil-based primer, I painted one coat on the ceilings and was impressed at how quickly it was drying. Once the ceiling was fully primed I stood back and was ecstatic that all the yellow staining was gone! The next morning I woke up and painted one coat of Sherwin Williams Eminence Flat Ceiling Paint and the ceilings looked amazing and were finally done!
Tips for Painting a Ceiling
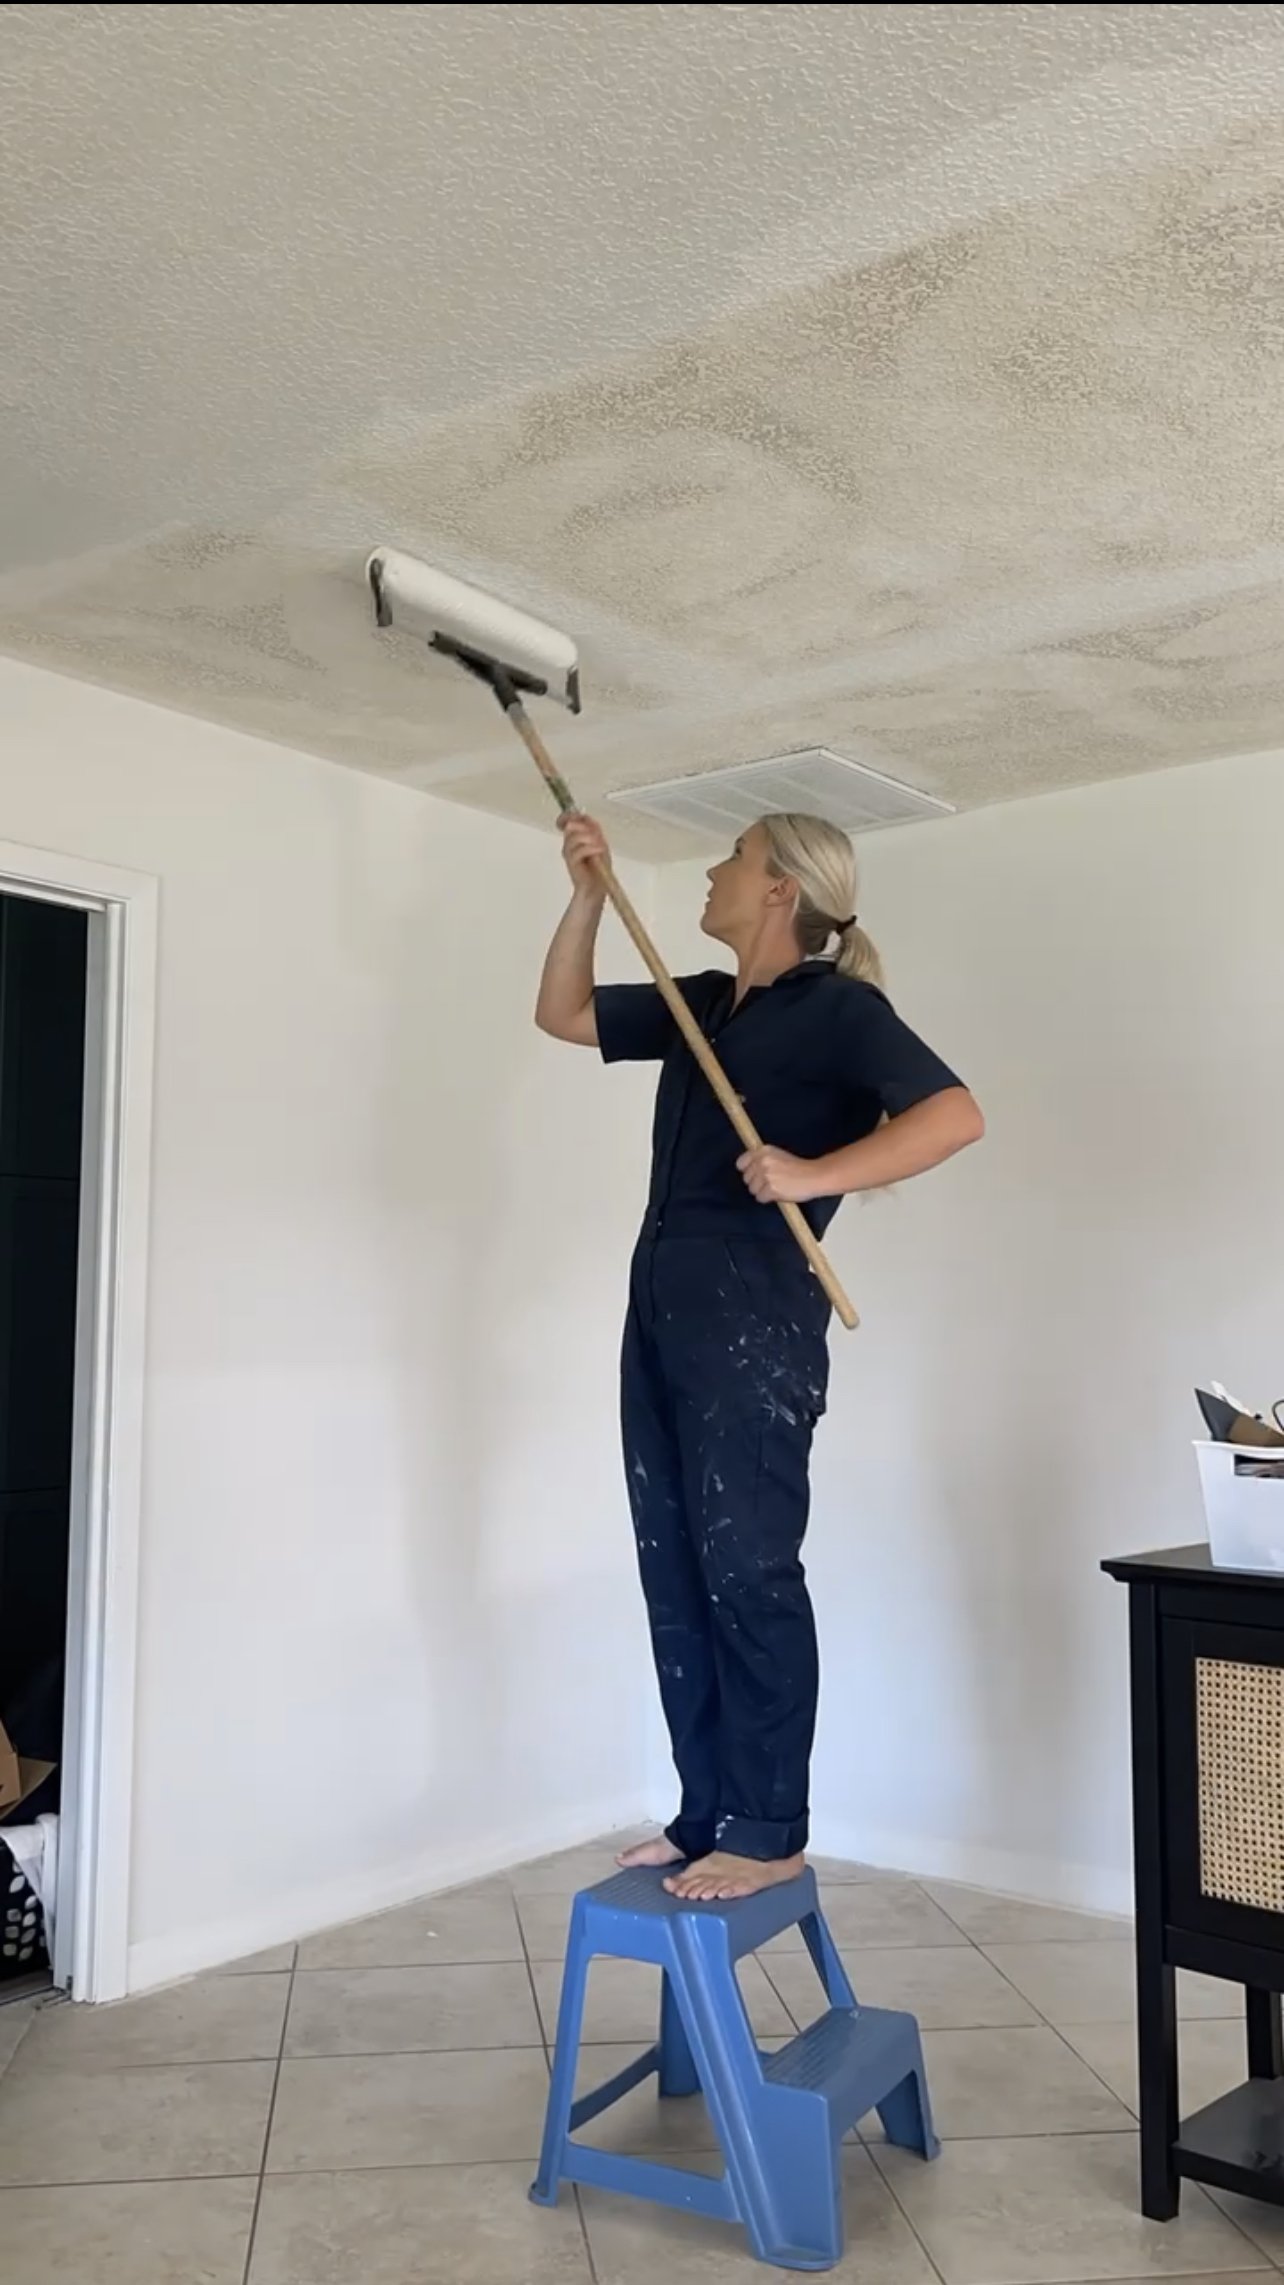
Our home has 8ft ceilings so painting the ceilings wasn’t too difficult although my shoulders were always so sore after doing so. The first time I primed the ceilings I used an 18” paint roller on an extended paint rod. I also used a step ladder that I would step on while painting. I do NOT recommend this method. Although the 18” paint roller covered more area while painting, I found it to be very heavy which put more strain on my neck and shoulders.
The final time I primed and painted the ceilings I changed my technique and used a normal 12” paint roller and did not use the step ladder at all. I would simply point the paint roller rod straight up to the ceiling and roll it while walking in a straight line. I actually found that I primed and painted so much quicker with the smaller roller. One last tip is to not press your roller too hard against the ceiling while rolling it or you will have paint drip down from the roller and into your face and hair.
I hope this post was helpful and will prevent you from making some of the mistakes that I made!


HEY THERE, I’M ASHLEY!
Here to inspire beginner DIYers!