Backyard Makeover
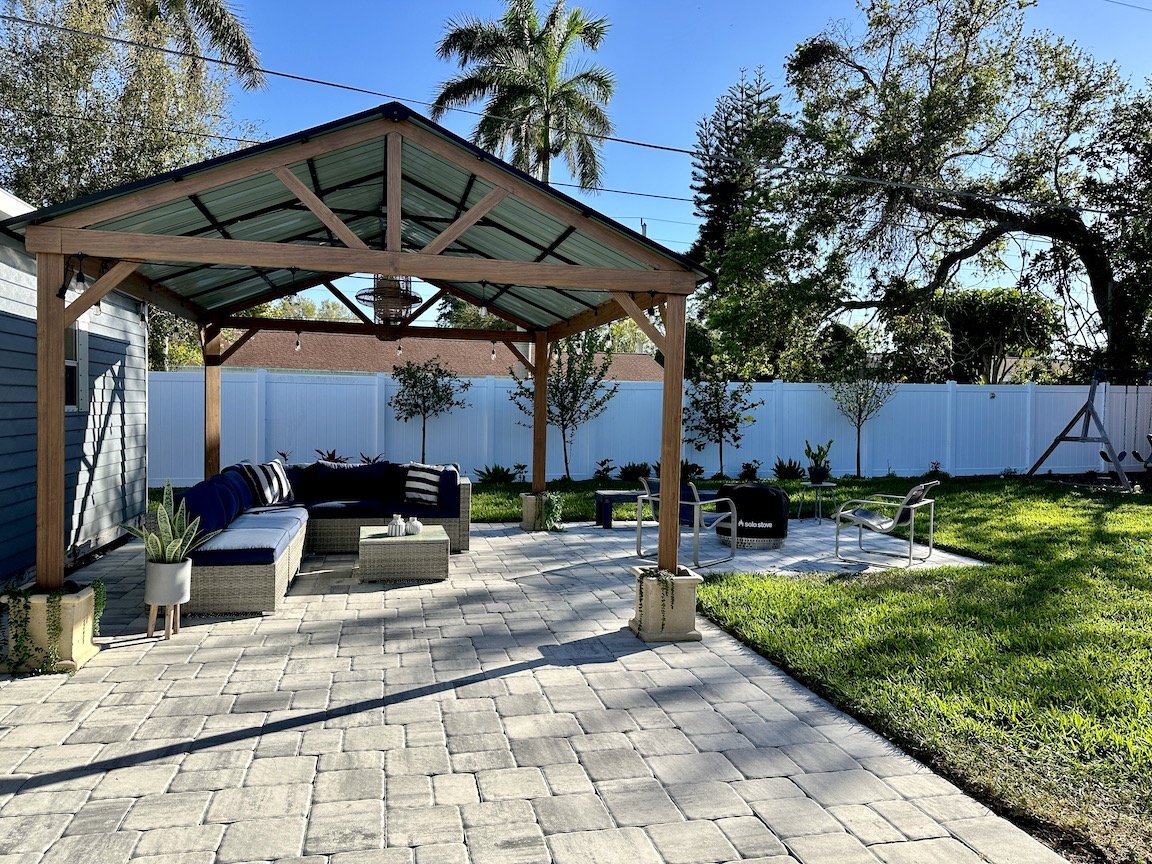
Here is a look into our total backyard transformation which included new sod, a new paver patio, gazebo, landscaping, playground area and more.
In this blog post I am going to cover:
How much it costs to do a backyard makeover transformation.
How to start a backyard makeover.
How you can transform your backyard on a budget.
If transforming our backyard was worth the money.
What we purchased, did ourselves, and what we hired out (and why).
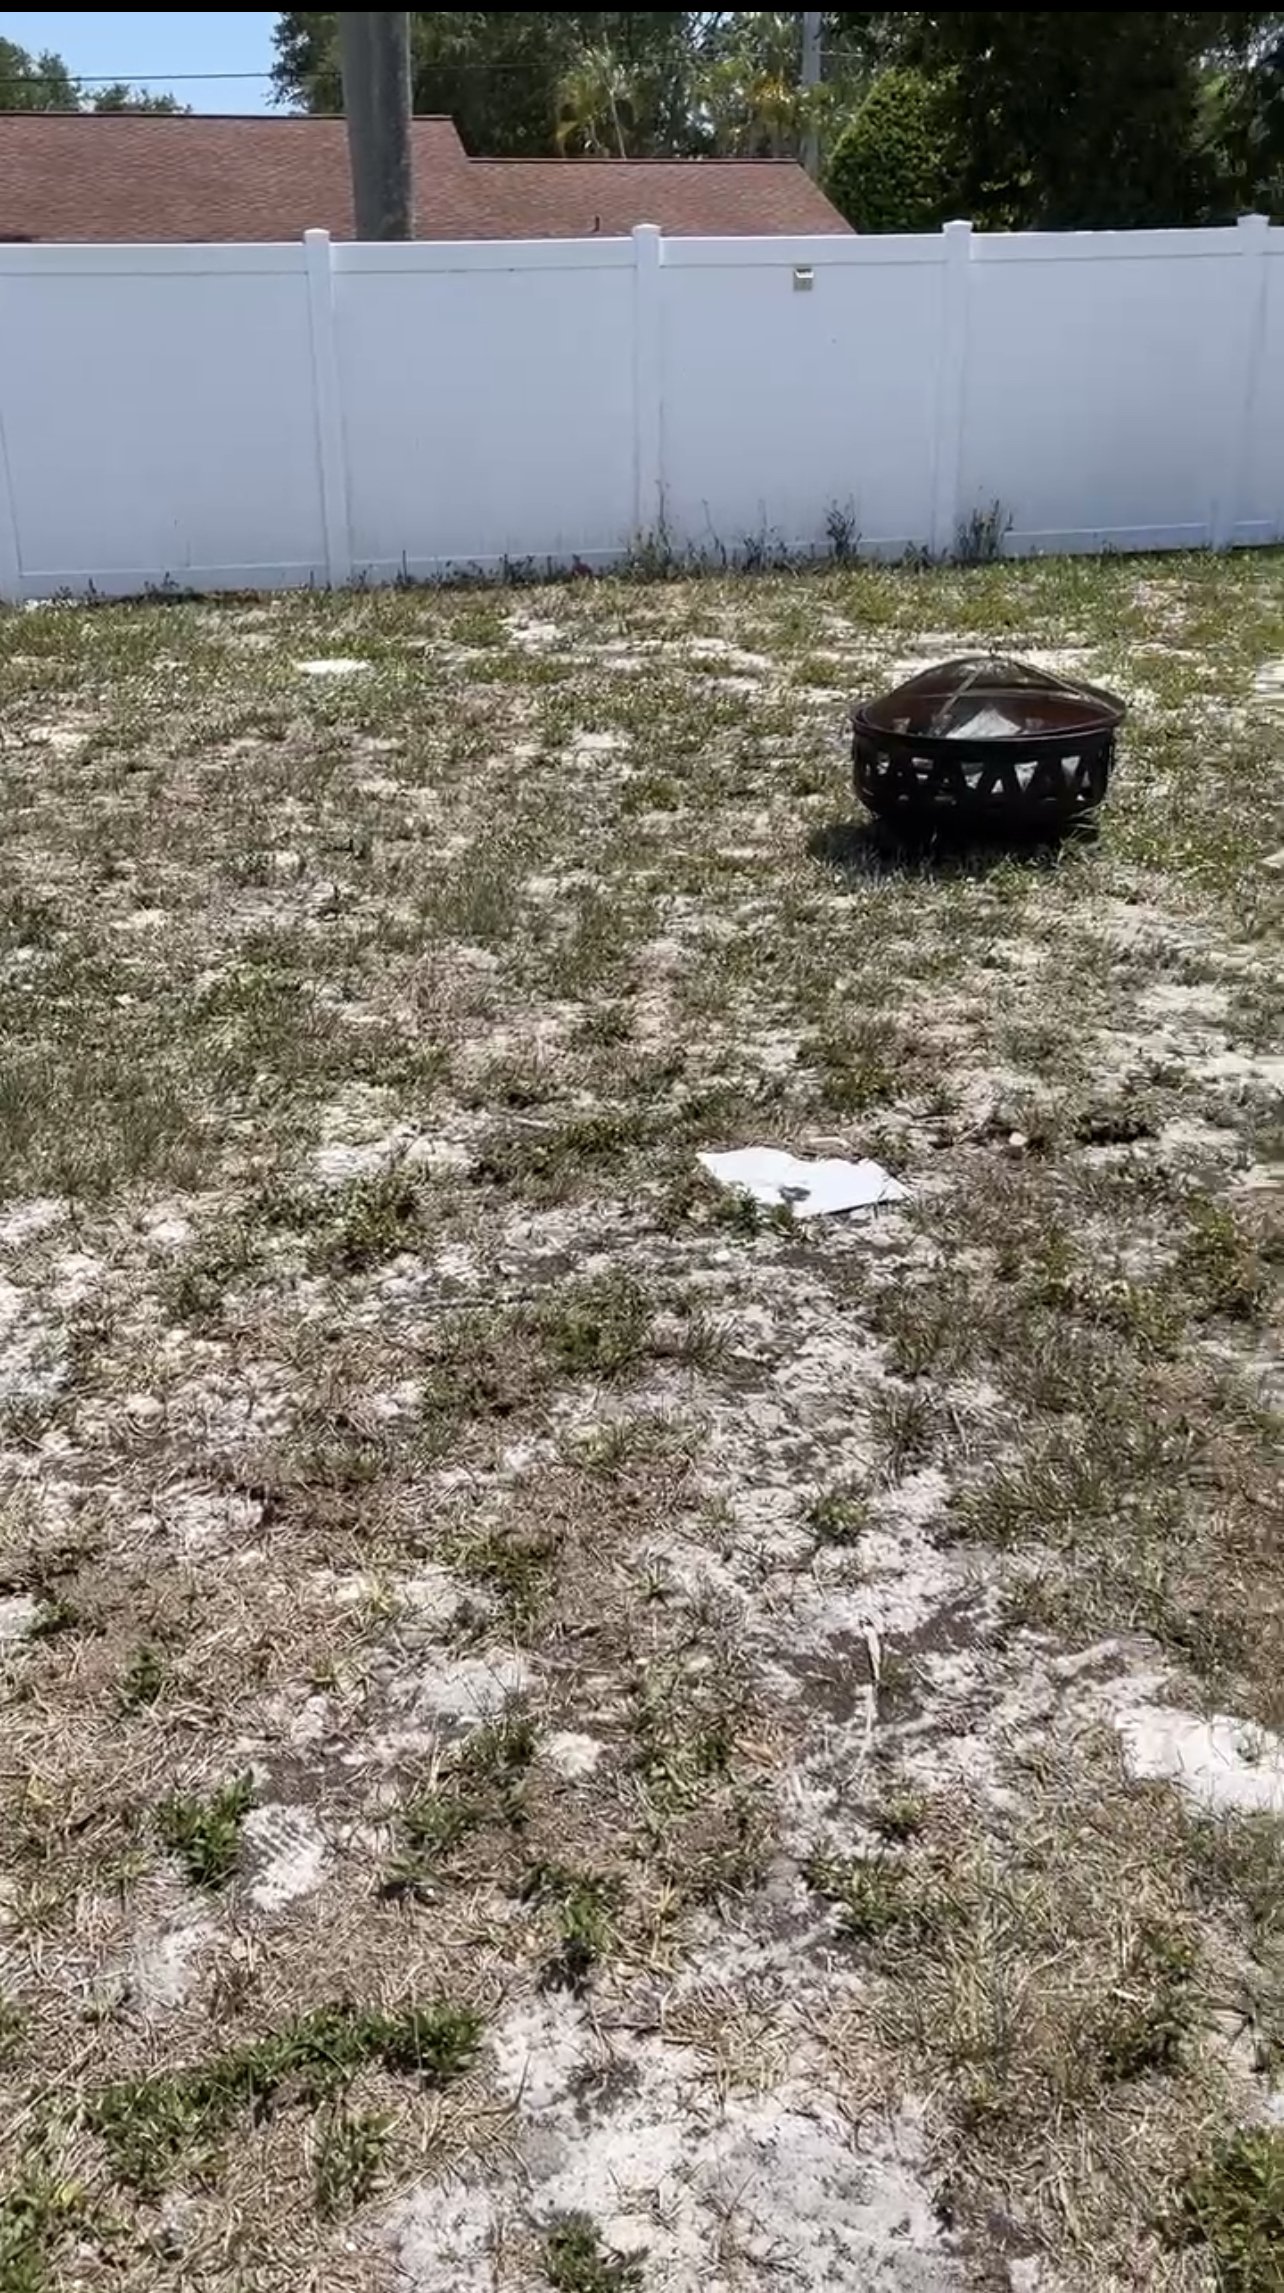
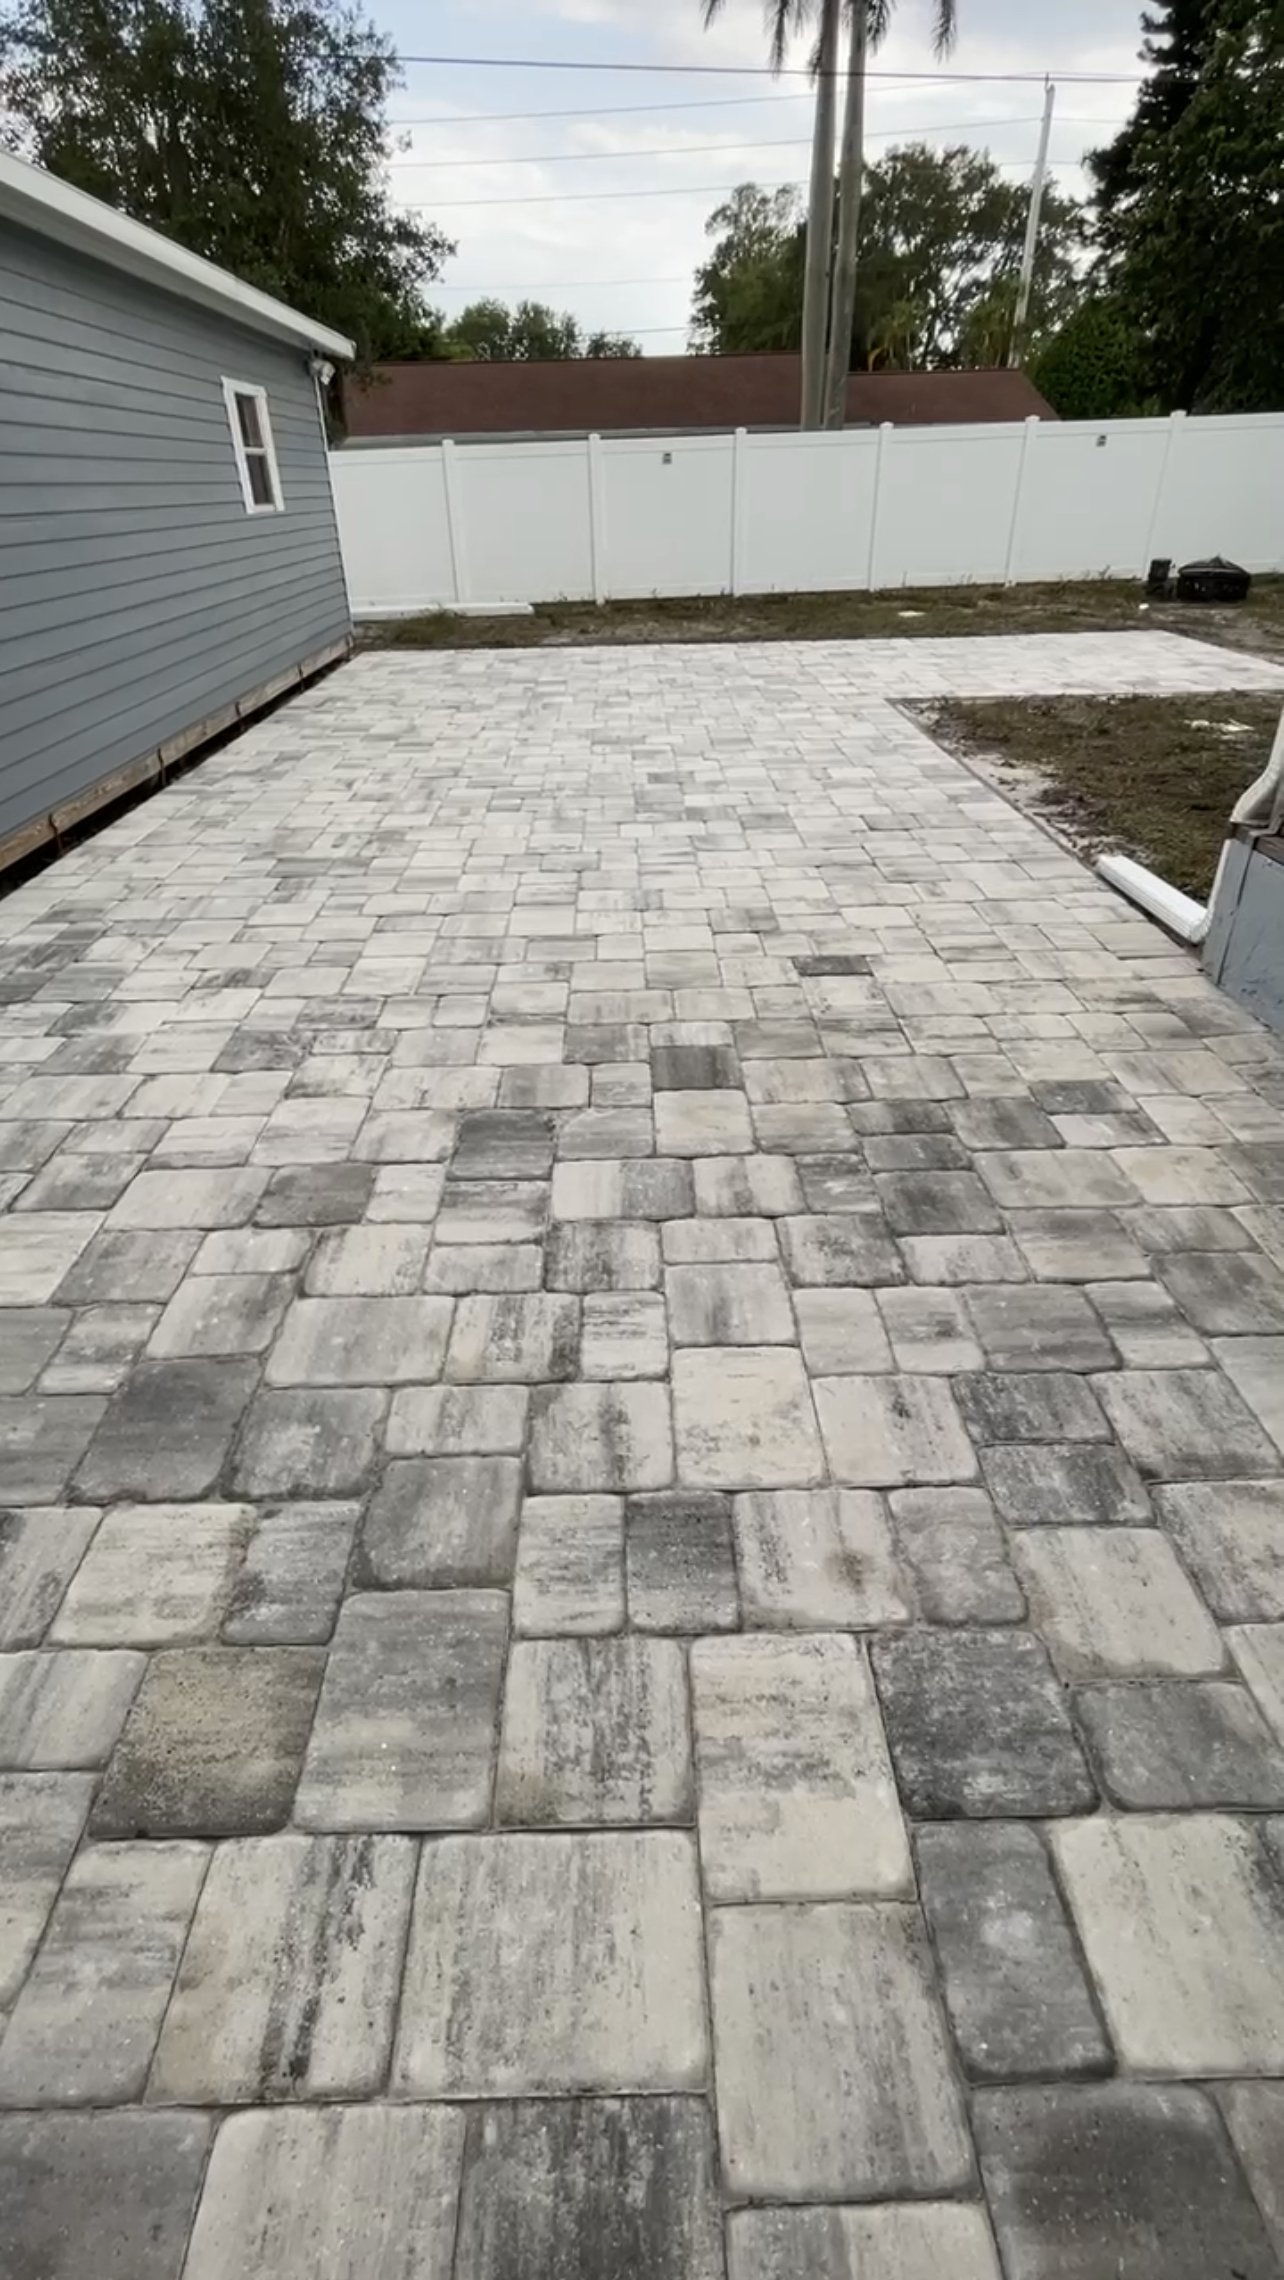
Our backyard was really sad before we got started on the makeover. It had no grass, no patio area to sit and relax, no shade, zero landscaping, and the only view was of my husband’s massive woodworking shop (total eyesore). We wanted to create a space where we could enjoy family barbecues, host parties, and where my son could comfortably play outside.
Planning the Backyard Makeover
The first thing we did was try to plan out the layout of the backyard and come up with a design for the patio area and new landscaping. We didn’t use any professional software. I just used a blank document on Canva and added photos of grass, pavers, plants, and other details and played around with their placement around our backyard.
Starting the Backyard Makeover
After a lot of Google searches and research we decided to hire a company to install the paver patio as
opposed to us attempting to DIY it. It was such a large area and would require a lot of physical labor and we just decided it wasn’t something we were willing to tackle on our own.
Checkout my blog post on Comparing Pavers to Stamped Concrete.
Backyard Landscaping
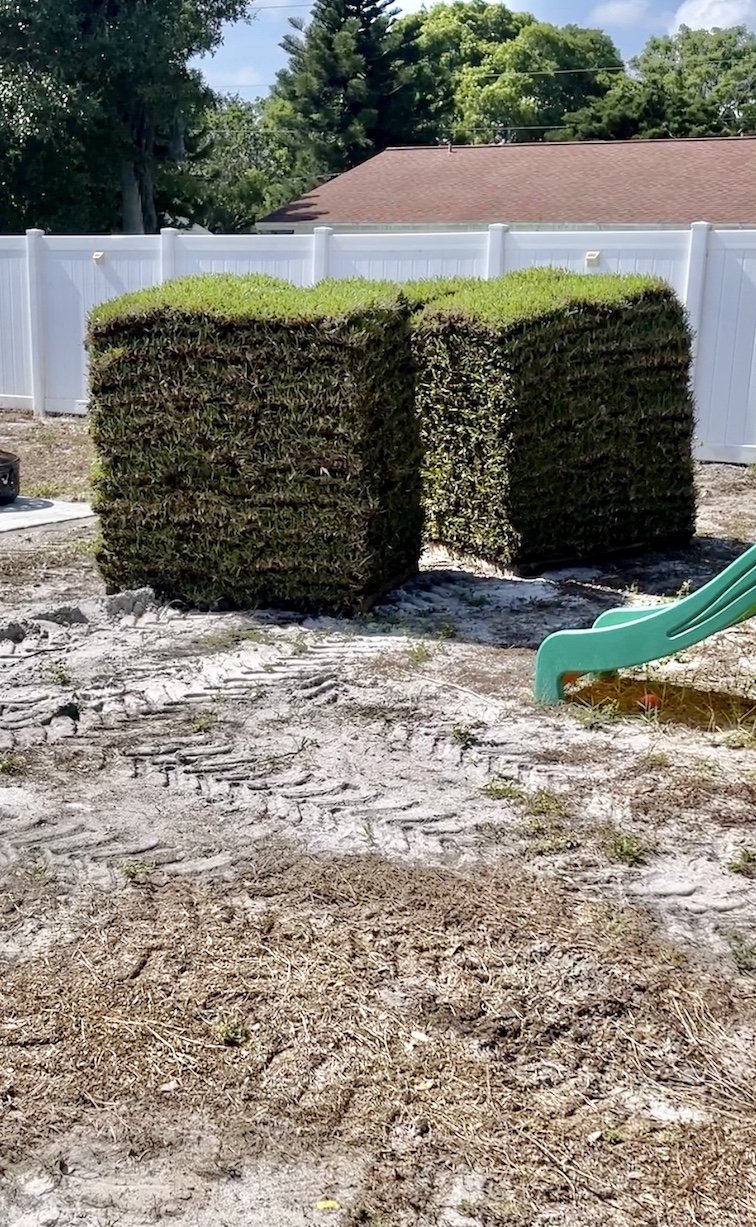
Once the pavers were installed we got a quote from a local landscaping company for new sod. We had all intentions on laying all the sod on our own but the landscaping company offered us a great price to lay it and we agreed. Before the sod was laid, the landscapers did run our gutters underground to divert that water away from our house and the new sod. Watch the underground gutter video HERE. They also trimmed a huge hedge along our fence which made the yard look so much bigger.
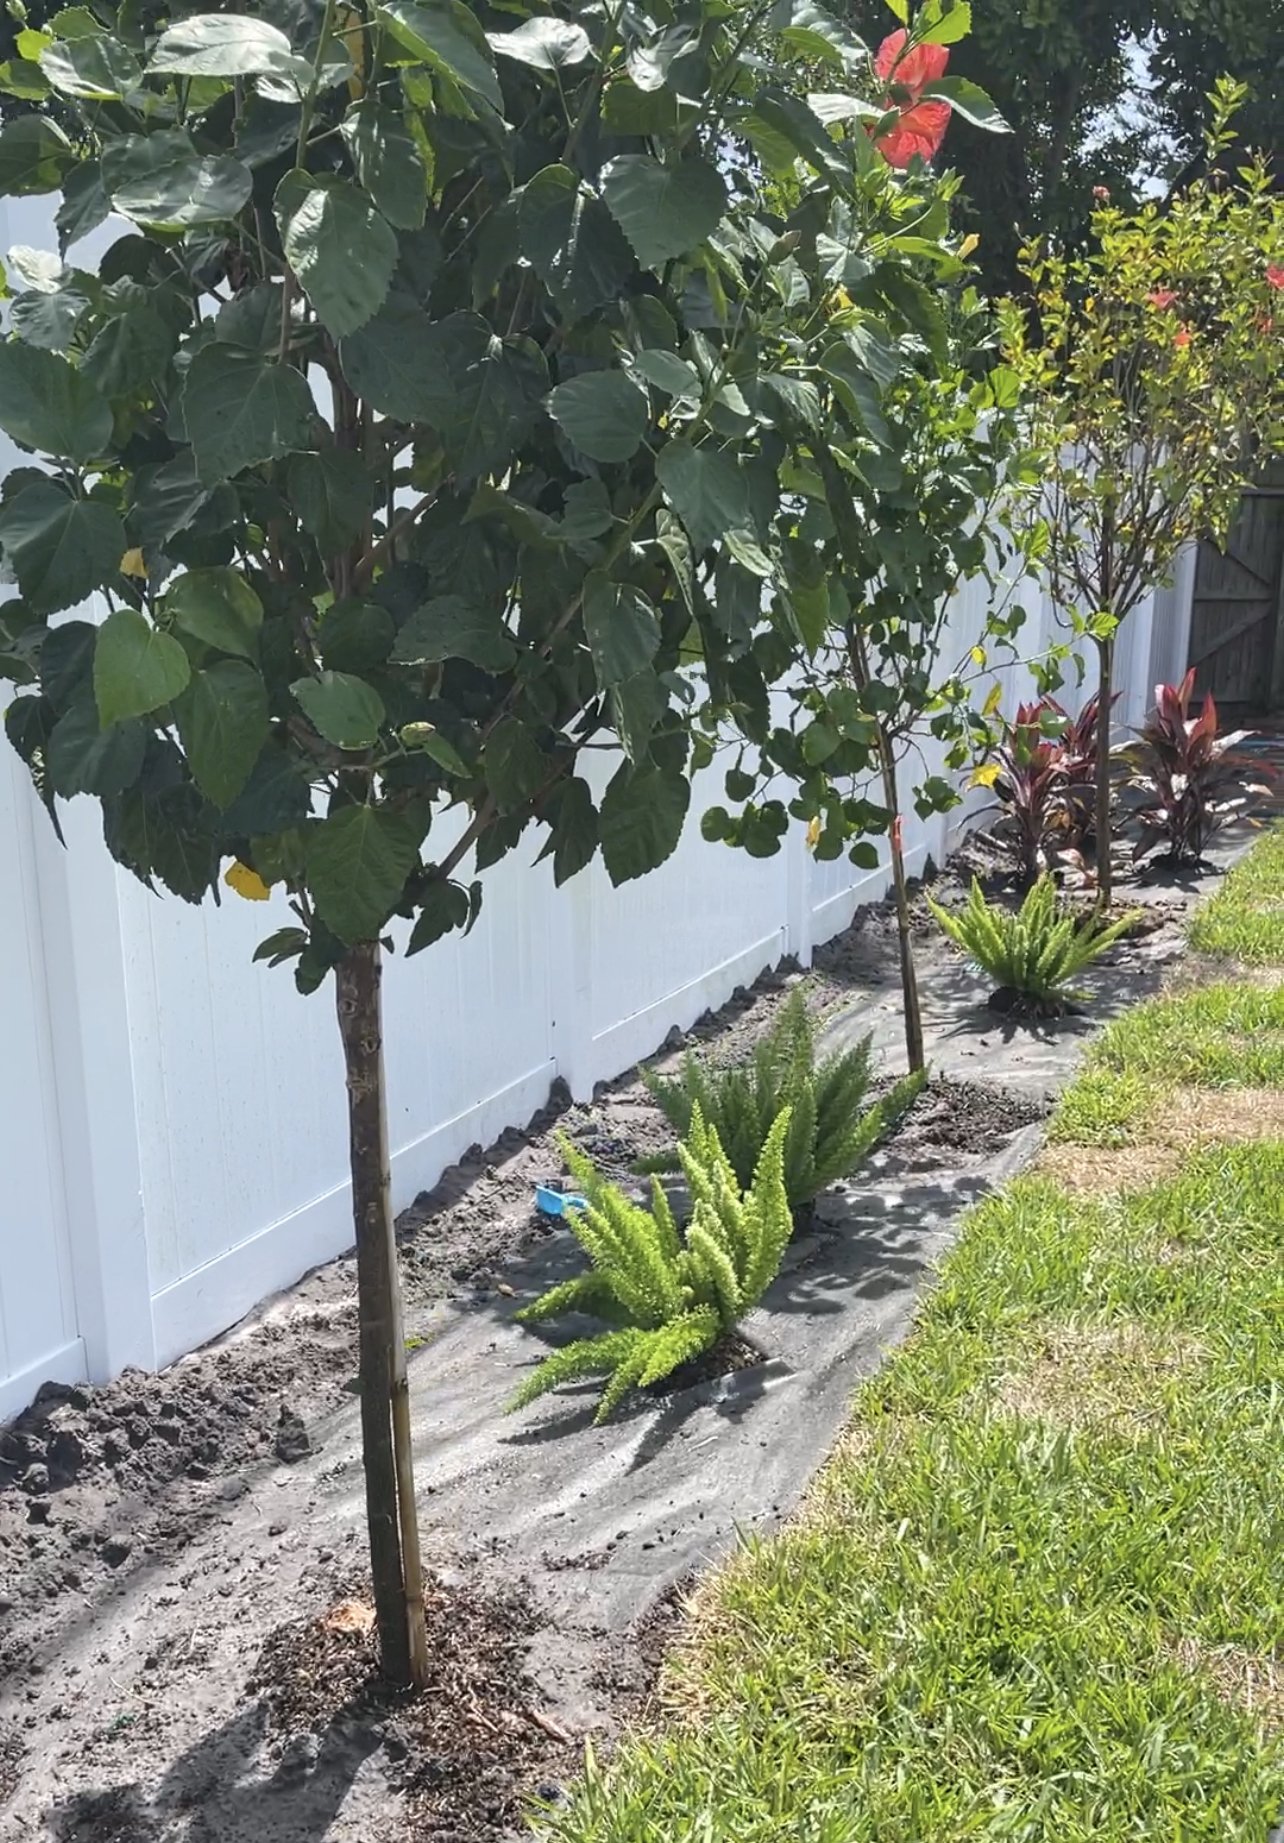
Once the sod was down, we visited our local plant nursery to pick out some trees and plants to go along our back fence. We were very impressed at the quality and low price of the plants at the local nursery! We decided on Hibiscus trees, Cordyline, Crotons, and Foxtail Ferns. We paid a small fee to have them delivered to our home and I installed all of these along the fence line.
Backyard Playground Area
When the sod was going in, the landscaping crew actually did us a huge favor and picked up my son’s wooden playground and moved it to the back corner of the yard for us. We then laid landscaping fabric under the playground and added rubber mulch. This was our first time using rubber mulch and so far we are really happy with it.
Click Here to watch Playground Area Rubber Mulch project on YouTube!
Patio Gazebo
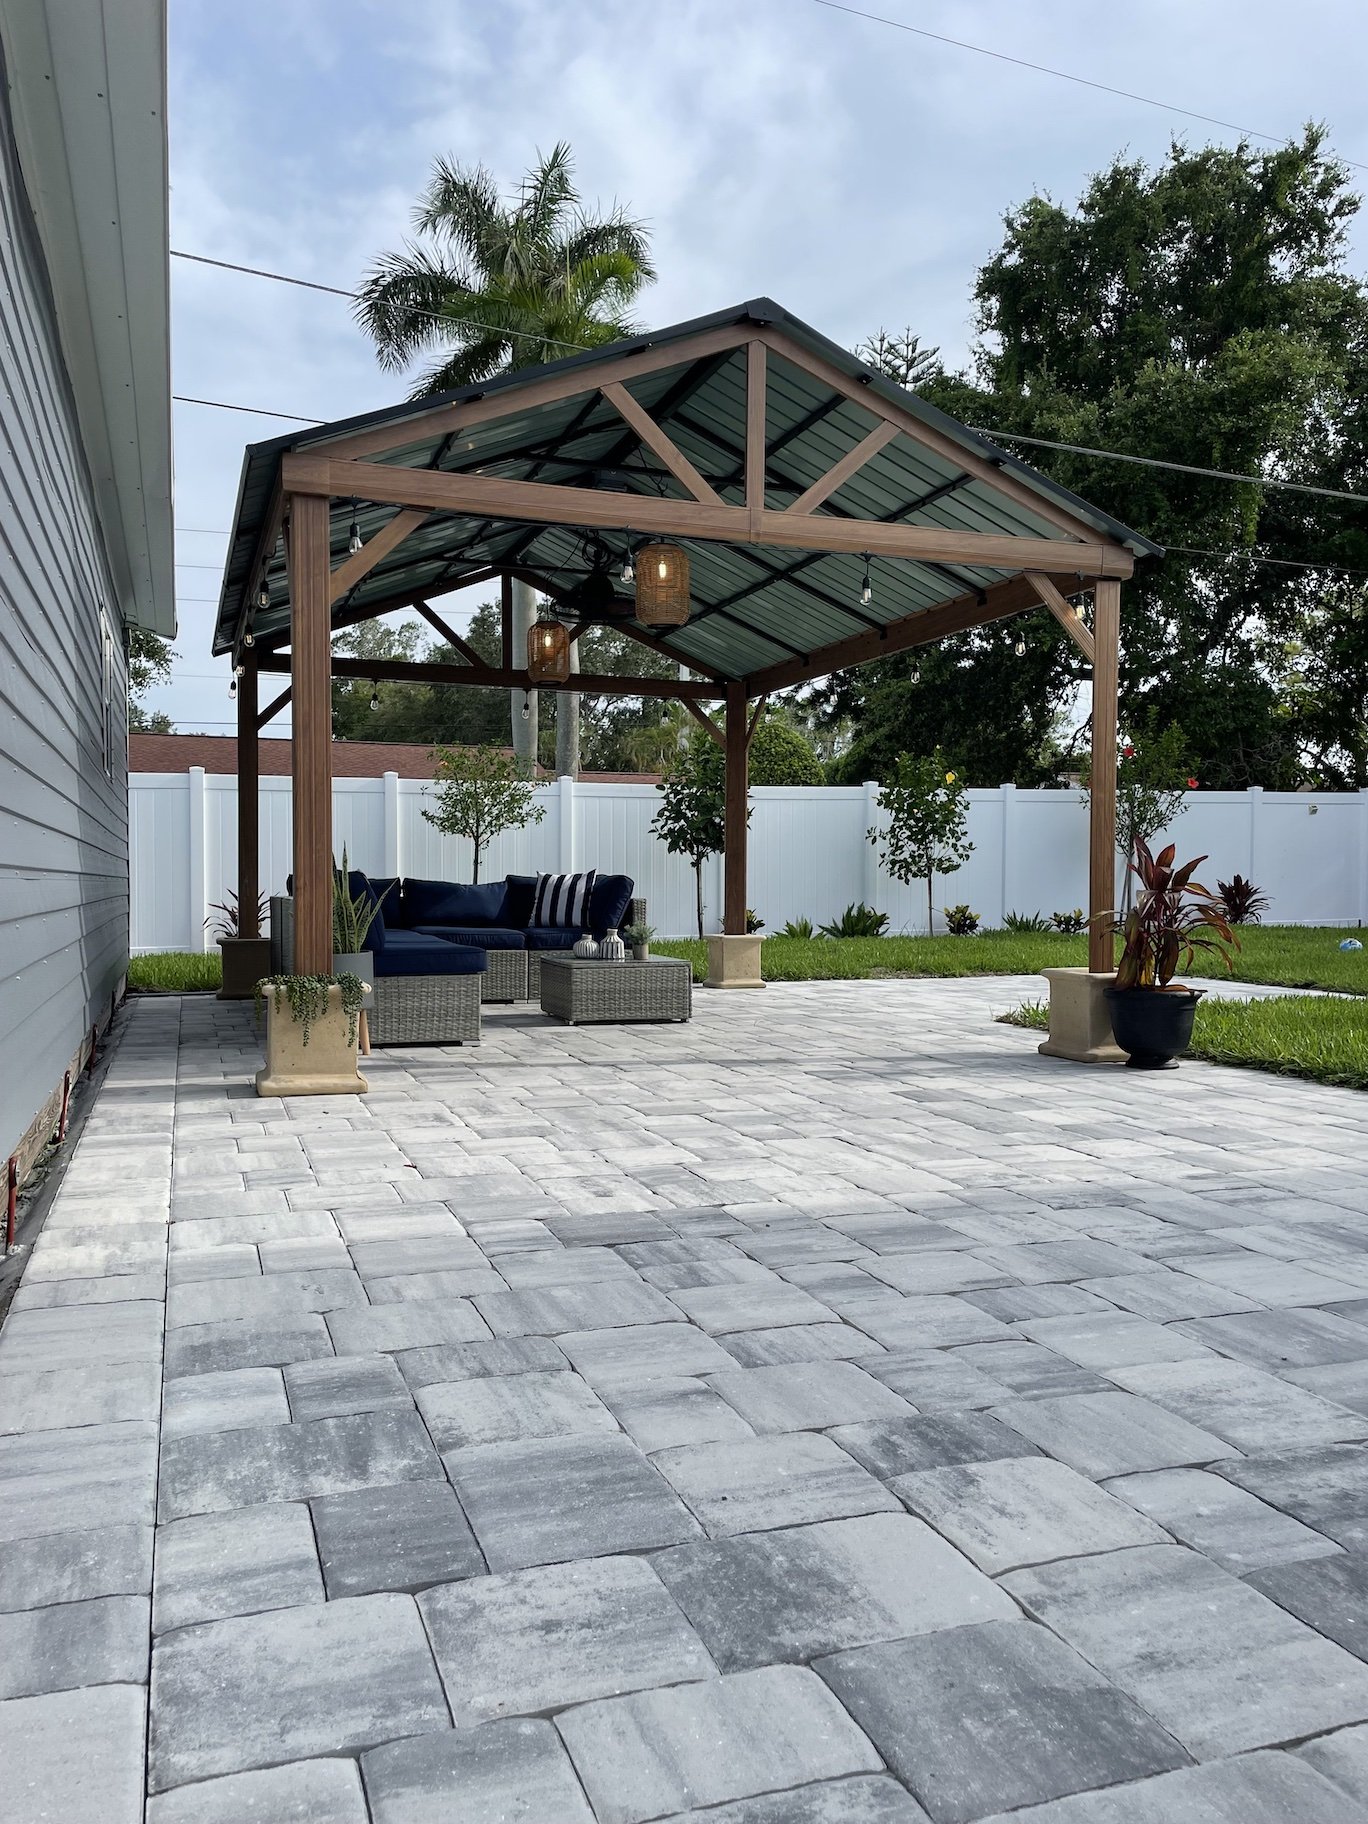
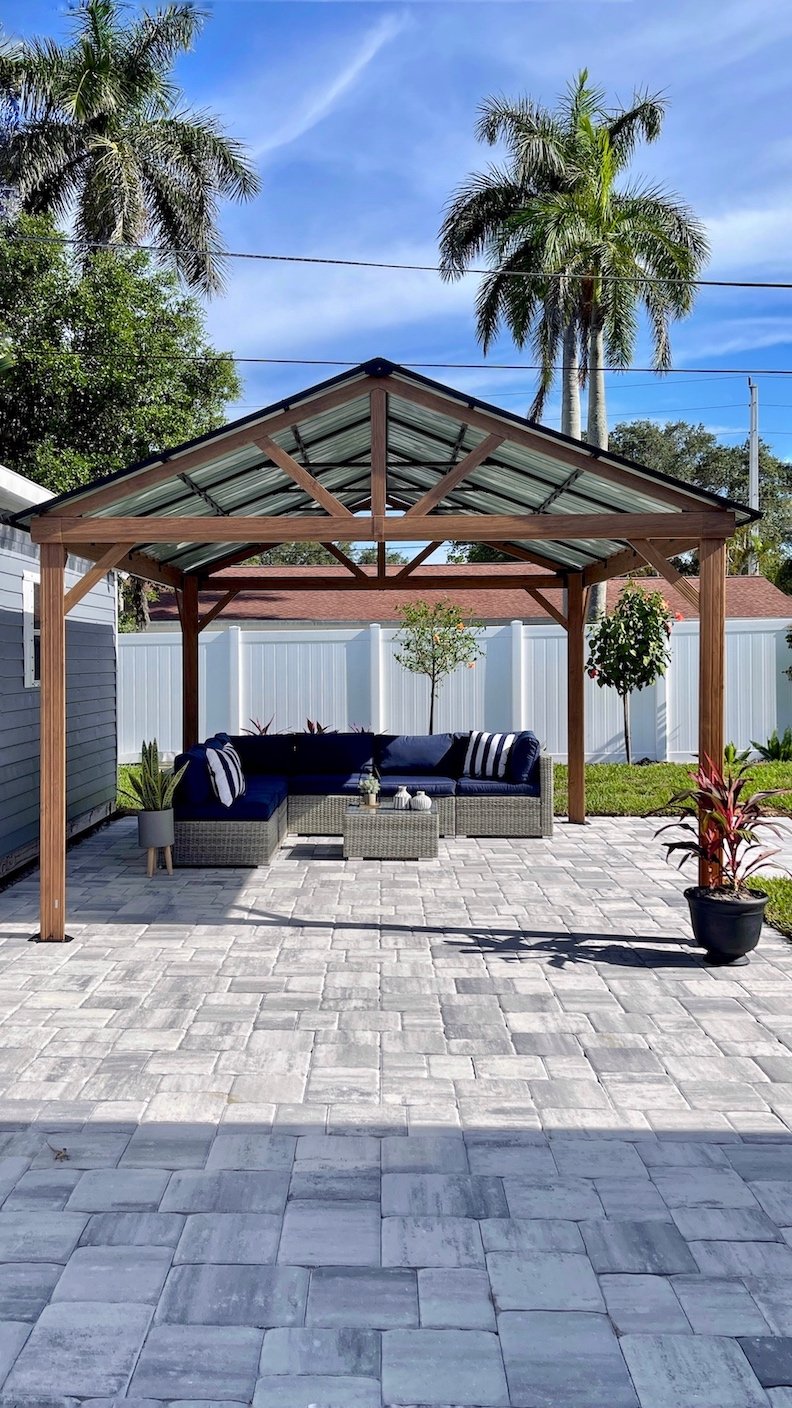
Next up was putting together the hard-top gazebo we ordered. Now this was by far the hardest part of this backyard makeover. It took my husband and I two 8 hours days to put it together in the blaring sun during the dead of summer. We were so hot, sunburnt, sore and exhausted at the end of each day. I would highly recommend waiting until the fall or winter to put one of these together!
We did run into a few frustrations with the directions lacking and some of the screws on the roof being hard to reach but overall we are very happy with the gazebo. It is all aluminum and great quality. It gives us a huge shaded area on the patio where we placed our outdoor sectional and can sit and enjoy the backyard.
Anchoring Down Gazebo
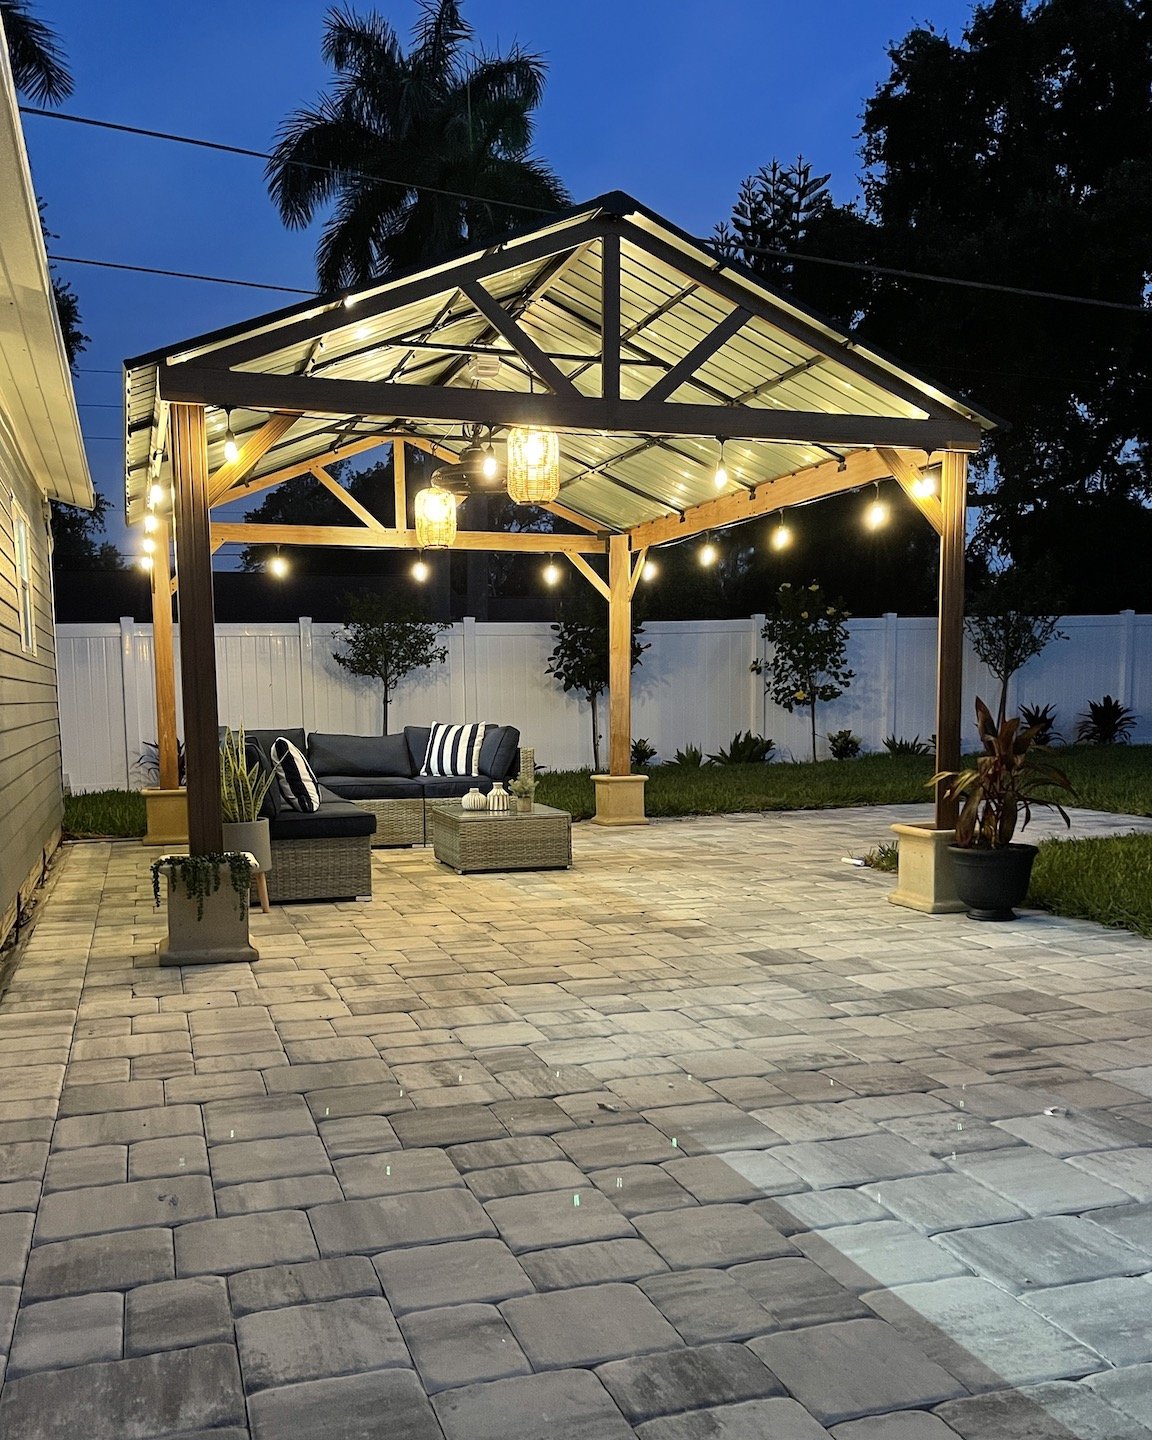
Living in Florida with strong storm winds and the potential for a hurricane, we knew we needed to anchor/weigh down the gazebo. We considered screwing the legs into the paver stones but figured with a strong enough wind if the gazebo lifted, the pavers could just pull straight up and out. So instead we decided we would place the legs of the gazebo into heavy concrete planters and then fill the planters with concrete to create heavy anchors.
We got lucky and found these concrete planters (which were already extremely heavy) on clearance at Lowe’s and decided they would work perfectly. Check with your local building codes to determine if a gazebo needs to be anchored down in a special way.
Backyard Patio Seating & Decor
The last step was adding the furniture and small details. We installed this awesome outdoor fan in the center of the gazebo and hung outdoor string lights around the perimeter. Then we moved our outdoor sectional under the gazebo and added a few potted plants. The final touch was adding this stainless steel, no-smoke fire pit which we already love using!
How much it cost us to do the backyard makeover transformation:
Paver Installation - $8,000
New Sod Install, Gutter Run, & Bush Trimming - $3,000
Additional Landscaping, Fabric, & Mulch - $1,000
Hardtop Gazebo - $1,600
Gazebo Anchor Supplies: $90
Seating, Fan, Lighting, & Decor: $1,200
Total Spent: $14,890
Was transforming our backyard worth the money?
I can easily say it was 100% worth the money! I am in love with both the look and function of our backyard now. My son has places to play, we have areas to sit and relax, entertain, and barbeque. I think that doing a complete backyard makeover for under $15,000 is impressive. Being a Realtor, I also feel very confident in saying that we would get back 100% of our investment when/if we sell this house.
How we transformed our backyard on a budget
Here are some of the ways that we saved money on this backyard transformation:
Buying our trees and plants from a local plant nursery and installing them ourselves
Shopping around for best pricing on the sod
Going with an aluminum gazebo instead of an all-wood gazebo
Finding the concrete planters for the anchors on clearance
Making our own DIY pendant lights for the gazebo
Shopping around for affordable seating and finding two lounge chairs at Goodwill
SHOP MY LINKS BELOW (affiliate links)








HEY THERE, I’M ASHLEY!
Here to inspire beginner DIYers!